If you are just joining our How to Decorate {for the DIY’er} Series, welcome! Miss a post? You can find all the entries for our series listed conveniently on one page here.
 Welcome to day 22 of our How to Decorate Series! Today I am thrilled to introduce you to Dayka from Life + Style! I met Dayka on my blog two years ago and instantly liked her. Early on in reading her blog, it was clear to everyone that Dayka wasn’t just a hobby blogger but was born to be a designer! She came to that conclusion as well and bravely returned to school to transform her hobby into a full-time career. Dayka is now the owner of her own design firm, Dayka Robinson Designs and is available for online and in-person consultations! (Psst. Do you see those gorgeous yellow Bentwood chairs in the pic below? Click here to see before pics and to learn how she transformed them.)

If a design firm and blog didn’t keep this girl busy enough, Dayka also runs an etsy shop and a non-profit organization in her spare time! She is the Co-founder of Room Service Atlanta which brings sponsors and designers together to spruce up the living quarters in Atlanta-area shelters. Most recently she and 14 other designers did a fantastic job of redesigning the Nicholas House. Below is the before and after of Dayka’s room design. Ack! I love it!


This girl knows her stuff and is generous in sharing her knowledge with the rest of us. Today Dayka is talking DIY tools. We’ll wait while you grab some paper and a pen because the list is long…and you are definitely going to want this list!
…………………………………..
I’m so honored to be included in this amazing lineup of DIY’ER’s–thanks for having me over, Beth! I spend my time searching for the best vintage furniture, lamps & accessories to rescue & refinish and since a few other ladies have already discussed my areas of expertise, I want to talk about one of the things novice DIY’ERs ask the most questions about–tools!! Every DIY’ER worth her weight needs a kit packed with the essentials to ensure a project well done–here’s my list of the basic tools every DIY’ER needs:


1. GLOVES
For the majority of projects you’ll tackle, gloves are a must to keep your hands from getting dirty, cut, or burned (chemicals). Both latex and chemical gloves are a good to have on hand (and multiple pairs never hurt!).

2. SCREWDRIVER(S)
If I need to tell you why you need a few screwdrivers, you’re not a true DIY’ER!! At some point you’ll be taking something apart, and screwdrivers are great for helping you pry, lift, & scrape. Make sure you have a Flat head, Phillips head, & even a Damaged Screw Remover set. It will make your life so much easier!
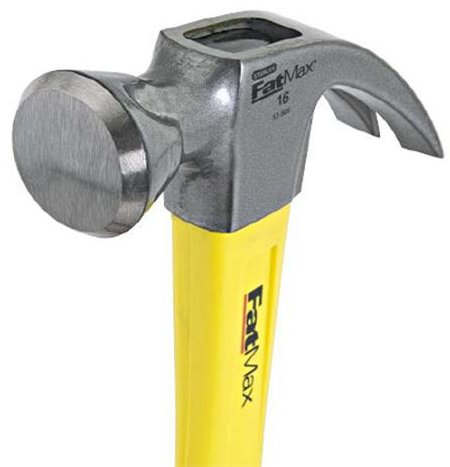
3. HAMMER
Repeat #2. Having a hammer is like having a plunger–you might not need it a lot, but when you need one, you need one.
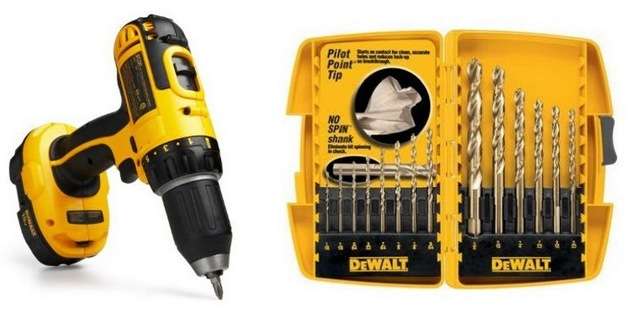
4. CORDLESS DRILL & EXTRA DRILL BITS
My drill is a Ryobi which isn’t the best, but it gets the job done (I’d love to have a DeWalt). My drill bit set actually came from Target, but I’ve had it for years and it’s handled the majority of my needs. It may seem like an intimidating power tool, but a drill is necessary for everything from adding new draw pulls to hanging drapery. Please don’t try to install shelving with a hand screwdriver (it will work, but it’s a workout)!

5. STAPLE GUN/STAPLES
If you like a quick chair makeover, a staple gun is your friend and it’s also great for making a quick table skirt or customizing a message board. You can get a pretty good one for less than $20 (including staples).

6. WOOD GLUE
This is some strong glue and though it almost looks like Elmer’s, this stuff will keep your furniture tight & seamless. Wood glue helps extend the life of those pieces with lifting veneer or weak joints.
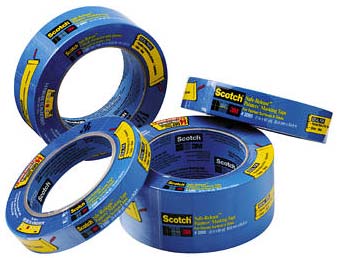
7. PAINTER’S TAPE (SCOTCH & FROG TAPE)
I use both–Scotch for my everyday needs, Frog Tape when I need lines to be very crisp & detailed. In addition to providing protection during room painting, I use it to hold loose screws when I’m taking furniture apart and to cover loose accessory parts during refinishing.
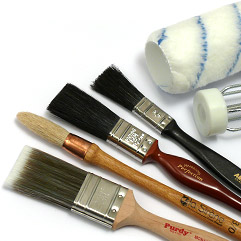
8. PAINT BRUSHES (PURDY, FOAM, AND CHEAPY BRISTLE BRUSHES)
You will go through brushes, there’s no way around it, just make sure you’re using the right brush for the right job! In this case, that’s a Purdy. You can get away with not rinsing out your foam brushes, but please don’t be lazy with the Purdy’s! $15 is kind of a lot for a paint brush, but it’s worth the investment.

9. STRIPPING BRUSH
Essential when you need to start peeling back the layers of old paint after the stripper has done it’s work–nothing I’ve found works better.
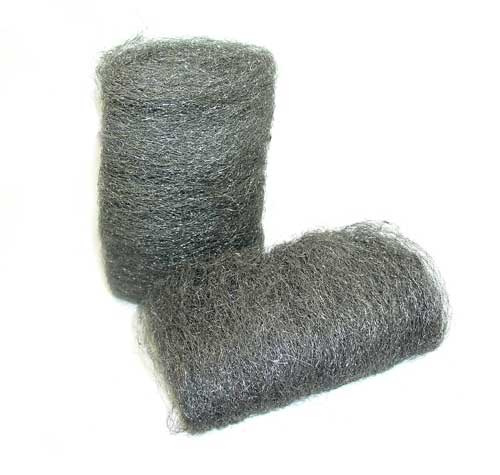
10. STEEL WOOL
Pair this with some Mineral Spirits, and this cleans up stripper sludge like a charm! This is one of the only things you’ll find that works specifically with a chemical paint stripper.
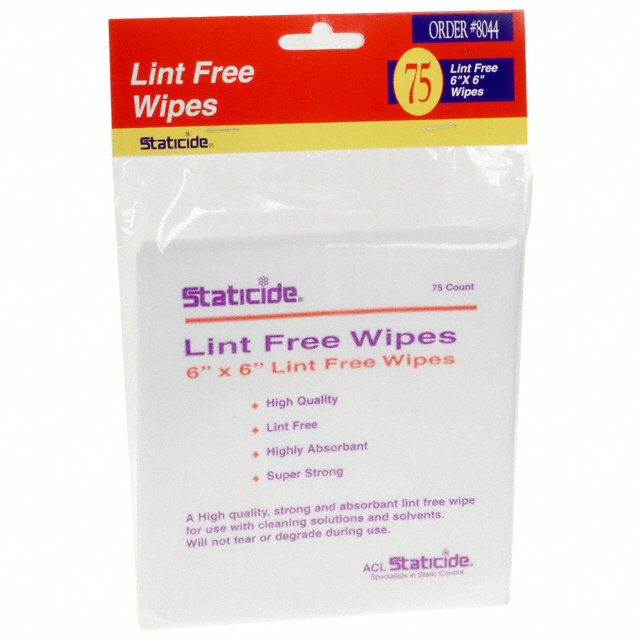
11. LINT-FREE CLOTHS
If you plan on using Wipe-On Poly, please don’t use anything but a lint-free cloth. These cloths keep the lint out of your finishing job!

12. WOOD PUTTY/PUTTY KNIFE
Want to change that knob into a handle or vice versa? Elmer’s Wood Putty is my go-to wood filler! Just make sure you put the top back on tight–starting a project only to find your putty dried out is the worst!
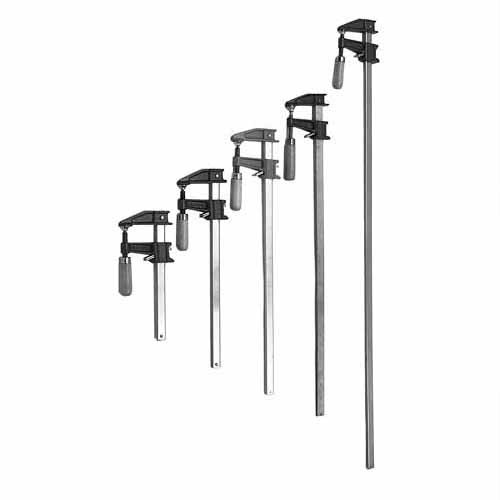
13. FURNITURE CLAMPS
If you’re an avid refinisher like I am, chances are you’ll run across something that’s lifted or loose, nothing a little wood glue & furniture clamp won’t handle. This tool helps you “set it & forget it”!
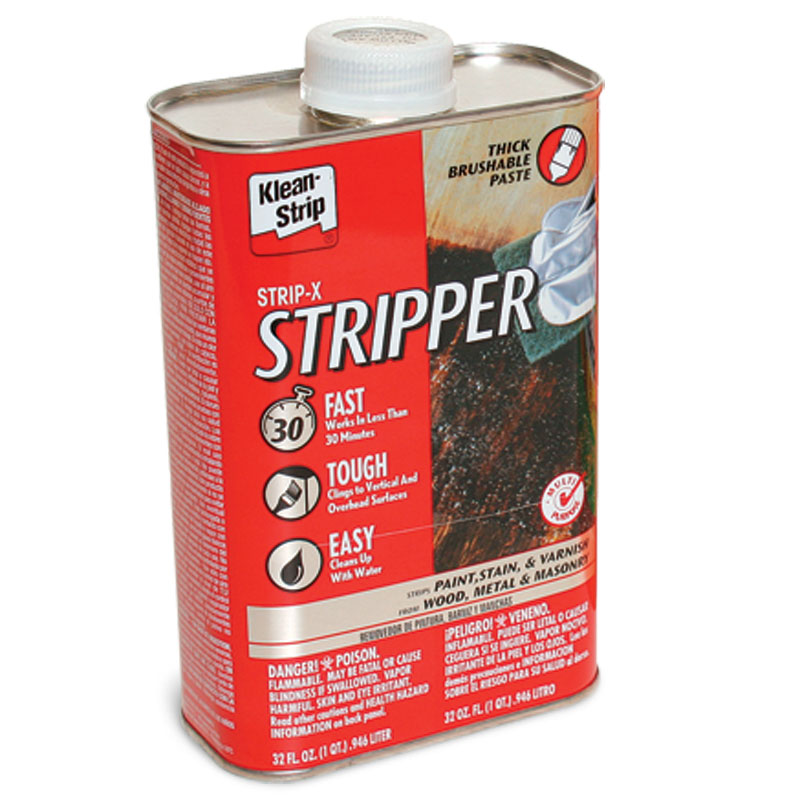
14. STRIPPER (AEROSOL SPRAY & GEL)
My go-to brand is this Klean Strip that works in 15 minutes (because I’m impatient), but if you don’t mind applying a few coats of stripper & letting it work longer, use the CitriStrip. For smaller or hard to reach items, the aerosol version works just the same. This will remove of that old paint for the perfect blank canvas–just make sure to wear chemical gloves & protective eyewear because it will remove your skin too (I know from experience)!

15. PAINT TRAYS (MINI & LARGE)
Painting out of the can is just messy, and leaves your paint open to debris contamination. Use a paint tray!
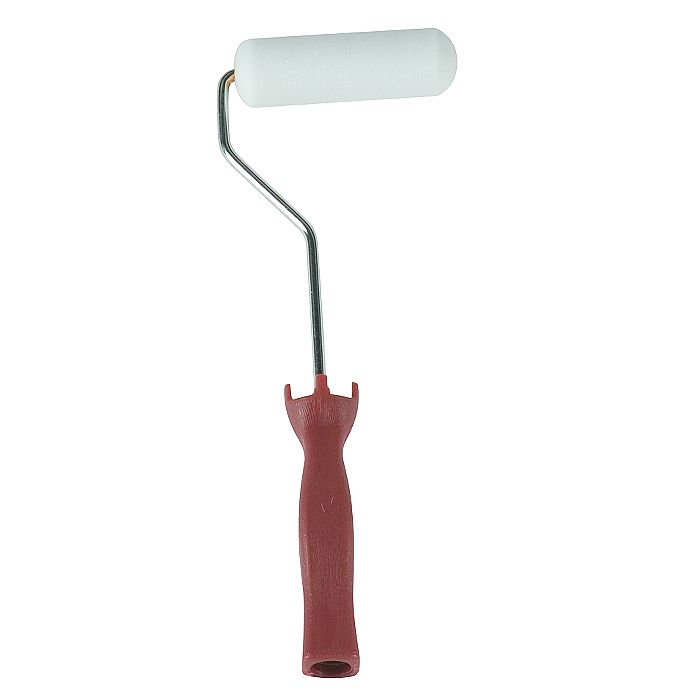
16. FOAM PAINT ROLLER
Foam rollers are the only choice for the smoothest paint application if you’re not using a paint additive. These rollers will dramatically cut your work time. If you’re not already using one, you can thank me later.

17. BRUSH-ON POLY
While Wipe-On Poly is more user friendly, this is still my favorite product for a super glossy, thick shine. Use the Oil-Based version for darker colors and the Water-Based Minwax for white & other light colors.
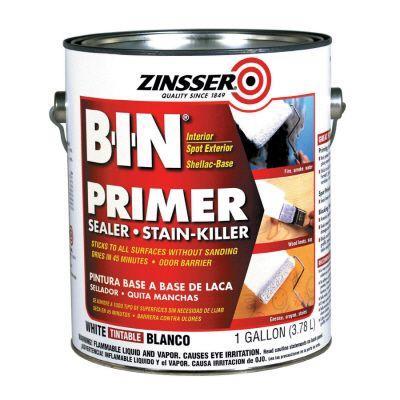
18. PRIMER (AEROSOL SPRAY AND BRUSH-ON IN WHITE & GREY)
You won’t get very far without this! My favorite spray primers are the ones by Kilz and Rustoleum in white & grey and for a brush-on product, my go-to brands are Zinsser & Sherwin Williams.

19. MINI PAINT TRAY
See #15 & use this one for your mini needs–no need to waste all of that paint!

20. MINERAL SPIRITS
Mineral Spirits clean oil-based paint products & remove paint sludge after a chemical stripper application. You can also use it to thin your oil-based paint products before running them through your sprayer.

21. SANDPAPER
Fine, Medium, and Coarse will be good enough to start you off, although extra fine (320) and extra coarse are favorites of mine. Make sure you work from the roughest to the smoothest to ensure an even surface (and if you don’t have an electric sander, sanding blocks work equally well!).
So there you have it–21 tool kit essentials! Some of the things on this list may differ for you depending on your area of expertise, but these items will have you DIY ready in no time.
Thanks for having me, Beth! 🙂


Thanks so much for this post – I found it very helpful. And now I’m a bit more confident about my choices when it comes to things I wasn’t sure about (poly and stripper!). And Dayka’s organization is such a great cause and that room looks fantastic that she redid!
You recommend a foam roller but what about when that won’t work. I’m about to paint some wood display ledges that are narrow and very curvy. Would it be better to use a foam brush or a Purdy bristle brush?
totally amazing post! We’re slowly building our tool arsenal and there are tons here that I don’t have, but that I can’t wait to add!!! Thanks for the tips!
I’m glad this list was helpful to you ladies! With so many DIY’ERs out there, it’s easy to forget that there are some folks who are just starting, and even some vets (like Beth) who have most of the tools, minus a few things. Another thing that didn’t make the list was an electric sander but it you’re new, figure out how the sanding blocks work first, then graduate to the “big league”.
And to my friend Beth–thank you so much for your glowing write up!! It was so very sweet, and I appreciate you having me over today! 🙂
Dayka
I have everything on the list with the exception of the damaged screw remover set and the stripping brush but both of those seem like must haves when revamping furniture.
I am definitely missing a few of these…looks like I have some shopping to do!
thanks for the tips:)
Fabulous list! Love that you’ve shared what works best for you… thanks, ladies!
I’m also new to this. I love knowing which brands you prefer…it helps out a lot when you don’t want to waste money on the WRONG ones! Thanks a bunch!
I am all new to this, so your post helped me so much! I’m loving this series. Lots of good ideas, and now the tools I need to get started! Thanks!
I’ve got a small tool kit, but I see that I need to add some stuff! It’s nice having everything you need in one location. Thanks for the helpful list of items!
Debbie