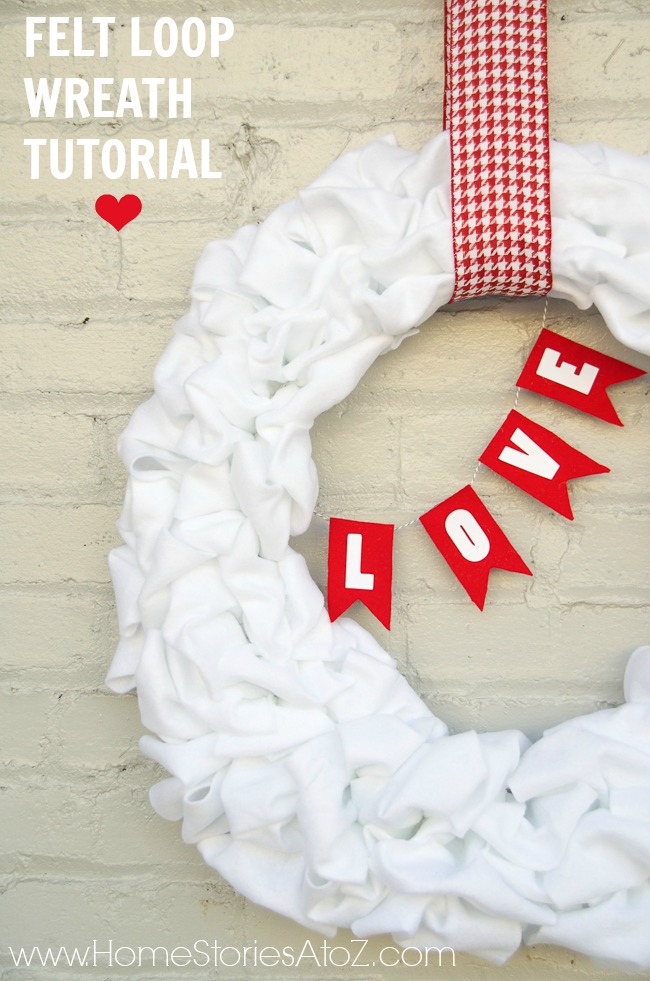
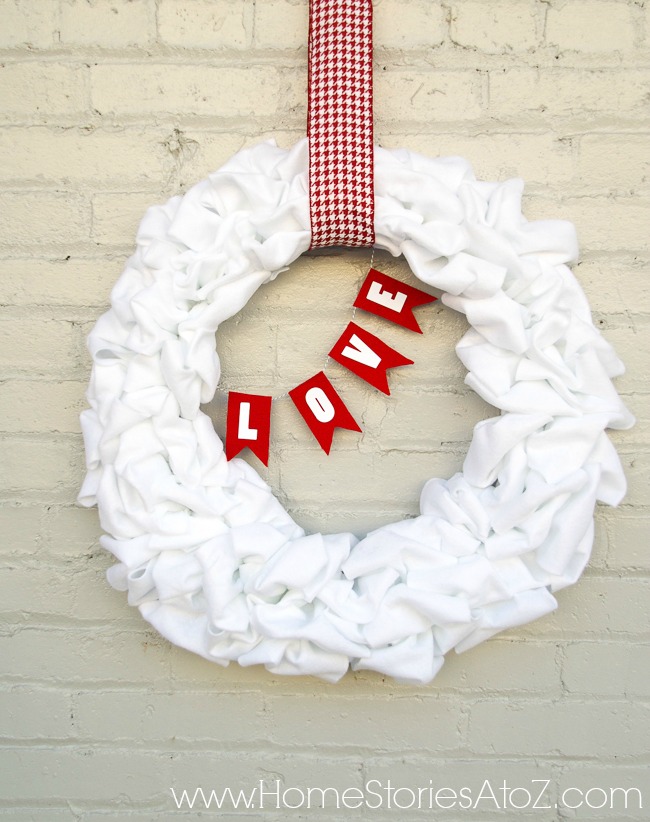
Every month, I get together with a bunch of girlfriends for “Craft Night” led by my dear friend Kathleen from Grosgrain. We drink wine, eat yummy appetizers, and make a craft together. This month’s craft was a Valentine’s burlap loop wreath. I’m a bit burlapped-out at this point in the game, so decided to stray from the group’s craft and create my own white felt loop wreath. I spent a total of $8.16, 35 minutes of time, and two glasses of wine on this project! If you’re looking for a fun and easy wreath idea that anyone can do, I highly recommend this loop wreath tutorial!
Material Needed:
- 1 1/2 yards white felt (cut into 4 inch strips)
- 18 inch wire wreath form
- floral wire
- glue gun
- sheet of red felt (for love banner)
- baker’s twine (for love banner)
I used a 50% off coupon at Joann which brought my white felt material down to only $5 for 2 yards. I had a bunch of strips of material left over so 1 1/2 yards should be sufficient for an 18 inch wreath form.
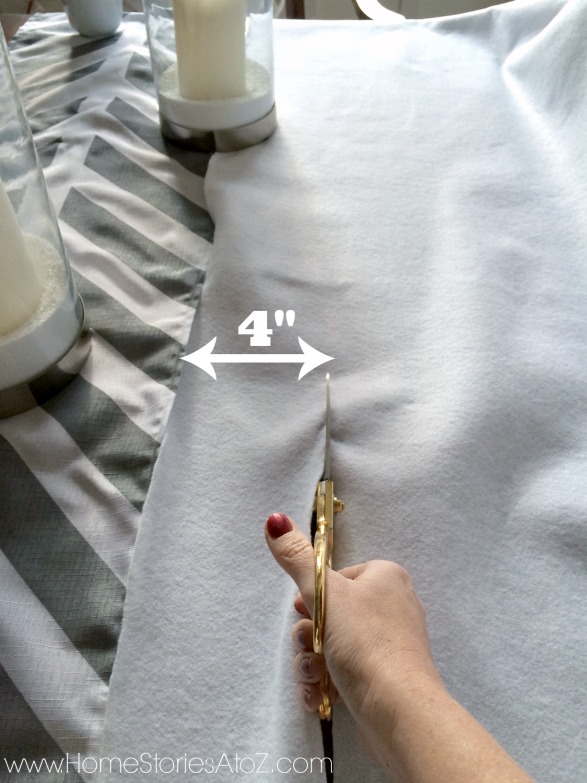
Step 1: Cut your material into 4 inch strips.
You can cut your fabric with a rotary cutter and mat, but I found it easiest to use my dining room table and a pair of scissors. You do not have to be exact with the widths of your strips. Just do your best to make them as even as possible. I did not bother marking my material and just went for it!
Step 2: (Optional) Paint your wire frame the color of your material.
I used white chalk paint to paint my wire frame. This step is optional but will ensure a clean look. Any gaps in the loops will blend in with the right color frame.
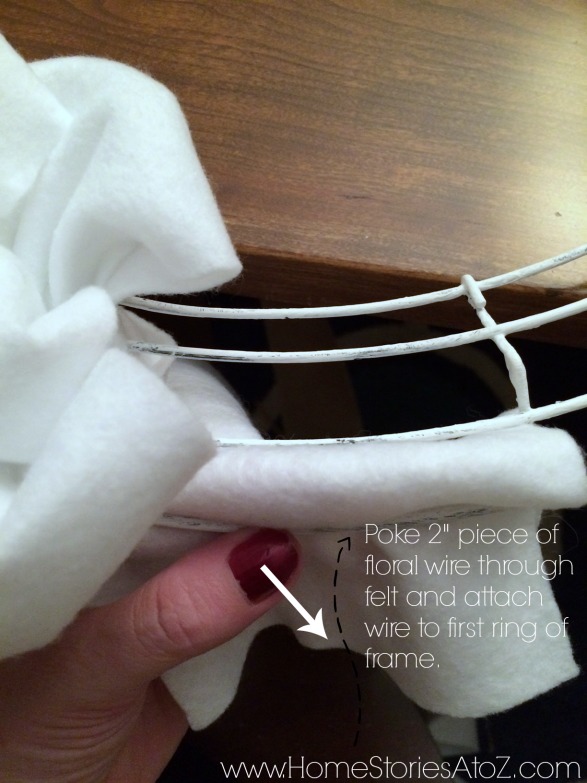
Step 3: Begin by forming your first loop of fabric in between the first two wreath metal rings. Attach the felt strop to the first metal ring with floral wire.
This sounds way more complicated than it is. With each new strip of felt fabric, you will be attaching the strip to the wreath form with floral wire. This allows your loops to move up the wreath form as necessary. See the picture below.
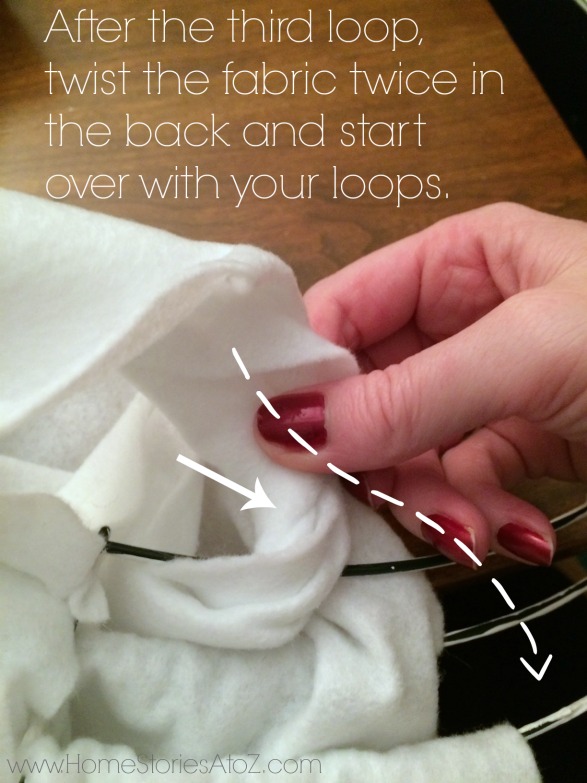
Step 4: Once fabric strip is attached, create a 4 fingers wide loop of fabric between each set of metal rings on wreath form. You will make three loops–one between each metal ring.
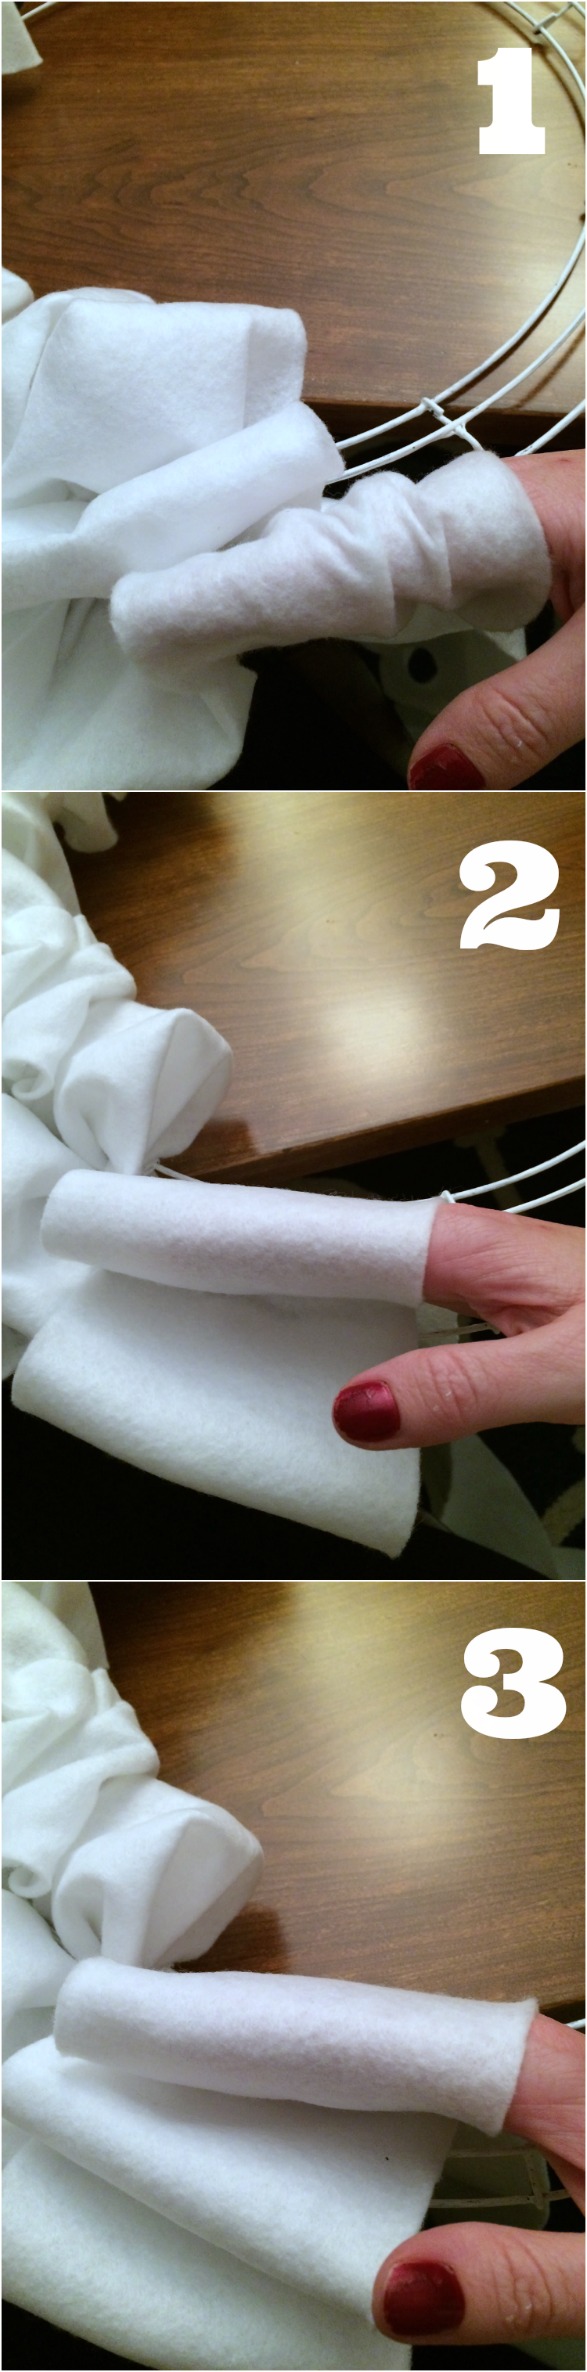
Step 5: Scrunch up your three loops onto the metal frame.
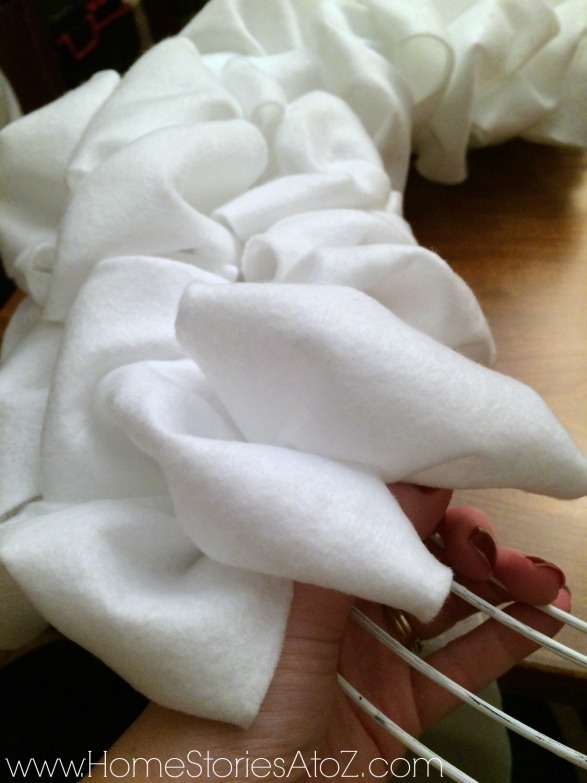
Step 6: Twist the fabric twice in the back of the frame and start over at Step 4. The picture below shows you the back of the frame.
Step 7: When you come to the end of a fabric strip, use your glue gun to secure the end of the strip on the back of the frame. Start at Step 3 with a fresh strip of fabric and continue until frame is completely filled in.
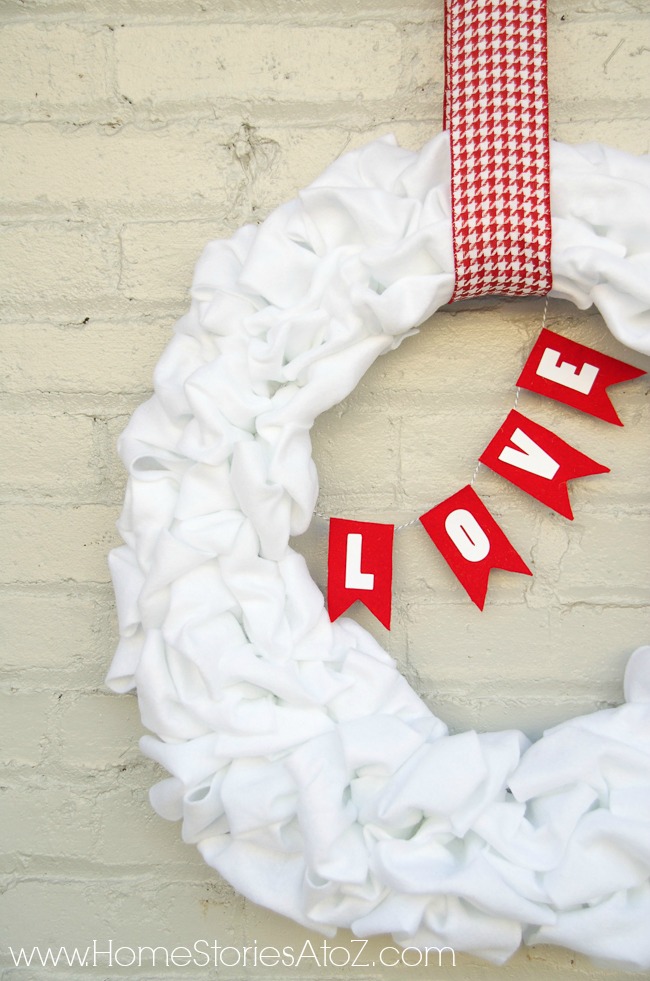
To create the bunting, cut 1 1/2″x 3″ strips of red felt and notch out a triangle on each. We used white scrapbook letters for the word “Love”. Cut a string of baker’s twine and attach the letters to the twine with hot glue. Tie the banner at a diagonal to the wire wreath form. You just made an adorable wreath!
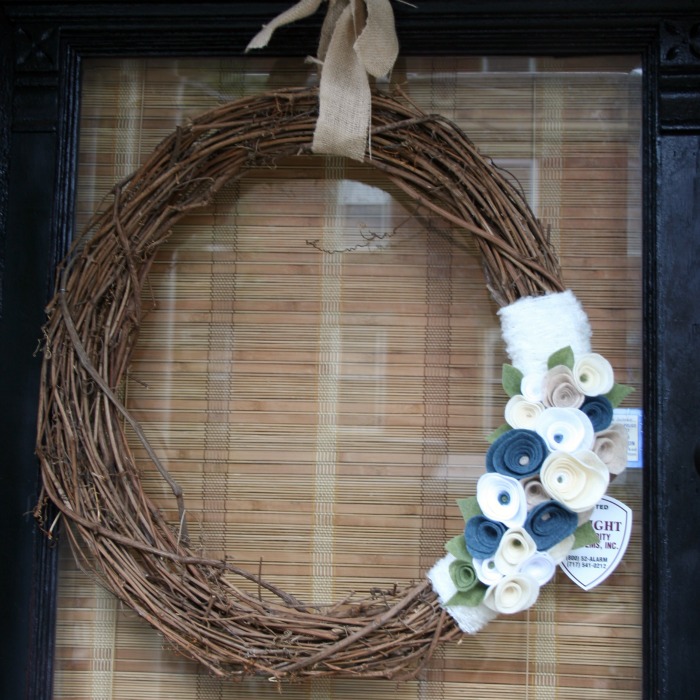
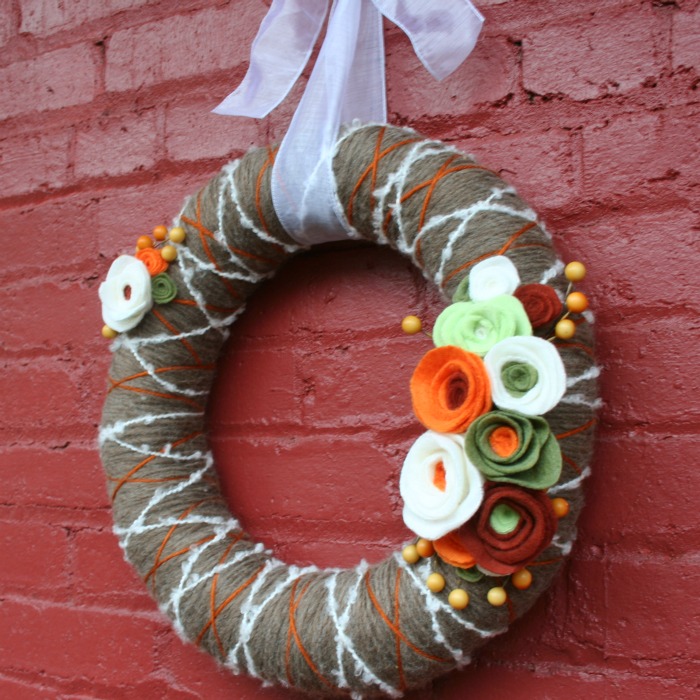
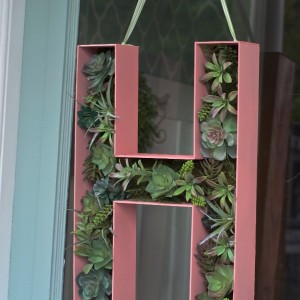
If you liked this tutorial, you might enjoy my other wreath tutorials listed below.