I showed you a sneak peek of my craft room yesterday and today you get to see another peek! For our April Lowes Creative Ideas Blogger Network challenge, we were given the challenge to spruce up our craft room. I told you yesterday that I decided to go a little wild and cra-zay up-in-here, and I can’t wait to show you the entire room reveal next Thursday! Most of the rooms in my home have about a three year lifespan before they are completely redecorated. Since I went trendy in this room, I wanted to be sure I kept my costs down. Window treatments and custom shades can get pricey. Who wants to spend a fortune on something that will be replaced in a few years? Not me. So I bought three Levolor roller shades and some duck tape for under $40 and called it a day! 🙂
How to Make Greek Key Shades {with Duck Tape}

For this project you will need the following:
- Levolor White Room Darkening Roller Shade
- Levolor Inside Mount Roller Shade Brackets
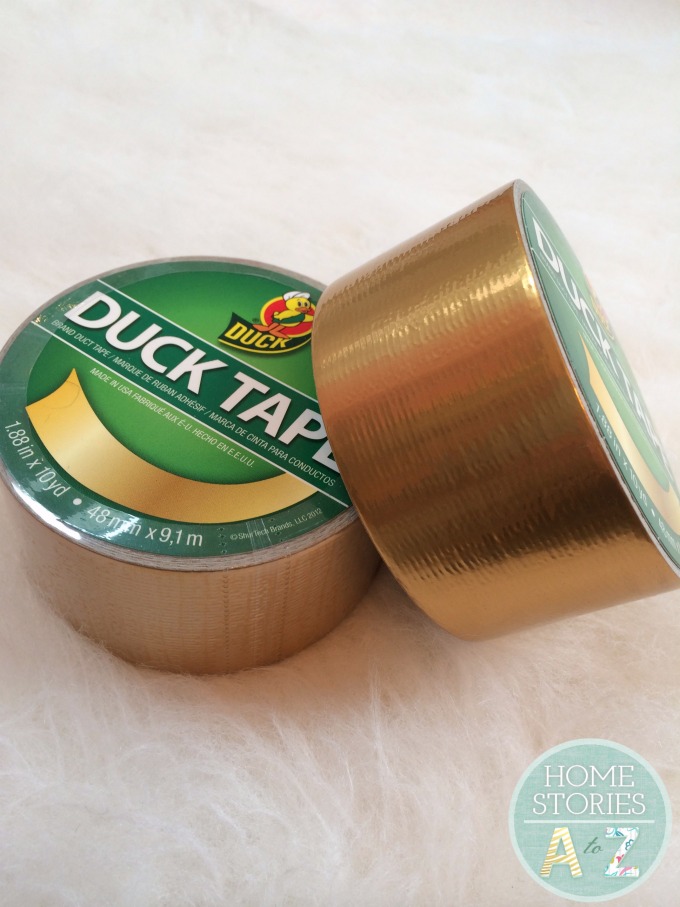
- Duck Tape
- T-square
- Utility knife
- Measuring tape
- Greek key pattern
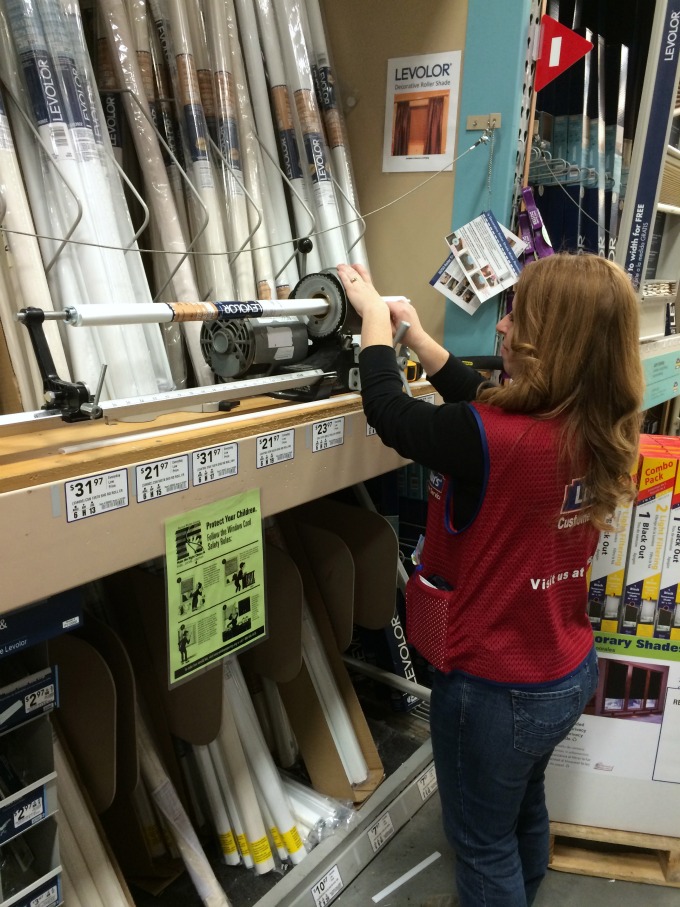
The great thing about the Levolor shades is that they are custom cut for you right in the store, so you can achieve custom results at a great price. My shades were under $10 a piece.
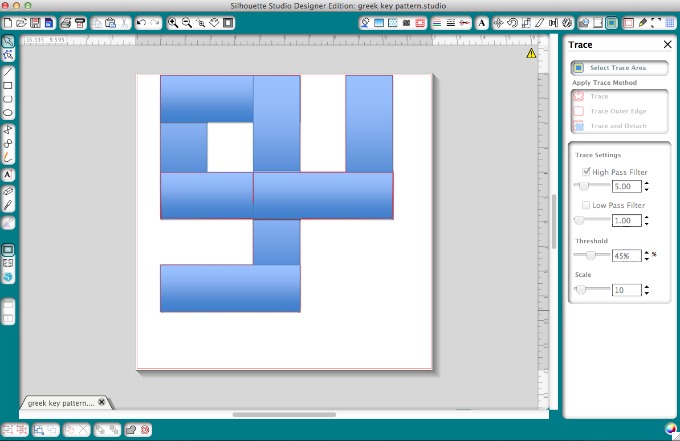
Step 1: Create your Greek Key Pattern.
I created a Greek key pattern in a Word doc to the exact dimensions that I needed and then opened up the document in my Silhouette to cut out the pattern. I was hoping to share the pattern PDF with you because it is perfectly sized for 1.88 inch duck tape, but unfortunately my computer isn’t cooperating with me today.
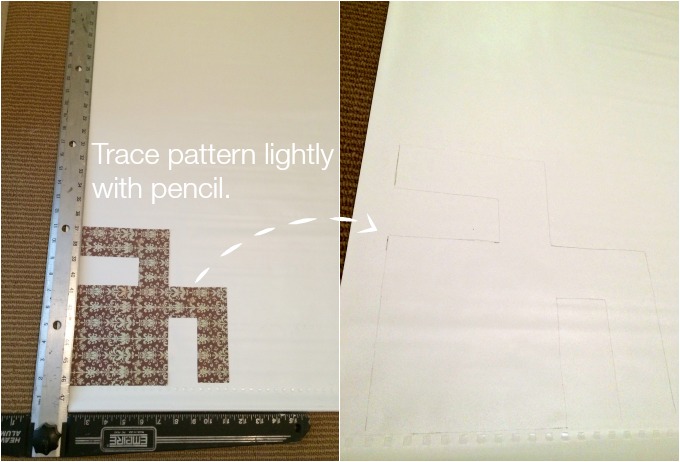
Step 2: Trace the pattern in all four corners of your shade.
I measured an inch in from all sides and traced my pattern lightly with a pencil onto the shade. You will be able to erase any exposed pencil marks when you are finished.
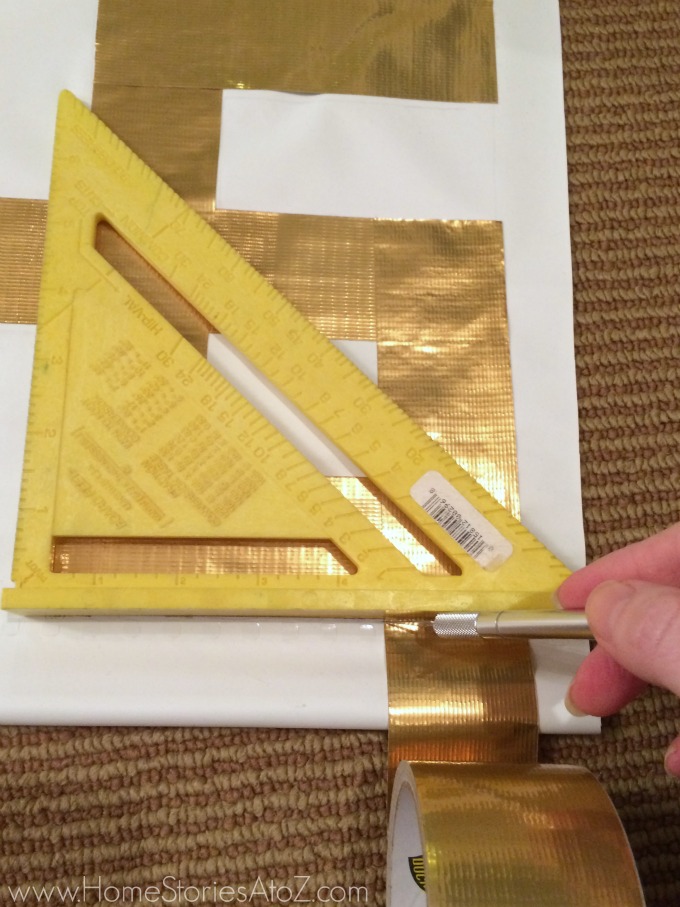
Step 3: Duck tape it up.
Duck tape is a tricky medium to work with. It is super sticky (obviously), so I found it was easiest to roll it out onto the drawn pattern and cut it (think score here) with a utility knife. You will be able to feel the knife cut through the top of the tape. Score the tape and then pull on it hard to snap it off in a clean tear. I overlapped the tape at each corner to make things easy. You’ll need to measure the length of your windows beforehand to know where to end the Greek key pattern at the top of each shade.
Step 4: Hang those babies up and admire your awesome thrifty ways!
Hanging these shades with the inside mount brackets is a breeze. It will take you less than 15 minutes to hang all three.
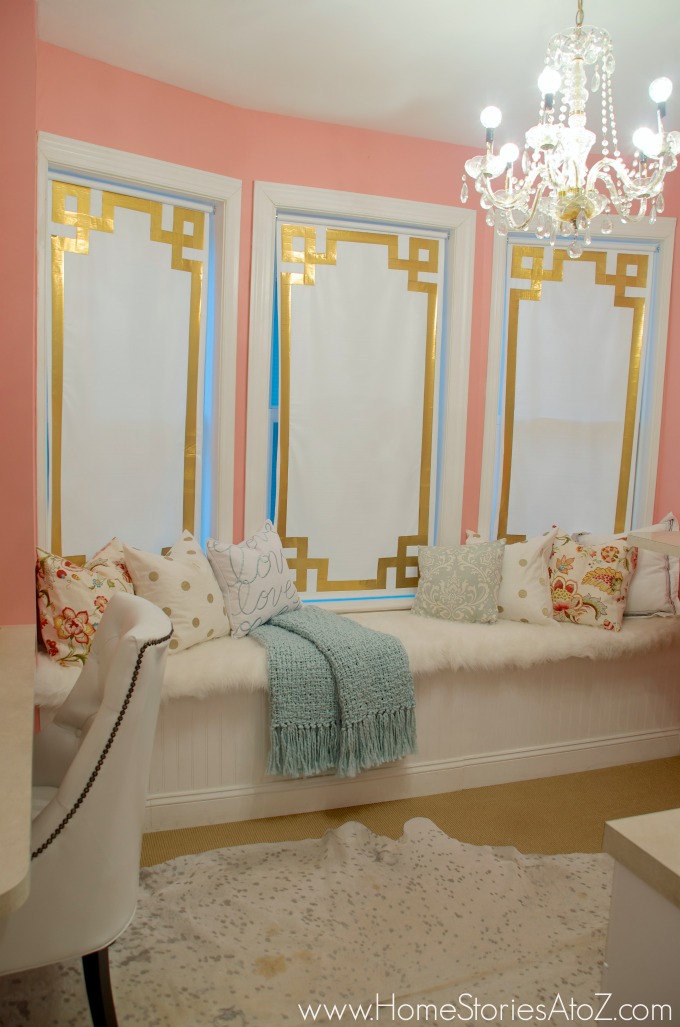
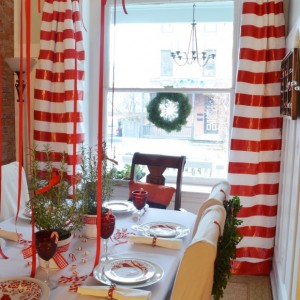
Here is what my shades look like pulled all the way down…
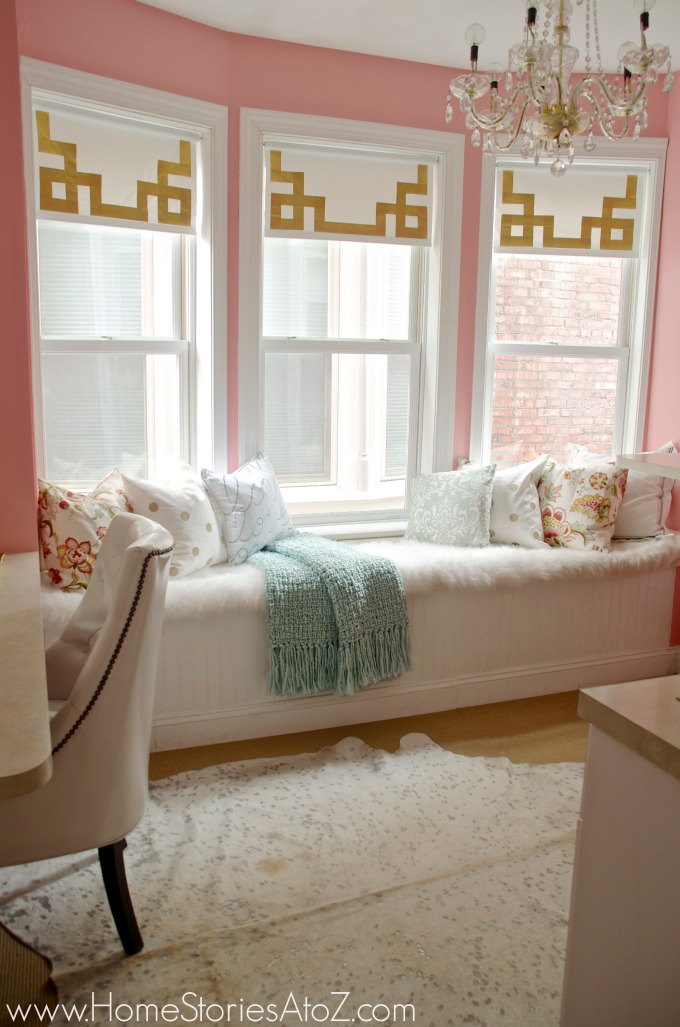
…and here is what they look like up! I love how they turned out! They add a bit of glam-on-the-cheap to my room.
Stay tuned for the full reveal of this room next Thursday! Thanks for stopping by and please feel free to pin my tutorial for later, or just to share it if you’d like.
For this post, I received a Lowe’s gift card to complete the challenge as part of the Lowes Creative Ideas Blogger Network. Opinions and tutorial is 100% my own. For more creative ideas, be sure to sign up for the Lowe’s Creative Ideas Newsletter or grab their app to read it on your mobile device. This spring you can follow Lowe’s tips by using hashtag #SpringIsCalling. Lowe’s can also be found on Instagram, Pinterest, and Facebook.
![]()
Something fun that is new at Lowe’s is the Improve With Lowe’s app! It is an application that provides weekly projects, tips & special values to keep your home on track this Spring. Geo-targeted and weather triggered, Improve With Lowe’s tailors each message specifically using your geographic location and local weather. Check it out!


Oh my goodness Beth, how did I miss this post. Your shades look amazing. I love them.
Thank you Brandi!
I’m totally impressed. Absolutely gorgeous!
These are awesome! I love the greek key design!!
OMG I am in love with these!!! How amazing. Love the gold duct tape. Seriously in awe here. Pinned for later (incase I get brave enough to try it out lol)
Oh girl, NO bravery needed on this one at all! Just a tiny bit of patience. If you decide to do it, email me and I’ll send you the PDF for the pattern. The link won’t work here for some strange reason.
These are gorgeous! What a great idea. I’m pinning!
Thanks for sharing and have a great week!
Leslie
These are amazing! I had no clue you used Duck Tape ~ wowza!
Thanks Mary Beth!
Three words came to mind when I saw your Greek key shades: sophisticated, classic, stunning!
Thank you so much Kay!
Curious how you decided what your budget would be, e.g. just because you’ll redecorate in 3 years doesn’t mean you have to throw things away. It’s actually quite fascinating how people are now recycling things in ways never imagined before.
Hi Tina, I definitely don’t throw things away (I donate or redesign), and if you’ve been following my blog for awhile you know I love a good upcycle! But I think this post is great proof that if you want a trendy look for less it’s possible to achieve. Thanks for visiting me!
I love it! So creative, inexpensive, yet beautiful! Fabulous idea!!!!
Thank you!
Very nice ! 😉