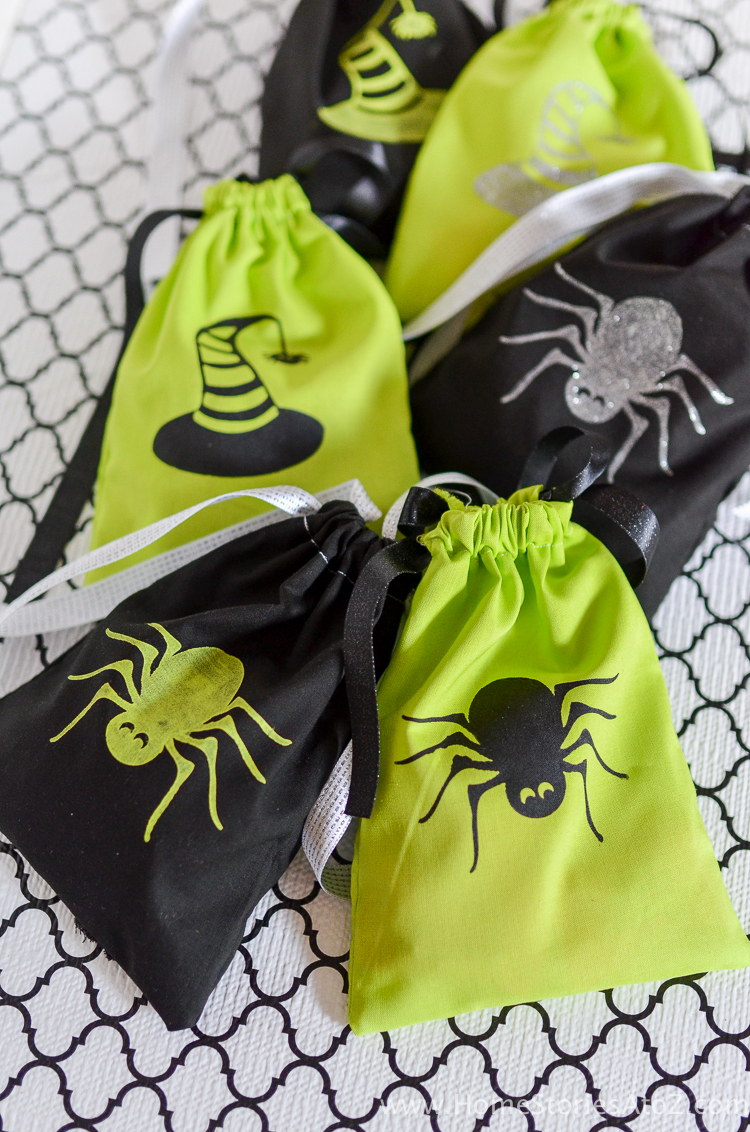
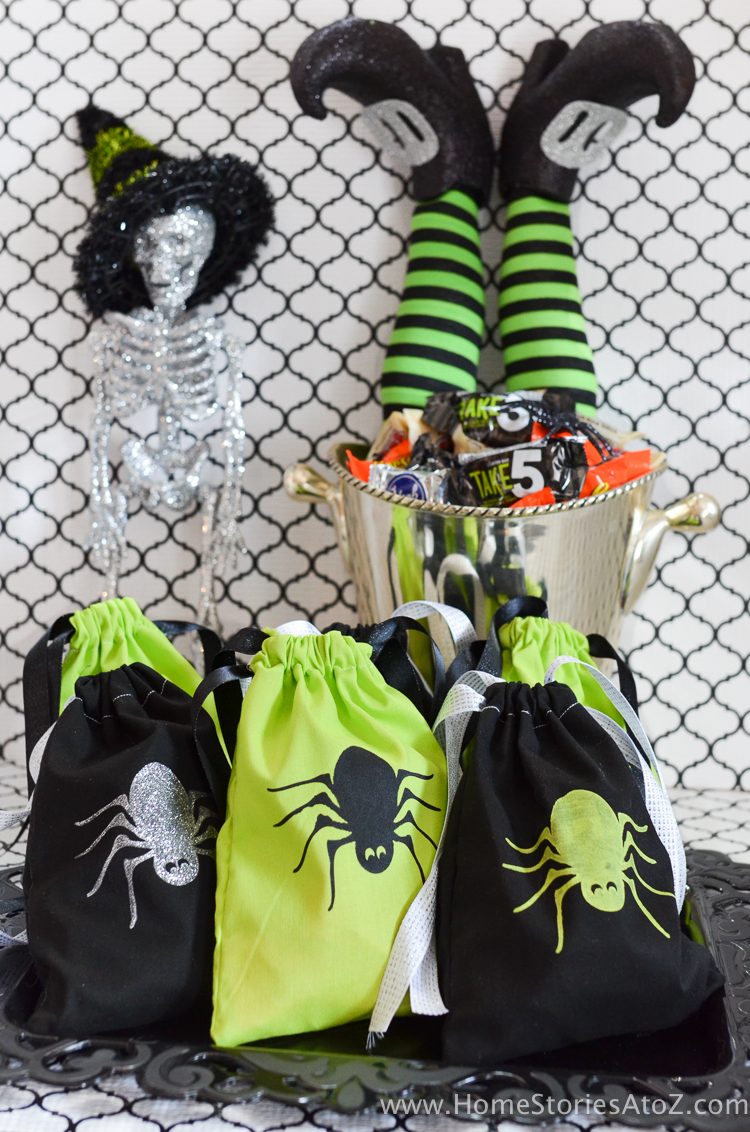
Learn how to make these adorable stenciled DIY Halloween Treat Bags for your next Halloween party!
Thanks to Waverly Inspirations at Walmart for sponsoring this post. All opinions are always my own and post contains affiliate links.
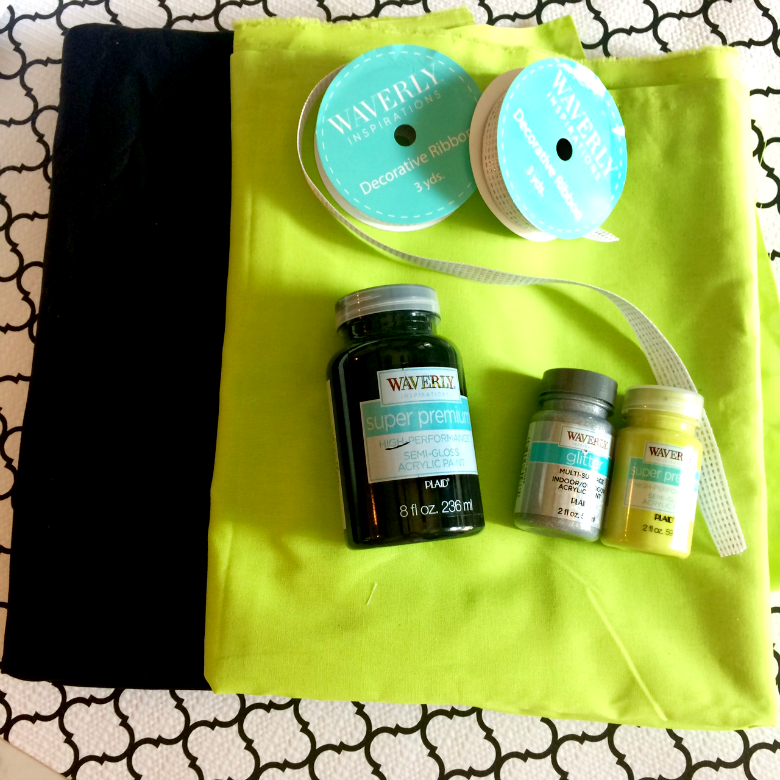
Every month Waverly Inspirations at Walmart sends me a box of goodies and challenges me to create something with their fabrics, ribbon, paints, and stencils. This month’s theme was “Halloween decor” and pictured below are the items I chose to use for this project! In recent years I’ve scaled way back on the amount of Halloween decorating I do in the house, but my boys still love to get together with a few friends for a Halloween celebration. I thought it would be fun to create some treat bags for the kids’ upcoming party. These bags take minutes to make and are so cute!
Supplies Needed for Halloween Treat Bags:
- Waverly fabric

- Waverly paint
- Waverly ribbon
- Stencils
- Scissors or rotary cutter
- Sewing machine
Instructions for Assembling Halloween Treat Bags:
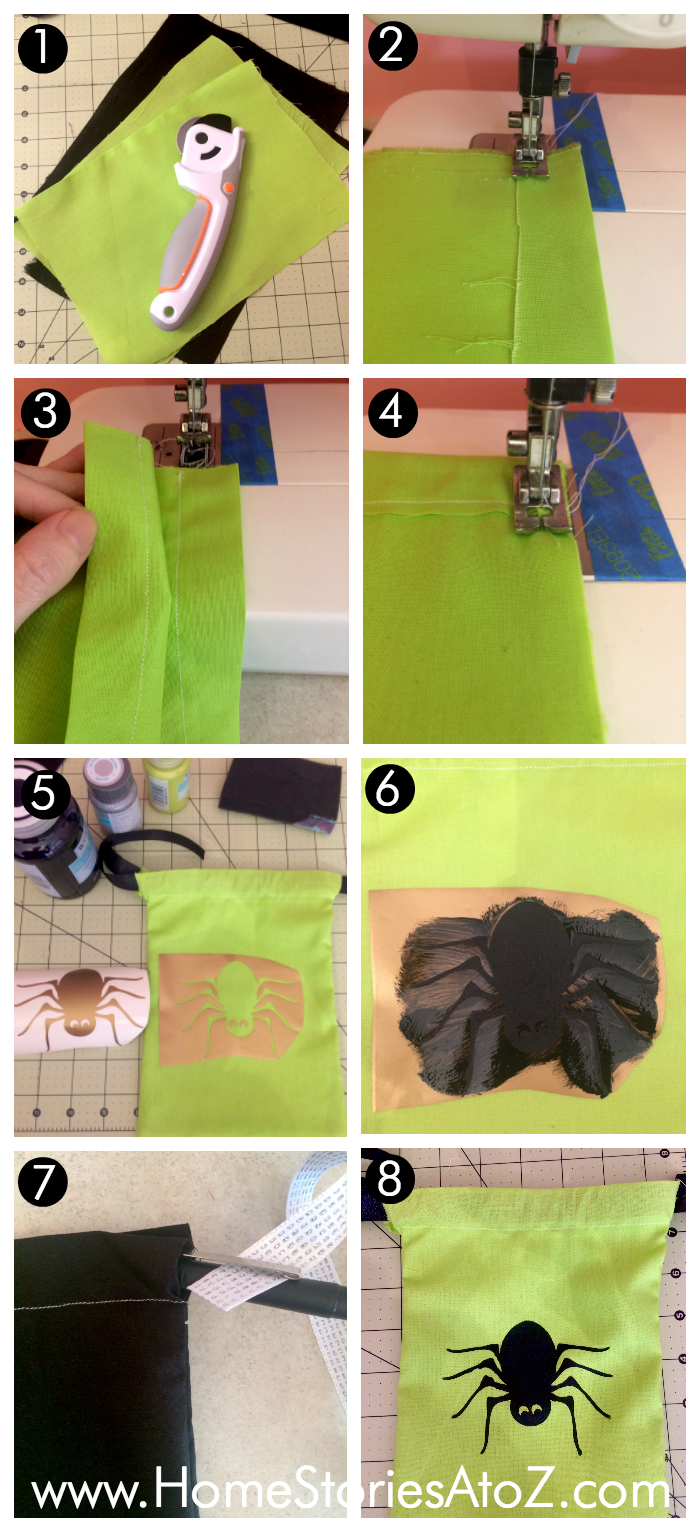 Step 1: Cut your fabric.
I cut my rectangles 7 inches wide and 10 inches tall. This allows a half inch seam on the sides and an inch at the top where you place the drawstring ribbon. My finished bags are 6″x 8″. You can decide how big you’d like your bags to be and adjust your measurements accordingly. Cut two 7×10 rectangles for each bag.
Step 2: Fold and iron top of two fabric rectangles to create a one inch seam. Sew each fold in place.
Do this with each fabric rectangle. This creates the opening at the top of your bag for the ribbon drawstring.
Step 3 & 4: Place two rectangles right sides together and sew around the perimeter of the bag leaving the top open.
Be sure not to sew the top closed! Sounds silly, but sometimes when quickly sewing easy projects you go into automatic pilot and make dumb mistakes. Ask me how I might know this? 😉 Once you have sewn around the perimeter of the bag, turn the bag right side out and proceed to the next step.
Step 5 & 6: Place stencil on bag, place a folded piece of paper inside bag, and paint.
I used my Silhouette CAMEO![]() cutting machine to create stencils for this project. If you don’t own a cutting machine, you can easily print out silhouettes on freezer paper, cut them out with an exacto knife, iron them to your bags and paint. When I paint fabric with stencils, I like to use a sponge brush and apply the paint using a tapping motion. This ensures a heavy application of paint and minimizes the chance of bleedthrough. Also be sure to place a folded piece of paper, or piece of cardstock inside your bag before painting so that the paint doesn’t soak through and ruin your project! Remove your stencil immediately after painting and allow to thoroughly dry.
cutting machine to create stencils for this project. If you don’t own a cutting machine, you can easily print out silhouettes on freezer paper, cut them out with an exacto knife, iron them to your bags and paint. When I paint fabric with stencils, I like to use a sponge brush and apply the paint using a tapping motion. This ensures a heavy application of paint and minimizes the chance of bleedthrough. Also be sure to place a folded piece of paper, or piece of cardstock inside your bag before painting so that the paint doesn’t soak through and ruin your project! Remove your stencil immediately after painting and allow to thoroughly dry.
 Step 7 & 8: Use the clip on a pen cap to thread the ribbon through the top of each side of your bag. Fill with treats, pull closed, and enjoy!
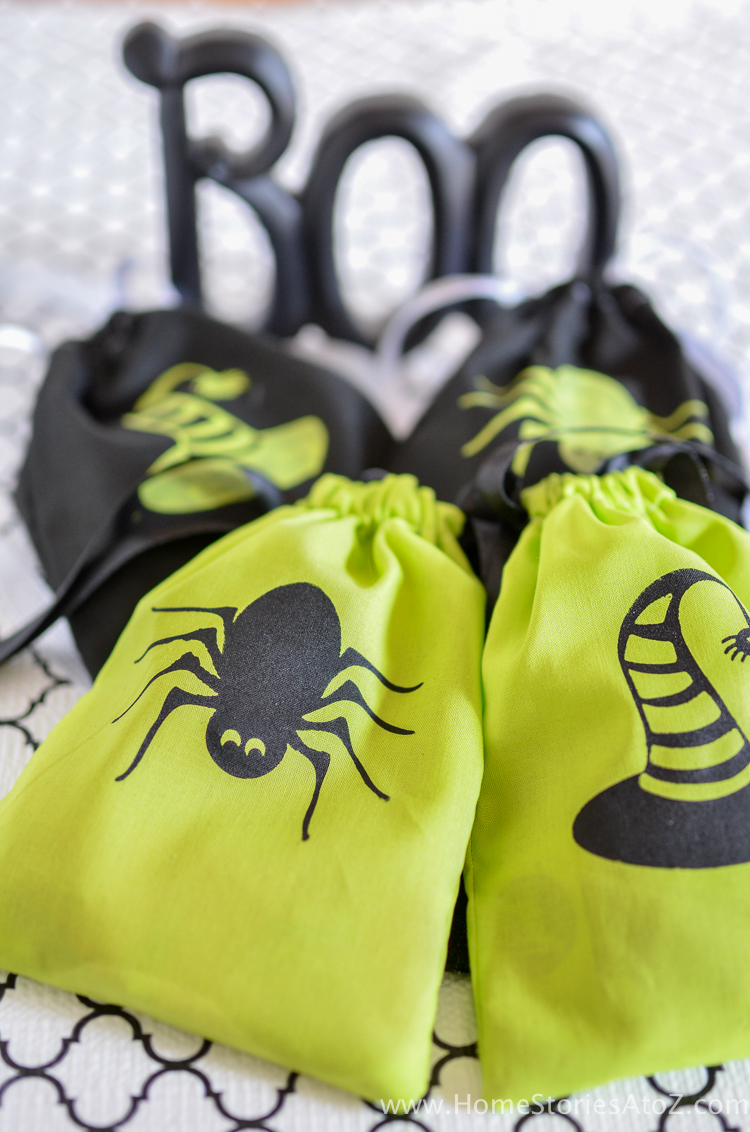
I filled the bags with Halloween candy and little Halloween toys. When my boys came home from school they were thrilled to see the little bags all lined up and looking adorable! Good thing these bags are refillable and reusable because some of the candy may have mysteriously disappeared once they were home from school. Okay, okay, I may have snuck a piece or two throughout the day as well!
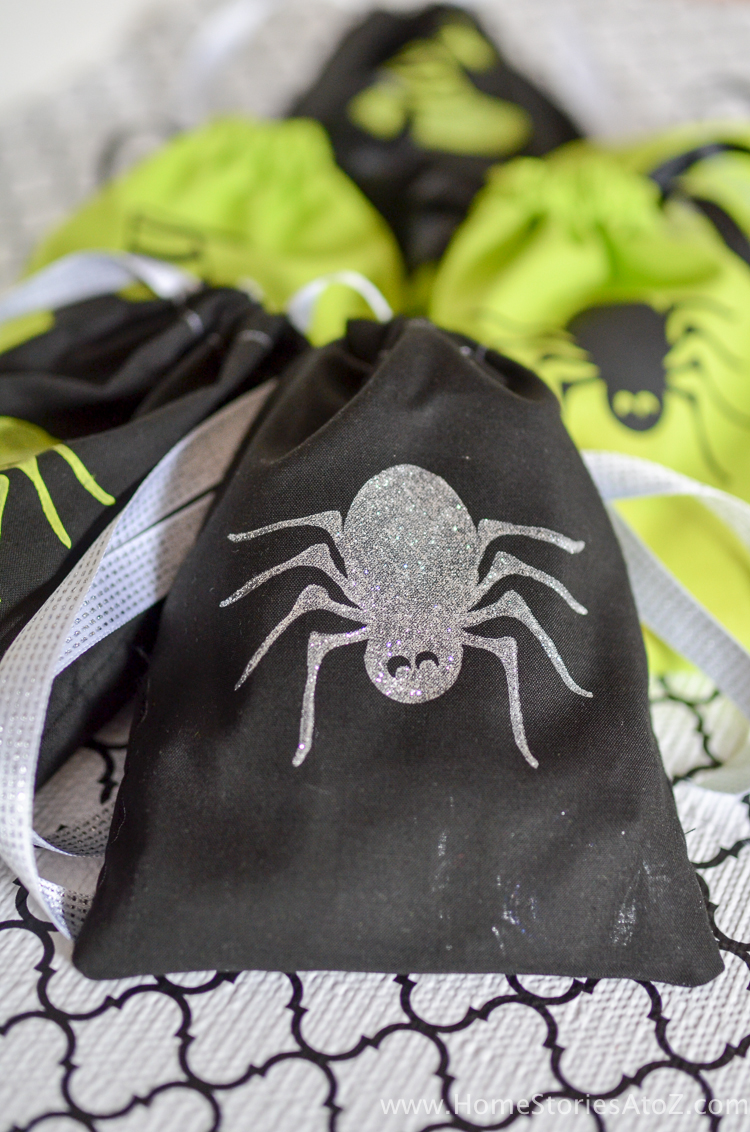 The boys are looking forward to their party, and I know these little bags will be a fun way to thank their guests for attending.
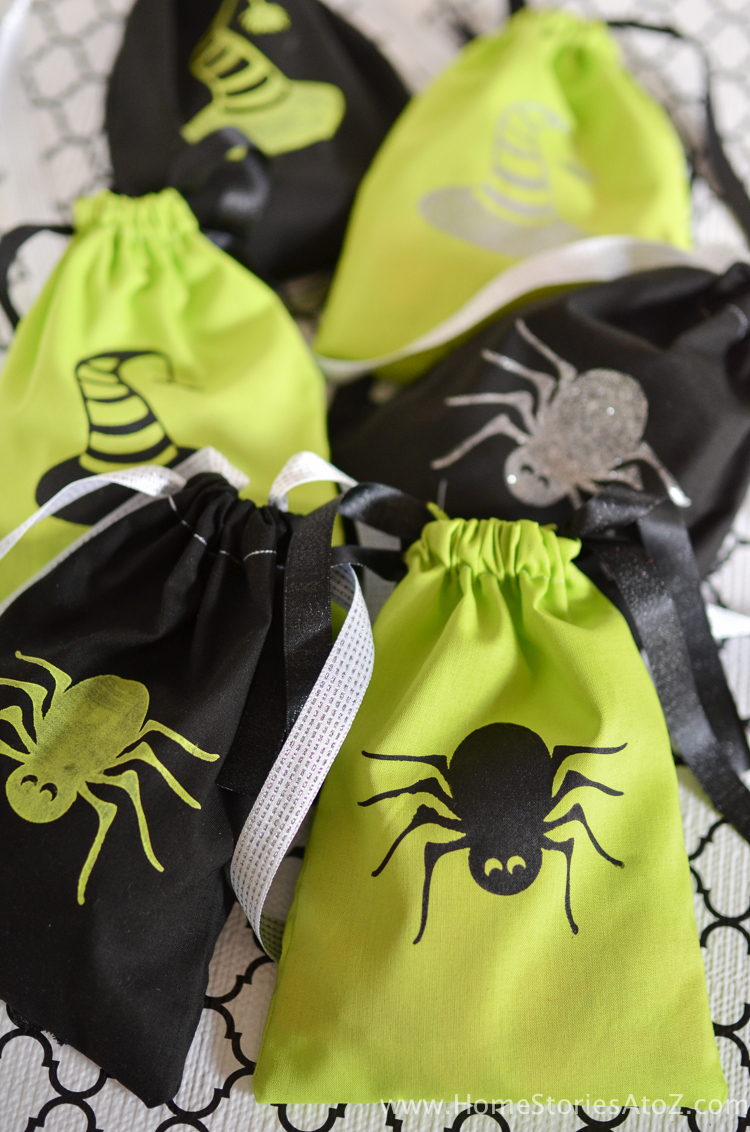
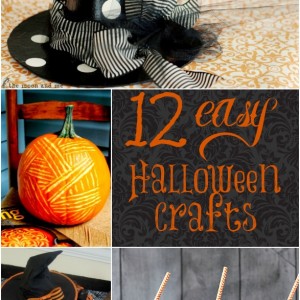
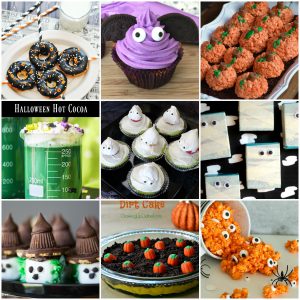
For more fun Halloween ideas, check out the related posts below and please feel free to pin this project for later!