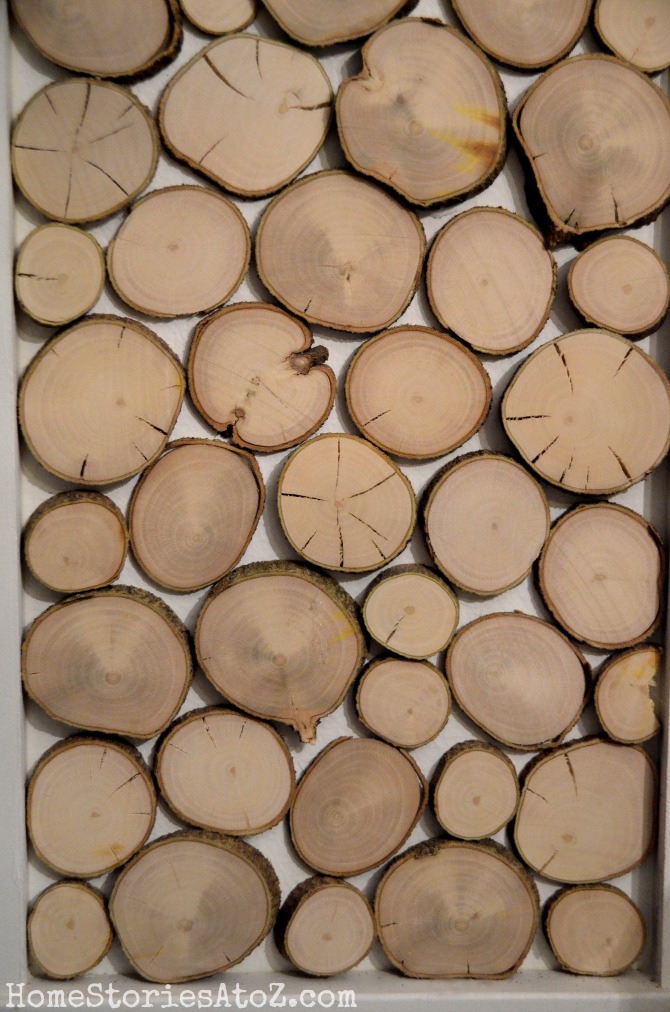
Back in December, I added wood rounds to the wall above my fireplace and many of you requested that I do a tutorial. The process I followed on how to create a wood round wall was pretty straight forward as pictured below. All you need are some round logs, a chop saw to cut the logs into small rounds, and some hot glue to attach the wood to your wall. I chose hot glue because it isn’t permanent and the wood will come off the wall with minimal damage to the drywall. The drawback of hot glue is that when the temperature changes it has a tendency to no longer hold well. If you want t a more permanent solution, use wood glue or liquid nails.

Attaching the wood to the wall was like putting together a puzzle. I started with the larger pieces and filled in the gaps with the small rounds. I worked from the bottom to the top and just alternated larger and smaller rounds.
This project didn’t go without a hitch, however. Unfortunately I didn’t own a clamp that was long enough to hold my small logs securely in place. I held the log in place by hand and experienced kickback. The wood log got caught in the blade and went flying like a bullet up to the ceiling. It was scary and was 100% operator error. I shouldn’t have been cutting the log without a proper clamp, and I shouldn’t have kept the blade running throughout the entire cut. I should have cut downwards and then “breaked” the blade before lifting it upwards. My log completely messed up my blade guard as pictured below.
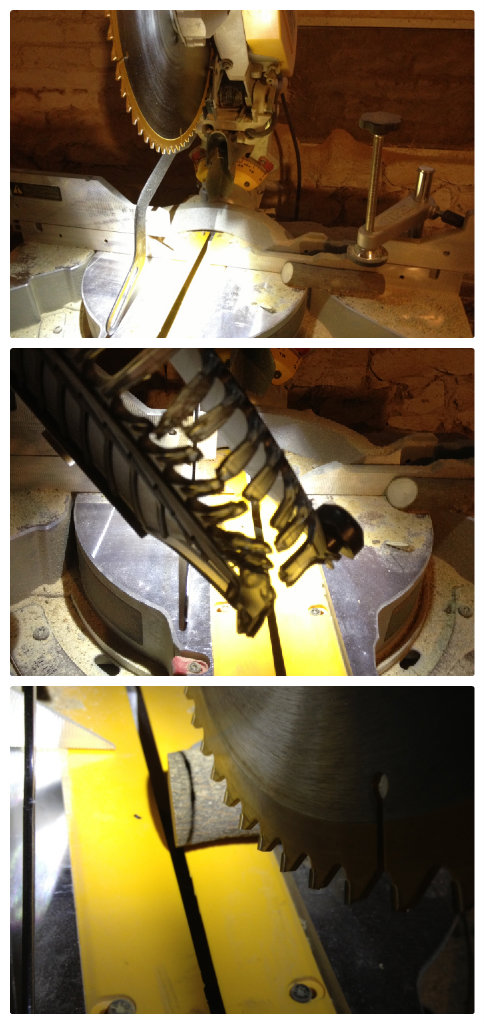
When making the cuts of wood you want to make them as thin and as safely as possible. In the picture above, you can see approximately how thick I made each round. My wood had been seasoned for a few years and was sitting in my basement. If you are using fresher wood it is probably a good idea to bake or freeze to wood in an attempt to kill any critters (eek!) that might be harboring in your wood.
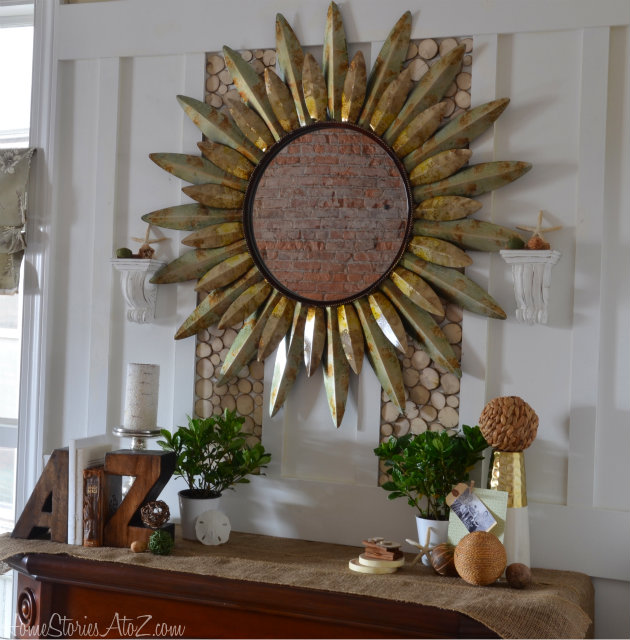
I love the added layer of texture it adds to my wall! It breaks up all the board and batten with something unexpected and gives a nod to nature above the fireplace.
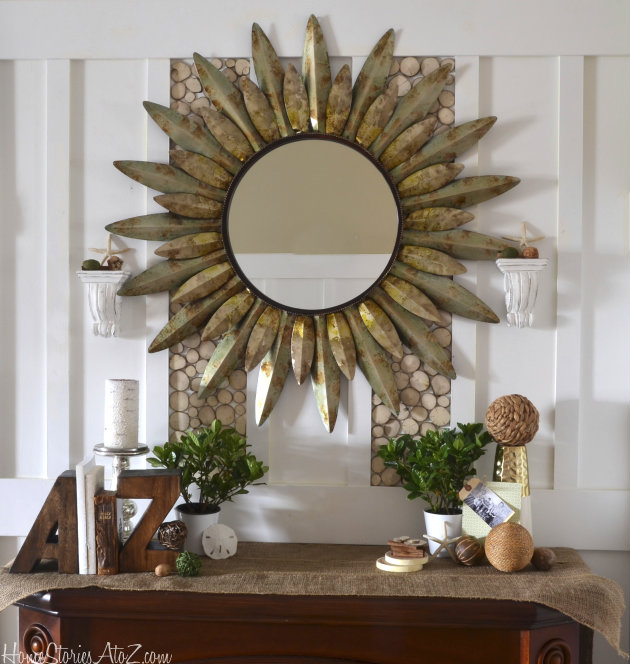
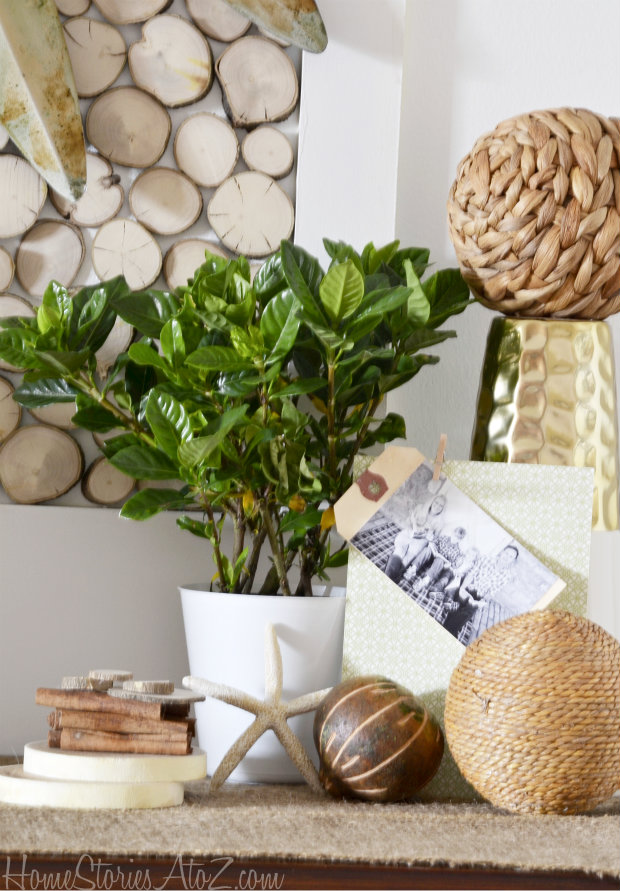
Below are some bonus pics of the mantel I currently have going on. It’s always challenging to come up with a non-holiday specific mantel, but I’m really liking this one. Those little plants are actually mini-gardenia bushes. I cannot wait for them to bloom!

If you attempt to make wood rounds for yourself, just remember to take all safety precautions, wear your goggles and be sure you have the proper clamps holding your wood rounds securely in place. I am very fortunate to have not been injured in my stupidity! Live, DIY, and LEARN!


What type of wood did you use? Thanks!
They were juniper branches from my mom’s home. She had trimmed them back. You can use any small logs.
Saw this over on Jessica’s facebook! AMAZING! I love the juxtaposition of the wood with the mirror!
Great project!
karianne
I experienced the very same thing at Christmas when I made wooden ornaments. The log kicked back and flew into my hand … totally hurt! And my blade ate my guard as well. Lessons learned here, too. Glad you didn’t get hurt!!
Gorgeous! What a creative idea! Thanks for sharing!
A very interesting and creative idea. It looks rustic but a great backdrop for the mirror or other wall art. I really like it and it is a great tutorial.
Wow the wood looks stunning behind the gorgeous clock , thanks for sharing all your inspiration, love your blog too. Have a great day…
It is a great idea but I have a question. The wood doesn’t need any polish?
You could certainly poly the wood to seal it before using, but I didn’t feel it was necessary.
It looks great! I just love this look and can’t wait to give it a try one of these days.
We cut logs for Christmas to make coasters. I felt to log pulling, but was able to apply enough force against the back. When another person went to cut, it got mega kick back. As in exposed his hand down to the bone! Much like you probably, I was determined to cut these though… To keep safe, my fiance applied clamp, I held the log with a gloved hand and then cut it. Fiance would slide the wood, resecure the clamp and then I would cut again. It was much easier with two of us cutting the wood. In the end, it looked great! Lesson learned that time.
Kickback is so scary!! I’ve experienced it before using my miter saw and was terrified. This time was really bad and I’m so fortunate I didn’t get hurt. I had Matt (my hubs) cut the rest of them for me because he was strong enough to hold the logs in place which required quite a bit of force. I’ll never do it again without the right clamps! Glad your coasters turned out :). I made some from the bottom of my Christmas tree.