I am a Lowes Creative Ideas blogger and each month we are issued a special challenge. This month’s challenge was to create Valentine’s Day decor using products from Lowes. Now you might not immediately think “Oh wow, I need to decorate for Valentines Day—better run to Lowes,” but today I hope to change that! I will show you how to make an adorable initial tree-carved Valentine sign for your special someone.
Wood-carved Initials Sign Materials Needed:
- Piece of plywood
- Heart pattern and pencil
- Safety glasses
- Jigsaw
- Sander (or sanding block)
- Dremel
- Minwax stain

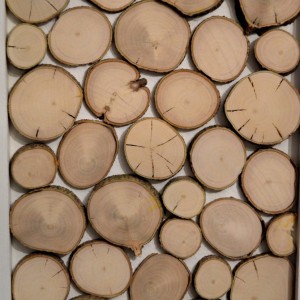
1. I found a piece of square plywood at Lowes with some fabulous knots and wood grain. Matt humored me as I literally had him pull out EVERY. single. one for my thorough inspection. You DIY’ers are feeling me here, right? A girl has to find the best piece for her project. Most pieces were too knotty, some not enough, some didn’t have enough grain for my liking but this one—this one was just right! So we snatched it before someone else put their grubby little hands on my soon-to-be tree-carved-Valentine!
2. To make the heart, I simply used a large sheet of butcher paper and folded it in half. (You could also use wrapping paper, or a projector, or if you’re really talented just freehand it.) I cut out a heart shape like I was taught in elementary school. If you never used the fold-a-paper-in-half method to make a Valentine when you were little, you were totally deprived just Google it for further instruction if needed. Next, I traced around my heart onto the plywood using a pencil.
3. Now it’s time to put on those safety glasses and get out your jigsaw! I cut around my heart stencil until it was completely cut out. As a side note, if you’re fearful of power tools this project is a fantastic one for you! Jigsaws and dremels (and drills) are all friendly tools for beginners.
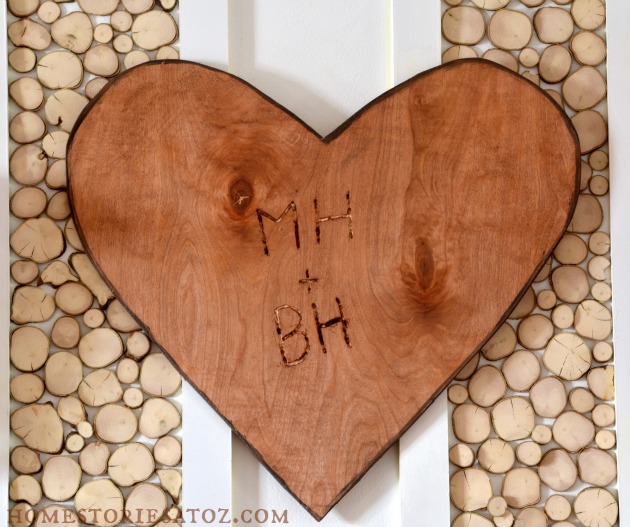
4. I sanded any rough edges with my palm sander, but you could also just use a sanding block. When everything looked nice and smooth, I used my Dremel to carve our initials into the wood. You can click on this link to see me using my dremel if you’d like: wood carving with dremel
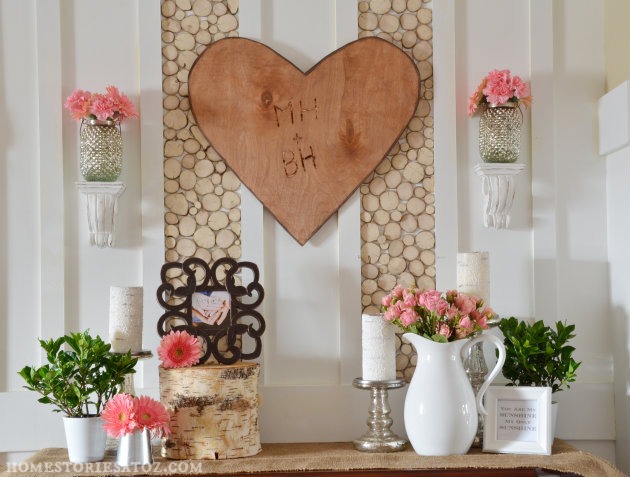
5. After I was satisfied with our initials, I wiped down my heart with a damp sponge. Finally, I gave it a very light coat of Minwax stain. I think I used Dark Chestnut and then used Dark Walnut just on the very edge. And that is it! So easy and Matt loves it :).
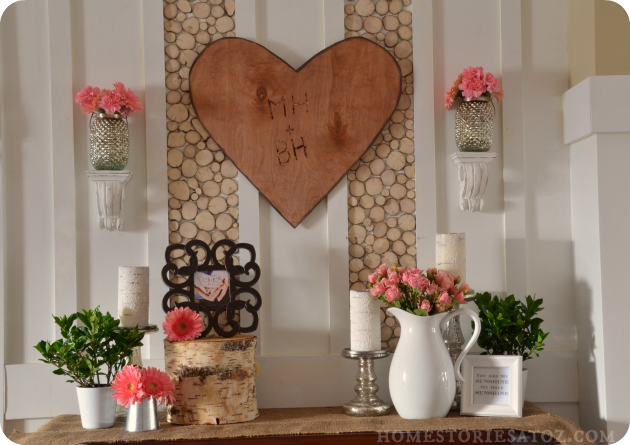
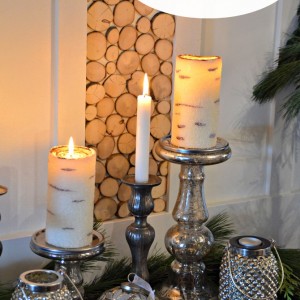
To hang the heart on the wall, I hot glued some twine in loops to hook on the nails that were already in the wall. The heart is very light, so you could use removable 3M strips with this project if you need to.
I absolutely love how it turned out! It gives me a girly-yet-woodsy mantel that I was craving. I hope you’re inspired to make your own. Feel free to pin the idea for future use!

I love this! When I was younger I used to do all kinds of woodworking, but haven’t in a long time. I’m going to buy a jigsaw today! I’ll let you know how it turns out. Thanks!
Really gorgeous!! It’s super romantic but it also kind of reminds me of being a kid in love! Love it!
I love it! The initials on the heart makes it so unique! Beautiful mantel!
Oh I love it. My husband and I actually have our initials on a tree on a hiking trail. We love hiking the trail and we always look for the tree. Your display looks great.
Super cute!
I love this idea, but I have a question about the wall that the heart is hung on. Do you have tute on how you did all the end grain branches? Is that a permanent fixture? I would love to know more!
Thanks Stacy! I’ve had quite a few requests for a tutorial on the wall so I’ll type one up for next week :).
So cool! Looks like I’m pulling out the Dremel this weekend! 🙂
Kelly
What a unique idea, Beth, and the touches of pink give it both a Valentine’s and feminine feel–I like it! Have a great weekend!
It’s fantastic, Beth! What a great idea to do the craving with your initials. Love it! !Kerri
Looks great! I love the hits of pink, and the “girly” vases.
I love it! So creative and it would make a special gift! Thanks for sharing!
Leslie
Oh you’re so right! It would make an adorable wedding gift. I’ll have to remember that :).
Super cute…this would be a great gift too!
Really adorable! Love the knotty wood. Which dremel bit did you use? I don’t think I’ve tried that one yet (my mind is spinning ;0).
Thanks Britt! I think I used an abrasive point. It was rounded at the tip like a thick pencil and abrasive. LOL! It worked great when held at an angle and burned through the wood giving a nice deep color to the engraving.
So sweet! I love it! I’m not much into the pink and red, in your face Valentine’s decor so this is perfect. Thanks for sharing.
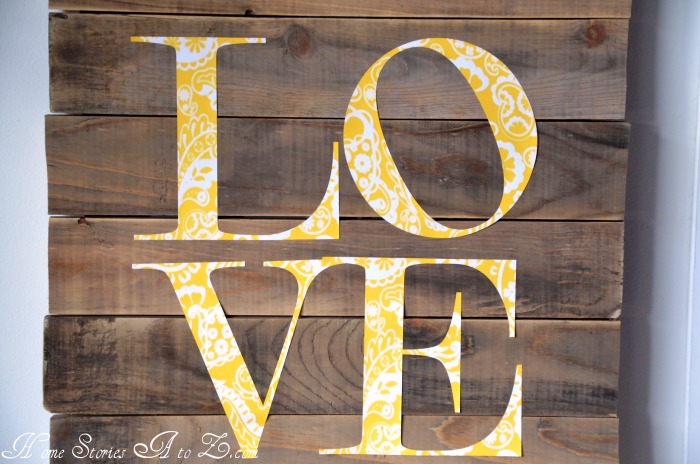
Yeah, me neither. I did a yellow Valentine mantel last year because pink isn’t really for me :). But in small touches it’s fun.
That is so cute!
This is so cute and clever. I wondered where you found a huge wooden heart! 🙂
Oh I think that’s insanely cute. I love it!
It is gorgeous!! I def want to do it!! Haha my house will be over run with hearts as i just made a huge heart out of sticks!! Thanks so much for the great post!
Oh how fun! A heart out of sticks would go perfectly with my heart :).
I love it – very creative and romantic.
Thanks Grace!