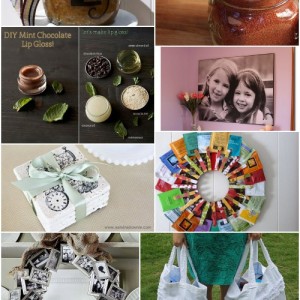
I am so excited to share with you a step-by-step tutorial on how to build a cornhole board. Cornhole toss is a fun game to play with family and friends and makes the perfect DIY gift! You can whip-up a cornhole toss set for Father’s Day, Mother’s Day, birthdays, wedding gifts, etc. Personalizing your boards and beanbags is part of the fun of making your own cornhole toss, so let’s get to it!
Supplies Needed for Boards and Cut List:
**The total cost of this project for all supplies (not counting tools needed) is around $100 including the DIY beanbags. I’m sure you could do it for less, but the total for the items linked below is $67.93. This is not an inexpensive project but indeed a wonderful Father’s Day gift! As part of the Lowes Creative Ideas Bloggers, I was given a gift card to purchase supplies for the June challenge of creating an outdoor game.**
- One 1/2 inch thick plywood sheet 4×4
- Cut this in half so you have two 2×4 boards.
- Four 8 foot long 2×4’s
- Cut 4 pieces 21 inches long
- Cut 4 pieces 4 ft each (so two boards in half)
- Cut 4 pieces 11 1/2 inches long (for the legs)
- Four 4 inch x 3/8 inch carriage bolts
- Four 3/8 inch flat washer
- Four 3/8 inch wing nuts (Tip: These were hanging in packages on the wall and were not found in the loose bins at my Lowes.)
- 1 box 2 1/2 inch wood screws
- Chop saw
- Jigsaw
- Compass
- Drill and bits
- Clamps (or another person helping)
- Palm sander
- Safety goggles
- Paint (optional)
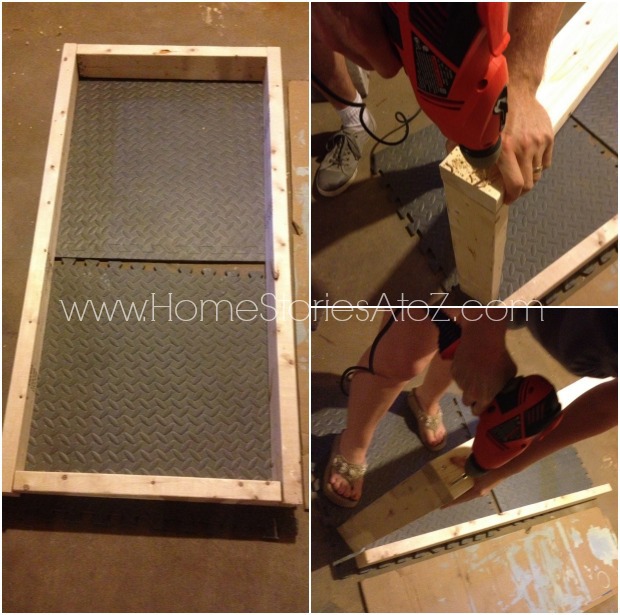
Step 1: Build Your Cornhole Frames
Place your 4ft long boards perpendicular to your 21inch long boards. Pre-drill holes and use the 2 1/2 inch wood screws to secure boards. Easy peasy!
Step 2: Cut Your Cornhole Boards and Secure
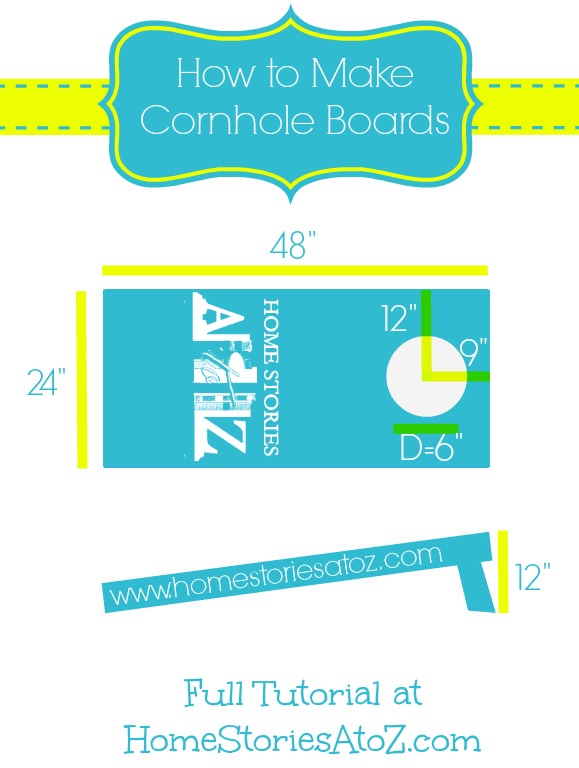
To create the “hole” in the cornhole board measure 12 inches across and 9 inches down and mark a dot for the center. Then use a compass to draw a six inch circle. I had an arc-shaped ruler that was perfectly 6 inches, so I just traced around it. Once your hole is drawn, take your drill and drill a large hole as close to the edge of your circle as possible. This will be the opening for your jigsaw blade so that you can cut around the circle. Just be patient with your mighty saw and let it do the work without forcing the saw forward. If you’re getting a lot of vibration, then your board isn’t stable or you are forcing the blade. Once the circle is cut out, take your palm sander and smooth out any rough edges. Attach your boards to the frames using wood screws.
Step 3: Make and Attach the Cornhole Legs
This is the trickiest step, but don’t fear it. You can do it! I’ll show you how we did it and point you to some other resources that are helpful. I think the hardest part is getting the legs to be the regulation 12 inches off of the ground. I’m not a “sporting” cornhole player (some people take this game VERY seriously). If my boards are millimeters off the mark, I’m totally cool with that. Take your 11 1/2 inch long boards (your leg boards) and measure 1 3/4 inch across and 1 3/4 inch down and place a center dot on each. This is where you will drill a hole to attach your legs. You can use a compass or a can (like we did) to draw an arc where you will cut. Use your jigsaw to cut the arc on each leg and sand smooth with your sander. Hold or clamp your legs in place on your boards as if they are extended. Now take a ginormo drill bit (yes that’s the technical size–just hold up your toggle bolt and pick a bit slightly smaller), and drill through your leg and through your board. Do this for all four legs. To create the angle on the feet we cut each board at 9 degrees. If you want to make sure your legs measure exactly 12 inches from the ground, this video is helpful.
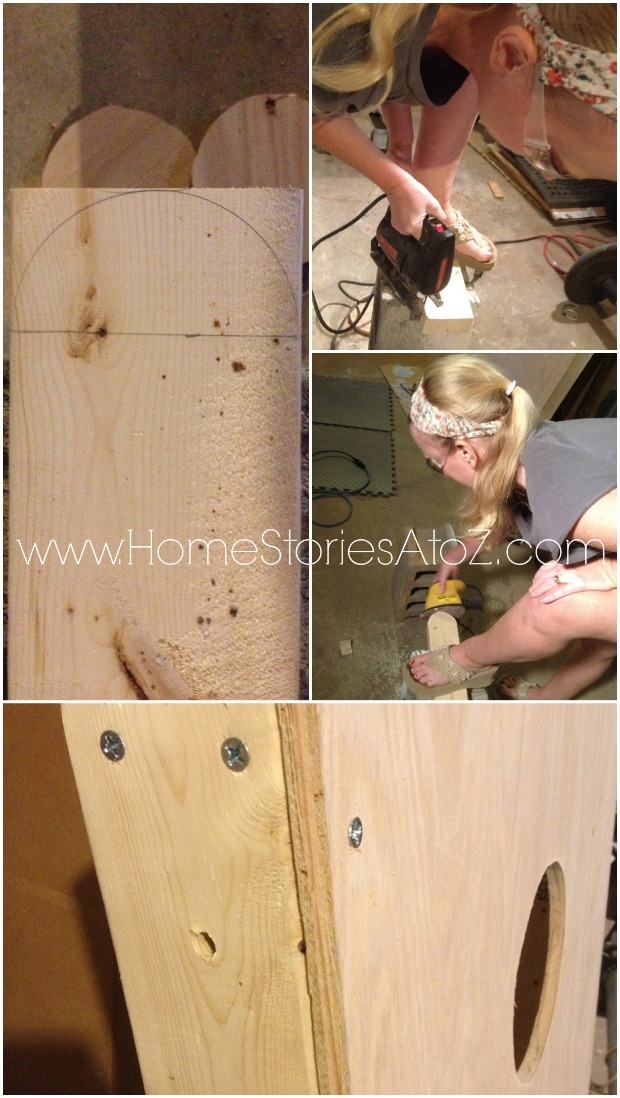
Attach your legs by placing the toggle bolt through the hole, then leg, then washer, and then wing nut. Test them all out and sand if necessary to ensure they open and close smoothly.
Step 4: Paint Your Boards
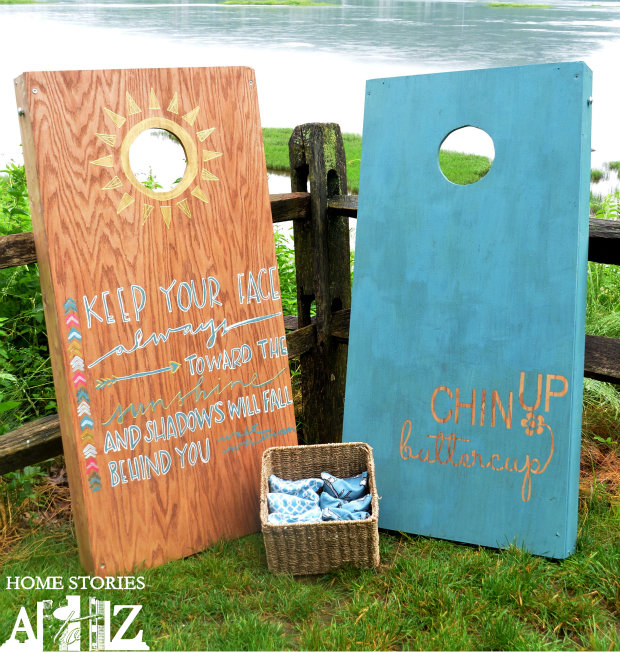
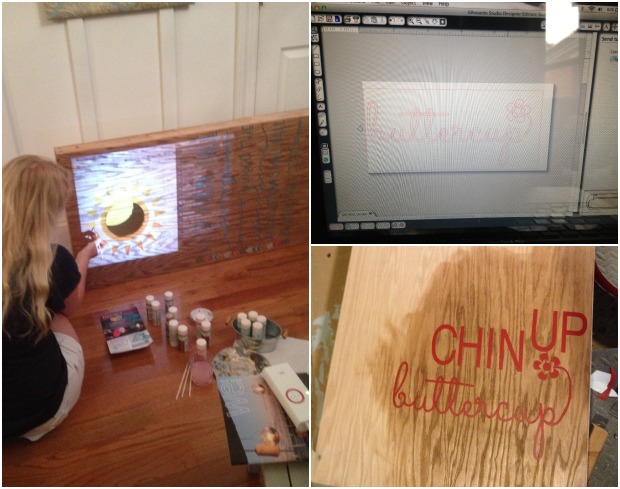
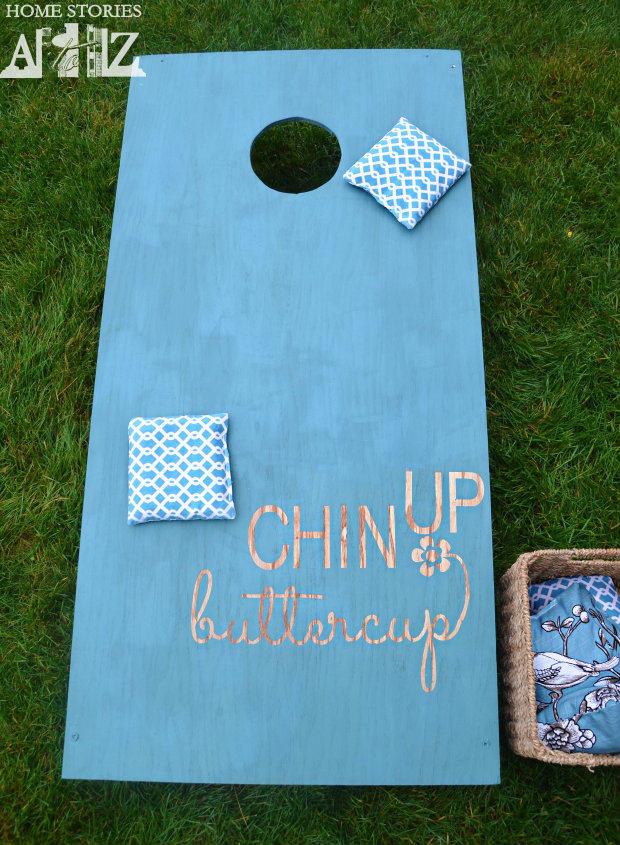
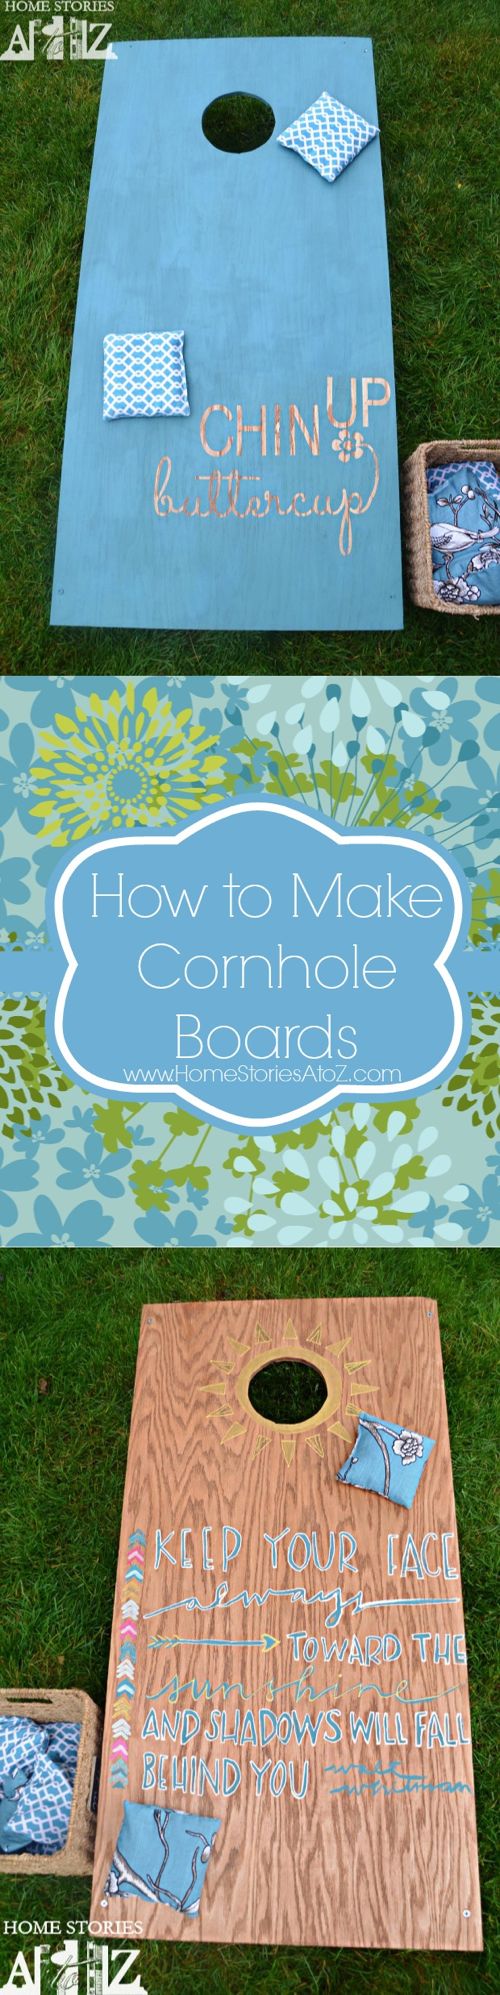
Woohoo! Now the fun part begins! I wanted my boards to look like wall art.

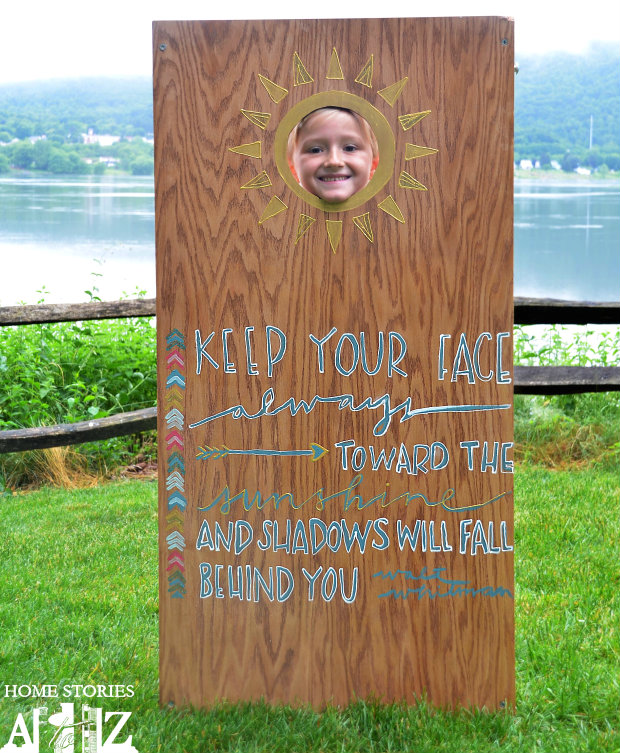
My inspiration for the boards came from a picture found on tumbler and one found on CheeryOh. You can download the CheeryOh graphic for $8 and use it for personal use. The graphic didn’t work right for my project, so I created my own using my Silhouette machine. I stained the area of the board I wanted the graphic, placed my vinyl lettering over it and then painted over the entire board with milk paint. For the Walt Whitman quote board, I stained the entire board and then used my projector to paint the image over the stain. Both boards were sealed with furniture wax.
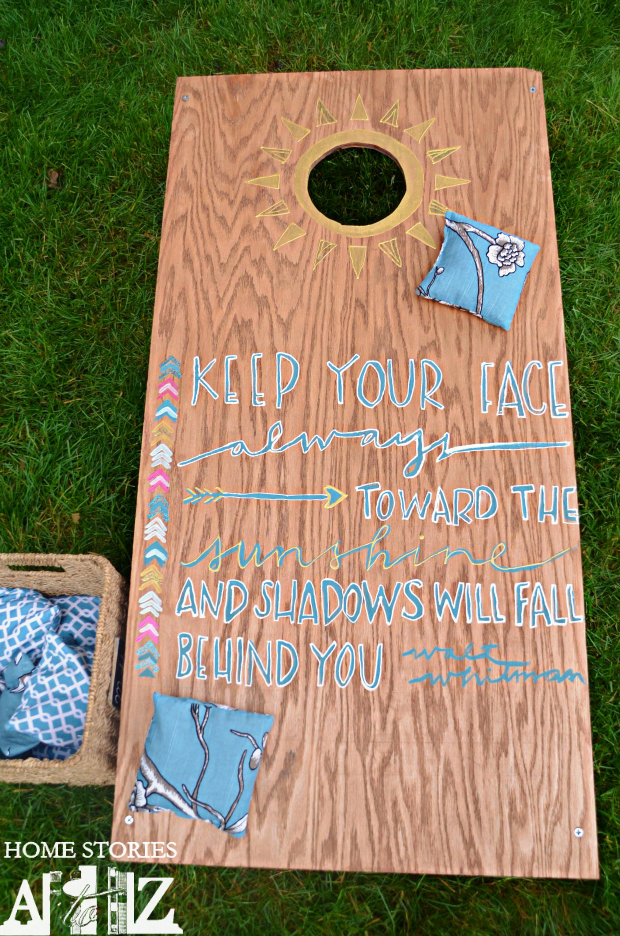
And I absolutely LOVE how they turned out!
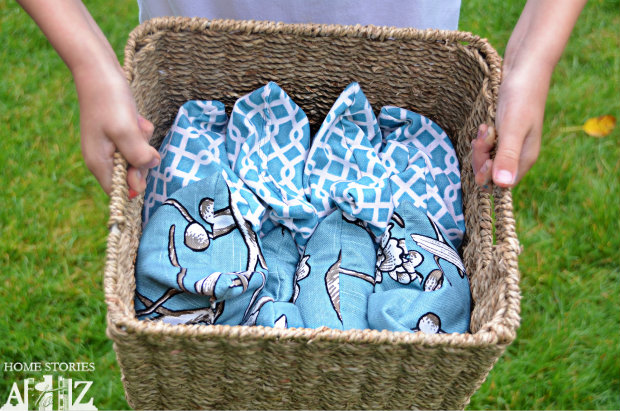
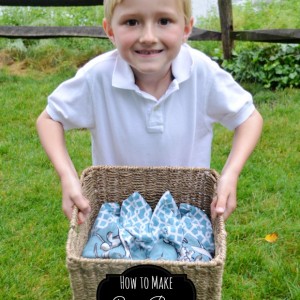
The bean bags need their own tutorial so I will cover that in a future post and link to it.
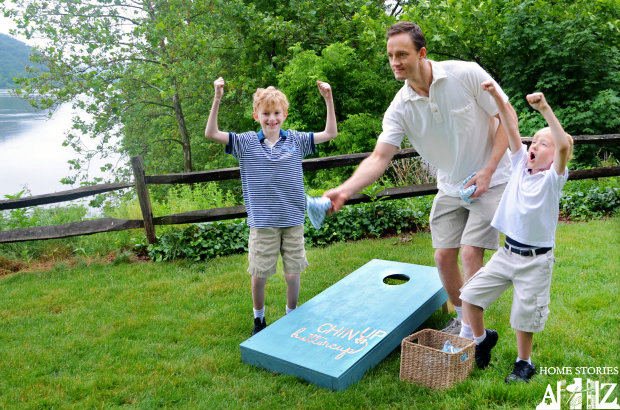
And now it’s time to admire all of that hard work and play some cornhole!
I told the boys to cheer Matt on and this is what my little hams decided was a great cheering pose ;-).
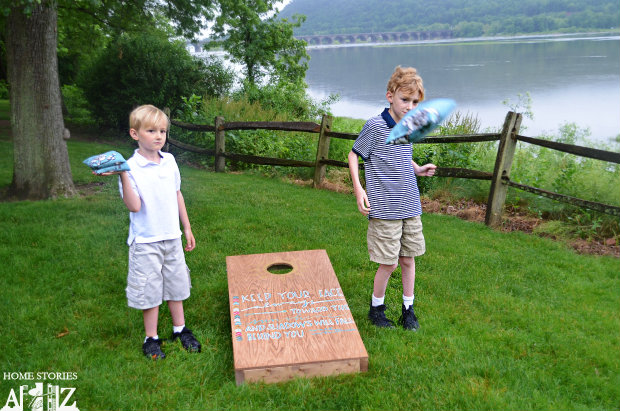
Warning: Taking pictures of flying bean bags can be dangerous! Try at your own risk.
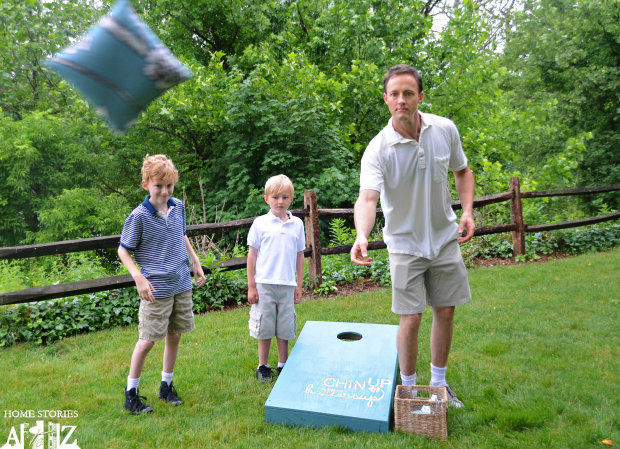
Asher needs some more practice. LOL! I couldn’t resist creating this funny gif for him. I love his eyes closed “technique”.
I’ll post how I made the cute beanbags soon! I hope you’re inspired to make your own boards. Our family has really enjoyed having an outdoor game we can all play together.
Here are some other great cornhole tutorials which we used for our inspiration:
Bean Bag Toss Tutorial by Sew Woodsy.
How to Build a Regulation Corn Hole Game by Diy Network.
How to Build a Cornhole Game Set by This Old House.
This project was part of the Lowes Creative Ideas blogger network. For tons of other fun outdoor game ideas, check out Lowe’s Creative Ideas:
![]()
Disclosure: As a #LowesCreator, I was provided with a Lowe’s gift card to purchase supplies for this post. All ideas and words are always my own.


Center of the hole should be 12in from top and sides
So smart! I love giving outdoor games as housewarming gifts but usually spend a lot of money on bocce ball sets. This would be a way better gift that can be personalized.
I have never played but we use to all play horseshoes when my grandparents had their lake house when we were growing up. This game seems far less dangerous, being hit by a bag of corn instead of a horseshoe would probably be a faster recovery, hence why the kids could never play lol. I never really loved how cornhole games looked with all the sport’s teams motifs but your’s is absolutely adorable!! Love them, so much!!! Great, Great job seriously! I would actually buy these in a store!
Looks like fun! I will have to make these this summer!
Pinned and can’t wait to use this tutorial! We love corn hole and really need a set at our house!
Love how your bean bag toss turned out! Isn’t it the best to have a set of your own boards (and of course built yourself)! Thanks for linking to our project! See you next month!
Thanks Katie! See you soon girl :).
This is awesome and those bean bags are so cute! I’ve been wanting to make a set of these for our wedding. Thanks for the tutorial! Pinned 🙂
~Katie
Thanks Katie!
Wow, amazing. This month we are going to have our school fair and I think this idea would be great to attract students to our stall.
Love, love, love. Pinning, pinning, pinning!
Yay! Thanks Danielle :).