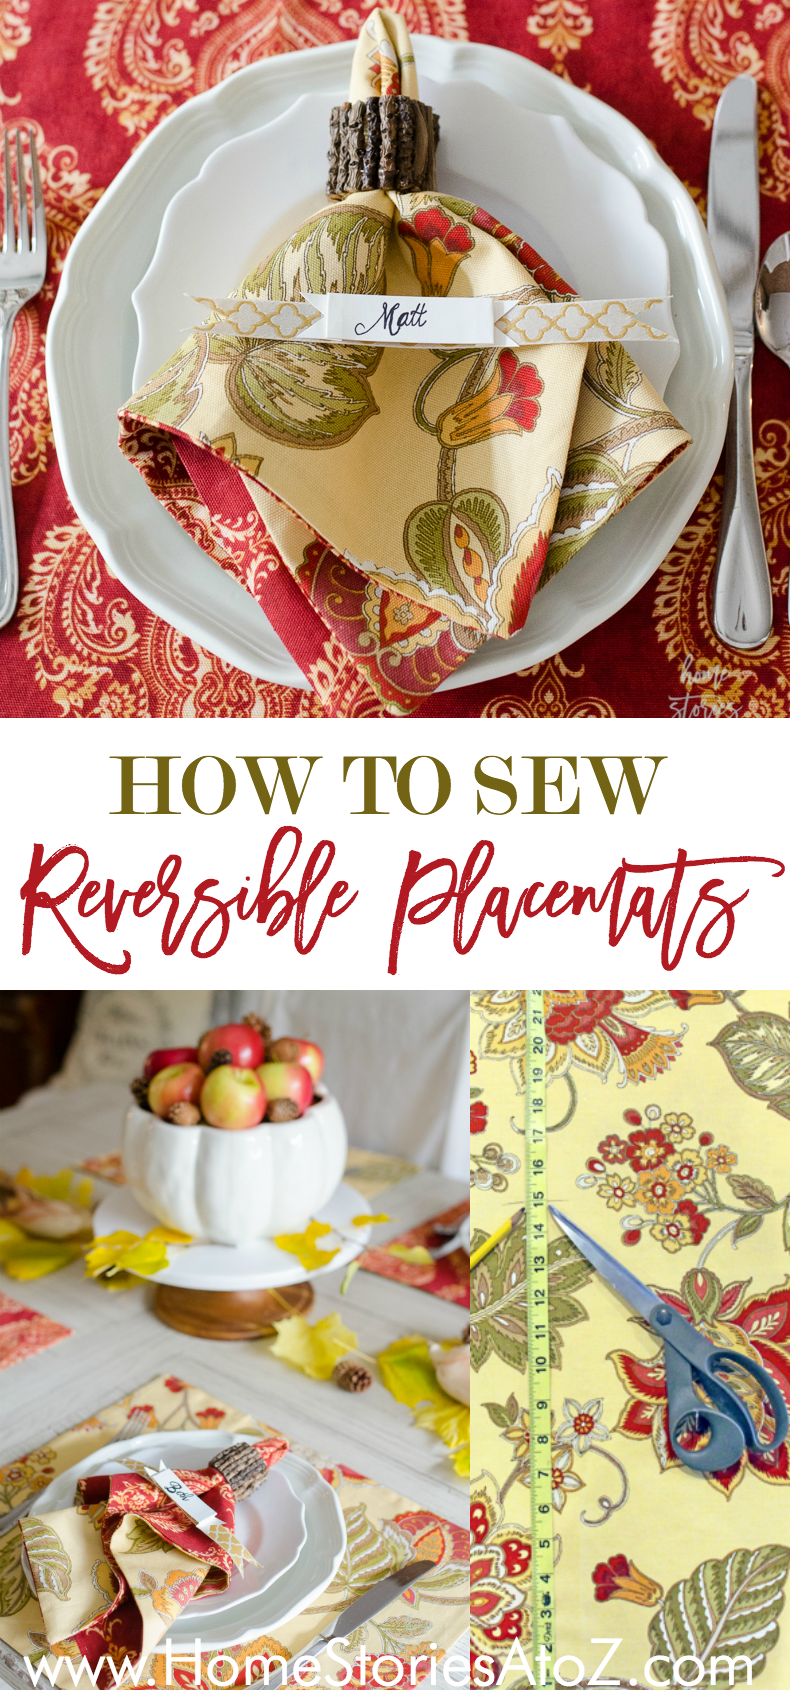
How to Sew Reversible Placemats
This easy placemat tutorial will show you step-by-step how to sew reversible placemats. Make placemats today for your holiday table, or as a special DIY gift!
Thanks to Waverly Inspirations at Walmart for sponsoring this post. The favorable opinions of the incredibly cute fabrics, ribbons, and paint are 100% my own. Post contains affiliate links.
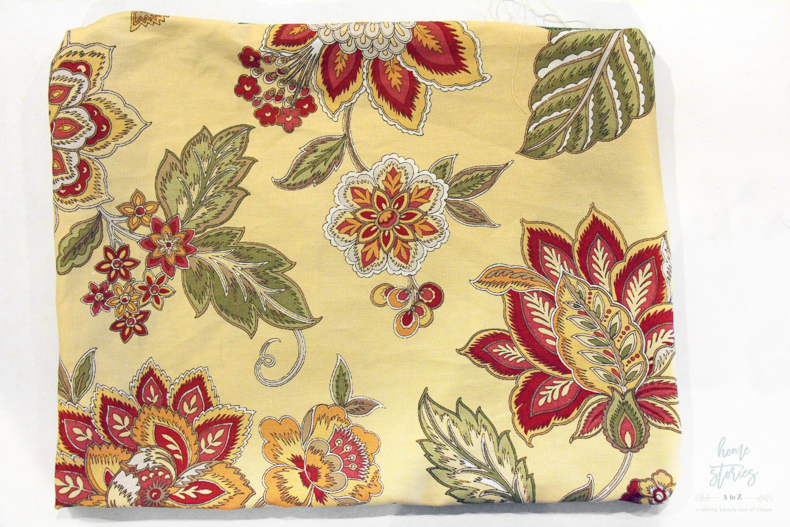
Each month Waverly Inspirations at Walmart sends me a surprise box of fabric, ribbon, and paints and challenges me to create something inspiring with their products. This month’s theme was “Thanksgiving Tablescape”. I knew immediately that the red and gold fabrics would make lovely reversible placemats and thought I’d share with you how to make a set of your own. If you’re new to sewing, this is a fantastic beginner’s tutorial. If you can cut a straight(ish) line with a pair of scissors and sew in a straight line, then you have the complete skillset needed to create your own custom placemats! Let’s get to it!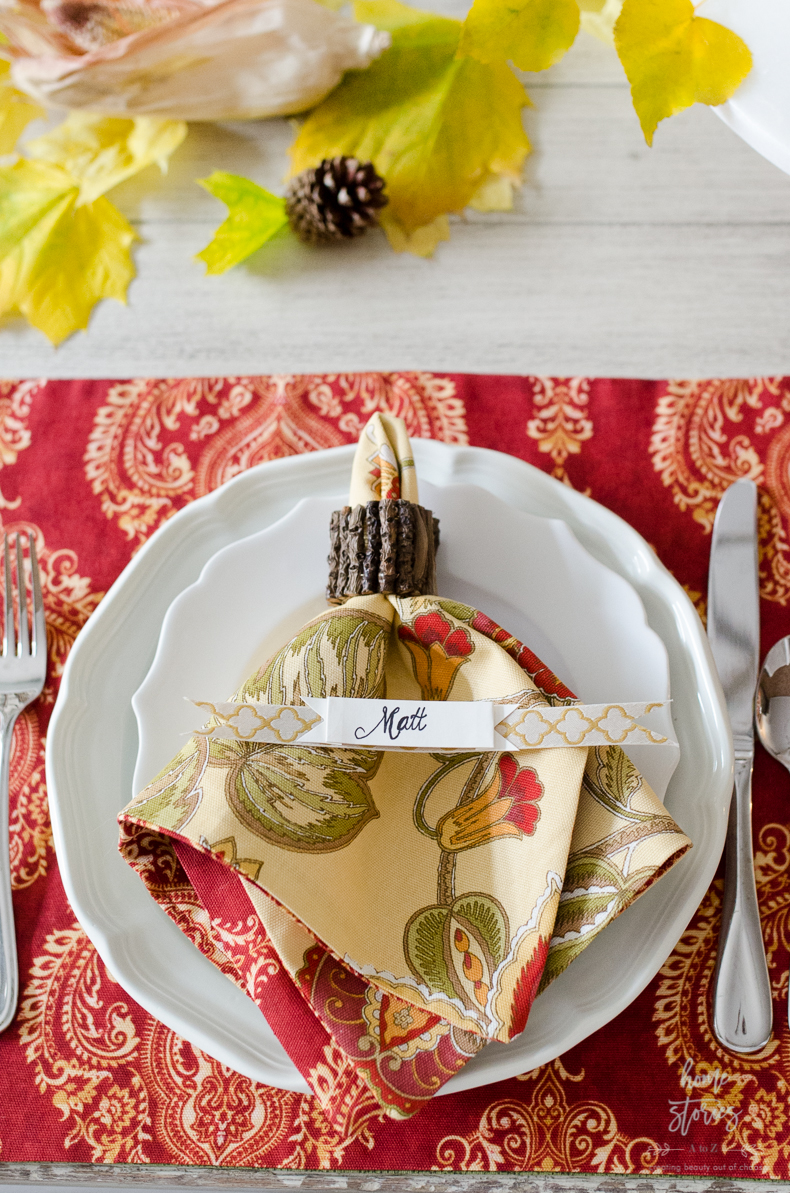
Materials Needed:
To make a reversible placemat you will need two coordinating fabrics. For a set of 8 placemats, you will need 2 yards of fabric in each pattern, for a total of 4 yards of fabric. (One yard of fabric in each fabric will make 4 placemats.)
- Waverly Inspirations Fabric
 from Walmart
 - Scissors and measuring tape
- Sewing machine
- Iron
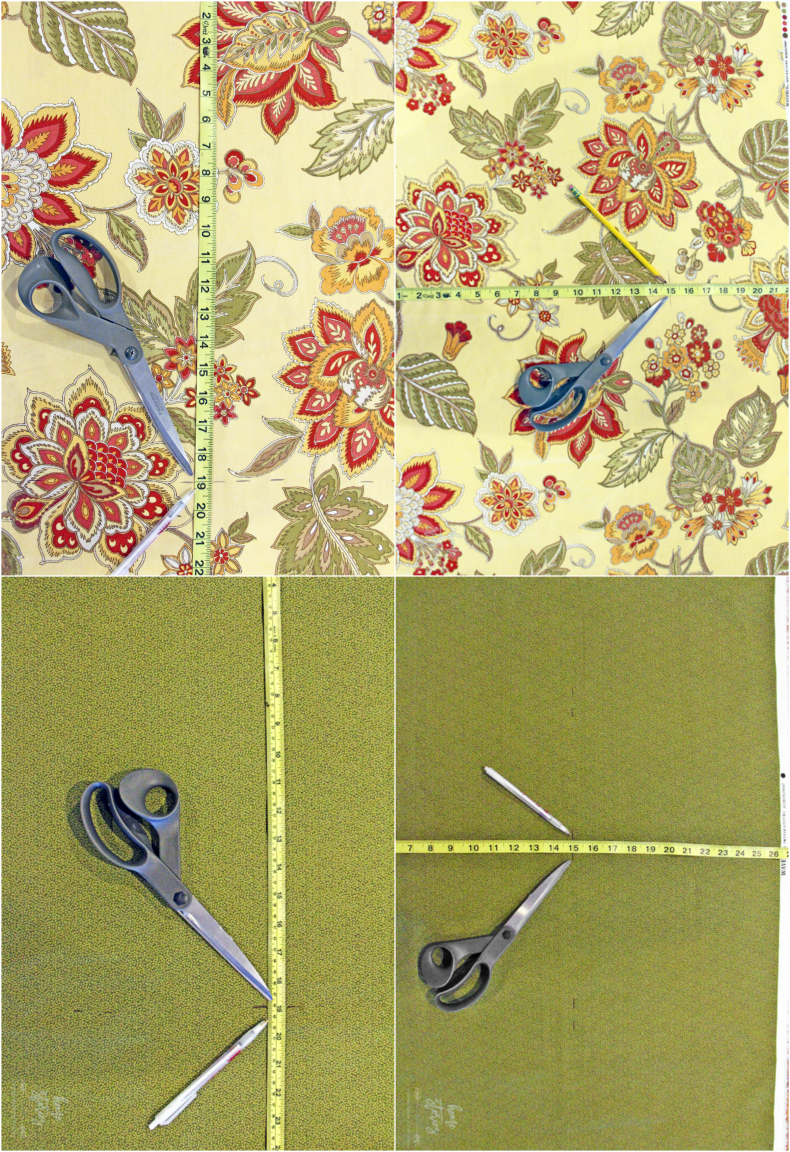
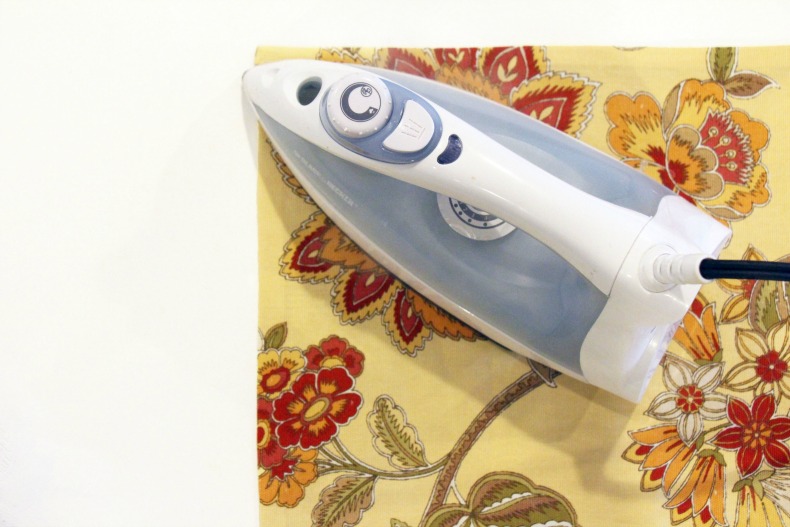
Step 1: For best results, launder and iron your fabrics before cutting.
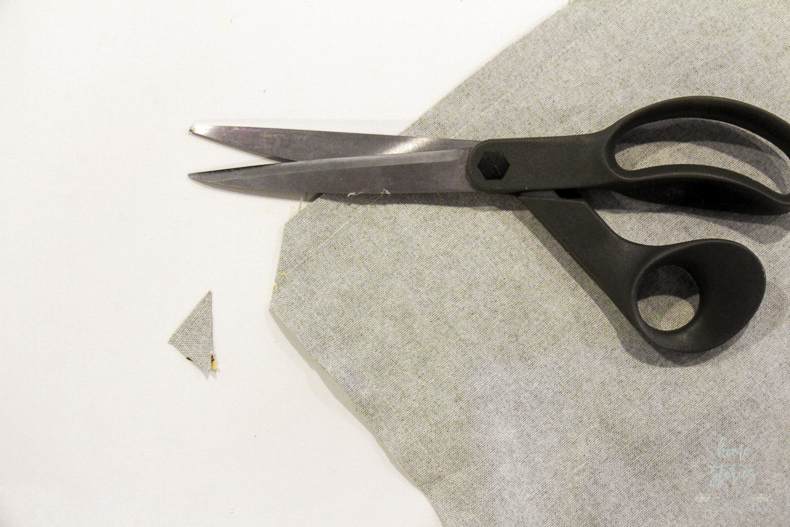
Step 2: Measure and mark a 15″ wide x 19″ long rectangle on each fabric and cut out the rectangles. You will need two rectangles of contrasting fabric for each placemat.
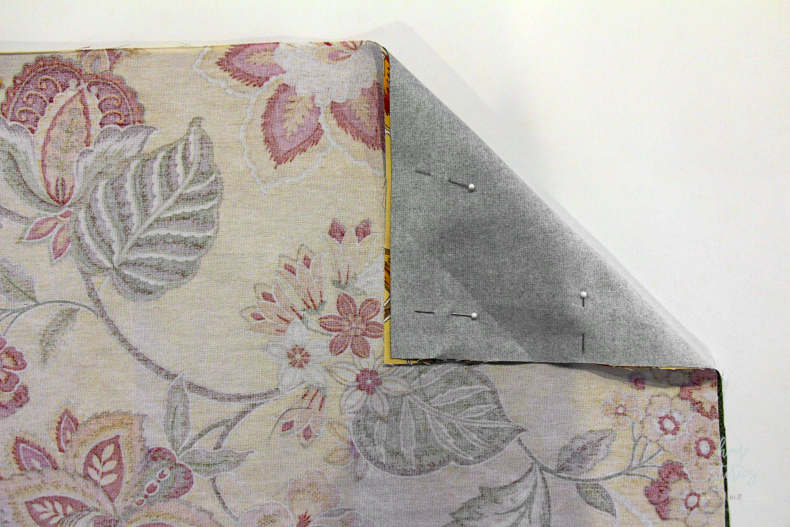
Step 3: Place the pretty sides (or right sides) of the fabric together and pin in place.
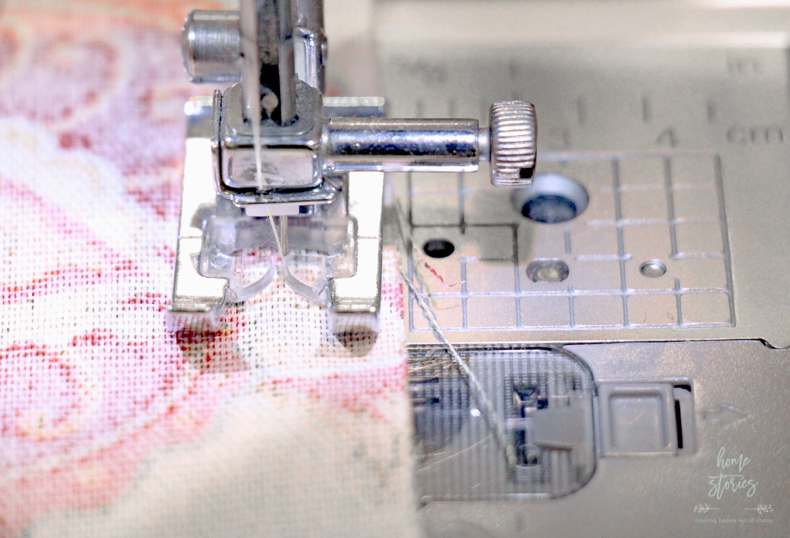
Step 4: Sew a straight line 1/2″ away from your raw edges, removing pins as you go.
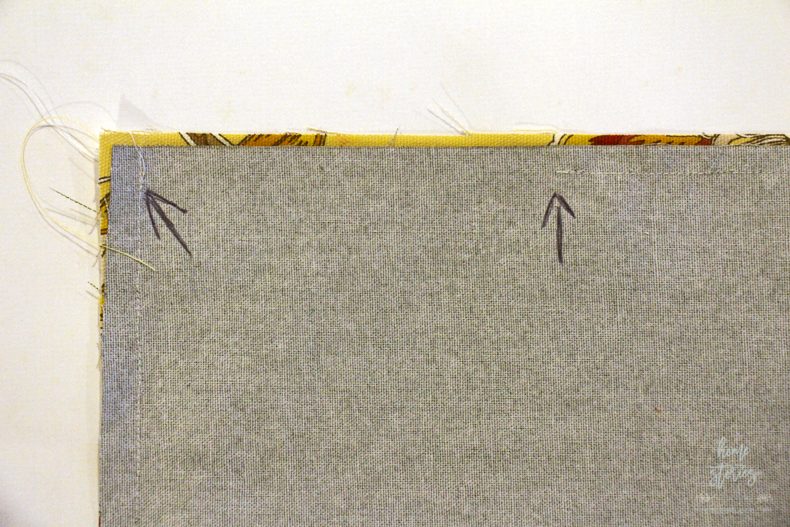
Step 5: Leave a 4″ opening at the bottom of your placemat so that you are able to turn it right side out.
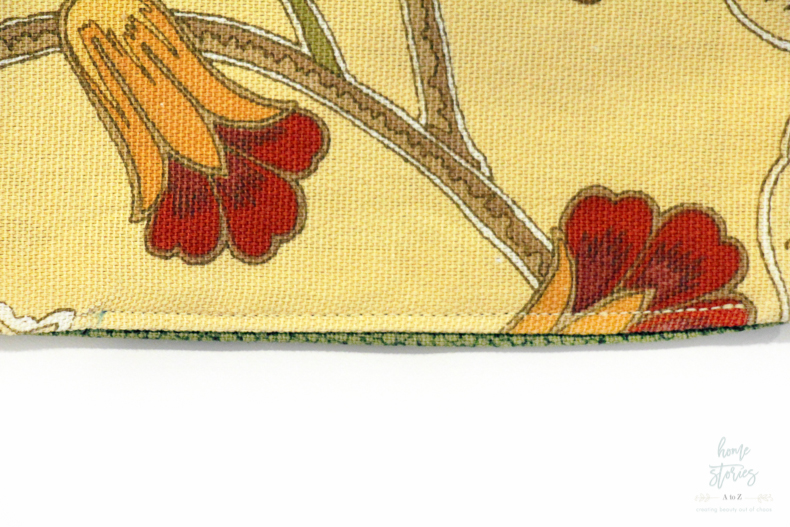
Step 6: Trim the corners of your fabric and then turn your placemat right side out.
Step 7: Iron your placemat flat pressing hard on the seams and corners. Iron with spray starch to create a firmer placemat.
Step 8: Sew a topstitch over your 4″ opening and you are done! You can also run the top stitch all the way around the perimeter of each placemat for a polished look.
Congrats! You are done!
That is seriously all there is to it. Did you know it was this easy to create reversible placemats?
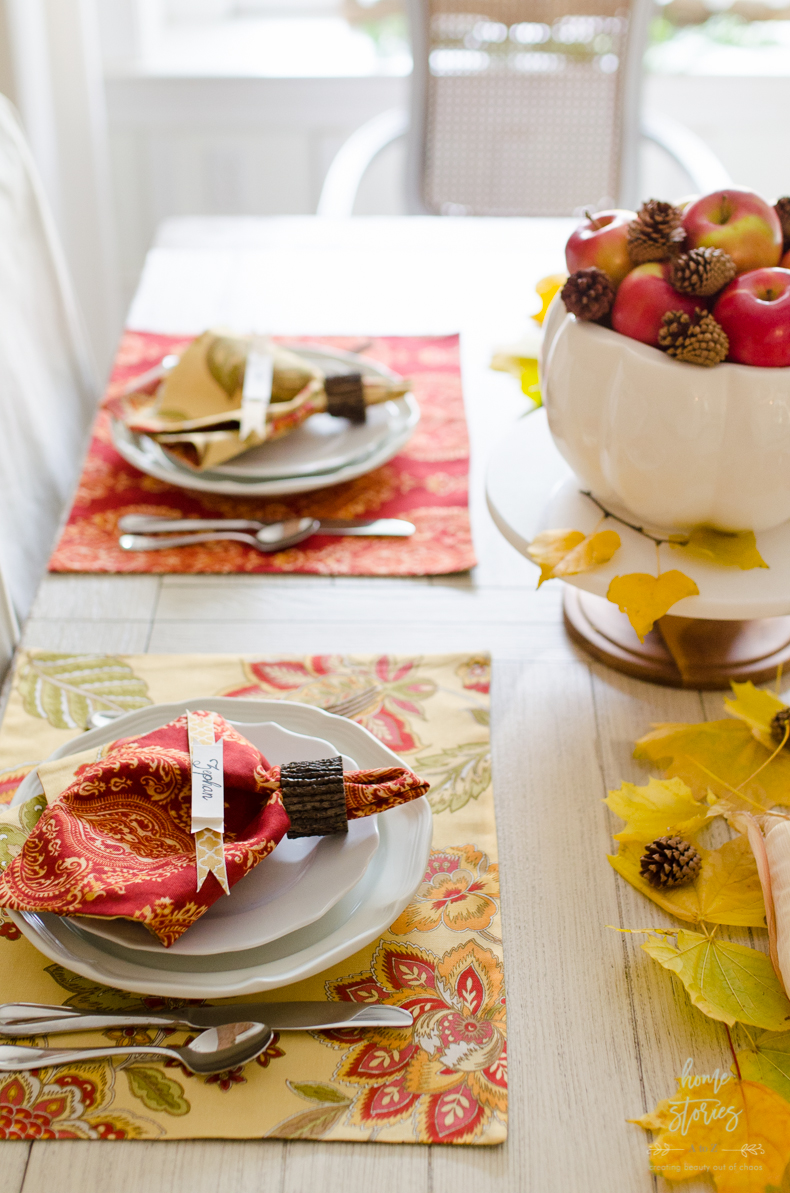

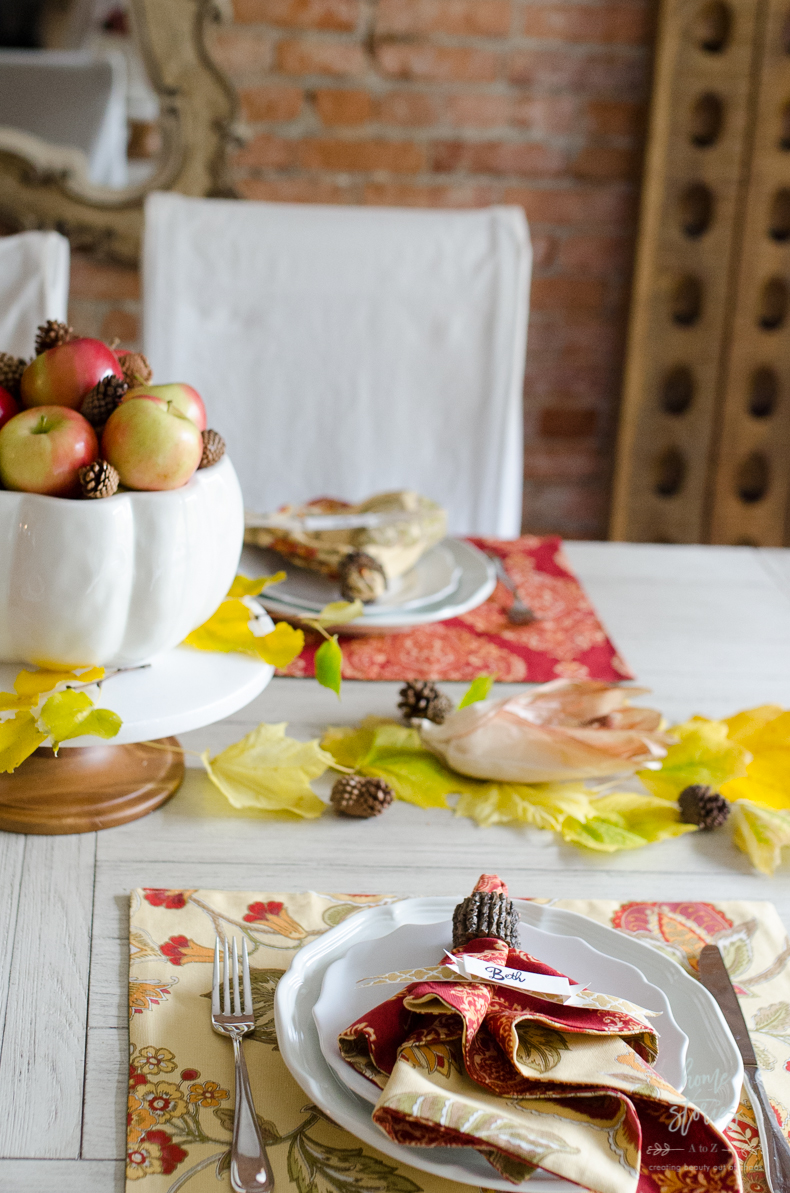
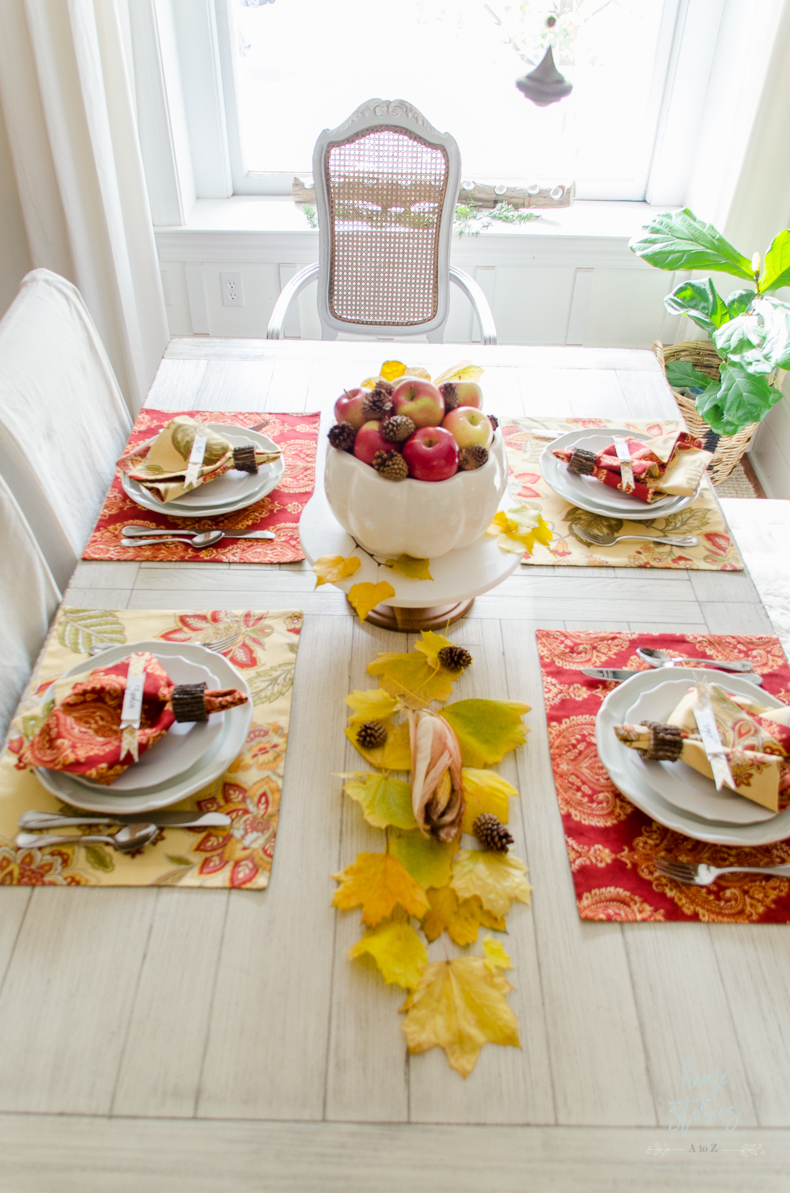
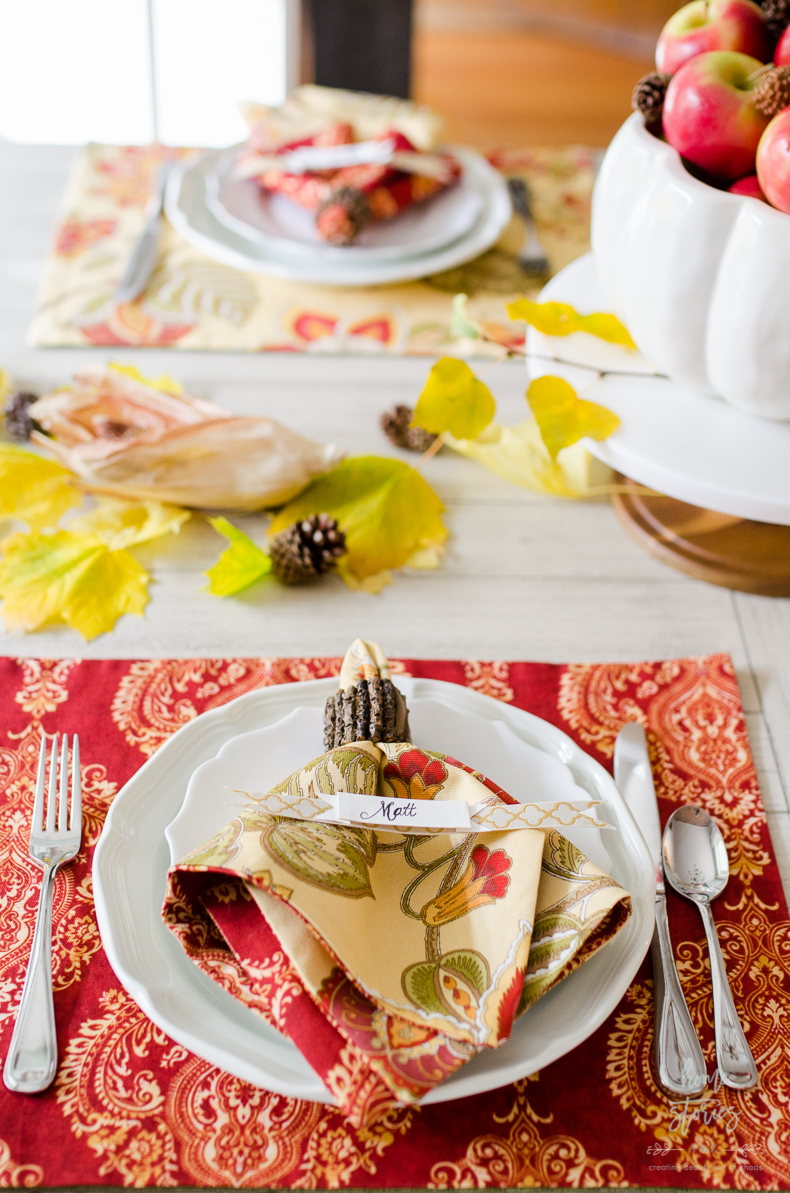
To style my Thanksgiving table, I used four of my unstarched placemats as cloth napkins placed in twig napkin rings. I love how the placemats-turned-napkins show off both fabrics.

Don’t tell my mom, but these placemats are her birthday present this year! She doesn’t read my blog so the secret is safe between us. 😉 My mom decorates her home in reds and golds and has a November birthday. These placemats will make the perfect gift when I see her over Thanksgiving break!
To create the cute placecards, I used the Waverly Inspirations Ribbon and a piece of cardstock. I love how the coordinating ribbon complements the fabrics! ![]()
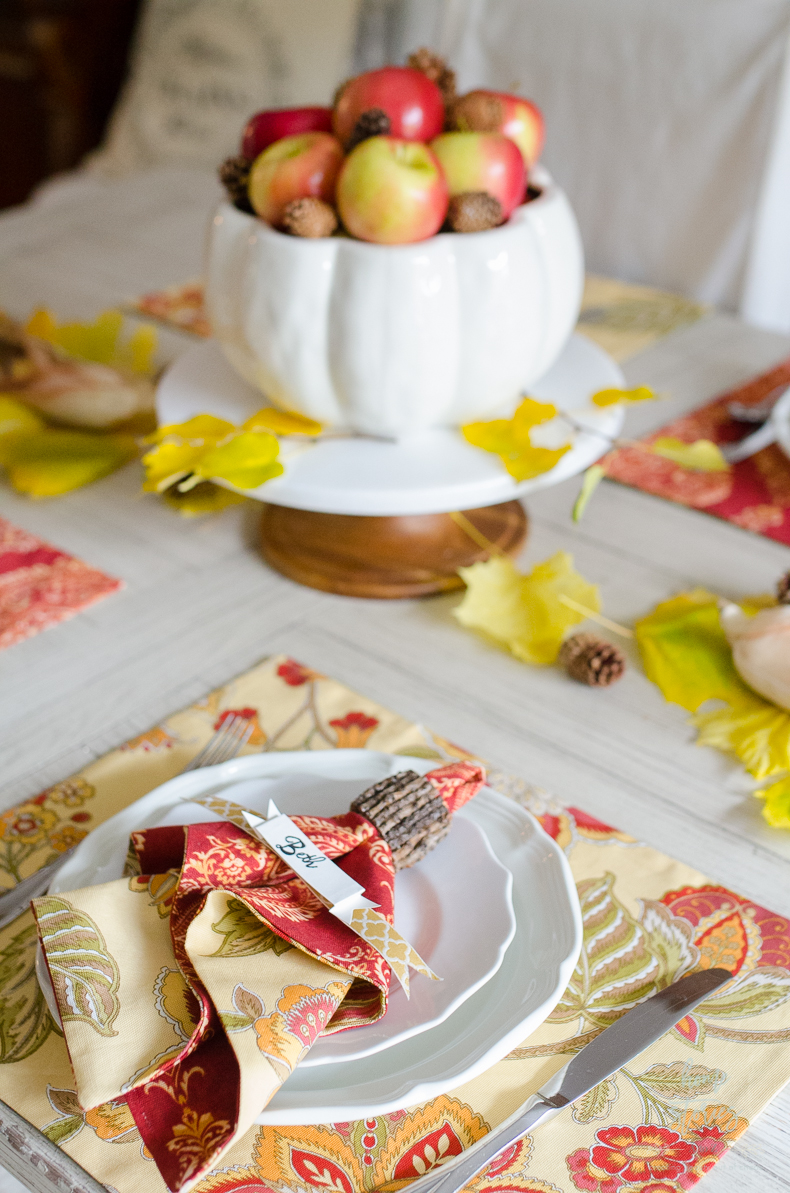
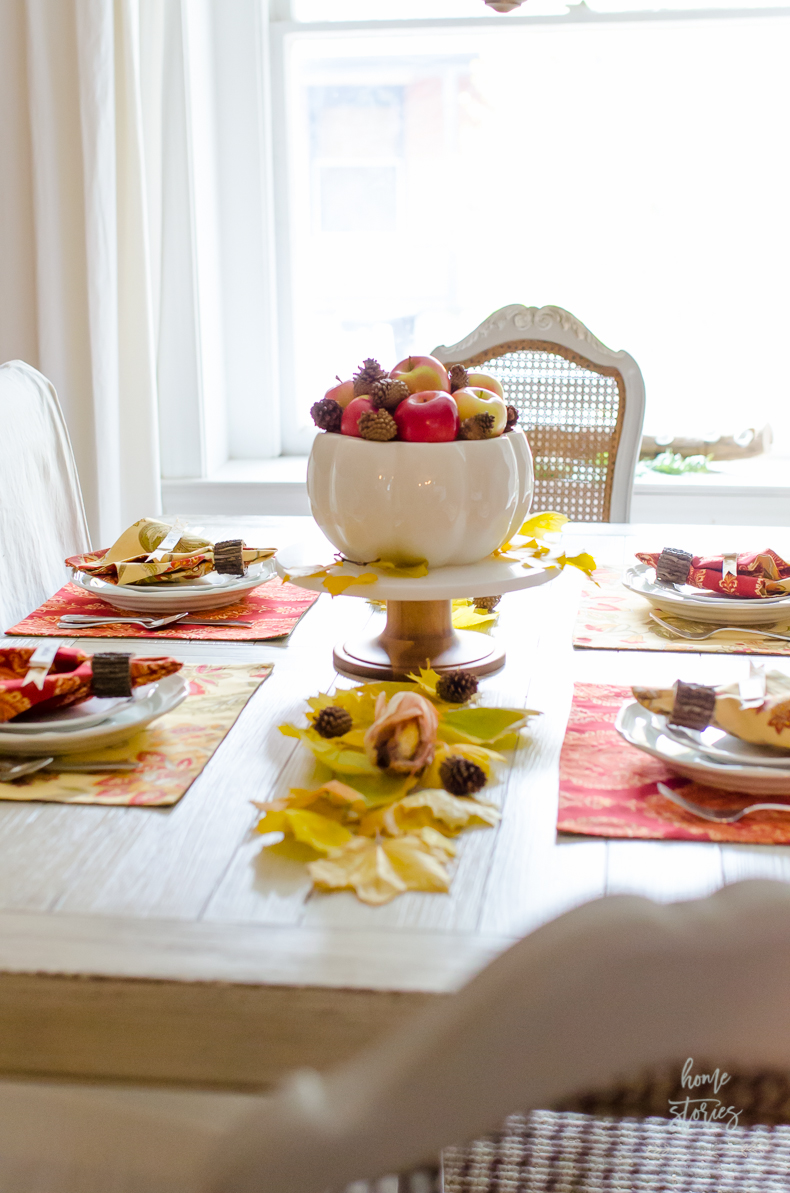
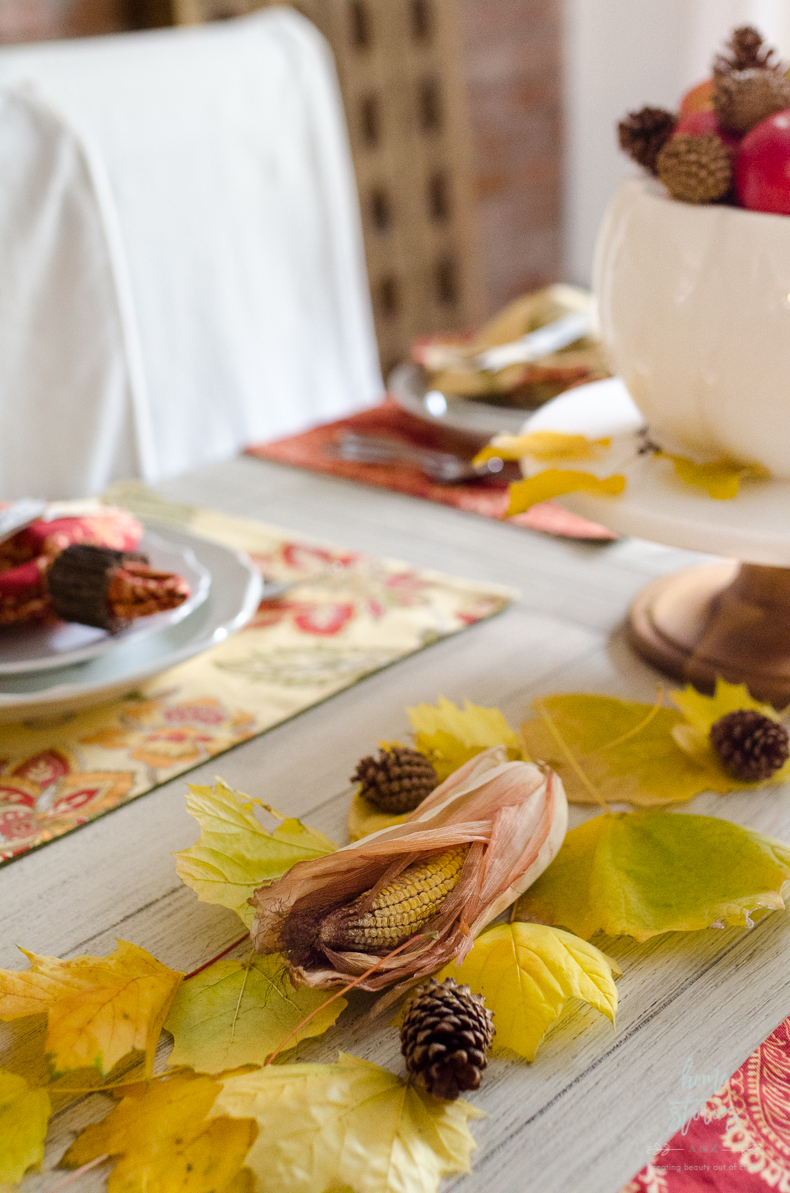
And here are just a few more pictures of my Thanksgiving tablescape for you to enjoy!
Want some other simple fabric craft ideas? Check out my “Related Posts” section below for some doable and beautiful ideas for decorating with fabric!
- How to Make a Fabric Tie Banner
- How to Make Fabric Covered Letters
- DIY Embroidery Hoop Wall Art
- DIY Dorm School Supplies
Related Posts