There is no shortage on the internet of fantastic DIY shiplap and faux shiplap tutorials! I wanted to add mine to the mix in case someone is looking for a shiplap tutorial that doesn’t involve cutting plywood into strips. Granted, my shiplap method won’t provide you with the cheapest shiplap look, but it will produce a seamless, beautiful, and sturdy wall that is easy to patch and looks beautiful for years to come!
How to Create a Shiplap Wall with Wood Boards
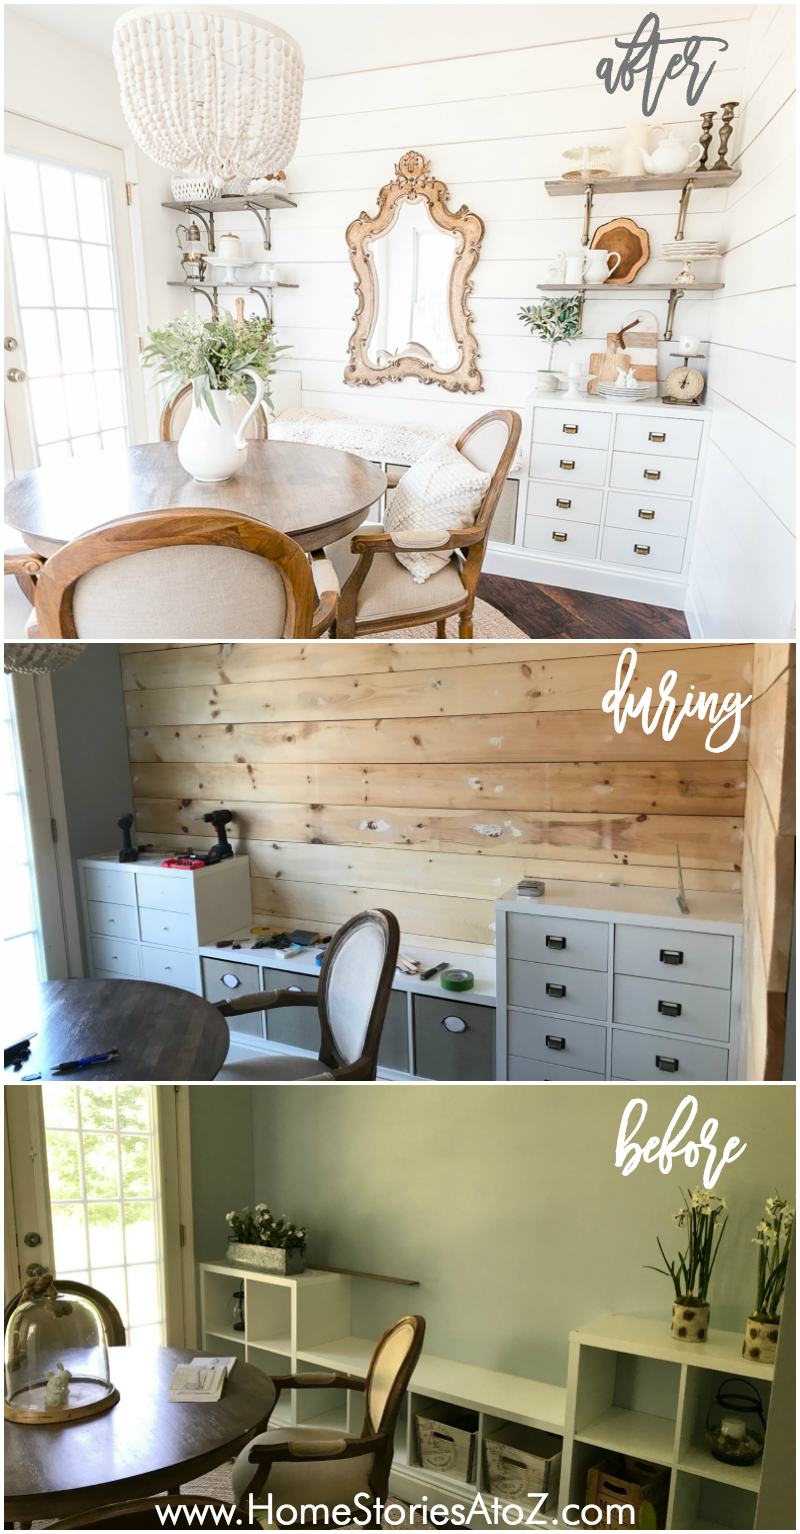
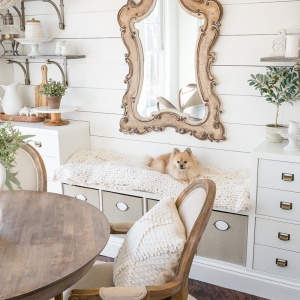
When making over our breakfast room, I knew I wanted to give the walls some texture and shiplap seemed like the best candidate for the space! I prefer the look of wide shiplap boards that run between 8″-10″ wide and I like my shiplap to be free of any seams or cuts. (I know, I know. I’m picky.) Our breakfast room is almost 10′ long, so we chose to use 1x8x10 boards for the main wall and 1x8x6 boards for the half wall.
Supplies Used
- 1x8x10 boards and 1x8x6 boards
- Stud finder
- Level
- Nail gun with 2″ nails. (This is my favorite nail gun here
.)
- Circular Saw
- Spacers or jumbo craft sticks
- Wood putty
- Sander
- Zinser Bin Primer
Sherwin Williams White Gallery in Satin


Directions
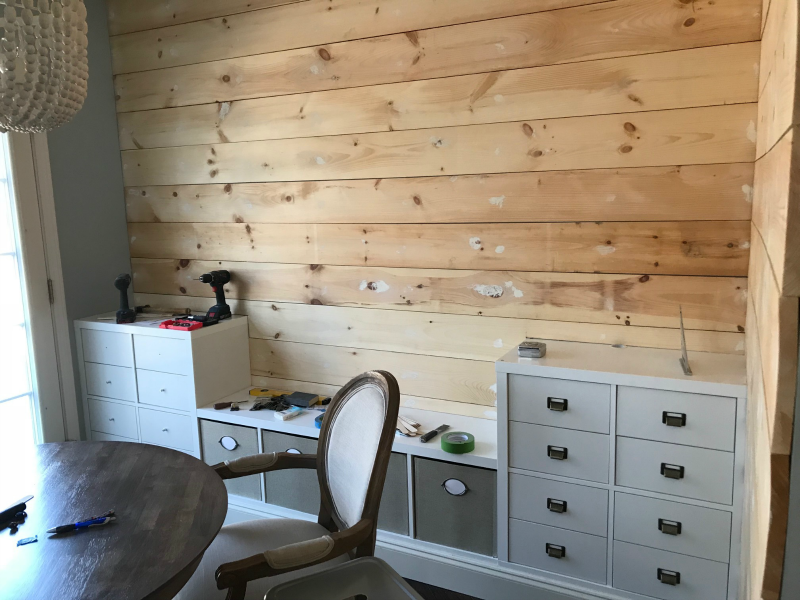
- Find the studs in your wall and mark them using a chalk line or straight edge.
- Measure and cut your boards to size using a circular saw.
- Nail the boards to the wall at each stud, starting in the center of each board. We began placing he boards at the top of the wall and working our way down to the bottom. We chose not to remove our baseboard on the shorter wall, but for a cleaner look, feel free to do so.
- Use spacers (we used the jumbo craft sticks that look like tongue depressors) between each board to create the gap.
- Fill all nail holes with putty and sand smooth once dry.
- Prime and paint!
Given the popularity of shiplap, I’m not sure why actual wide-planked shiplap boards are difficult to find at Lowe’s and Home Depot. The 5 inch boards are readily available, but the 8″-10″ boards are trickier to track down. Lumber yards typically have them but might not be as convenient to shop at. Using wood boards works just as well, but may end up being pricier than actual shiplap.
Another tip to remember is that when priming, be sure to use a shellac-based primer such as Zinser Bin Primer
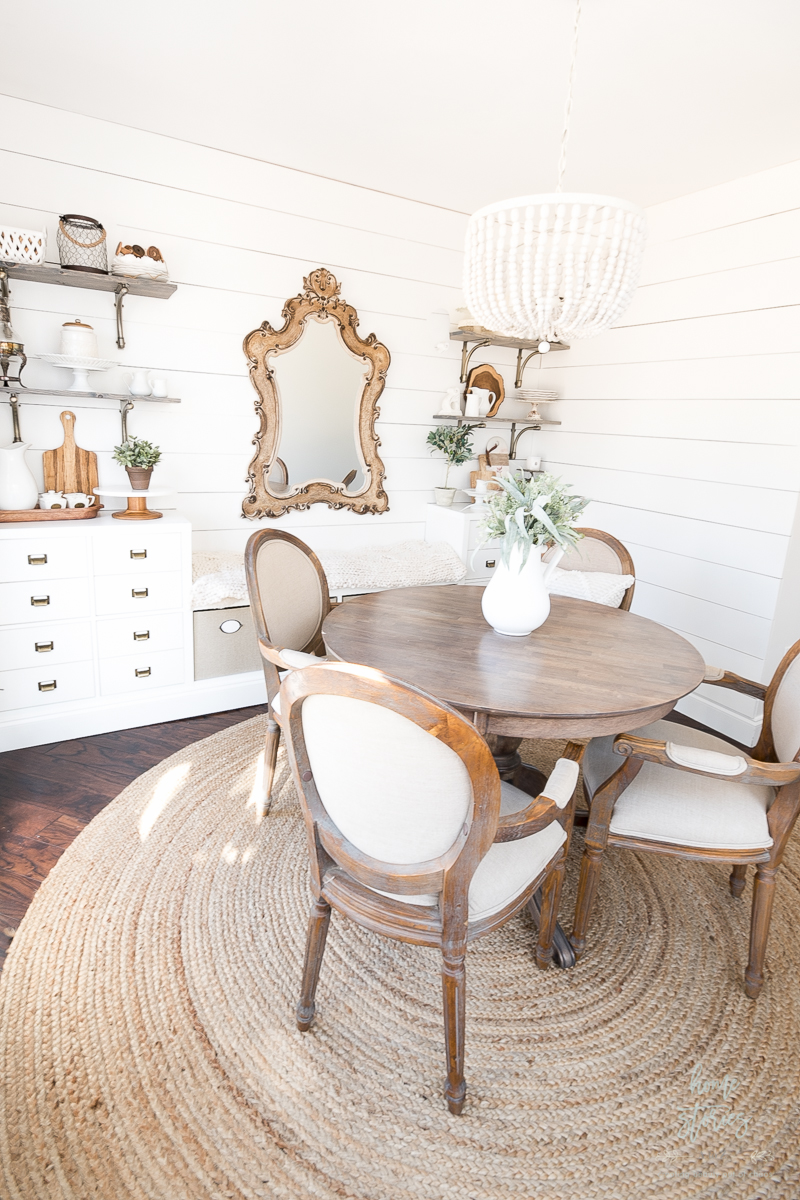
I love the way our shiplap turned out! If you’d like to see more pictures of the breakfast room, learn more about the cube storage hack, and see all of the room sources please click here.

This is beautiful! What a drastic difference!
Thanks so much Rachel!
I wish shiplap fit our homes style, it’s such a great way to add subtle character. This looks great!
Wow! The whole room looks so much brighter!