Blogging and photography go hand in hand, but I rarely share on the blog my portrait photos, or pictures that I capture of my family. In 2018, I hope to sprinkle in some more of my everyday passions with you–and photography definitely tops the list. As a disclaimer: I’m still learning photography (and have a long way to go), but I love to share what I know with you all! It’s what this blog is built on! Last week we were blessed with yet another Southern snowstorm, and I had fun capturing the day with my Nikon d810 and iPhone. In this post, I’ll share my current camera equipment and some quick tips on how to capture great pictures whether you’re using a DSLR camera or iPhone. Affiliate links are used.
How to Take Self-Portraits
Getting on the other side of a camera can be a challenge for a photographer! To take a self-portrait with my DSLR, here are the steps I employ:
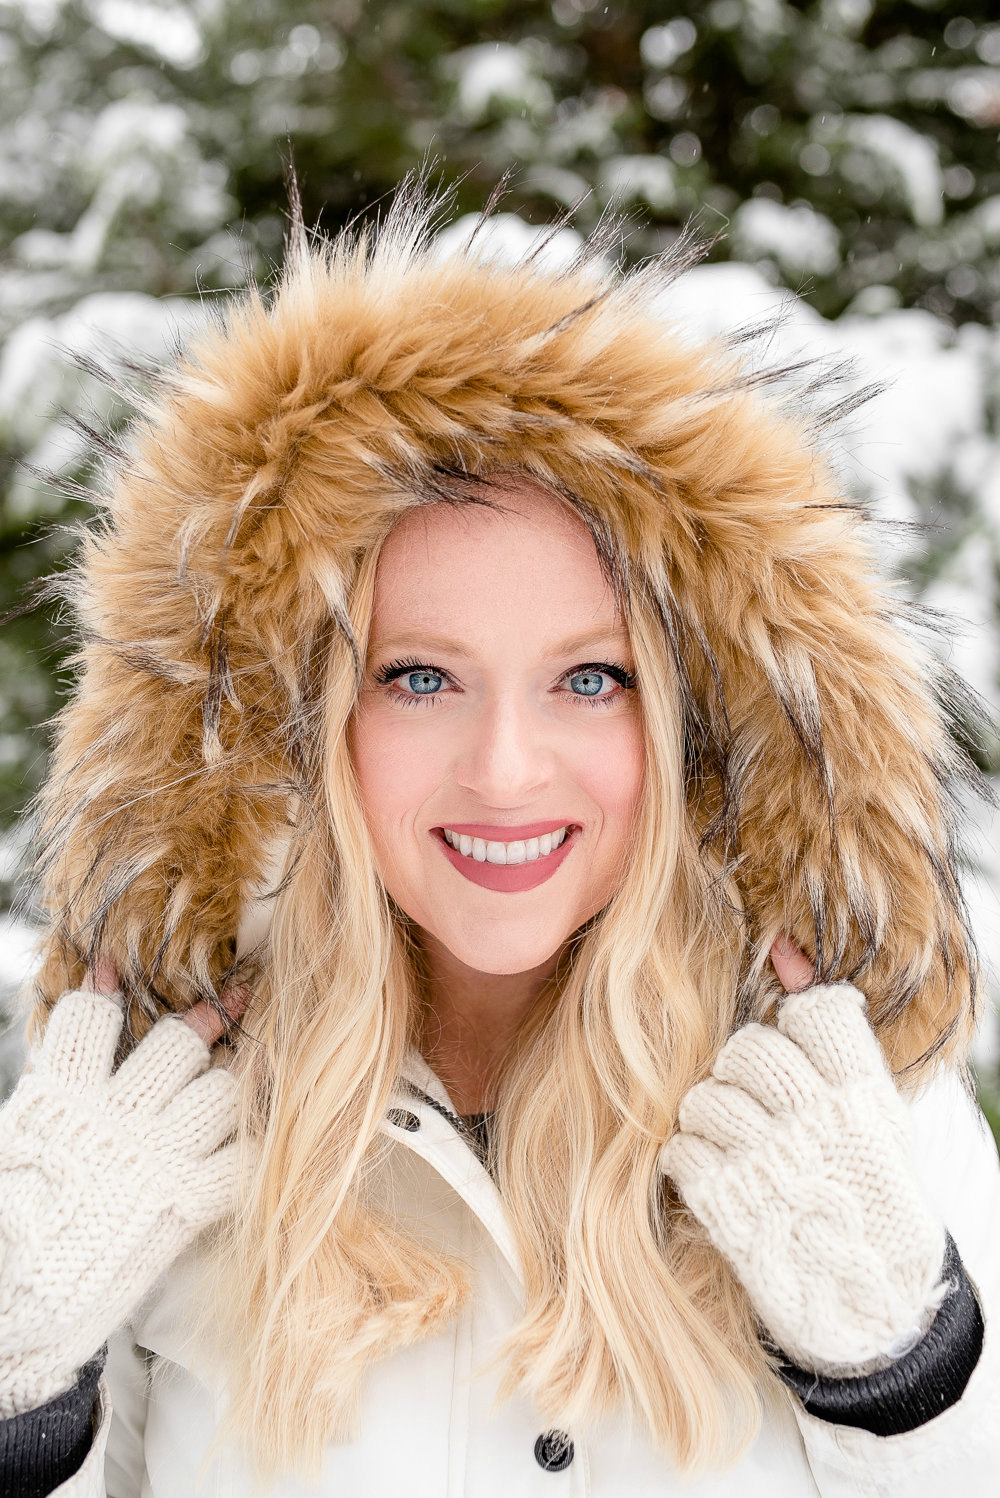
First, I check the lighting and look for open shade. Open shade refers to shade where you can still look up and see the sky. Lighting tends to be optimal in open shade. A cloudy day often works as well and snow is just a dream to work in! All of that white is a great reflector and makes the job of capturing light that much easier. Sometimes I’ll test the lighting by using my iPhone in selfie mode and move around until my face looks bright. This lets me know where to place my camera. Next, I set-up my tripod and place my 13 yr old son (of other subject–my tripod sometimes works in a pinch) where I would be standing. I focus on the subject and set all of my camera settings, and then take a test shot. If you speak manual camera language this next part is for you. If you don’t, no worries, I’ll cover some basics on getting good iPhone shots further down in the post! I like to shoot my portrait photography with my 35mm 1.4 Sigma lens
I try my best to get everything as perfect as possible straight out of camera in order to streamline my editing time. I use Lightroom
If my lighting is uneven or there are shadows on my subject’s face (in this case my own face), then I set up a reflector to reflect more light on the subject. This might sound like a pain to do, but it’s actually much easier than having to brush out dark shadows in each picture later on in post editing. This is the reflector I use: 5 in 1 Reflector. I also frequently use this reflector in my interior shots.
How to Achieve the Best White Balance
Use an Expodisc
I love this picture of Asher and our next-door neighbor’s horse, Blaze. You can see Blaze’s breath in the photo. 😊
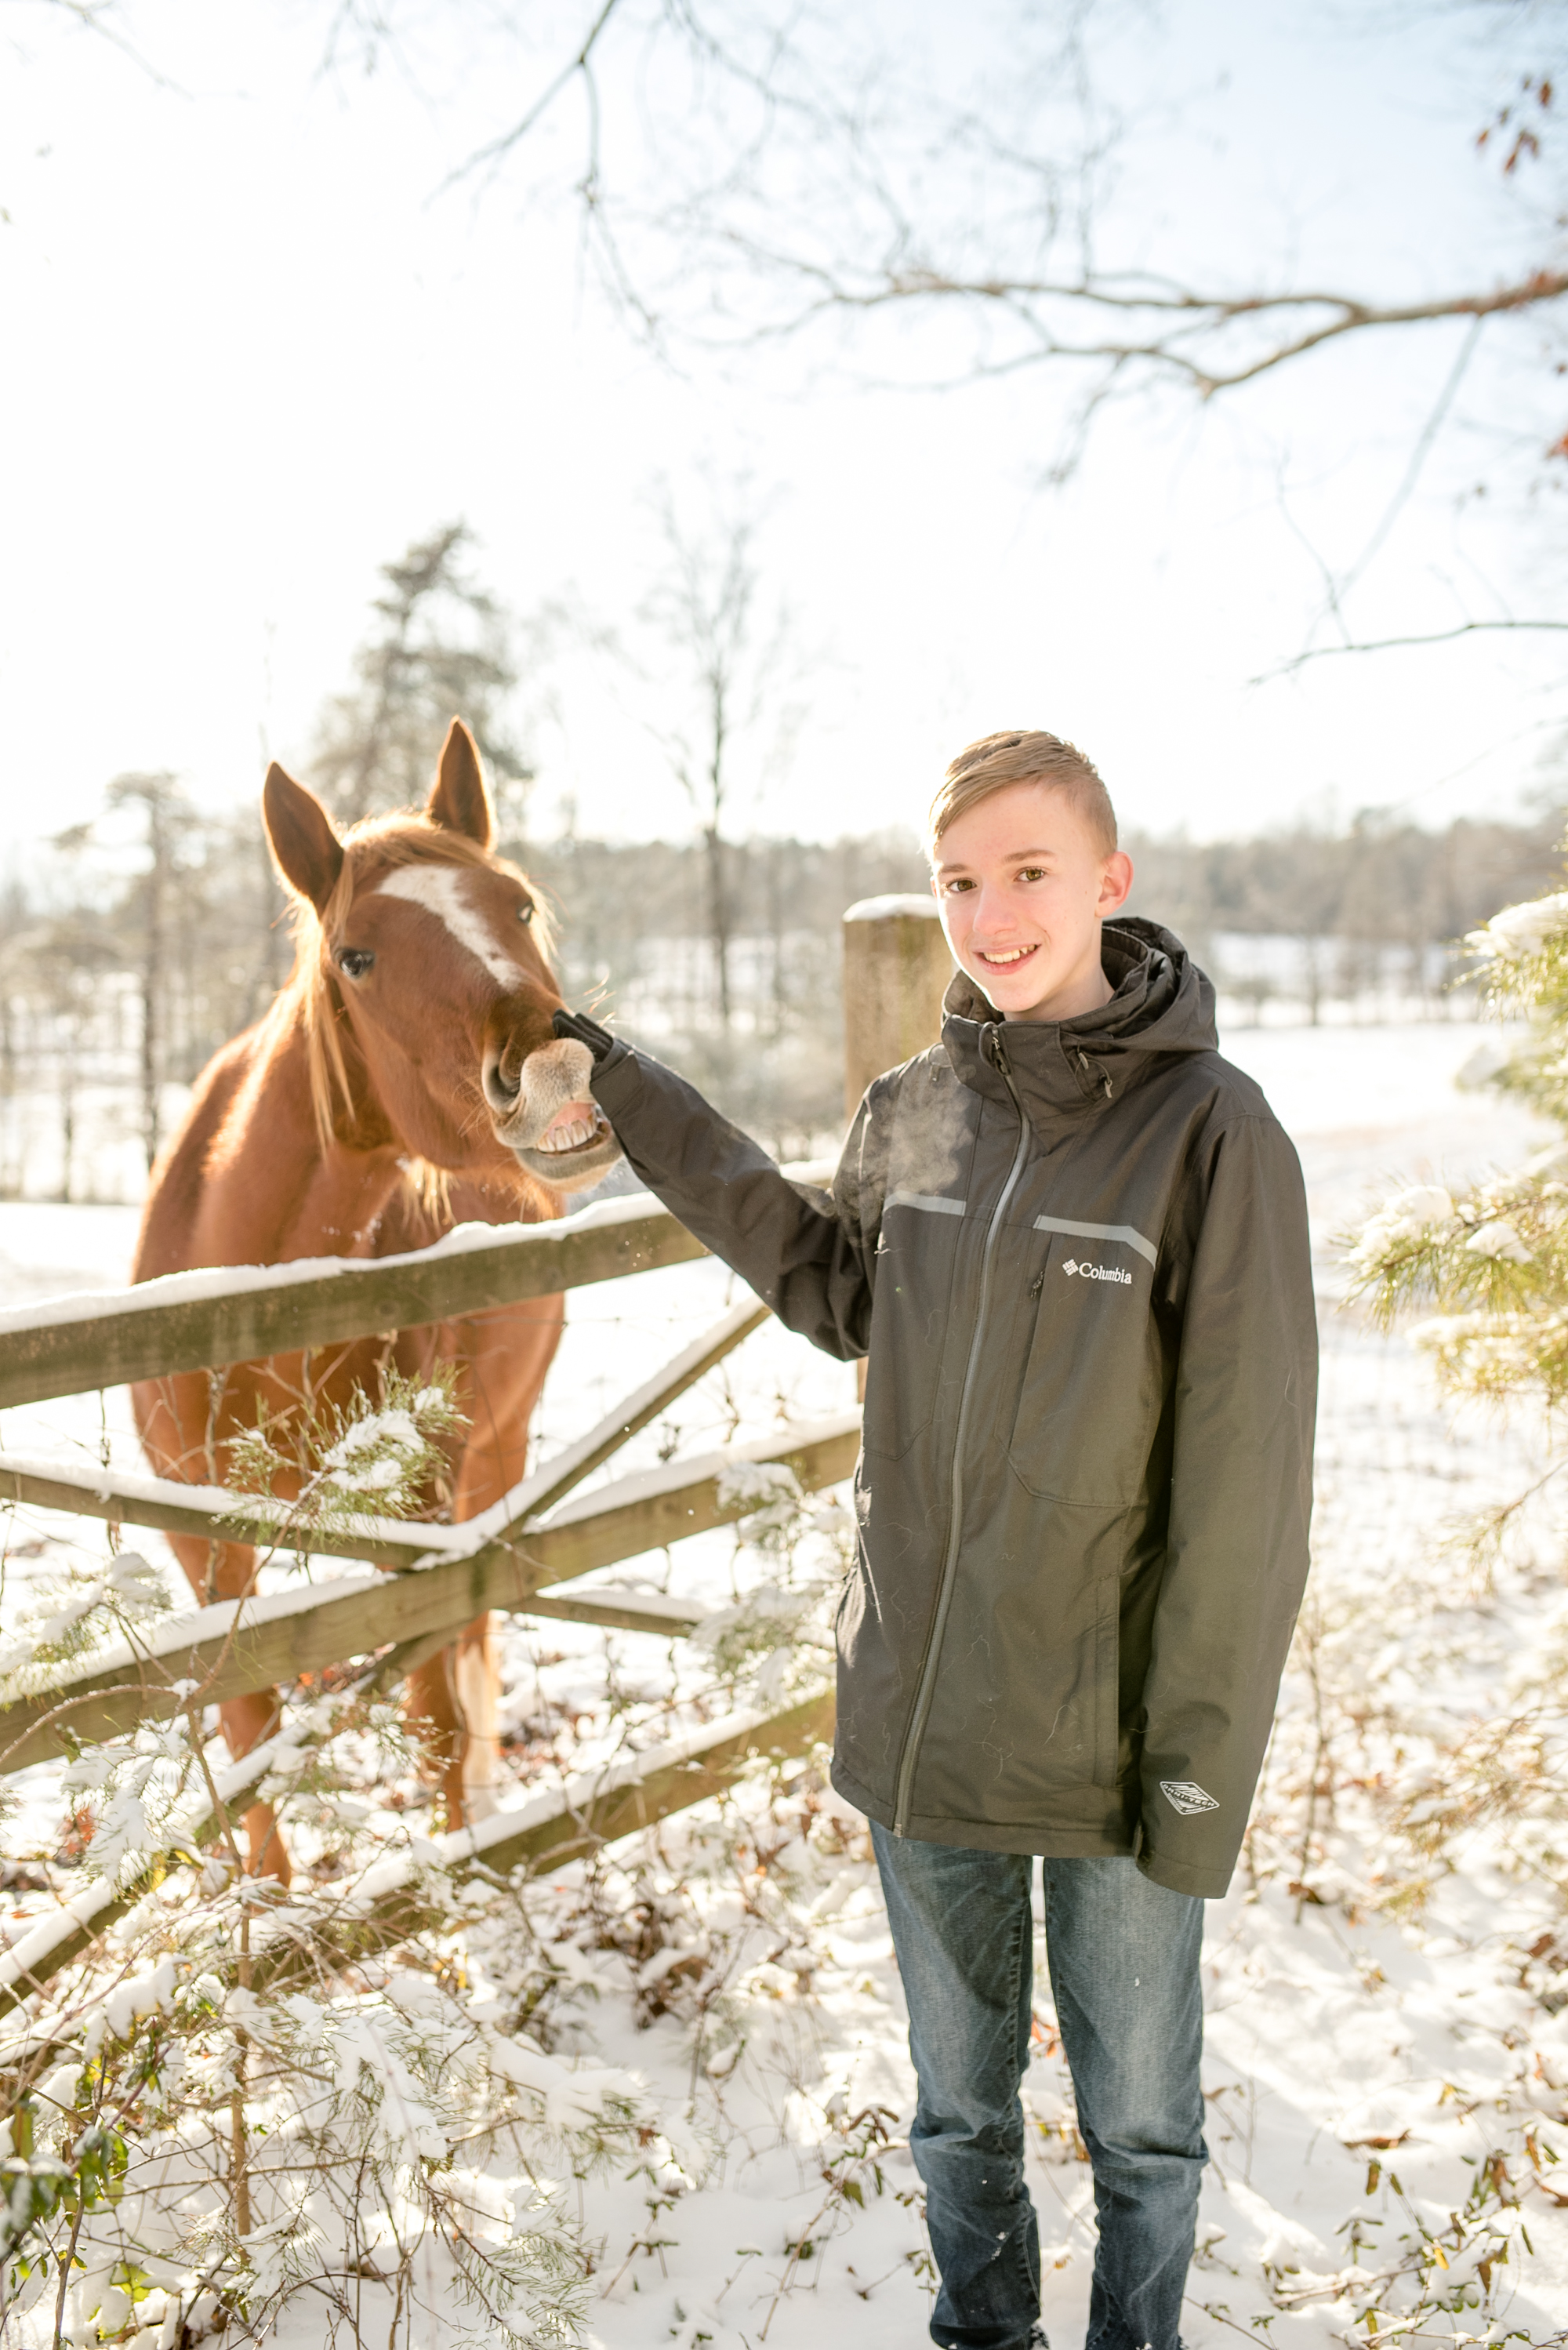
My boys are growing up so fast and it’s fun to be able to capture some sweet photos of them!


How to Capture Good iPhone Photos
Tip 1: Use Portrait mode!
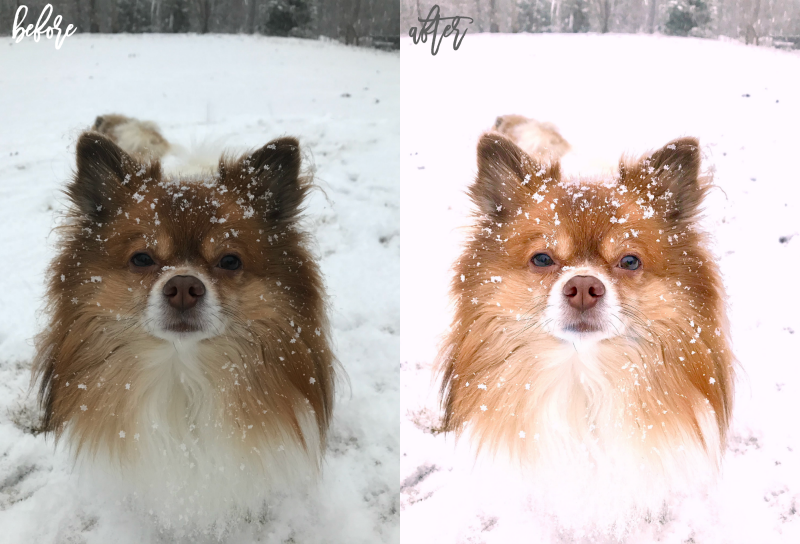
This cute photo of my Pomeranian was taken on my iPhone 7+ using Portrait mode. Portrait mode is a camera setting on newer iPhones that allows you to have some depth of field, blurring the background.

As much as I love portrait mode, I have a much trickier time capturing perfect photos on my phone straight out of camera and always have to edit my iPhone photos to capture the look I want. Here is a side-by-side comparison of my straight out of iPhone picture compared to the edited version.
Tip 2: Use an app to edit your iPhone photos.
The editor that comes with iPhone just isn’t my favorite, and I rarely use it. My favorite iPhone editing apps are Snapseed and VSCO. However, I don’t typically use the filters offered on the apps to edit my pics. I like to use their “tools” section and control each and every edit myself. Since I like my photos to be light and airy, I up the exposure, eliminate shadows, and then add back in some contrast for depth. I also typically sharpen all of my photos using the sharpening tool.
If you haven’t invested in any good editing apps on your phone, you are missing out! I think you’ll be surprised by the improved quality of your photos once learning these apps. Again, there is a learning curve to learning how to use the tools on the app, but when in doubt–Google is your best friend! Just google the apps name and video tutorial and you will have a myriad to choose from.
My Camera Equipment
Here is the gear I currently rely upon:
- Camera body – Nikon D810
- Favorite Lenses
- Sigma 35 mm 1.4 lens
I use this lens the most and love it. It takes very sharp photos with great depth of field. Good lens for close-ups and detail shots as well as portraits.
- Nikon 50 mm
This is also a great lens to own. It’s known as the “nifty 50” and is very affordable. It’s a good close-up lens.
- Nikon 24-120
This is a great versatile lens that allows you to zoom. I use this for all of my pulled back shots and full-room shots.
- Sigma 35 mm 1.4 lens
- Reflector Disc- 5 in 1 42″ Reflector
- ExpoDisc
– Great for achieving correct white balance straight out of the camera. Get the largest one available so that it fits all of your lenses.
- Tripod – Manfrotto MT055XPRO3 Aluminium 3-Section Tripod Kit – This tripod is great for flat lays as well. It has a built-in beam that can be used to shoot over a subject.


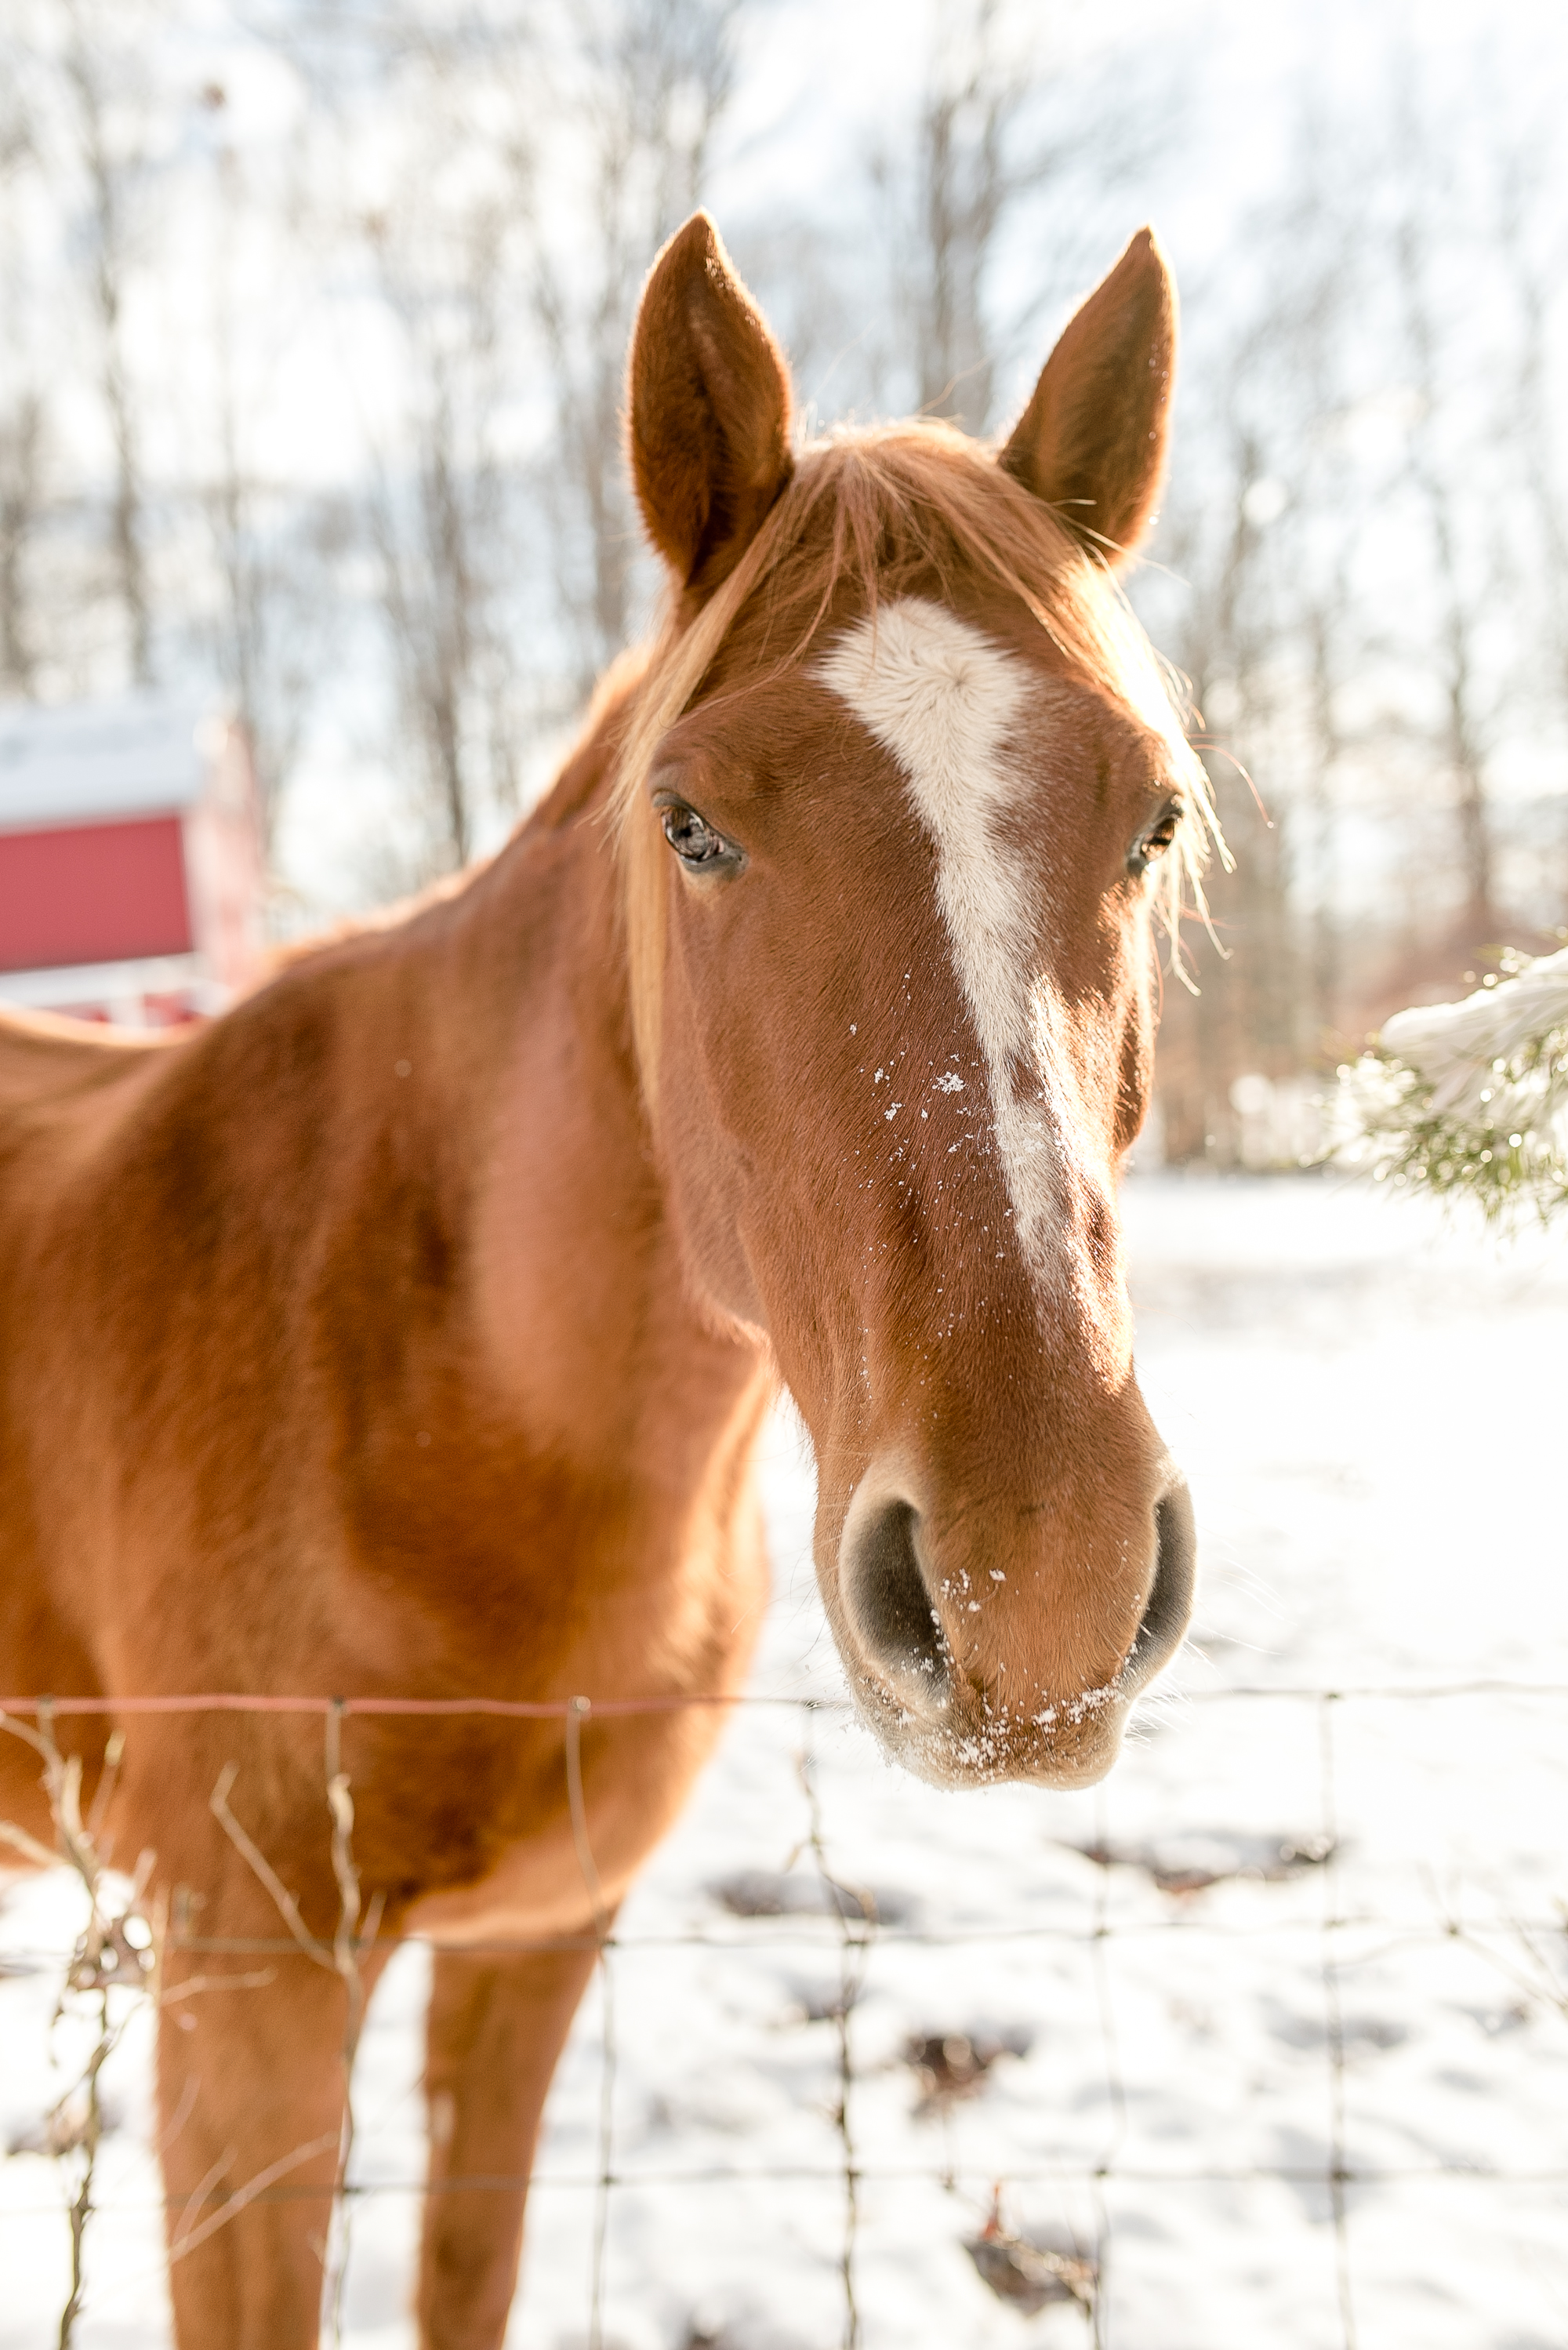
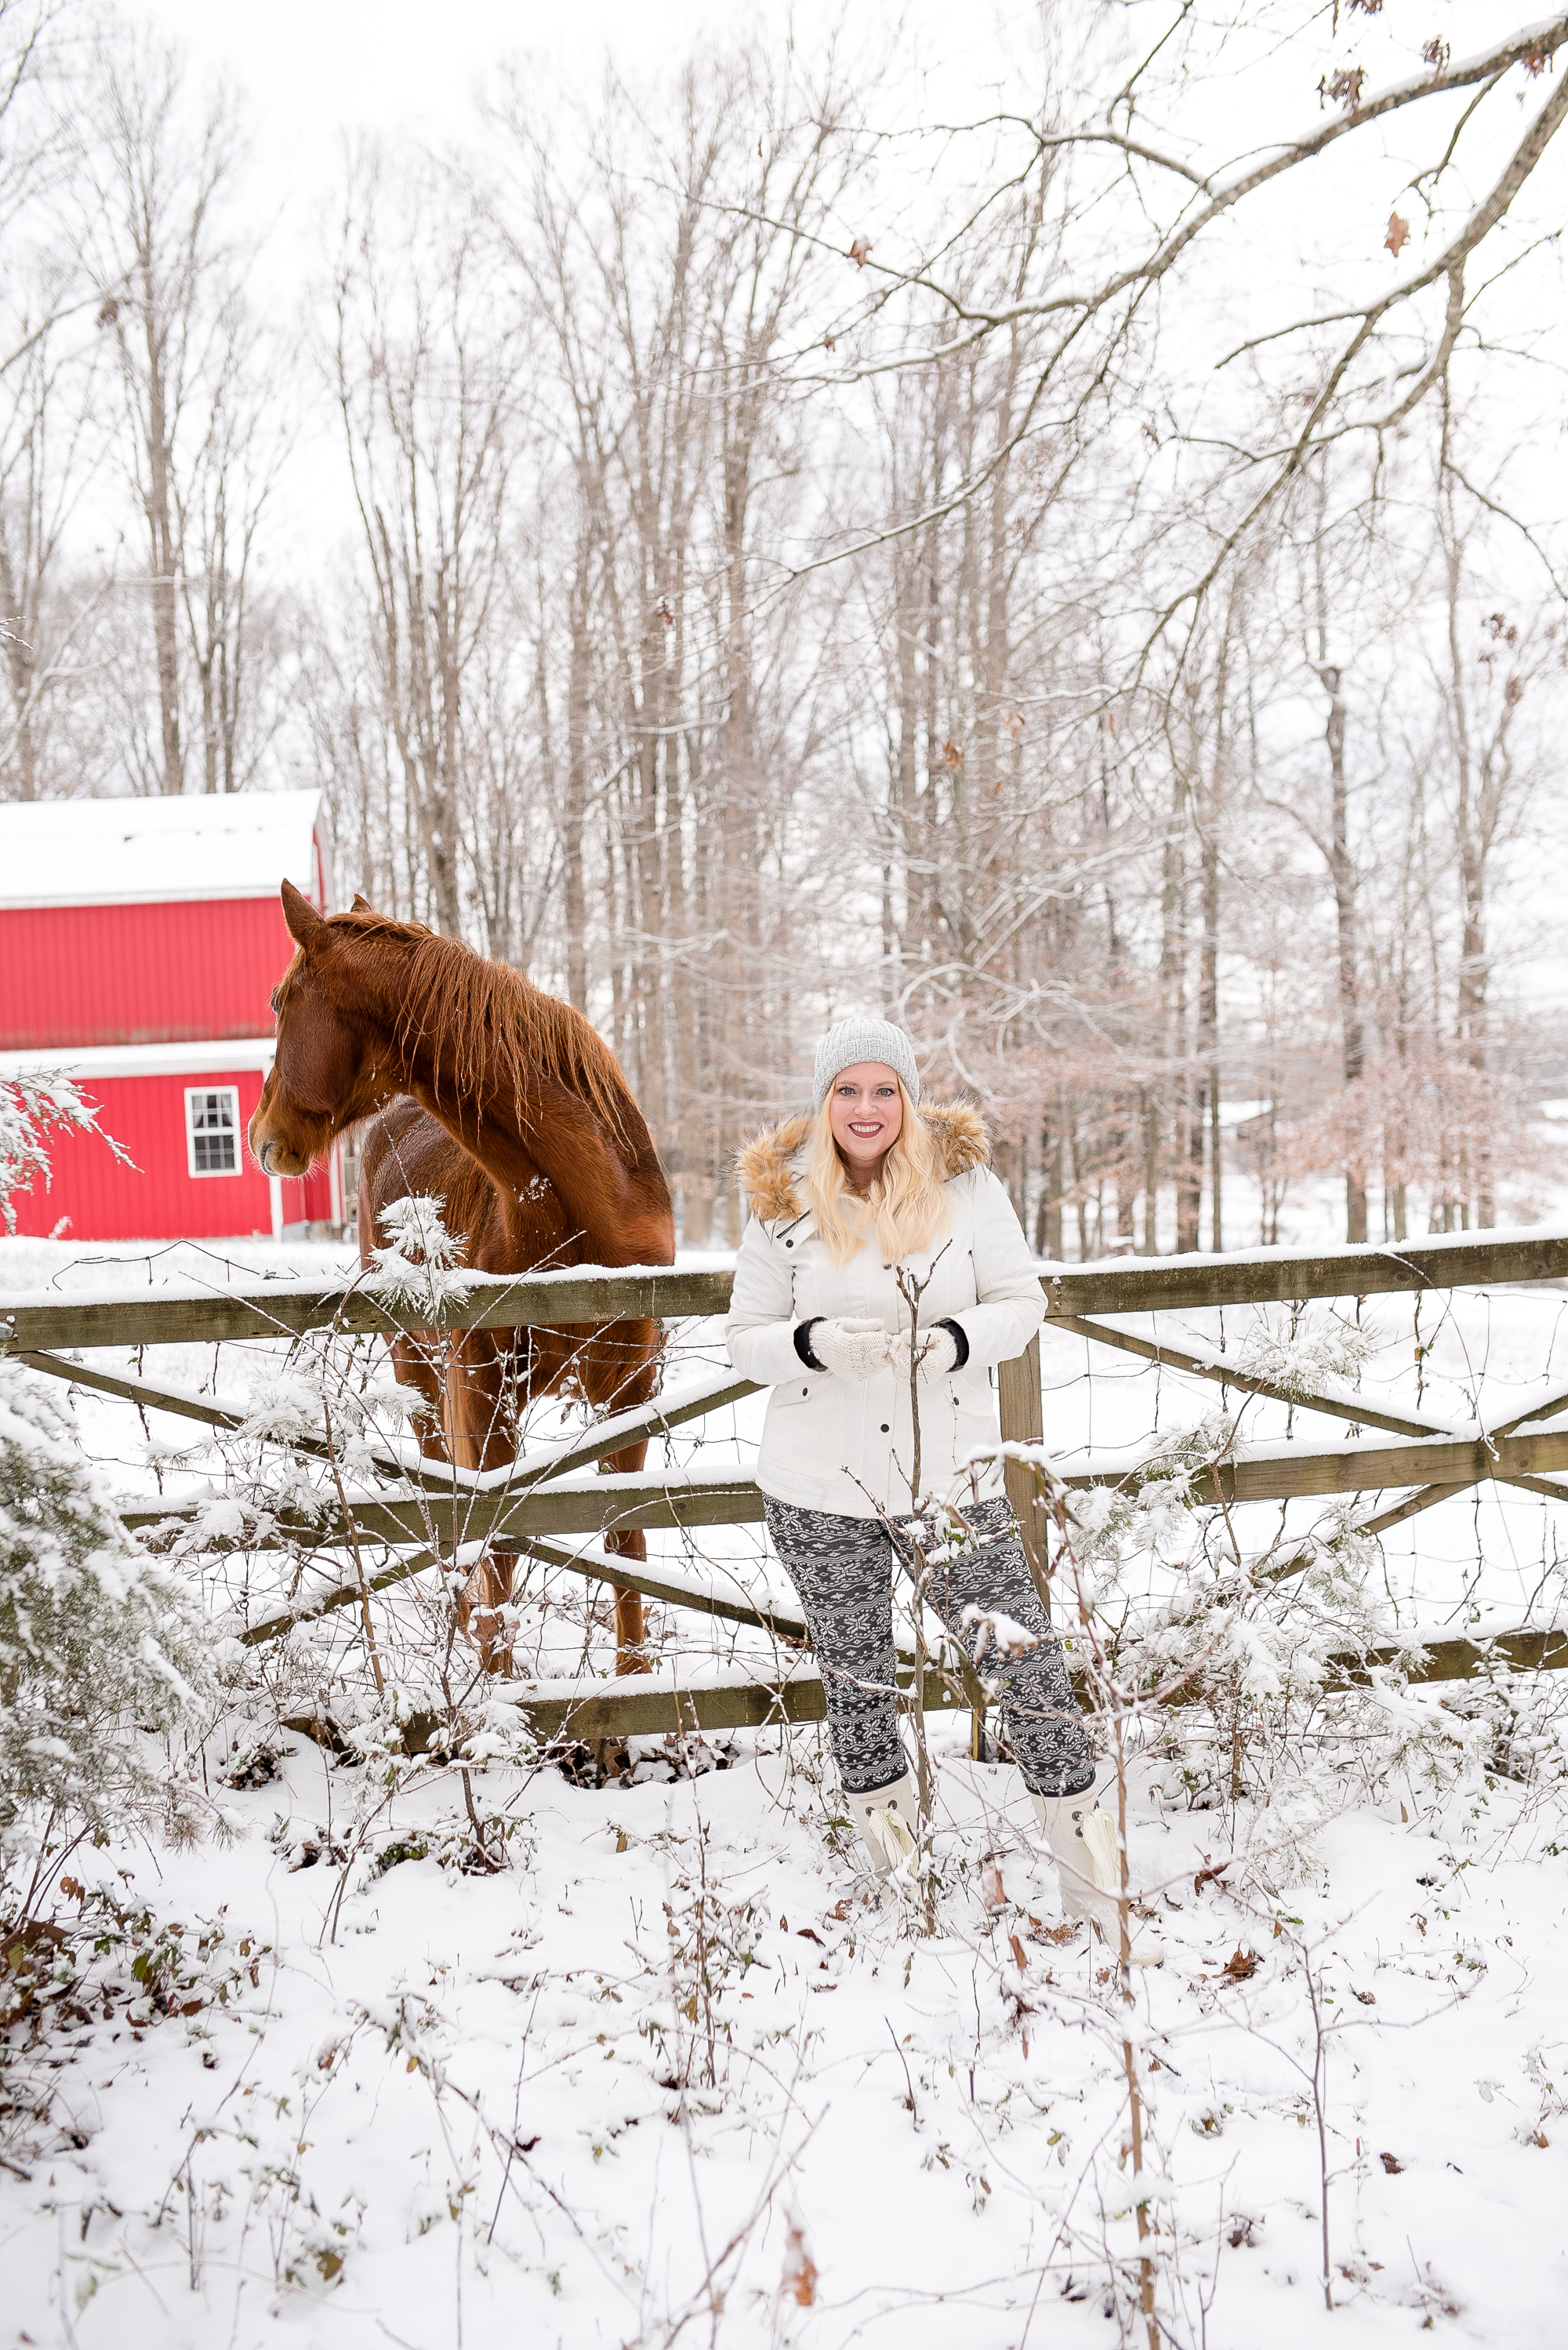
Just for Fun
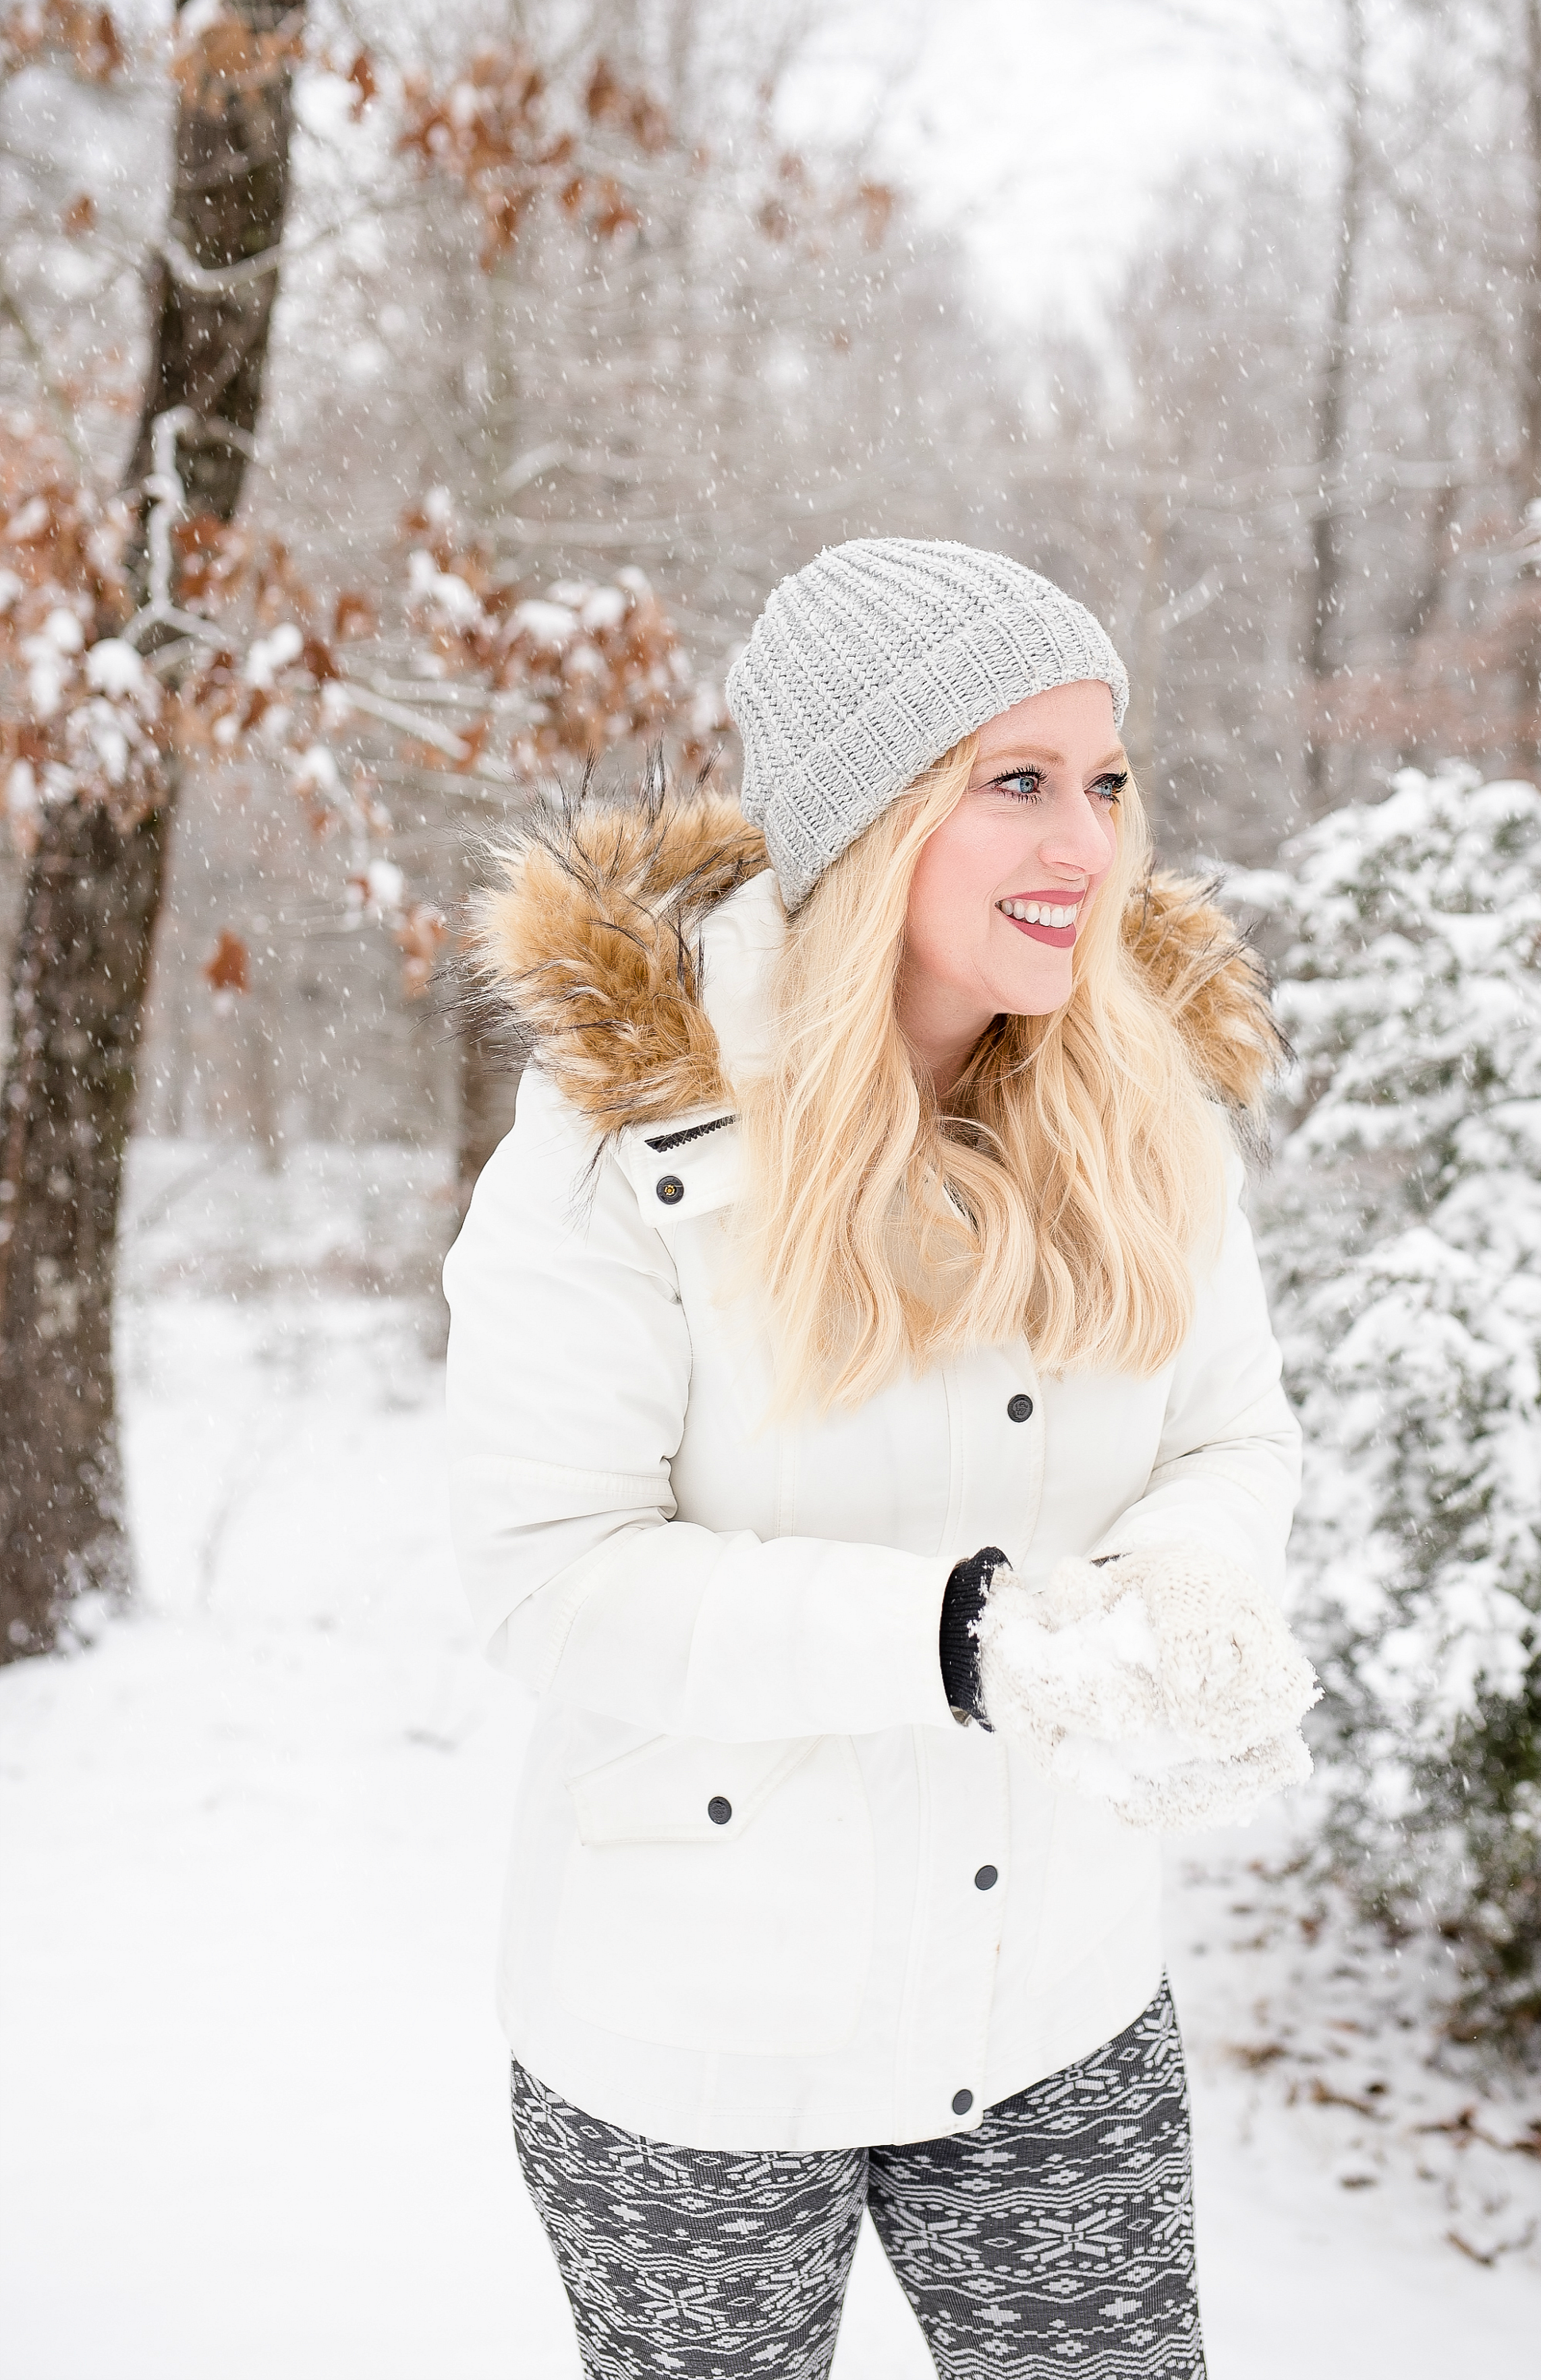
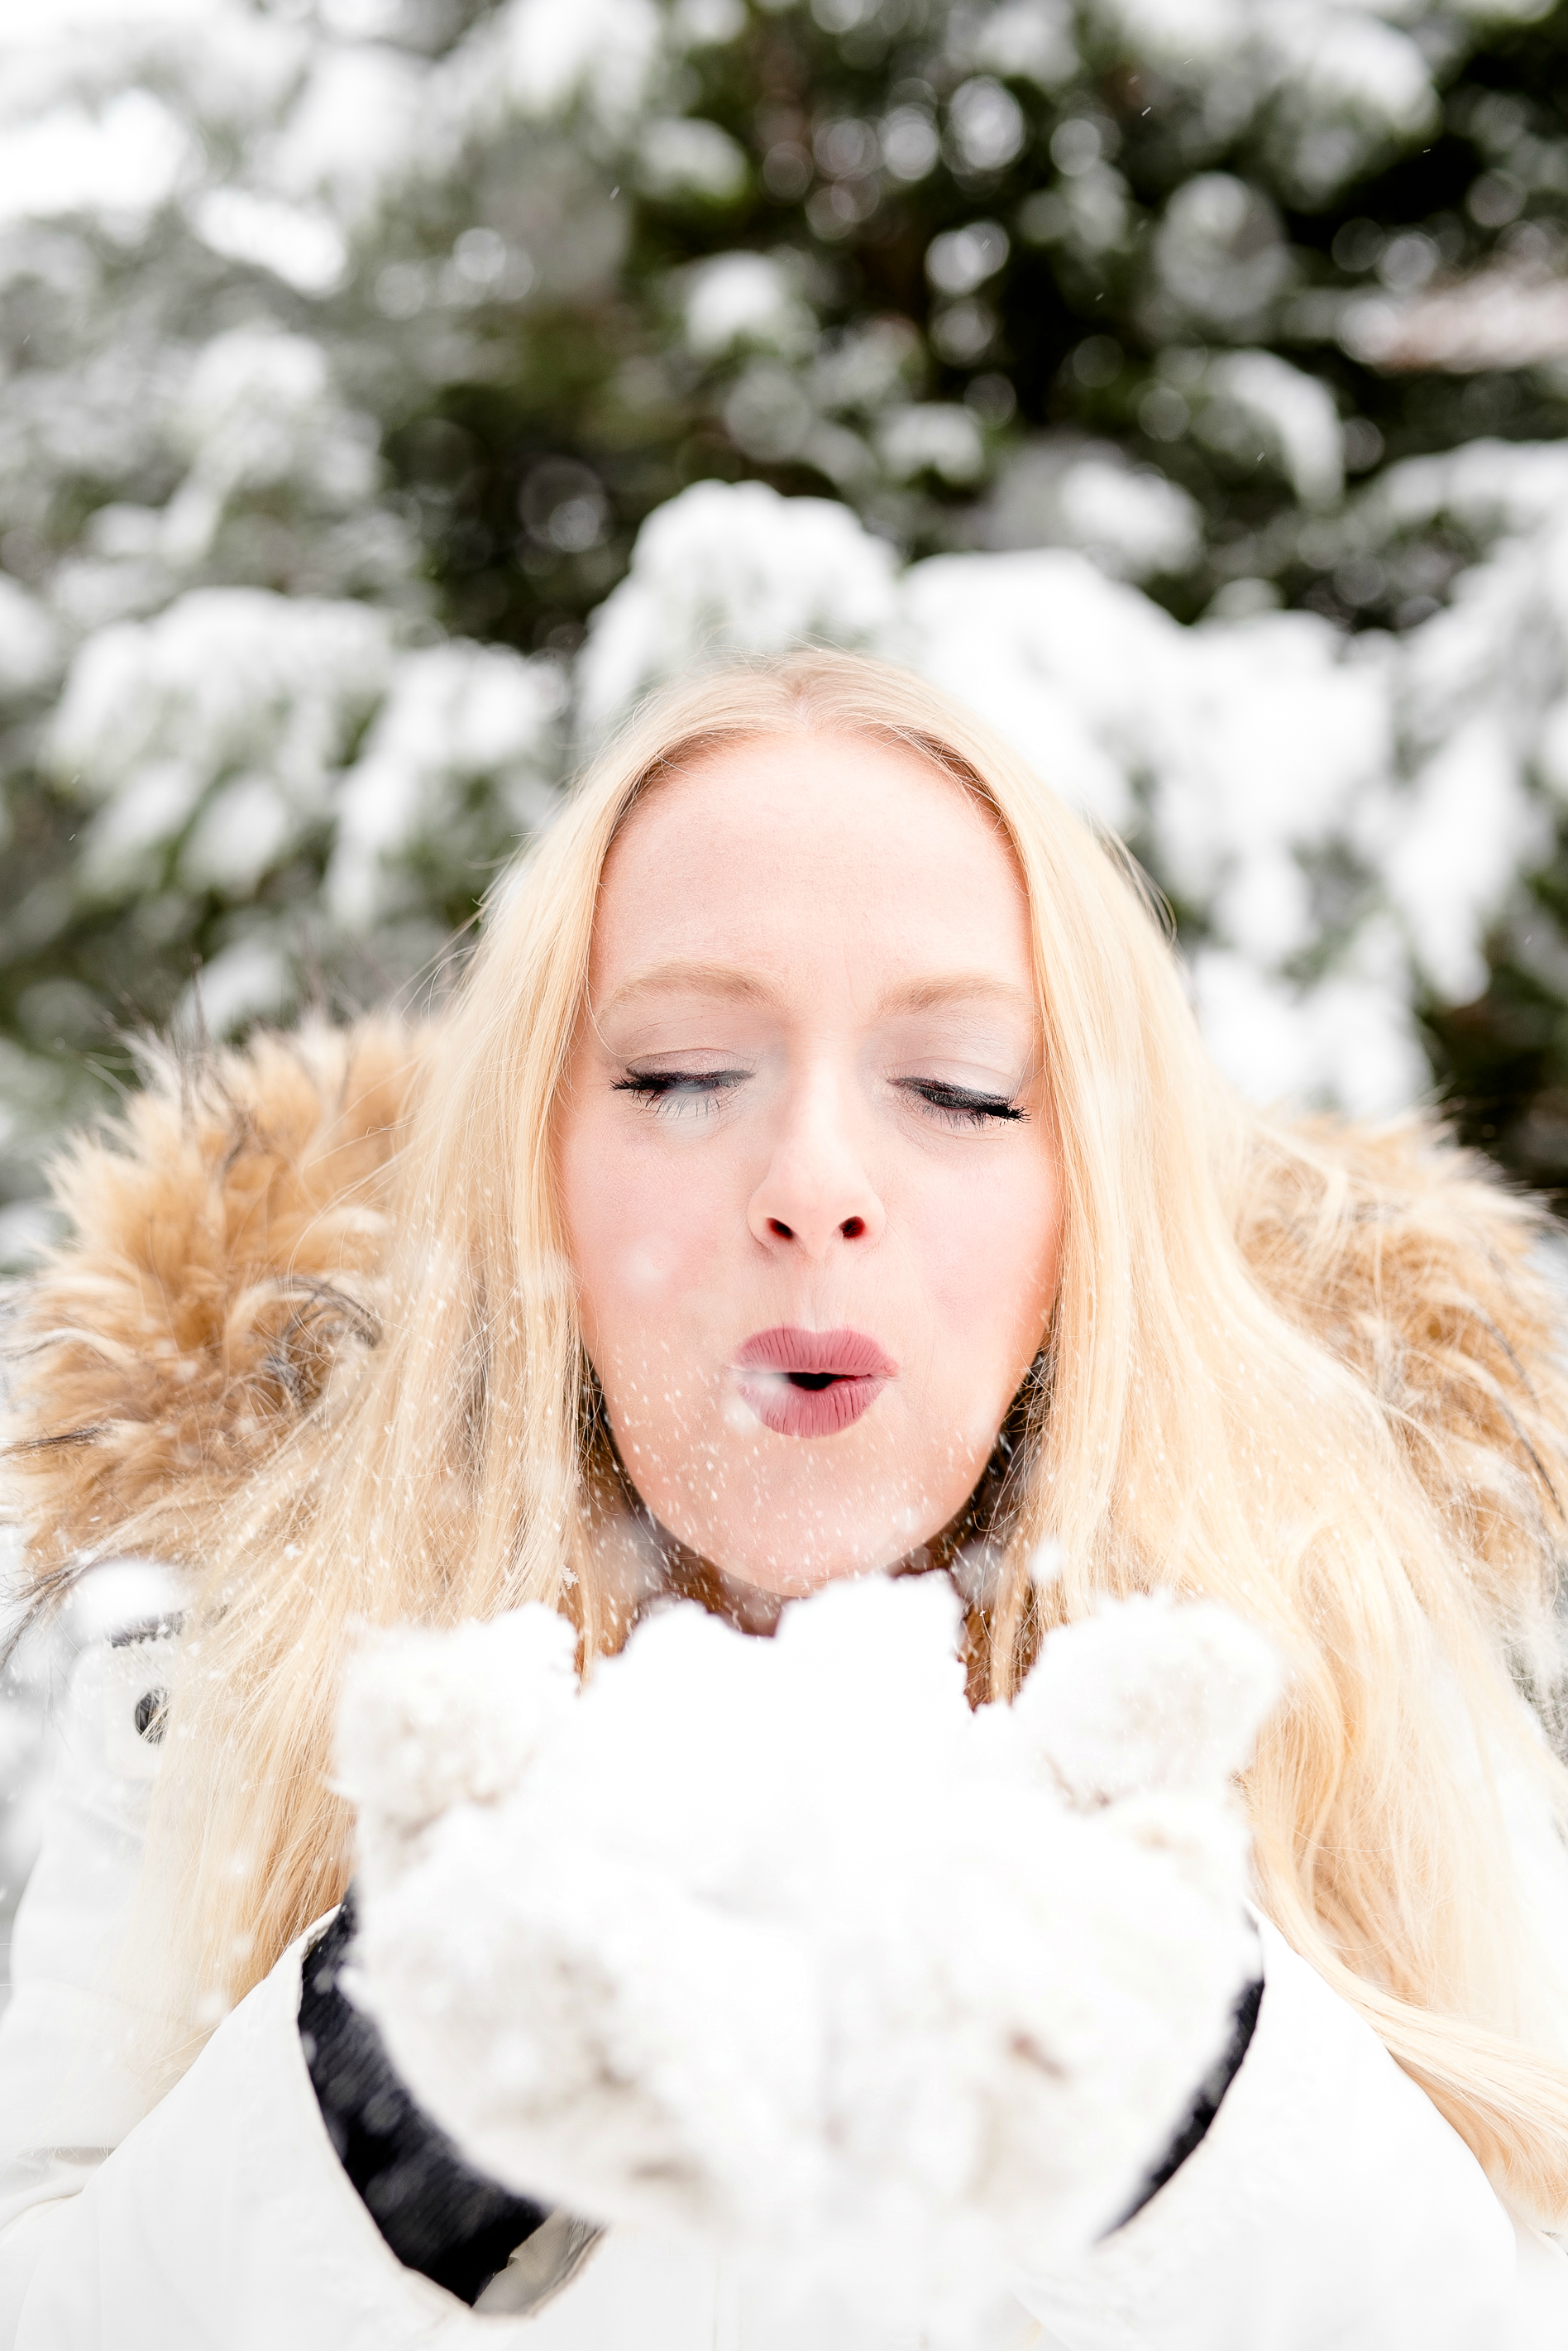
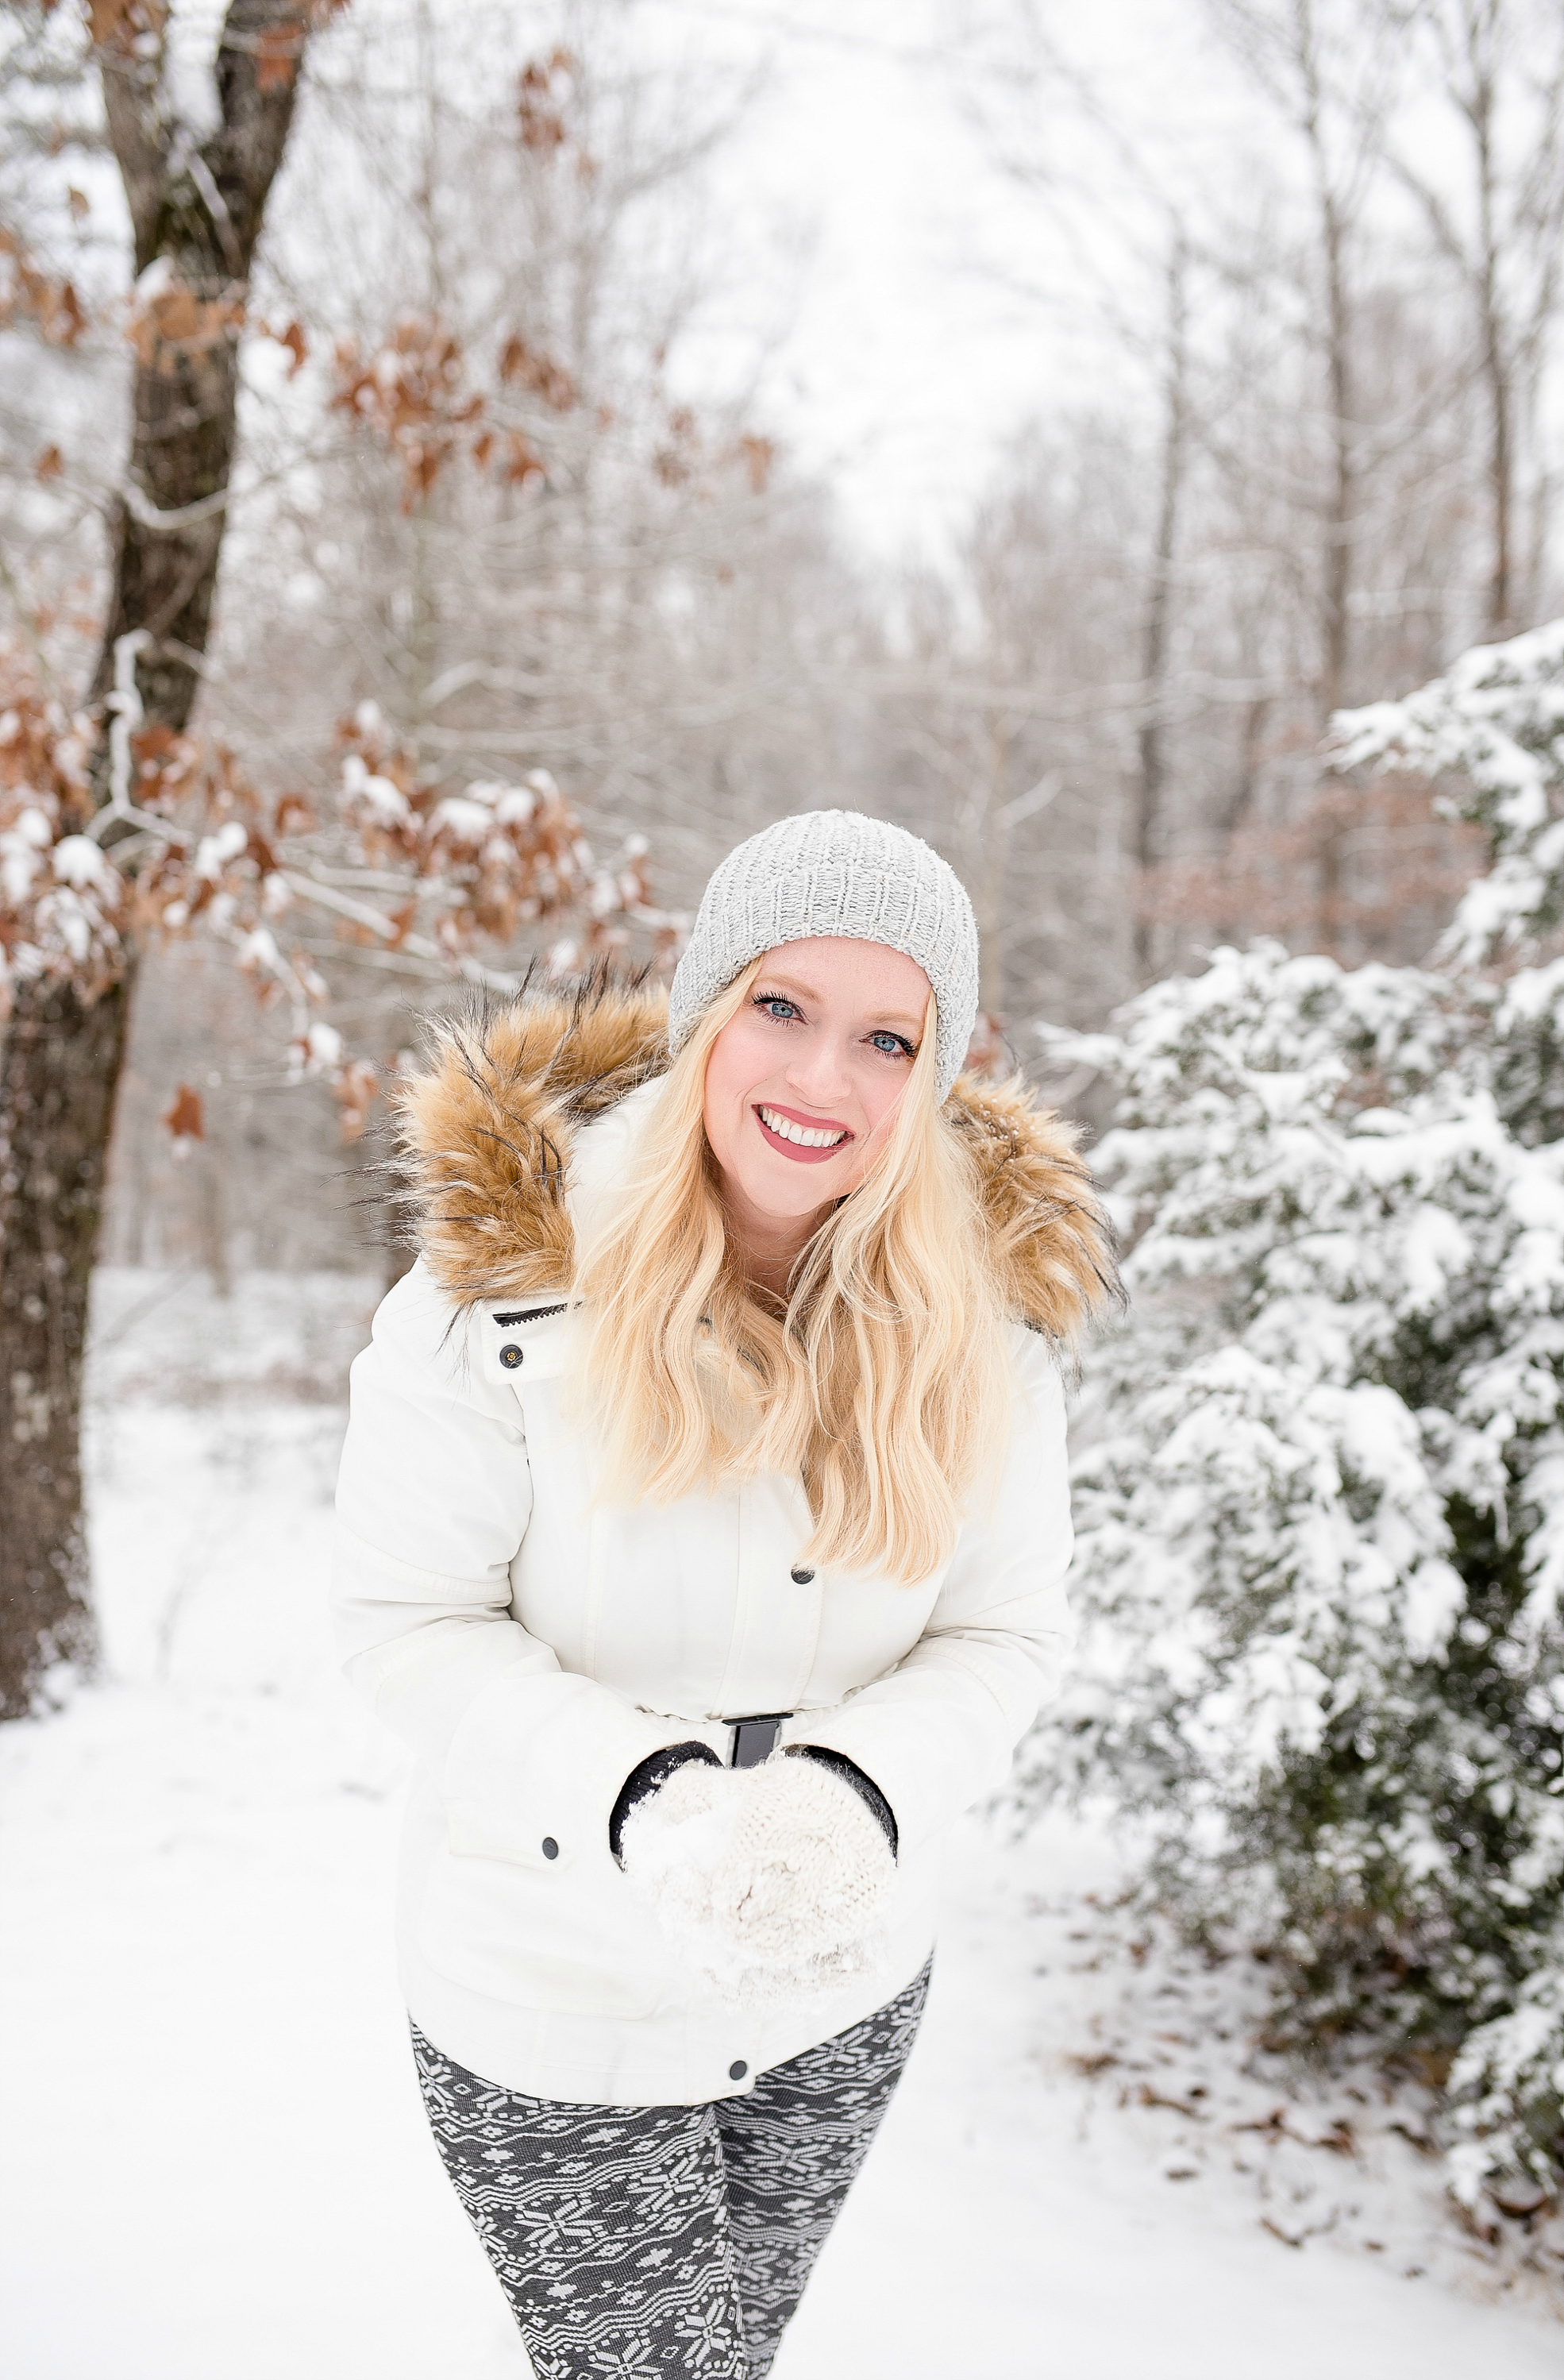
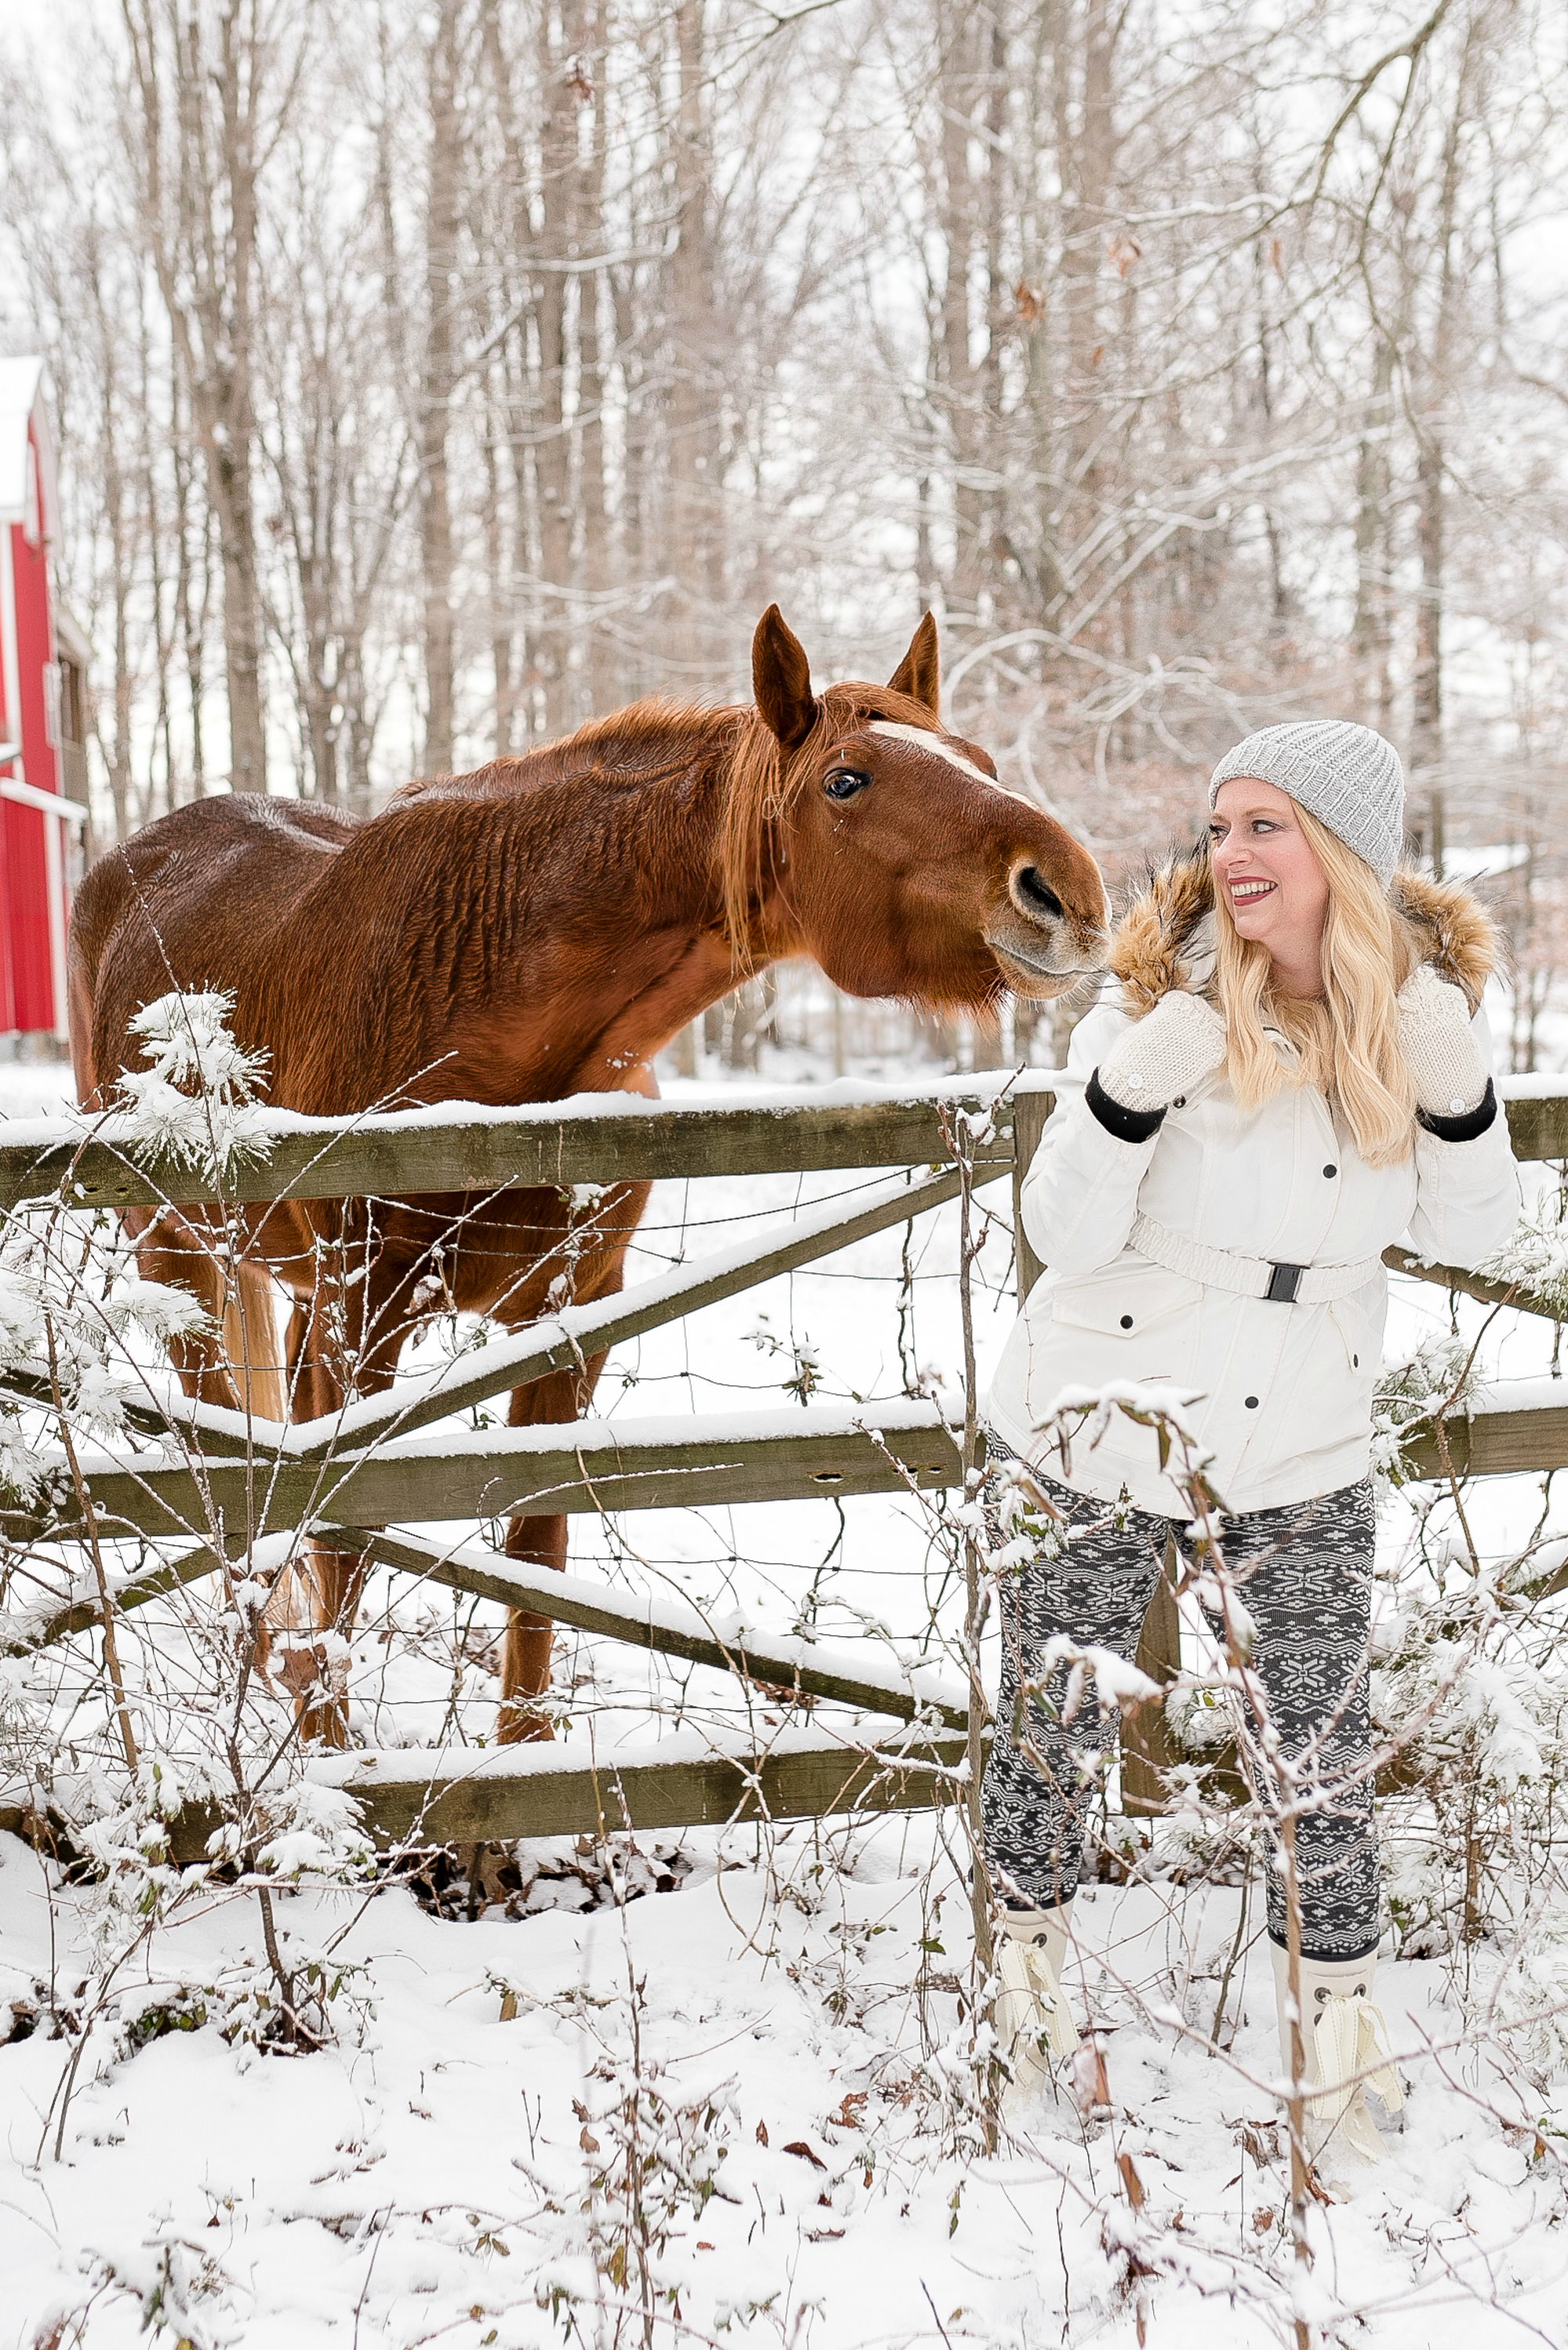
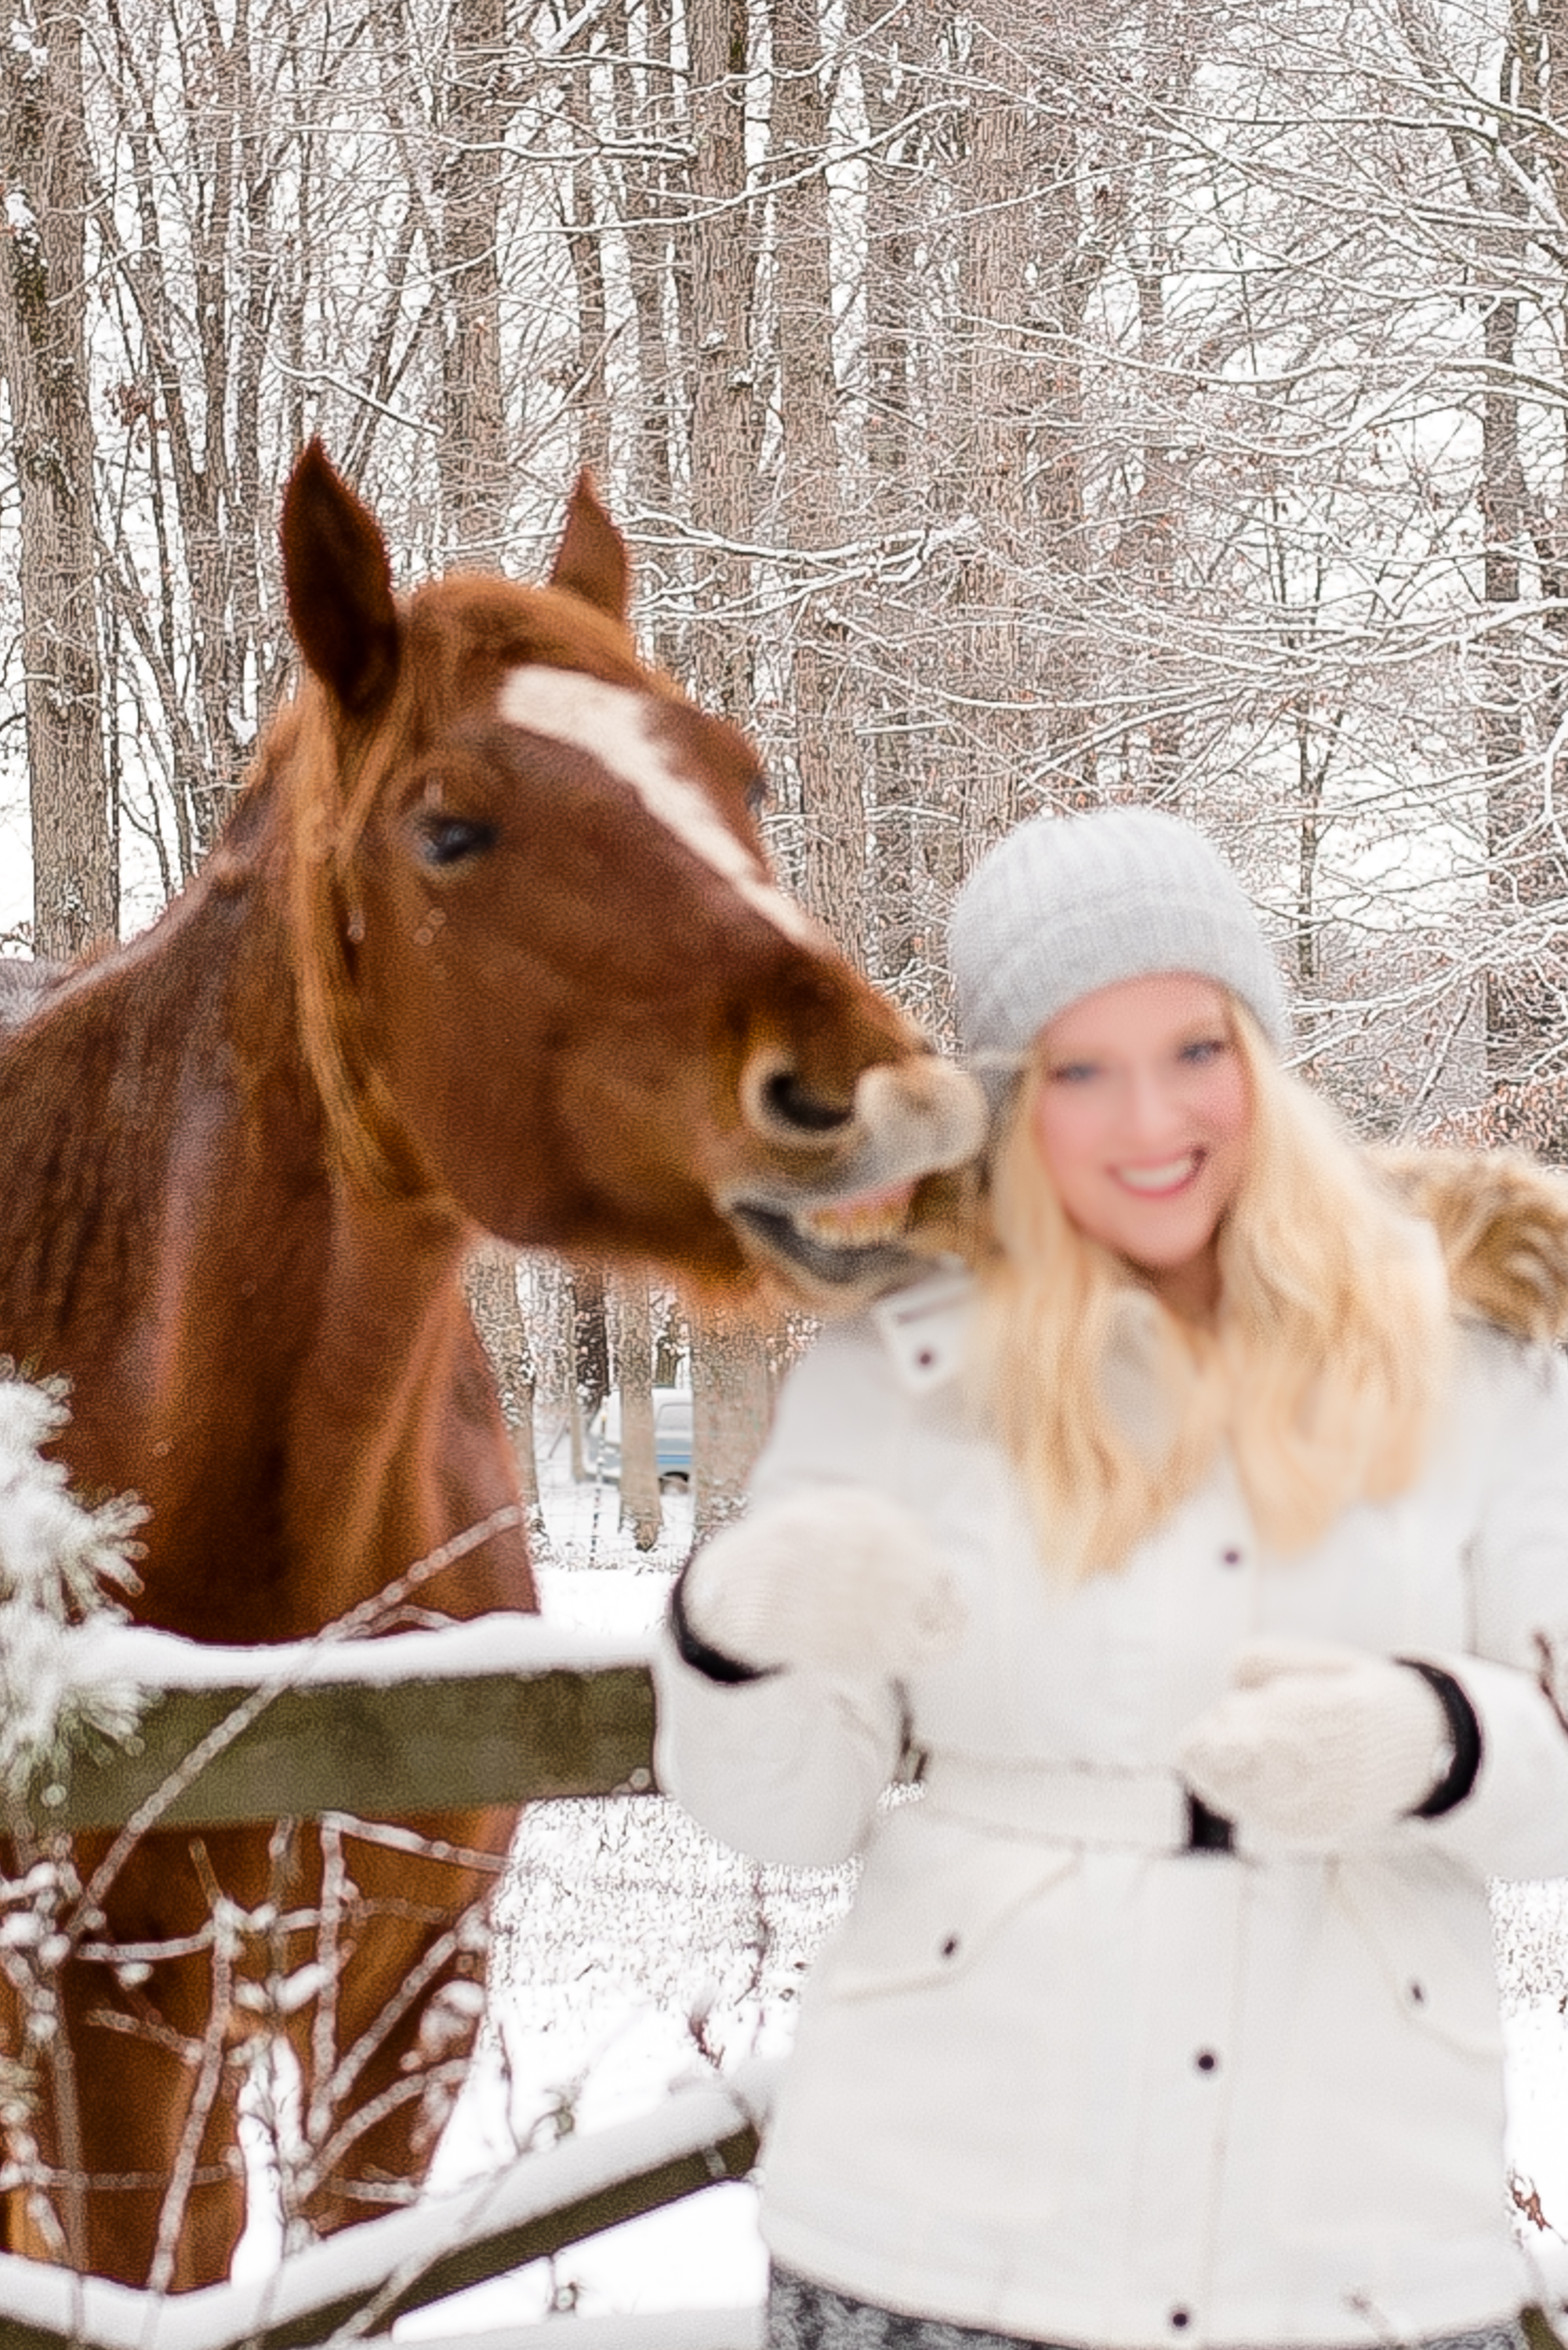
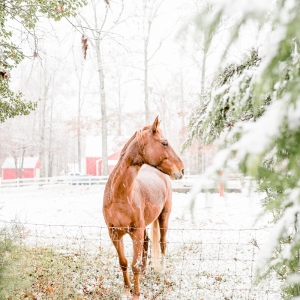
Here are a few more photos of the day for you. I wanted to get a picture of myself with my favorite horse, but he just wanted to munch on my coat hood! You can see how that ended up going for me in the pics. 😂
Thanks for stopping by! If you liked this post, then you might like the following:
3 Reasons Why Your DSLR Pictures Still Stink
How to Prepare for Fabulous Family Pictures {family pictures}
Family Photos at The Star Barn {family portrait ideas}


Beth, these photos are gorgeous. Thank you so much for sharing your tips and the equipment you currently use. I’ve just upgraded and switched from canon to nikon. Excited for it to arrive.
Thanks so much Danielle! I know a lot of photographers switch from Nikon to Canon (and not usually the other way around), but I switched from Canon to Nikon and haven’t been disappointed.