Fall is the perfect time of year to capture your outdoor family photos and family portraits! It is also the perfect time to begin thinking about those Christmas card photos. While I fully believe in hiring a professional photographer for optimal results, the annual cost of a professional photographer is not always feasible. Today I wanted to share some family photo tips for the amateur photographer.
Family Photo Tips 1: What to Wear
Think coordinated not “uniformed”. Rather than dressing everyone in a sea of jeans and white T-shirts, try having family members look coordinated rather than “uniformed”. Pick a color palette that complements the skin tones of your family and works together as a composition. If this seems daunting, remember that some color combinations, such as neutrals, are much easier to pull together than brights. Browns, creams, tans, and grays, all look lovely with blue jeans.
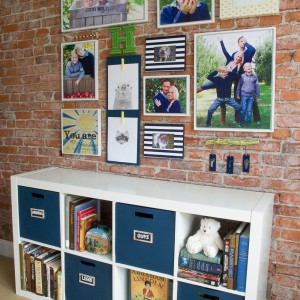
Think “gallery wall shots” and home decor. If you will be using your photos to create a gallery wall, take cues for your outfits from the existing color palette of the room. By coordinating the colors of your outfits to your room’s interior, you will achieve a gorgeous end result! Not sure yet where these photos will hang? You can always play it safe by wearing neutrals and allowing the background of the picture to provide some color.
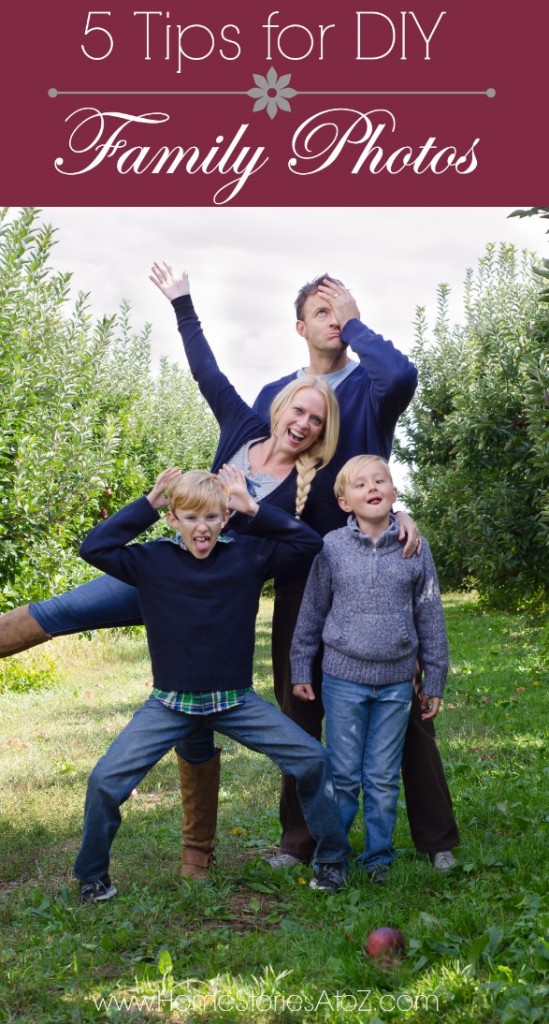
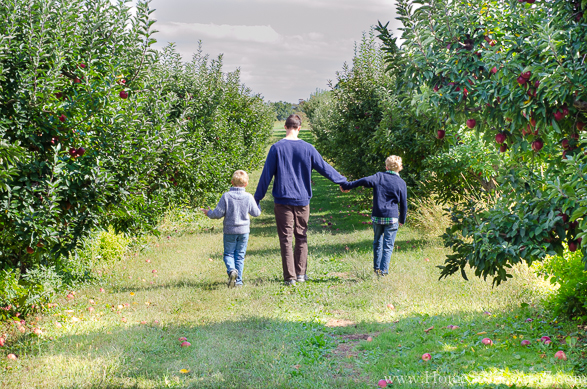
Think about the color wheel. In the photo below, the color palette is predominantly navy and green. I knew these colors would look lovely against the complementary reds of the apples. These photos will be used in my boys’ bedroom and will look lovely on their navy colored walls.

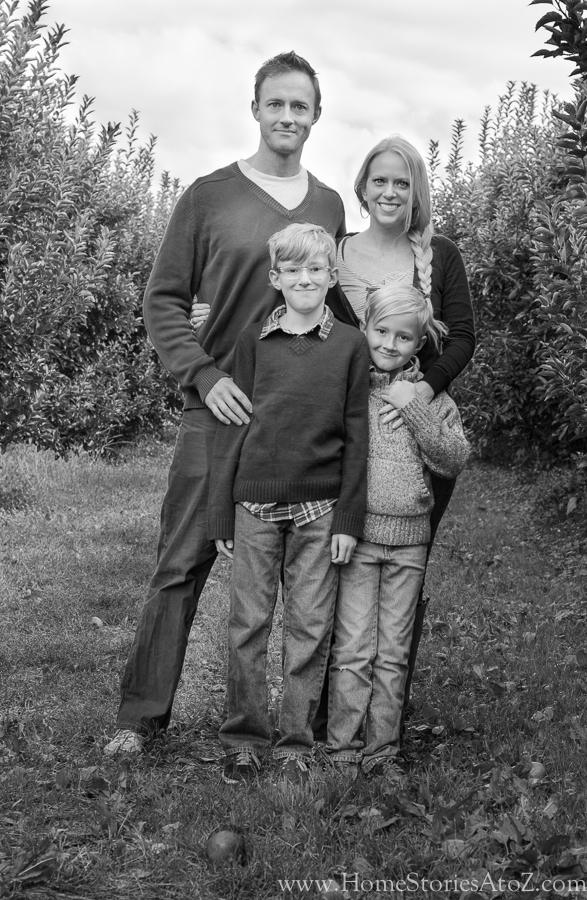
Think about contrast for black and white photos. If you know beforehand that black and white photography is what you desire, be sure to add texture to your clothing and alternate family members in dark and light colors. You can see below that my oldest son’s sweater blends in too much with my husband’s sweater. A lighter color sweater on one of them would have worked better for this photo finish. For black and white photography, it is also important to take into consideration the contrast of the background you are shooting against. Lighter colors show up better against the leaves of trees.
Think texture over pattern. Having one family member in a fun pattern that pulls together the entire color palette can be very cute, especially in large families. However, limiting patterns to those that are classic (stripes and plaids) and adding texture through sweaters, scarves, and jewelry is a better way to go. Too much pattern will make your photos look busy and dated.
Family Photos Tips 2: What to Use for DIY Camera Settings
DSLR camera, iPhone, or Point and shoot. I have been consistently using a dSLR camera* for about four years now. While I’m certainly not the best at it, I enjoy photography and am working on improving my skills all the time. If you want the best quality photos, I recommend investing in a dSLR camera and a 50mm lens. Most of these photos were taken with the following manual settings:
- ISO 100
- 50 mm lens
- f/5
- 1/60 seconds
iPhone 5S and up can work in a pinch. Since I was the photographer for the day (and I forgot to bring my tripod) the picture below of me and my husband was actually taken by my 10-yr-old son using my iPhone! The clarity is not as good as what I can achieve on my dSLR, but I absolutely love this photo of the two of us and feel it is “print worthy”.

Family Photos Tips 3: Choose your Setting and Background
Think outside the box. I live in Pennsylvania and we have so many picturesque places for family photos that narrowing it down is the challenge! The following places are all potential hot spots for beautiful family photos: parks, rivers, beaches, markets, orchards, farms, walking bridges, woods, museums, gardens, and even your own backyard. If you live in an urban surrounding, old buildings, alleyways, brick walls, and old doors can make lovely backdrops. You should note that many public places such as gardens, farms, and markets have photographer’s fees for portrait photography. However, since you are just taking pictures of your family members as an amateur these fees do not typically apply. It’s always a good idea to check beforehand.


Family Photo Tips 4: Use photo editing software to edit your photos
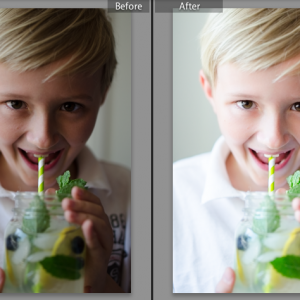
Save photos on external hard drive in case editing preferences change. It is the rare photographer who captures picture-perfect images straight out of the camera. In fact, I would venture to guess that that photographer simply doesn’t exist. Professional photographers edit their photos and how they edit often determines the photographer’s brand and style. Below are two photos that I took of my son, Asher. The first was taken when he was 5 years old and the second when he was 10. Unfortunately, my hard drive crashed years ago so I do not own the original unedited version of the first photo. Back then, you can see that I liked using photo filters and effects. Today I prefer a much cleaner and “less edited” look. The moral of the story here is to save the originals of your photos on an external hard drive so that if your editing preferences change over the years you can always grab the original and start over.
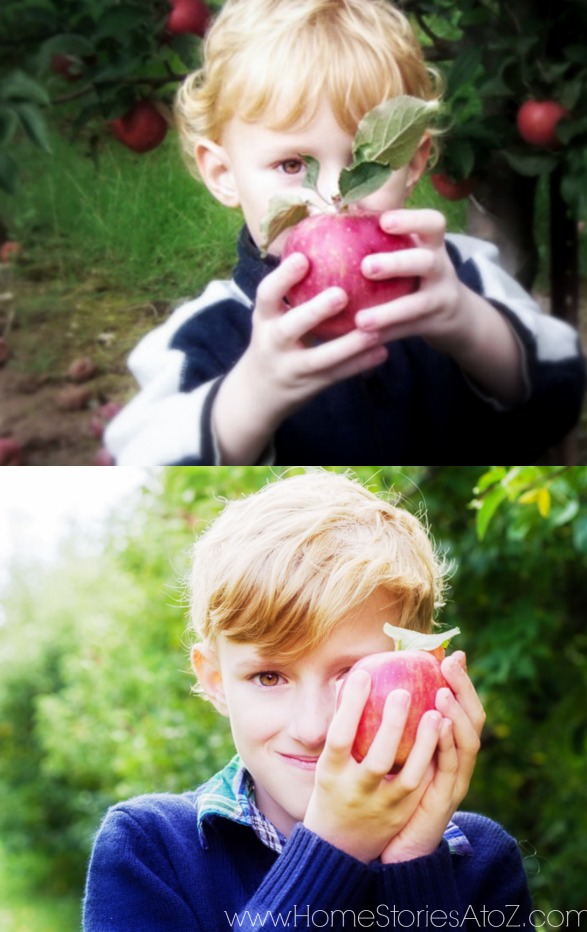
Below is a cleaner, less edited version of Asher’s photo and the one that will look much better in print!
Use Lightroom. I just started using Adobe Lightroom* to edit my photos and am LOVING the results. I’m still learning how to use the software but I’ve found it worth the investment. If you’re not ready to commit to Lightroom, there are several free online photo editing programs that work well.
Family Photo Tips 5: Pick your Family Portrait Poses
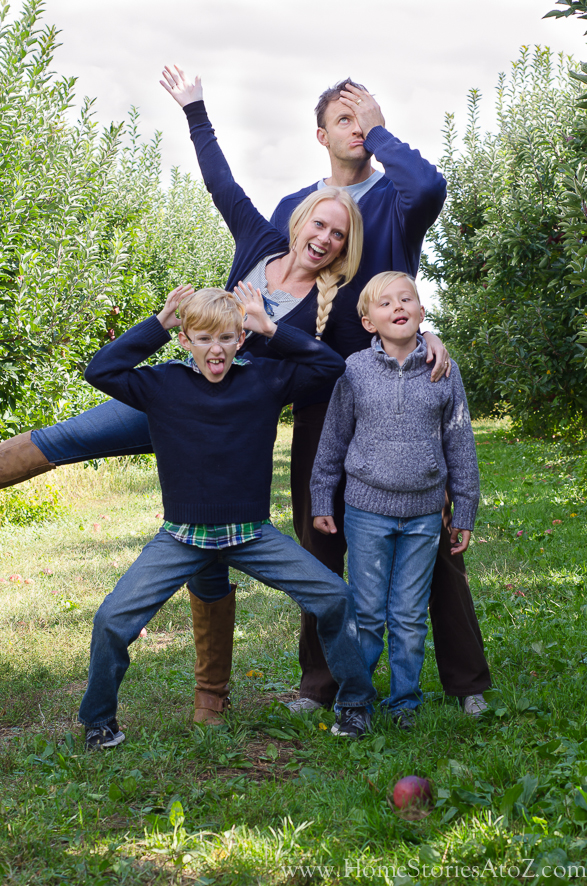
Let them be themselves. If you want a full range of family portrait poses, I recommend clicking on this link for my Family Portrait Ideas post which will give you a TON of additional posing ideas. Allowing your family members to be themselves and have fun is key. My boys are not big fans of smiling for the camera, so I try to keep things light and playful in order to capture their personalities and their love for each other.
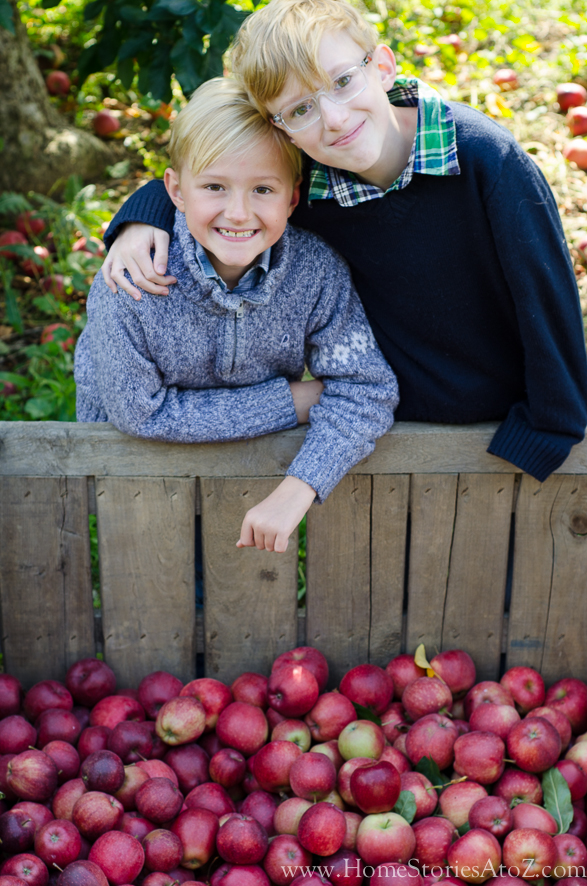
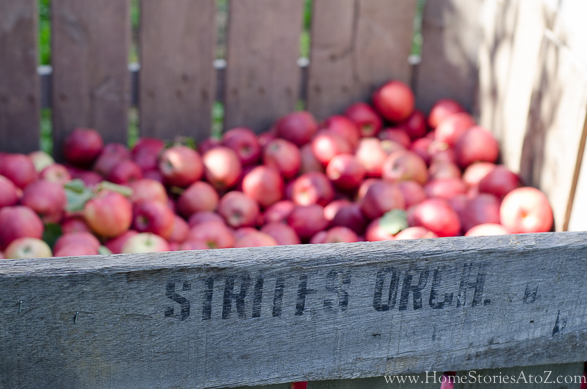
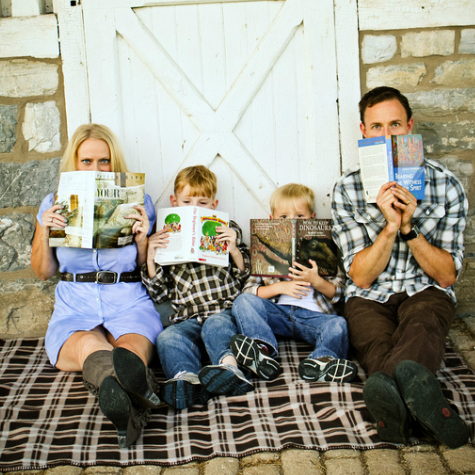
 Use available props. Depending on your setting, you will have natural props in your environment. Sticks, seashells, rocks, crates, ladders, acorns, apples, etc. can add playfulness to your pictures and give your kids something to “do” in the photo.
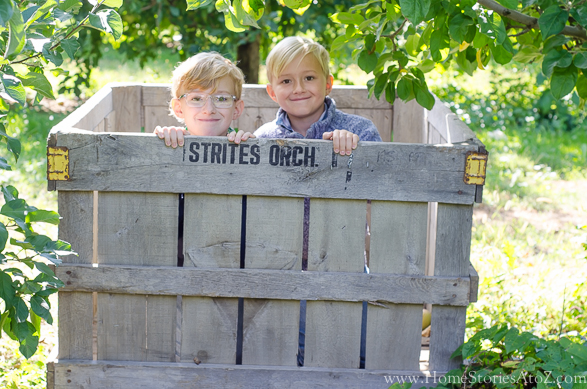
Your kids will be great at discovering the props in their surroundings all by themselves! Try to work in whatever they are drawn to into your photos.

Capture them walking. My boys still love to hold our hands when we walk somewhere. I know the days are numbered on how long they will be willing to do this. Capture them holding your hands while you still can!

Get artsy. I love this photo of the apples in focus and my family in the background. While it wouldn’t make the front of my Christmas card, it does make for a cool shot for the photobook or gallery wall!

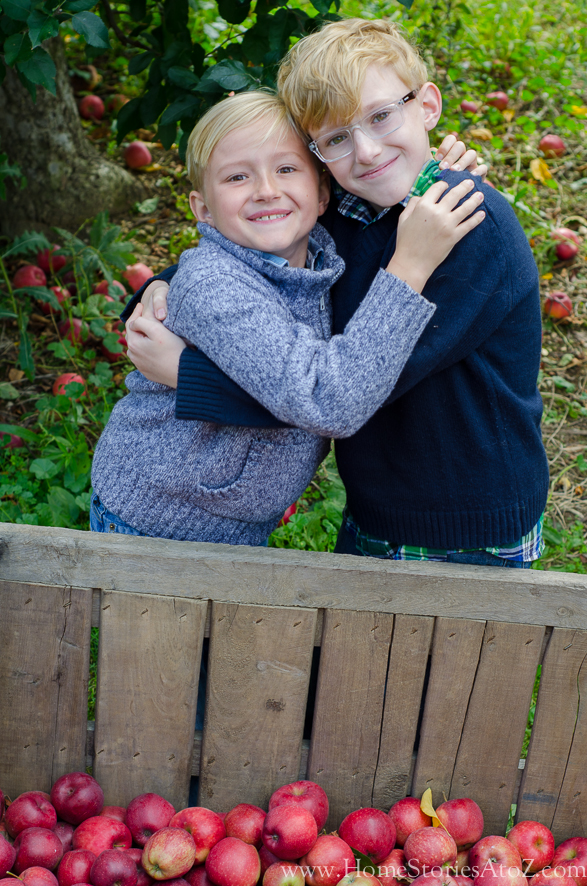
Hug them. Hugging your children to you in a photo always looks cute!

Be silly! This is my favorite photo of the entire day and it was the last one we took. For this photo, my camera was propped up on an apple crate with the timer on. I jumped into the photo and simultaneously yelled, “Get silly family!” My family doesn’t need much prompting for this one. 🙂
If you are looking for even more tips on DIY family photo ideas, then check out my posts:
How to Prepare for Fabulous Family Pictures

Beth- These photos are GORGEOUS..WONDERFUL ! Where and how can we get copies ??? (I expect your family has asked the same questions!)