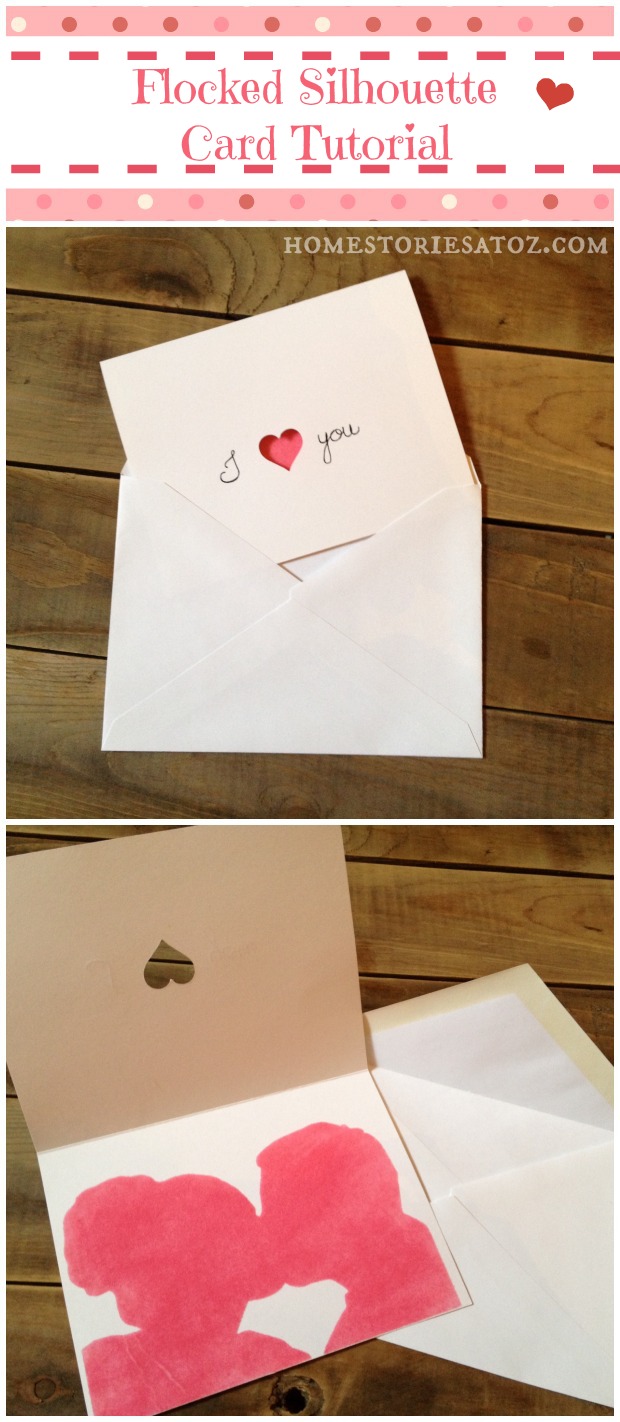
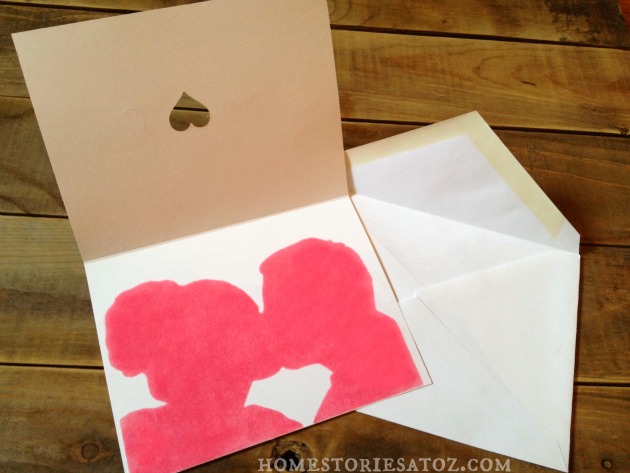
Today’s tutorial is two-fold. Yay! I love two-for-one deals, don’t you? First, I’m going to teach you how to create a silhouette of any image using FREE editing software (no Photoshop required). This technique is AWESOME because you can use it for more than just creating silhouettes. You can use it to remove the background from any picture and create those coveted “layers” that fancy photoshop people always create. Then, I’m going to take things a step further and show you how to use the new Silhouette double-sided adhesive paper to create an adorable flocked silhouette card. Let’s get this tutorial party started!
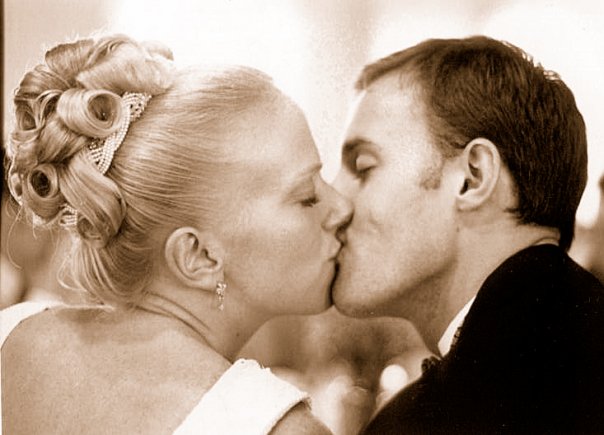
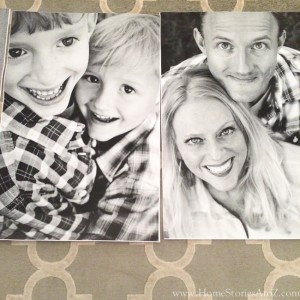
For Valentine’s Day, I wanted to make a silhouette image of my wedding picture below for a card for my man.
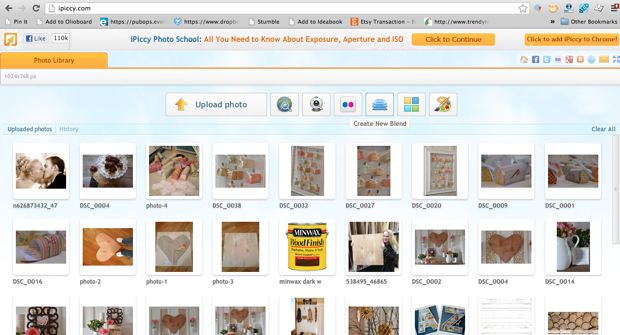
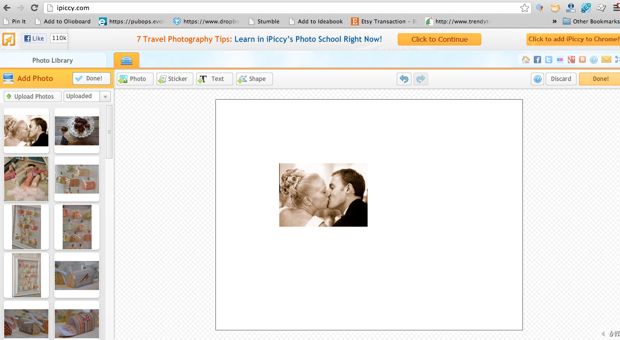
Step 1: Go to ipiccy.com and click on the “Create New Blend” button.
It is the fourth icon over and looks like a blue stack of papers. (Don’t upload your photo first. Click on the Create New Blend button first.) Enter the pixel size you would like for your project or just use the preset if you’re not sure.
Step 2: Click on the “Photo” tab and upload your photo.
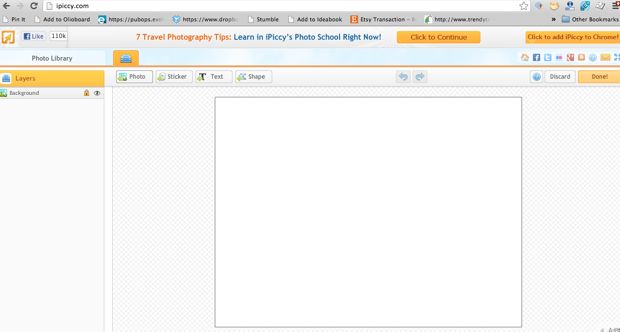
Step 3: Re-size your picture to the desired size.
I recommend just filling the box with your picture. Just click on the picture and drag the corners to re-size.
Step 4: Click on the button that says “Vector Mask” and then on “Add Vector Mask”.
This sounds space-age and scary. It’s not. What you are doing here is drawing little dots around a part of the picture that you want to “cut out”. I “traced” around our faces clicking little dots all along the way to remove the background from the picture.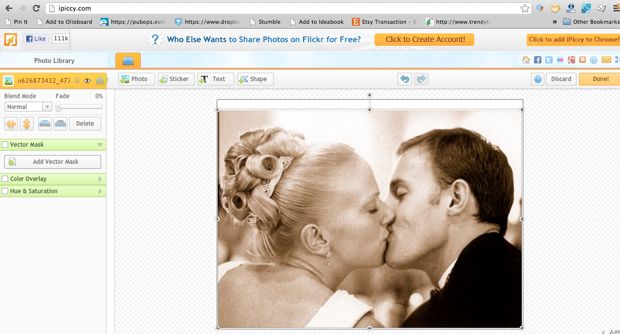
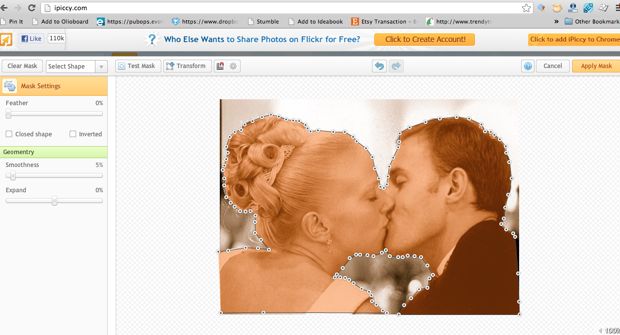
Step 5: Once you are done “tracing” your image it will look something like the picture below.
You can move each individual dot to make it as precise as possible. You can also use the “feather” tool on the left under “Mask Settings” to smooth the edge of your image. Hover over the “Apply Mask” button and see if you like the way your image looks before clicking. If everything looks good, click on Apply Mask.
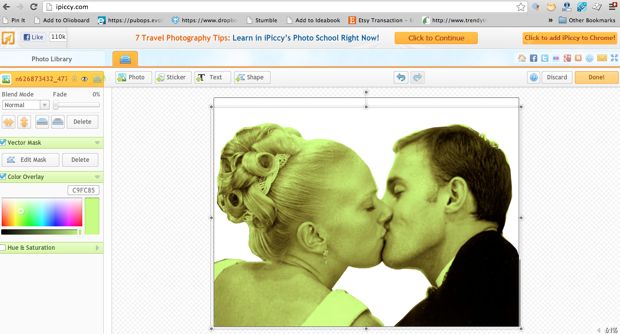
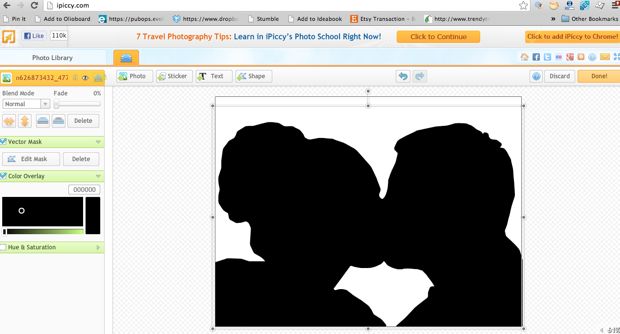
Step 6: Your image is now it’s own “layer” free from its former background.You can change the color of the image by choosing “Color Overlay”.
Click anywhere on the color band to change the color. Slide the slider to black in order to create a silhouette image.
Step 7: Click the “Done” button in the upper right corner and then save your image to your computer.
Congrats! You now have a silhouette image that you can print out and frame.
And now we are moving on to part TWO of our tutorial! If you don’t have a Silhouette machine and want one NOW is the time to buy! They are still on sale but only briefly, so score one while you can at a discounted price. Click on this link or on the picture below and use Promo Code “A2Z” at checkout.

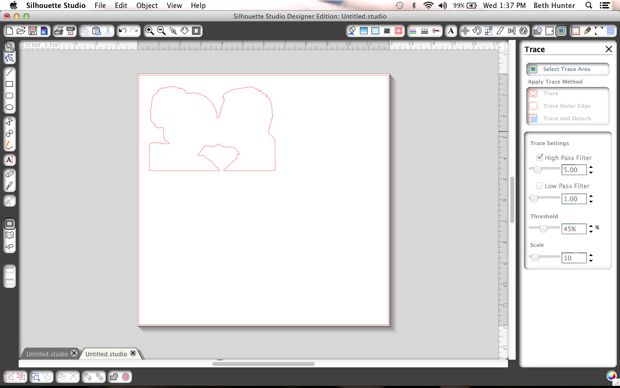
Step 1: Open Silhouette Studio and import your silhouette photo into a new project.
Click on the “Trace” button which is the icon on the far right of the screen that looks like a double frame. Drop and drag a square around your silhouette and choose “trace”. I deleted the inside image and was left with the following outline. You can now size this image to your desired specifications.
Step 2-8:
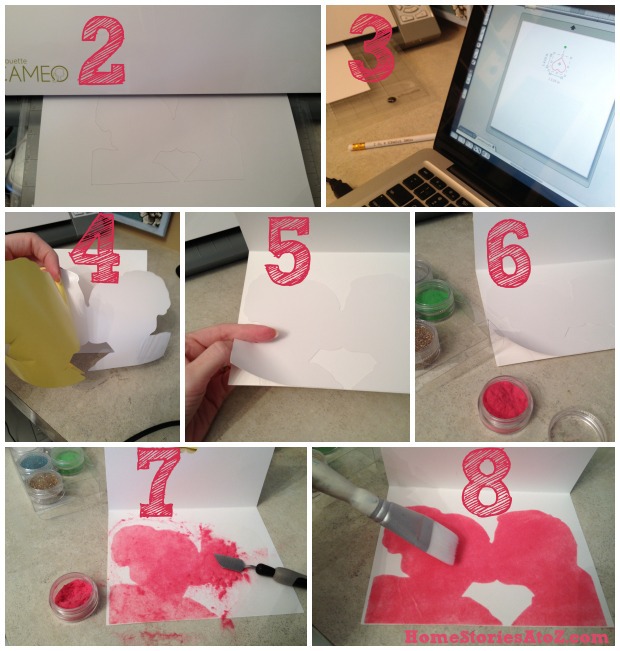
Step 2: Print your silhouette image on your double sided adhesive paper. This paper is like double sided tape.
Step 3: I created a cute heart cut-out on a cardstock card. I flipped the heart upside down and used the ruler feature on the Silhouette to align my heart properly on my card.
Step 4-6: Peel off the yellow backing from your silhouette image and stick to the inside of your card. Peel off the front paper from your image to reveal the sticky tape surface.
Step 7: Choose a glitter or flocking agent to use that comes in your Silhouette Double Sided Adhesive Starter Kit. Spread generously over the sticky surface.
Step 8: Use a dry paint brush to gently remove any excess.
Enjoy your creation and gift it with love!


I looked through all the different options and could not find “vector mask”
Hi Bonnie, it’s definitely there but it looks like the program has changed a tiny bit over the years. Here are the updated instructions.
Step 1: Go to website.
Step 2: Click on “Make a Design” icon (blue stack of papers) and then click “create”.
Step 3: Click on photo icon and pop up may appear to “enable local storage”. Click on “enable local storage” and agree to terms to enable.
Step 4: Upload photo by again clicking on photo icon (icon has a mountain and moon and will say “Add photo” when cursor is hovered over it).
Step 5: Once photo is uploaded, click, drag, and drop photo onto “canvas” and resize as desired. When the picture is dropped onto the canvas AND CLICKED ON the Vector Mask option will show on left hand side.
Step 6: Click on “Add Vector Mask” and rest of tutorial as written should work.
Hi! I’m at work browsing your blog from my new iphone! Just wanted
to say I love reading your blog and look
forward to all your posts! Carry on the superb work!
This is awesome-thanks so much! Do you know how to take out a part inside the vector mask. For instance if you were doing a large letter B, how would you remove the inside parts of the letter? Does that make sense at all??
Hello!
I can not thank you enough for explaining this step by step. It really helped and I was able to get the job done. I work as an Intervention Specialist with Autism children and my classroom theme was the chalkboard look since they are sensitive to bright things. I found some silhouettes of children that I enlarged on poster board and added color within the hair bows, bow ties and so forth, but it is still subtle for my students. Now I can also continue to create things for my classroom as well as my home.
Thank you again! It is appreciated!
Thank you so much for this post!! I found it very easy to follow and created the cutest Father’s Day mugs!
I’m so glad you found it helpful!
Thank you so much for this post!! I found it very easy to follow and created the cutest Father’s Day!
The first part of your tutorial: BEST EVER! I was trying forever to make a silhouette image by tracing in studio and i just couldn’t get the trace perfect, but with your tutorial i was done within minutes! Thank you so much!!
Yay! Glad to hear it helped. 🙂
I’m trying to do this.. and can’t get past the first step. When I go to iPiccy.com I don’t see the “create new blend” button. Do I click on fix photos; easy crop, resize, & rotate; fast exposure & color fixes; or professional touch ups?
If I click on ‘start editing’ my only options are to upload a photo, or create collage.
Please help..trying to use this for a class project tomorrow.
Just want you to know I received your message and am playing around now to help you out. I’ll circle back in a few.
Okay, I just did it and here are the steps I did:
Ippicy.com–>start editing—->New Image (create new image, choose size)—>Unlock background (click on the little lock next to background)—->Upload your photo—>Drag photo to screen—->Resize—->Click Add Vector Mask—> Trace around object—->Apply mask—->Click Color overlay—>Darken to black.
I am trying to follow this but when I log on I am not seeing any of this. There is no “start editing” button?
It looks like they changed it again. Click on the blue tab “Create a Design” and then follow the other steps New Image (create new image, choose size)—>Unlock background (click on the little lock next to background)—->Upload your photo—>Drag photo to screen—->Resize—->Click Add Vector Mask—> Trace around object—->Apply mask—->Click Color overlay—>Darken to black.
Thanks Beth! Your tutorial makes it very easy to follow the instructions and come out with something beautiful and thoughtful for that special someone to enjoy!
Is there a way to make the silhouette a color other than black?
Black works best with this method but depending on your image you can use the color slider to see if it will work.
Thank you for the tutorial! I have been wanting to know how to make a silhouette and it was so simple!
Yay! Glad I could help :).
Hi there, just became alert to your blog through Google, and
found that it is really informative. I’m gonna watch out for brussels. I’ll appreciate if you continue this in future.
Numerous people will be benefited from your writing. Cheers!
I got lost. After I followed step 3, I couldn’t find the Vector Mask. My photo was already added to the canvas.
Hi Ruthie, Click on the stack of papers looking icon and you’ll see the word Background with a lock on it. Click on the lock to unlock your picture. Vector Mask will show up below.
Thanks so much for a quick reply
Beth, the first part of this tutorial (just the silhouette creation portion) was extraoridinarily helpful. Thank you!!
Pinned it. Now I have to make time to read the stuff for my Silhouette I’ve been pinning so I can make some more stuff.
Bliss
This is awesome! I’ll definitely be attempting to make a silhouette in the near future. Thanks for sharing!
Absolutely adorable! What a great idea. Thanks for sharing!
Leslie
What a great idea! I just got a silhouette last week, so I’m pinning this to give it a try. 🙂
oooh didn’t know about the vector thing, thanks!
Great Tut, Beth! Love that card, and I had no idea you could do that on a Silhouette. You are awesome!!!
Thanks Traci!
Ugh. This didn’t work at all for me. It was really complicated and didn’t turn out at all the way that I thought it would. It’s really hard to get nice curves on the picture so I dpn’t recommend it.
Hmmmm. Sorry to hear that it didn’t work for you Dave. I’ve used it so many times with great results.