If you haven’t seen an engineer print at this point, then you might be living under a rock–a rock that doesn’t have good wifi and can’t access Pinterest! 🙂 Engineer prints are not a new phenomena, but they are still a fun way to obtain giant black and white photos on-the-cheap. I have printed out and created six different engineer prints using different methods and have found what works best and what doesn’t. Today I’m going to share with you some excellent tips for creating engineer prints!
WHERE TO GET AN ENGINEER PRINT MADE
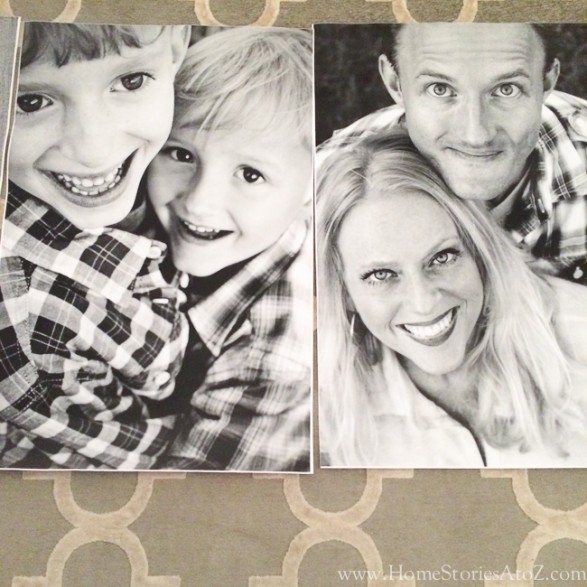
Many places such as Staples, Office Max, Fed Ex, etc. are now onto all of us and will no longer allow you to print out a photo as an engineer print. Booooo. 🙁 However, I was able to have all of mine done at my local Staples by submitting the orders online. The online software that you use to create your print will say, “Not suitable for photo images,” but it worked just fine for me. The paper that the engineer print is printed on is very thin and many will say that the photo quality is poor–but that wasn’t my experience. In the engineer print that I had done of me and my husband, I can actually see that I have a piece of hair caught on my eyelash. The detail is phenomenal! If you have a large picture file with a quality picture, then you should end up with a decent end-product. One 3×4 print only costs around $8 which makes filling a gallery with over-sized prints very affordable!
WHAT TO MOUNT THE ENGINEER PRINT ON
You have a couple of options when it comes to mounting your posters. You can mount them on foam board (a very lightweight option), or some type of plywood or hardboard (a sturdier but heavier to hang option). I have done both methods and there are advantages and disadvantages to each.
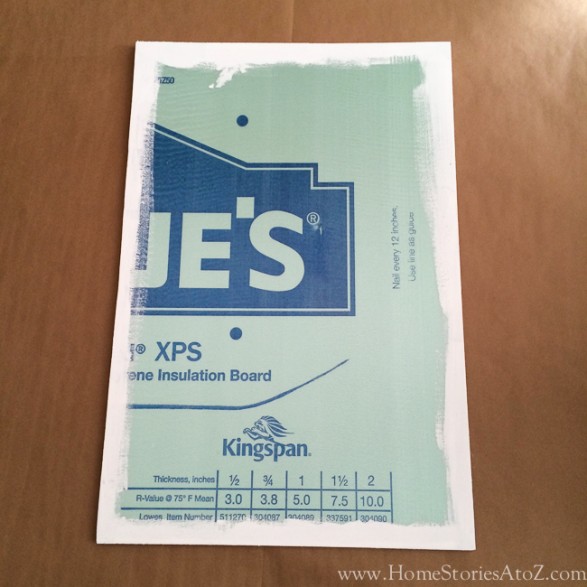
Since I had five large prints to hang on my gallery wall, the cheapest option for me was to use a large piece of insulation board from Lowe’s cut up into the appropriate sizes. Cutting insulation board is miserable work! I actually ended up using my table saw in the end because an x-acto knife just wasn’t working for me. If your prints are smaller, then you can use foam core board from the dollar store with zero cutting required.
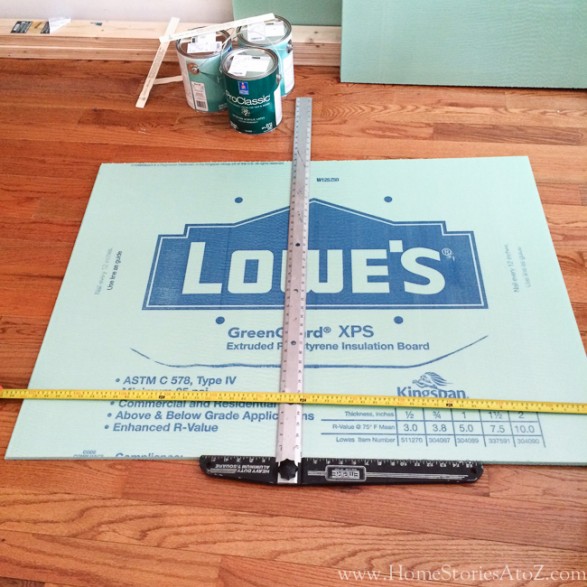
Another route to go is to use hardboard or plywood. I bought a piece of hardboard at Lowe’s and asked them to cut it to size. I wanted to create a frame on this one so left a bit of overlap around the edges for the frame.
WHAT TYPE OF MOUNTING SPRAY OR GLUE TO USE
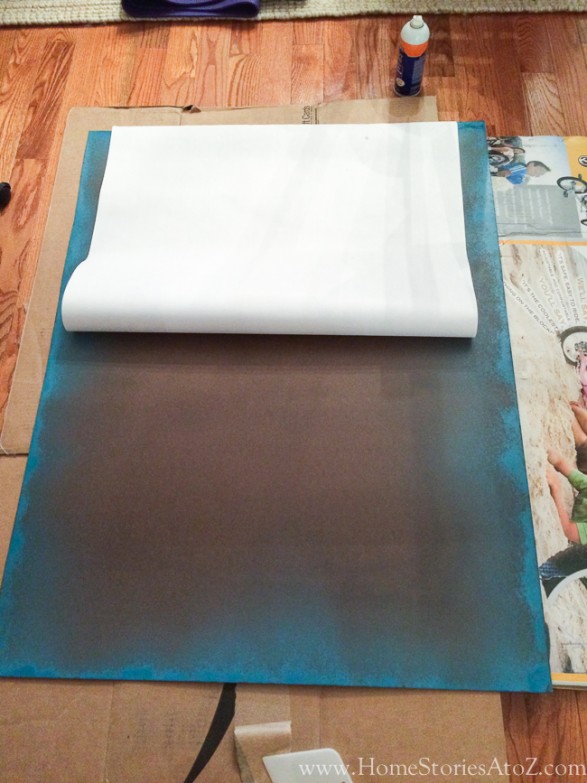
If you choose to fold your prints around your board canvas-style, then I recommend not using any type of glue at all. You can secure the print with tape on the back of the picture. The trouble with spray adhesives and glue is that they tend to cause the paper to bubble and wrinkle. I used three different spray adhesives and found that only one engineer print did not bubble. I honestly don’t know if it’s because of the spray adhesive I used, or just plain luck. I tried Loctite Spray Adhesive General Performance, Elmer’s Repositionable Spray Adhesive, and Scotch Spray Mount Repositionable Spray Adhesive. The only one that didn’t cause bubbling was Scotch Spray Mount Repositionable Spray Adhesive.
The Loctite bubbled the worst for me. 🙁 Unfortunately, this one had been recommended as the “gold standard” by several other bloggers, so I used it on most of my prints. It took about 3 days before the wrinkling and bubbling appeared but it was very noticable. I still like my prints, but I’ll admit that I am supper bummed that all of those wrinkles showed up!
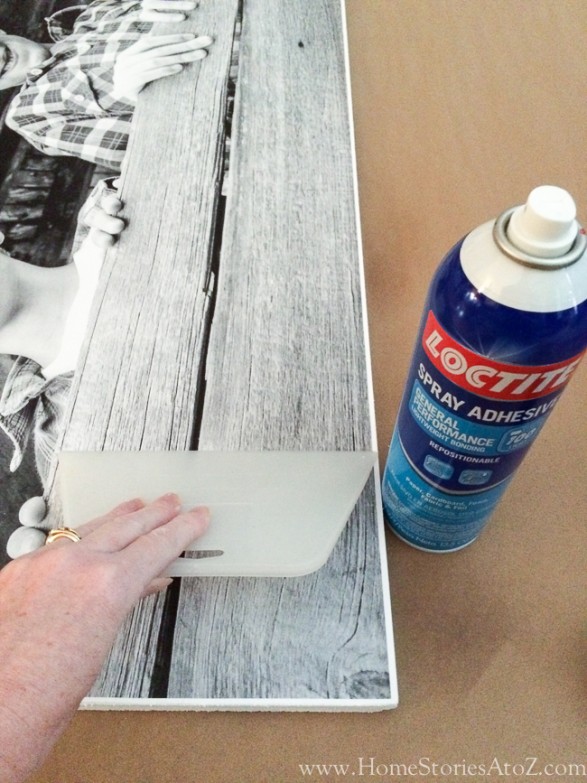
To secure your print to your board, line up your picture exactly where you want it and then fold your picture gently in half as shown below. Spray the adhesive on the board and on the folded paper in long even sweeps, avoiding saturation. If you spray too closely to your paper. or if you spray too long, then you risk ruining your print. If you’re used to spray painting things, this step will come easily to you. Follow your package directions for time to wait before securing. Use a wallpaper smoother, or similar tool to smooth your print into place. Repeat on the other side and allow your print to thoroughly dry.
HOW TO FRAME YOUR ENGINEER PRINT
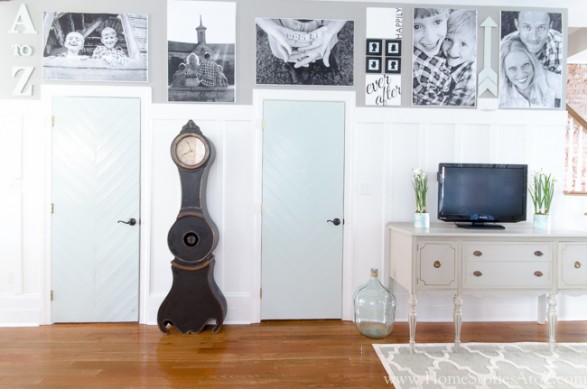
You can choose no frame at all for your prints which is what I chose for most of mine or you can use moulding to create a frame. For my gallery wall prints, I just painted the edge of my foam board white before securing my prints.
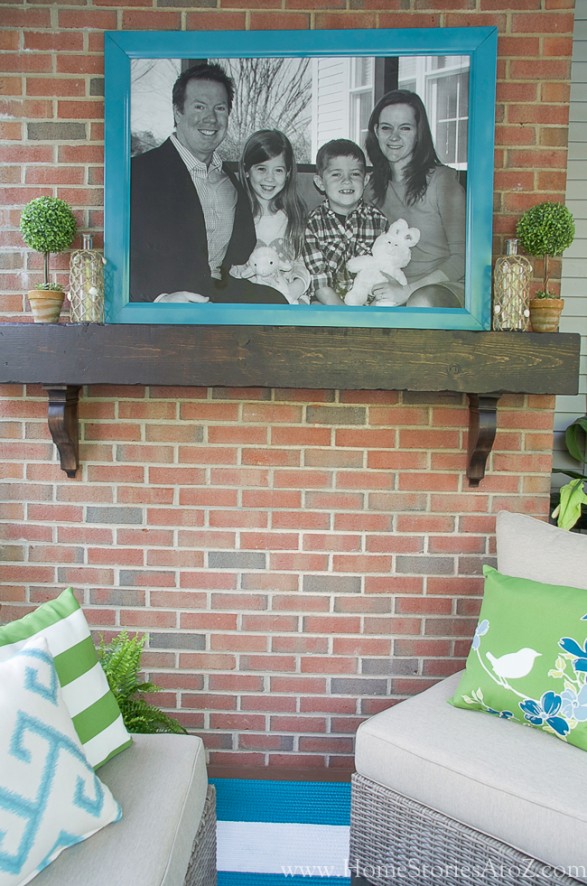
For the print I created as a gift for my screen porch makeover, I wanted a nice frame and pop of color. I used a piece of light-weight MDF moulding and created a frame with my chop-saw, some spray paint, and Loctite Liquid Nails.
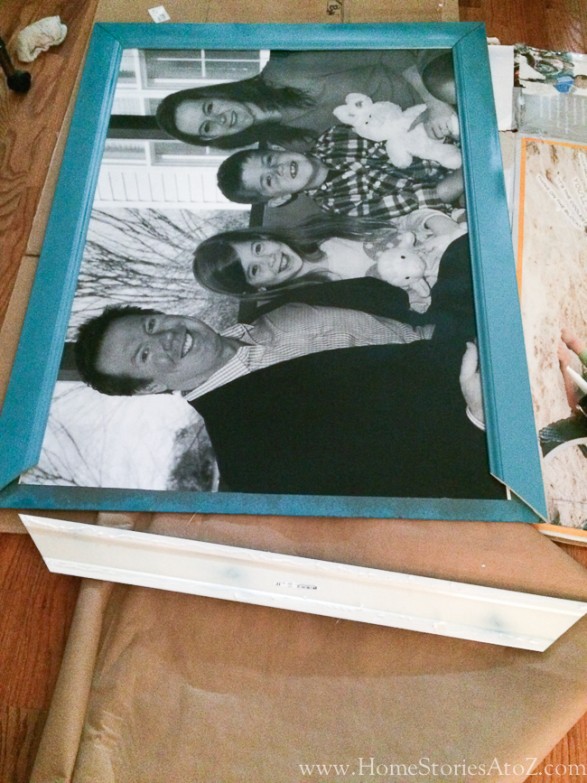
I also used a coat of clear spray paint over the top of my print to give it some protection from the elements. Granted, this type of art project is best reserved for indoors where it is climate protected.
HOW TO HANG YOUR ENGINEER PRINTS
Engineer prints mounted to foam board are easily hung using 3M command strips. These are great because you can switch out your pictures easily and change up your gallery wall without damaging your wall. I prefer the velcro strips to any of the others. Engineer prints mounted to hardboard can be hung with sawtooth clips. I both nailed and superglued my sawtooth clips into place before mounting.
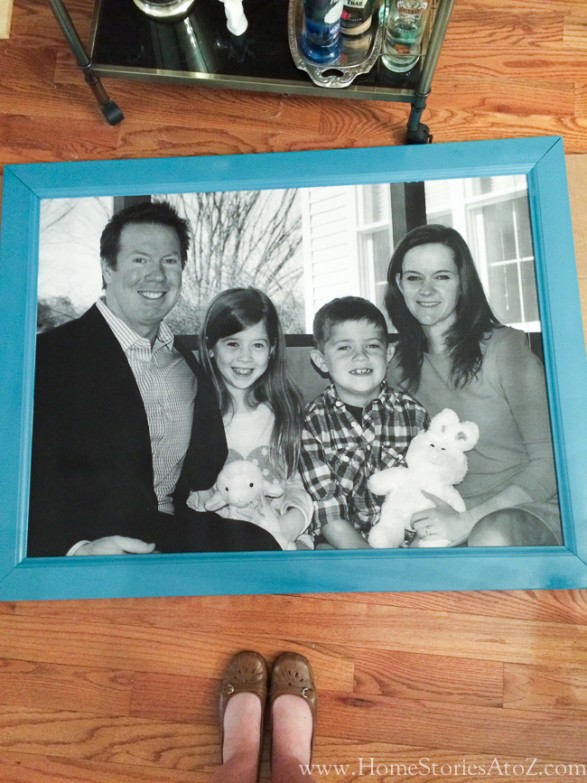
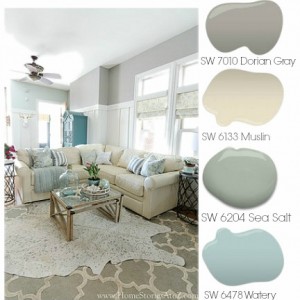
And here are the finished products!
This post contains affiliate links. If you liked this post, then you might also enjoy the related posts below!


Hmmm. I had the same problem as the above person. My pictures were amazing quality ( professional camera) but the printing came out horrible!, white lined everywhere, discoloration… I think I just got unlucky, bc it dies seem like the machine ran our of ink at places:(… I had mine done at staples
What a bummer! I would request a reprint with a new cartridge if that happens again. I do know that many Staples won’t allow pictures to be printed in Engineer Prints because it really drains their ink.
I realize this is an older post, however, I went to pick up my engineer print and the banding was horrible. I was so disappointed. The image quality was short of excellent. Should I try again? I did go to Staples.
Hi Debbie, There are a few things that can affect the image quality. I shoot all of my pictures in RAW on my DSLR camera which generates very large and high quality photos. Make sure that your image has enough pixels to look good when enlarged. Also, I think there is a box to check that says something like “fit image to size”. If that is unchecked your image will have a large border. If those are not the issues, then it is a printer issue and is out of your hands. Printing photos as engineer prints takes a lot of ink and if the printer is lowish on ink it will affect the printing. I had one print with a thin white line down the center. I told them I wasn’t happy with the quality and they reprinted it for me. Some Staples locations will refuse to do any photo engineer prints so quality will really be a store-to-store risk. I recently just did an engineer print of a fall poster I created and it was perfect: http://www.homestoriesatoz.com/decorating/fall-bar-cart-and-free-fall-printable.html
Your teal doors are AMAZING!! Love your decor!