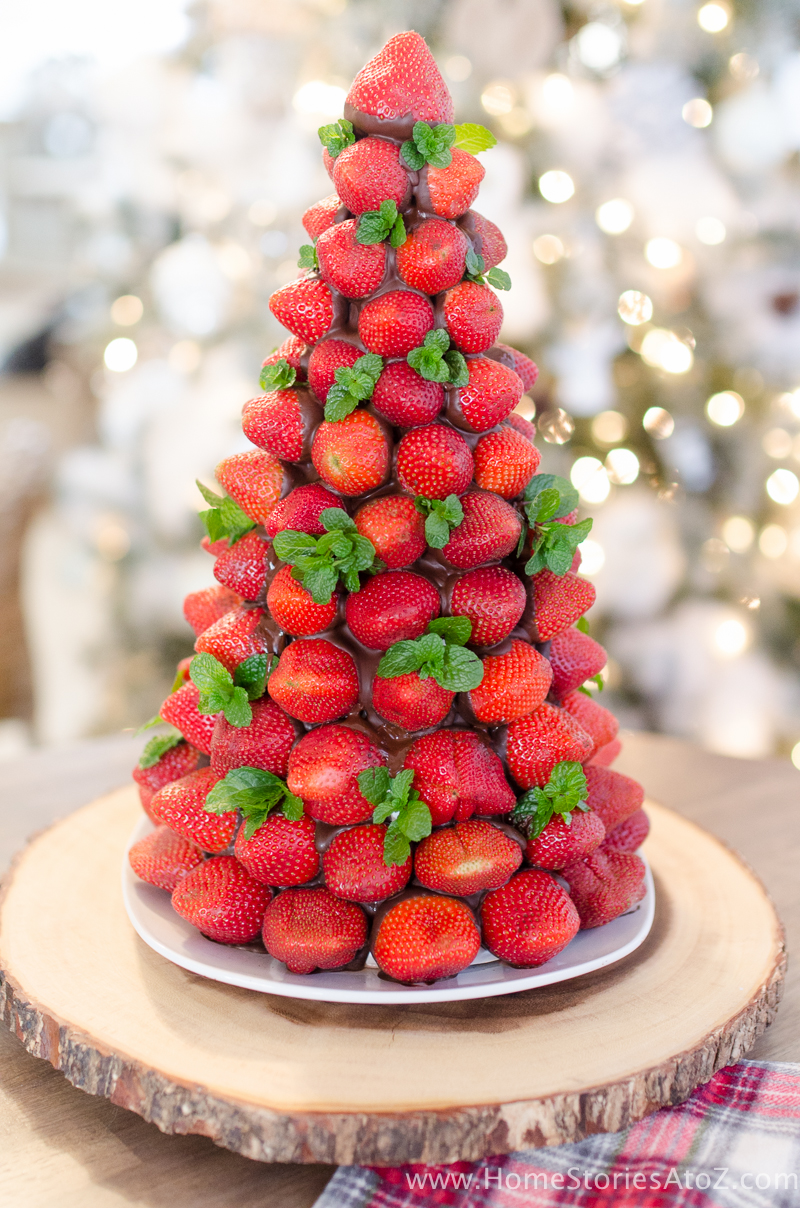
Christmas desserts don’t have to be complicated! Impress your guests at your next Christmas party with this easy to make Chocolate Covered Strawberry Christmas Tree.
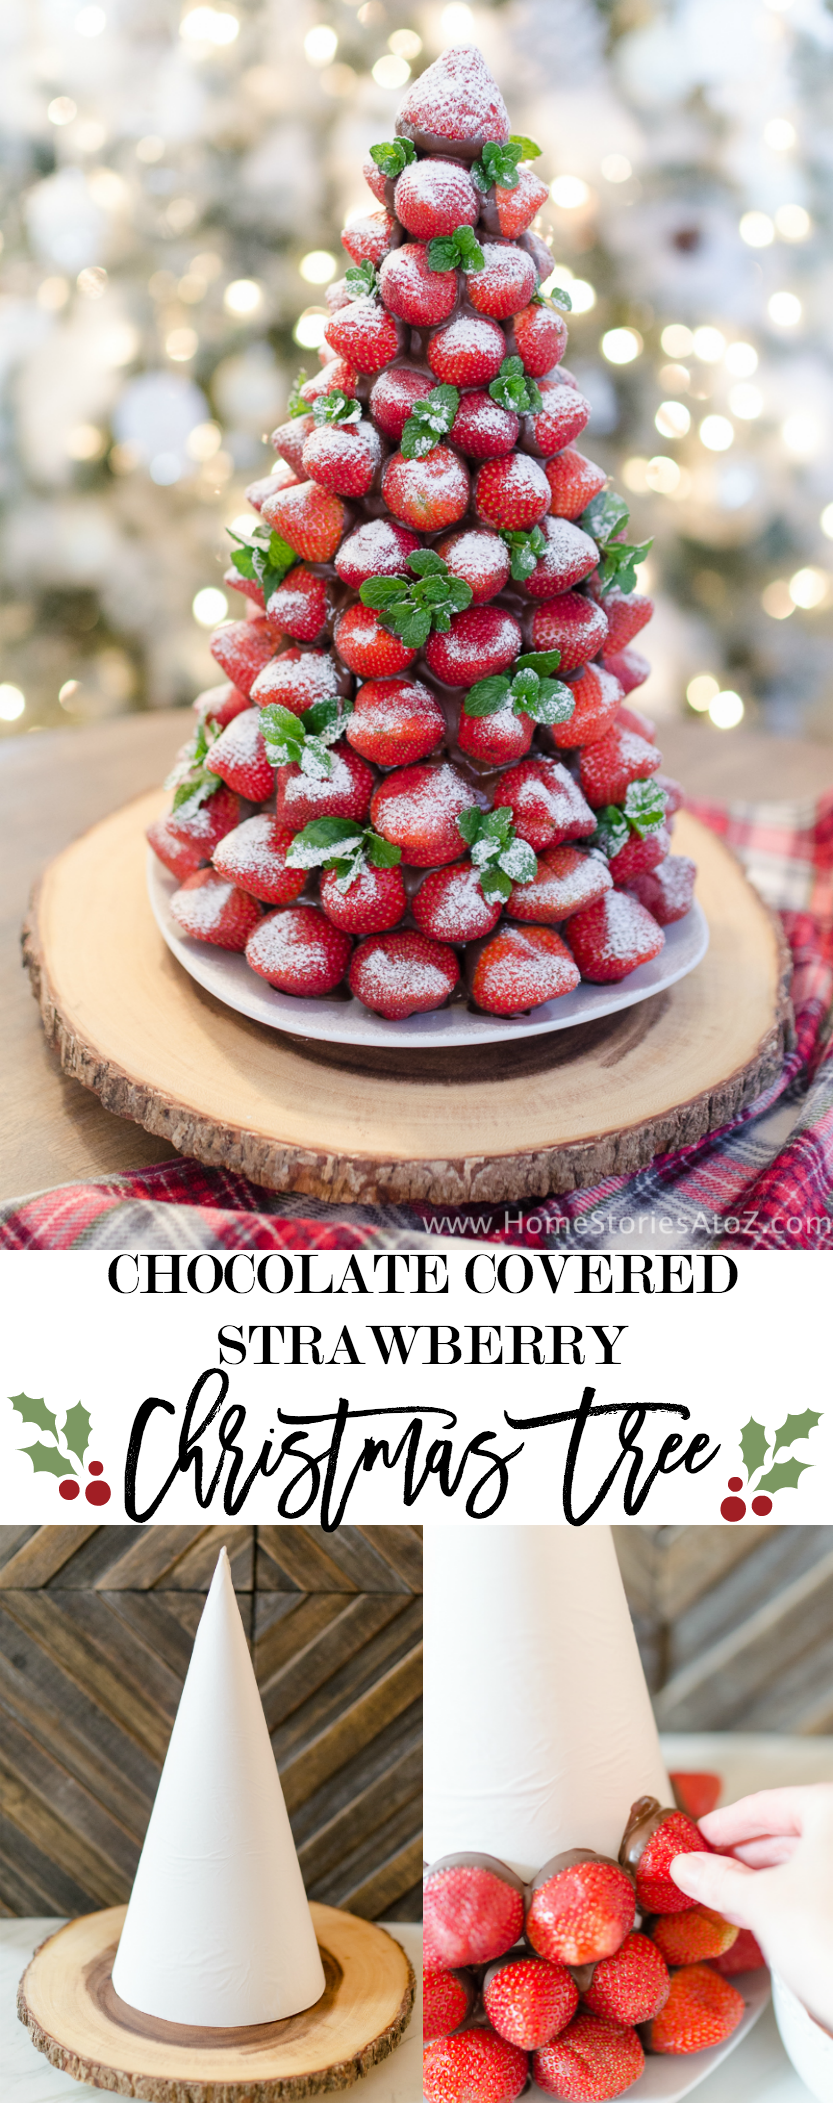
Christmas Desserts: Chocolate Covered Strawberry Christmas Tree
Today I’m sharing my chocolate covered strawberry Christmas tree recipe with you! If you’re visiting from Our Vintage Nest, a special welcome to you! I’ve teamed up with a fun group of bloggers to bring you some creative, unique, and doable Christmas desserts that you can make this holiday season. (Be sure to check out all of the links at the end of the post for more delicious Christmas dessert ideas.)
This recipe is more of a DIY tutorial than an actual recipe. I came up with the idea myself, but a quick Google search showed me that my “original idea” has been done before. Womp, womp…. I cannot tell you how many times that has happened to me! Ah well, I have never seen anyone do a strawberry Christmas tree like this before so chances are good that your friends haven’t either!
Supplies needed for Chocolate Covered Strawberry Tree
- Poster board
- Hot glue gun
- Parchment paper
or freezer paper
- Scissors
- Room-temperature strawberries (I used 5 pints on a 15 inch tall tree.)
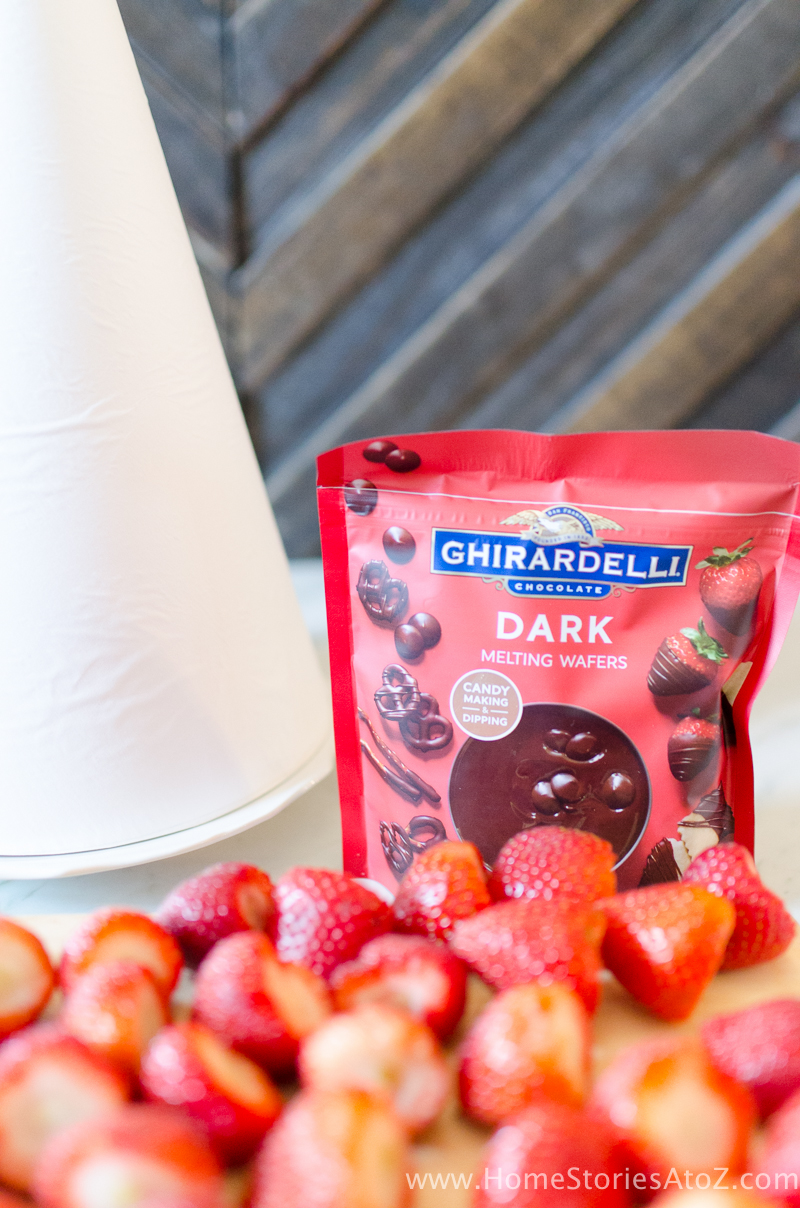
- 2 bags Ghiradelli Dark Melting Wafers
(or 16 ounces 60% Ghiradelli chocolate chips
melted with 1 T coconut oil)
- Fresh mint
- Powdered sugar

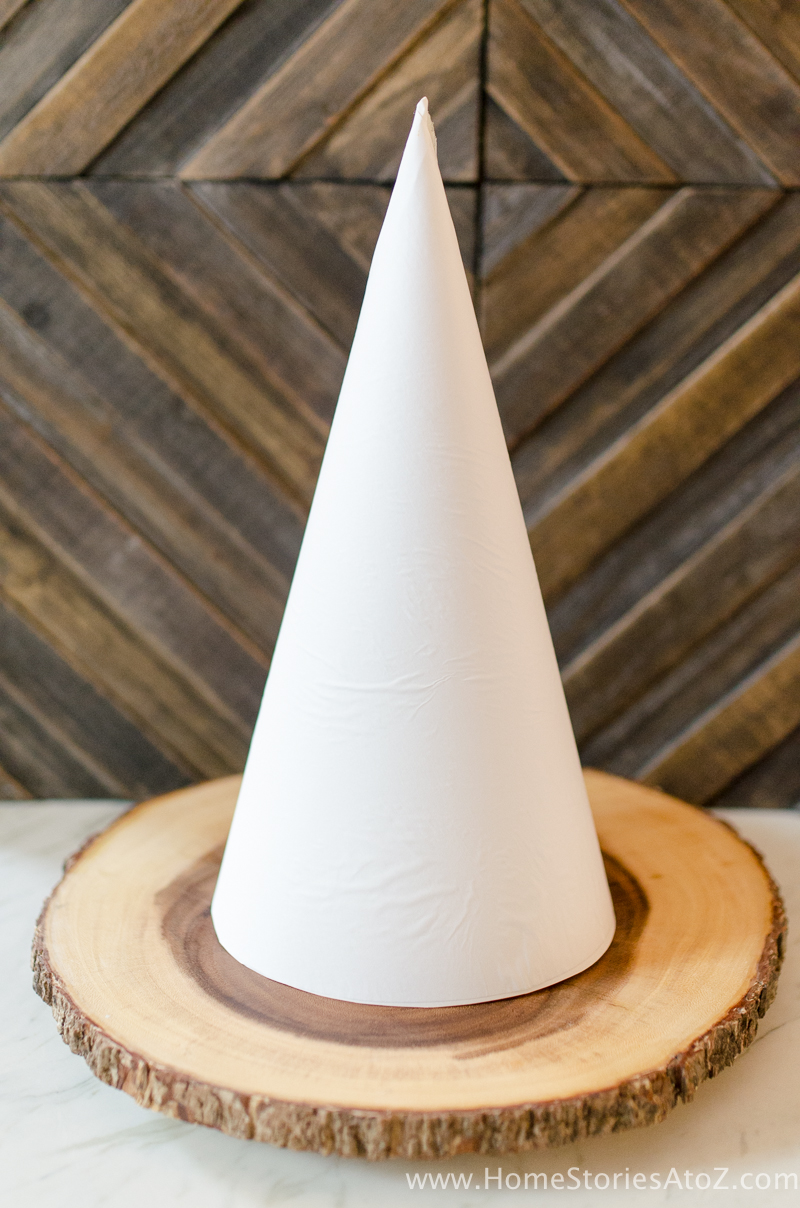
Step 1: Make your cone and cover with freezer paper.

The easiest and least expensive way to make a Christmas tree form is with a sheet of poster board. Tape a piece of twine to the top corner of your board and hold the twine and pencil in your hand. Keeping the twine taut, draw an arc on your board. I started drawing 15 inches down. This makes a rather large tree and will require a LOT of strawberries! Feel free to make your cone smaller or larger depending on your needs. Cut along your line. Trace the cone template on parchment paper or freezer paper and again cut out the pattern. Tape the parchment or freezer paper to the cone. Hot glue the seams of the poster board together to form a cone.
Step 2: Wash, dry, and de-stem your strawberries.
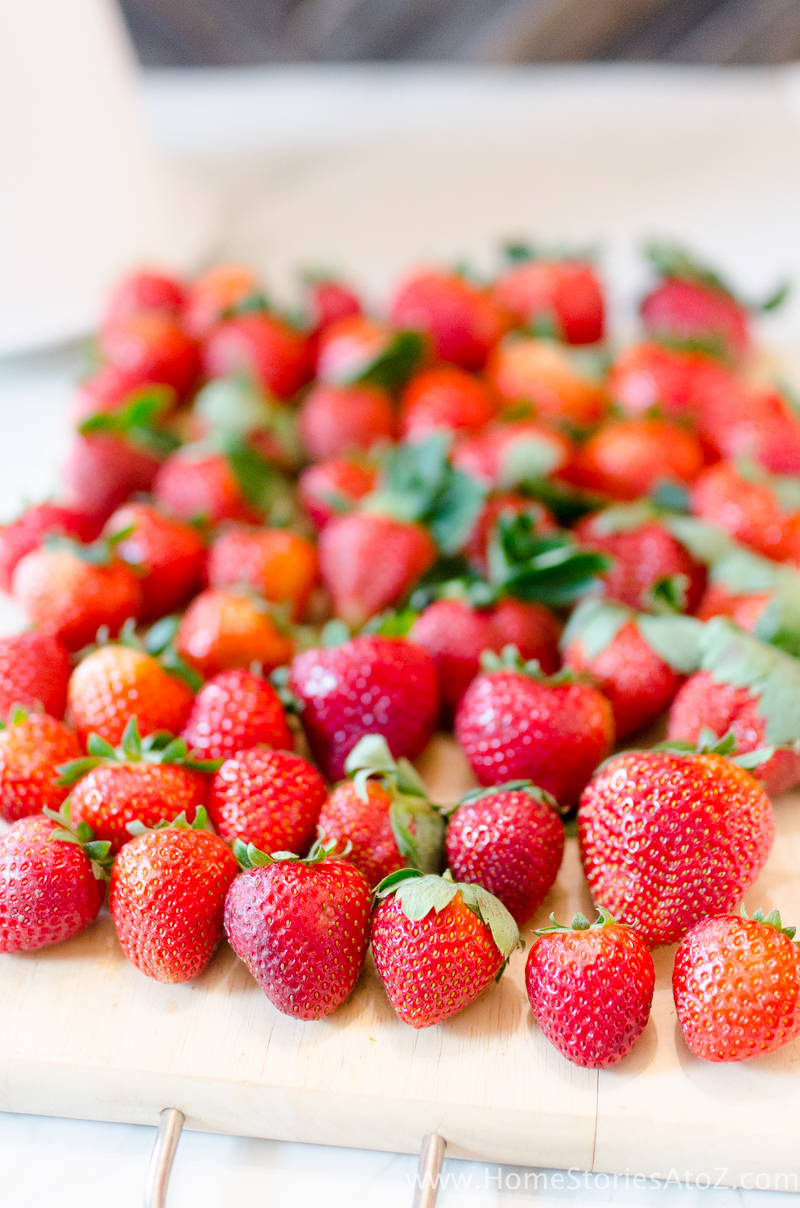
Your strawberries should be clean, dry, and at room temperature before you dip them in chocolate. It’s a good idea at this point to organize your strawberries by size. You will place the largest strawberries at the bottom of the tree and the smallest at the top.
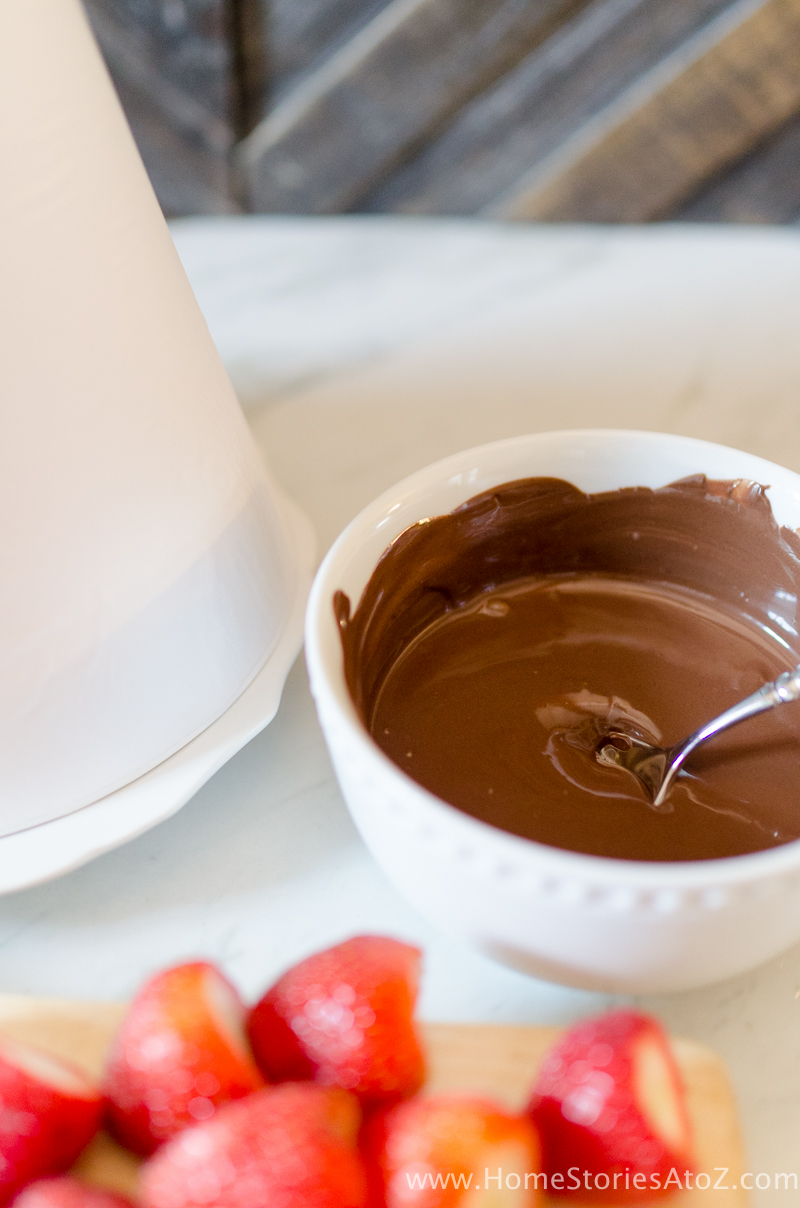
Step 3: Melt your chocolate.
Follow the package directions for melting chocolate. Work with one package at a time and melt more chocolate as needed. If you use the Ghiradelli melting wafers
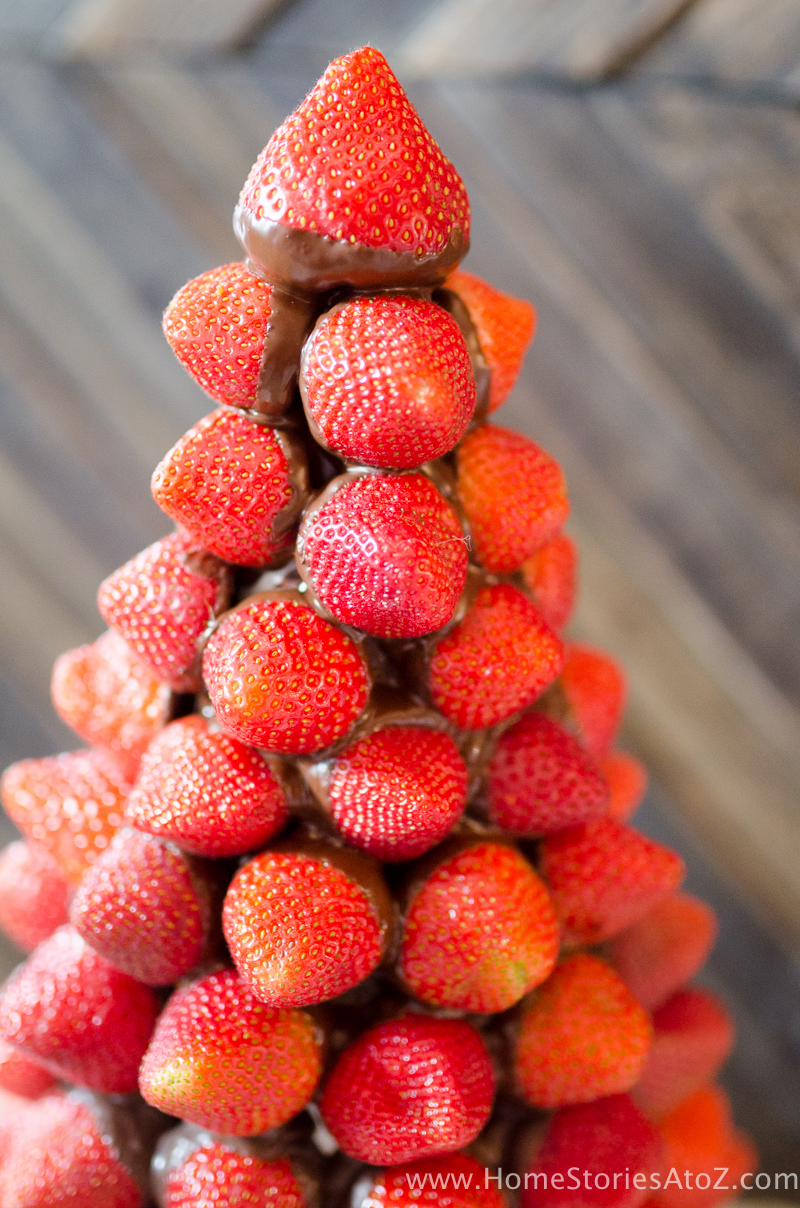
Step 4: Starting with the largest strawberries, dip the base of each strawberry into the chocolate and adhere to the cone.
Layer the strawberries as you go.

When you reach the top, core a larger strawberry to cover the top of the tree.
Step 5: Adorn with fresh mint.
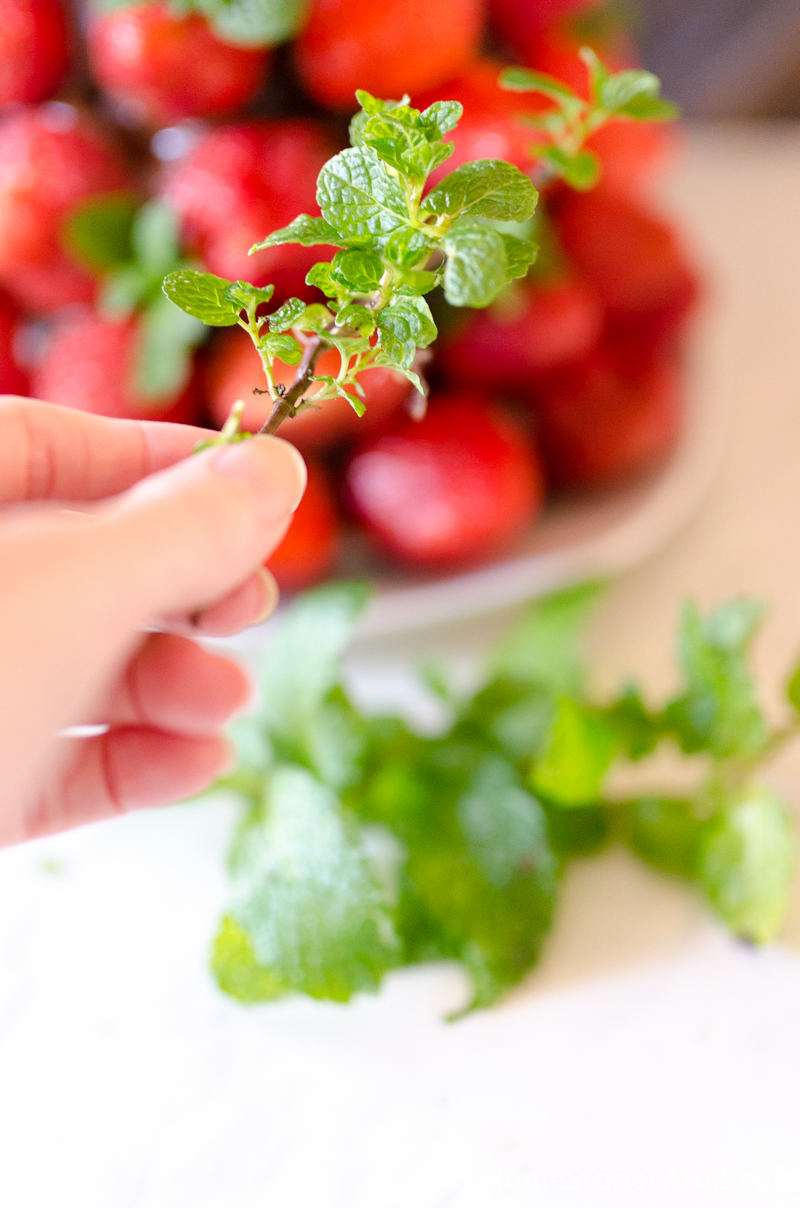
Cover up any holes with fresh mint leaves. This step is optional, but it adds a lot of cheer to your strawberry tree!
Tip: If you still have some visible holes, place your melted chocolate in a plastic baggie. Snip the corner of the bag to create a “piping bag” and pipe the chocolate into the holes.
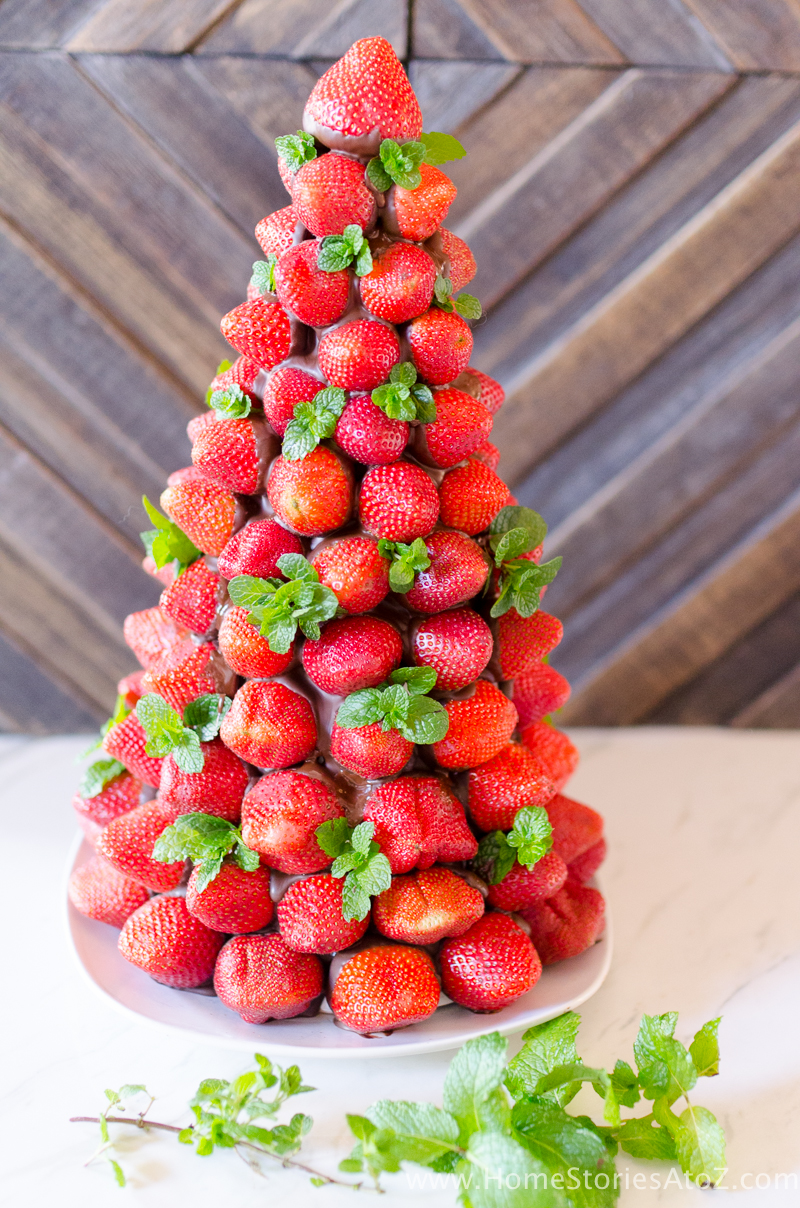
Step 6: ONLY IF SERVING IMMEDIATELY. Dust tree with powdered sugar.
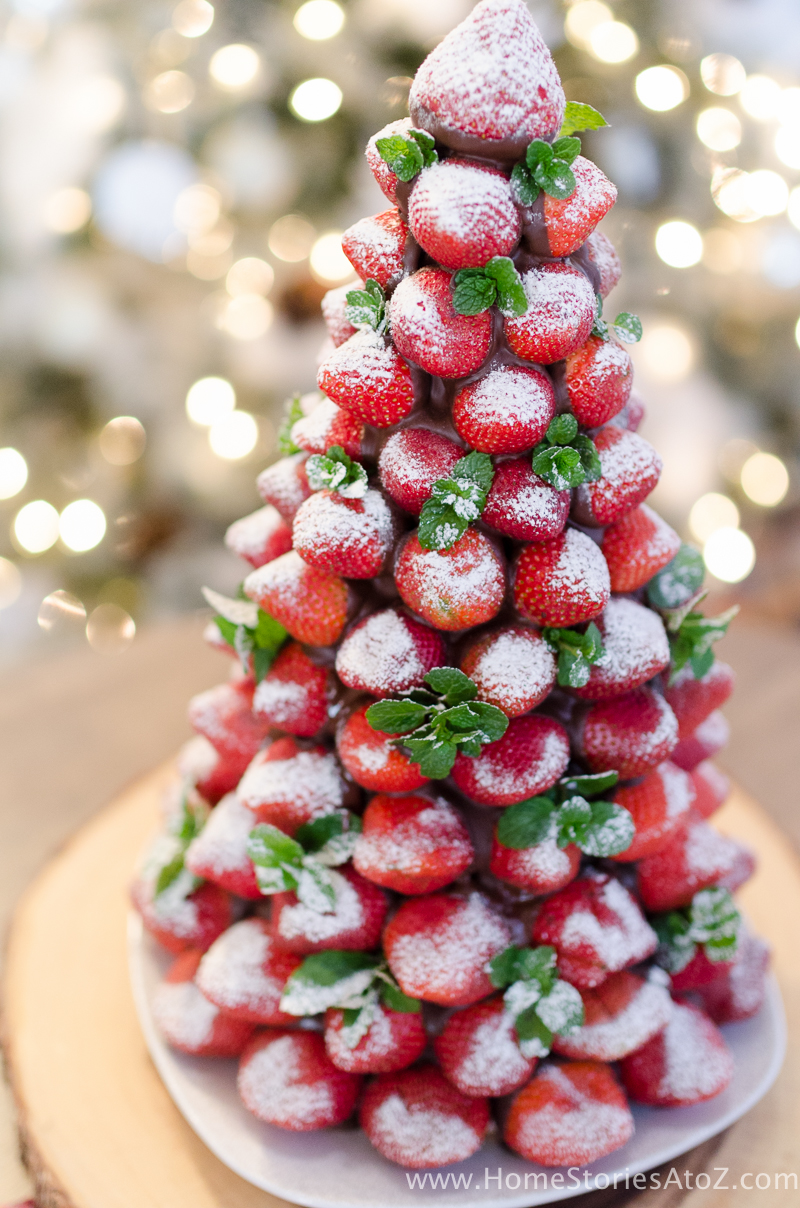
Powdered sugar will break down your strawberries more quickly, so only dust them with sugar if serving immediately. I used a small sieve and “snowed” sugar over them from above until I was pleased with the look. This dessert will feed a crowd and is meant to be eaten within a day of making it. For best results, make it and serve it the same day.
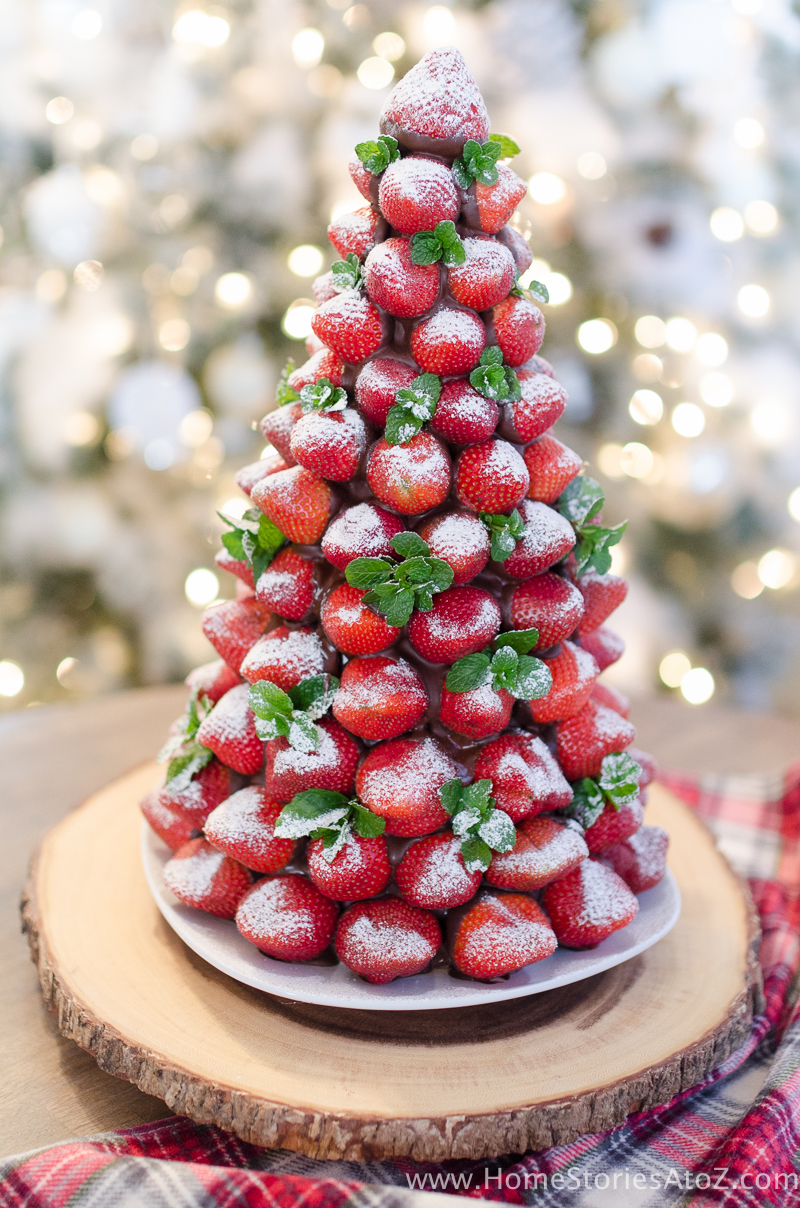
And that’s all there is to it! For maximum chocolate enjoyment, use a butter knife or flat knife to remove the strawberries from the cone.
Thanks so much for stopping by! Next on the hop is Amy from Tonality Designs who is sharing her special Caramel Glazed Cookie Recipe with you. Enjoy and feel free to pin ideas for later!
Christmas Desserts to Try:
Caramel Glazed Cookie Recipe by Tonality Designs
Crock Pot Fudge Recipe by Kara’s Party Ideas
Cranberry Orange Cream Puff Recipe by She Leaves a Little Sparkle
Pumpkin Caramel Oatmeal Bar by Boxwood Avenue
Salted Caramel Butter Bars by Meaningful Spaces
Holiday Cranberry Cream Cheese Ball by Lillian Hope Designs
Red Velvet Crinkle Cookies with Cream Cheese Frosting by Our Vintage Nest


This looks so pretty and I appreciate your detailed instructions and advice. As for the powdered sugar snow, could I prepare the tree in the afternoon without the snow, then drive to the party and shake the powdered sugar on when we arrive? Would it last for about 3 hours till dessert? Or do you think regular granulated sugar could give a similar effect? Thanks so much for the advice!
Yes, I think that should work. I’d recommend not placing the strawberries in the refrigerator though. They may become mushy. I’d also recommend bringing a small cheese spreader or other blunt decorative knife to dislodge the chocolate strawberries from the cone. The chocolate has a tendency to stick to the cone.
is the card board strong enough to hold all that weight on it
I used a piece of thick poster board and didn’t have any trouble with it. If concerned however, you could purchase a heavier cone that’s designed for this from a craft store.
We did this for a Holiday party last night and it certainly was beautiful- however, when guest’s tried to remove the strawberries all of the chocolate stuck to the tree base- not the fruit! It was very disappointing!
Any ideas how to prevent that from happening?
Glad to hear it looked lovely and sorry to hear you were disappointed. Some of the chocolate does stick to the cone unless you use a small, blunt knife to remove the strawberry from the base. We use a decorative cheese spreader to remove each strawberry.
Having a party on Saturday. Could I make this on Friday & keep in the fridge ahead of time?
Chocolate covered strawberries tend to sweat and get mushy when refrigerated so unfortunately I wouldn’t recommend refrigerating before the event. This dish works best when you can make and serve the same day.
Love this! It would be really cute with white chocolate too! 🙂
This is beautiful. Could you please specify how did you attach the parchment paper to the poster board? Double sided tape?
Yes, I just used tape.
I just tried to make this, it was a chocolate slip and slide festival. LOL so I made chocolate covered strawberries instead! Win win!
I did every step as instructed.
Oh well! This looks amazing!
What chocolate did you use? It makes a big difference.
I love your tree. I just had a question. Did you have to wait for them to dry or reinforce them in any way so that they dont drop off.
If you use the Ghiradelli melting wafers pictures, you shouldn’t have to wait very long for them to dry. If you use the melted chocolate chip and coconut oil method it will be much more challenging and dry time will be necessary. Also making sure to stagger each layer will help hold the strawberries in place. Once dry, I used a cheese-spread knife to cut the strawberries off of the paper.
I used Ghiradelli chips without coconut oil, and it set up very fast without slipping.
Glad to hear it worked well for you! The Ghiradelli wafers that are pictured in the post work great and you shouldn’t have any slipping when using them.
Hi Beth, I am new to your blog. I must say your ideas are unique, fun but most importantly pretty easy. I love this idea and cant wait to make it soon. Thanks and happy Holidays!
Thanks and welcome to my blog! I love sharing beautiful and simple ideas. Let me know if you make the strawberry tree! 🙂
Oh, what a great idea! I think I need to try this for a party I’m hosting this weekend! Thank you!
Thanks! Let me know if you try it. 🙂
Wow!!! I love this! It’s so unique and would be a total show stopper at a Christmas party. I have got to try this it’s so pretty!!
Thanks for sharing, I’ve never seen anything like it.
>> Christene
Keys to Inspiration
Thanks Christene!
Beth… Oh my goodness, I’m totally making this now! My kids love chocolate covered strawberries, so this is a no brainer! The presentation is gorgeous! So fun doing this dessert tour with you! Happy Holidays to you and your family!
Thank you so much Alicia!
Oh my gosh!!!!! I initially thought you would be sharing individual strawberries that looked like trees, I am totally blown away by the giant tree – absolutely incredible! I am so excited to be on this tour with you and all of the other amazing ladies!!!!
Thanks Chloe! This was fun. 🙂
wow, what a show stopper that would be on any table!
b
What an amazing idea Beth!! I am just swooning. This is not only delicious, but such a cute party centerpiece. I am incredibly excited to give this a try!!! LOVE IT!!
Oh my goodness Beth, this is stunning! What a fun fun dessert and I won’t feel as guilty for eating it! Definitely making this next week for a dinner party. You just pick them off and eat them? I’m amazed. What a fabulous idea. Thanks so much for sharing and joining this to her! I love everything you do!
Amazing! Doing this.. I mean attempting this for our Christmas open house on Saturday! laura