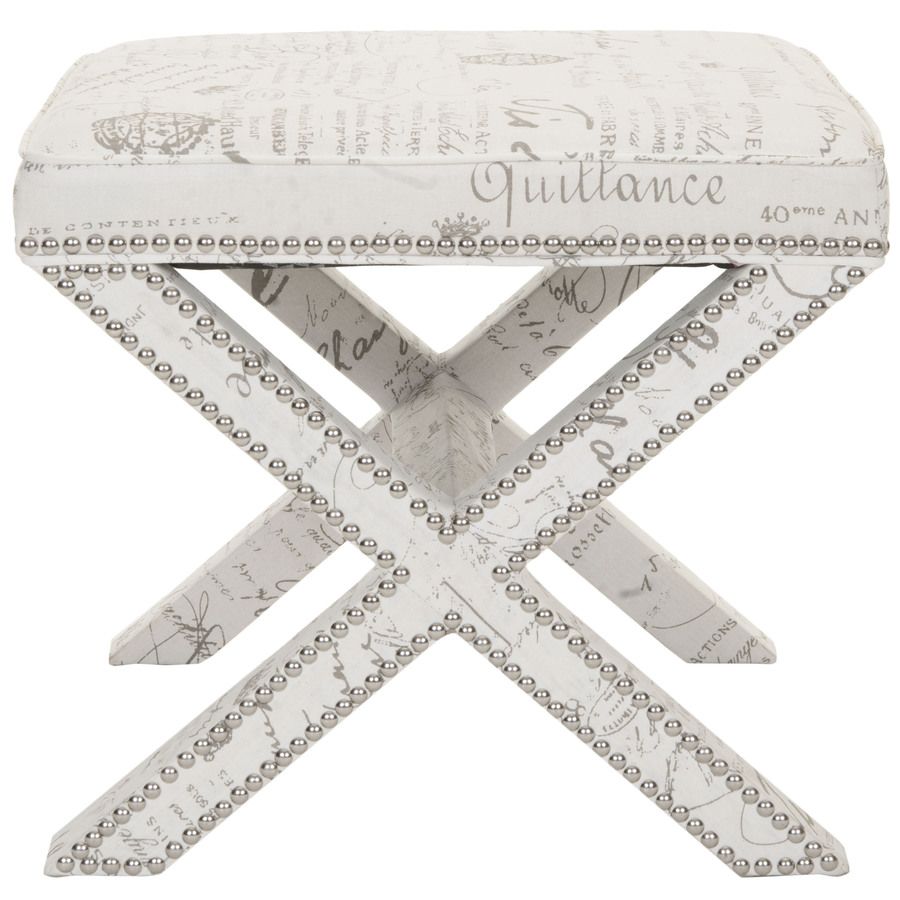
I have had my eye on a few X leg ottomans, X leg benches, and X leg stools for awhile now! Perhaps it started with my X headboard. I don’t know quite what it is about the simplicity and beauty of X leg furniture, but I am loving it all! I saw this X leg ottoman online at Lowes.com (by the way, who knew that Lowes sold furniture online???) and thought it would be a fantastic and versatile piece to own. The price-tag, however, was not so fantastic at $272.73.
I figured I could make something similar for a lot less money, so I hit the internet to see if any brilliant bloggers out there had already paved the way for me. Low and behold a few had! Jennifer from The Chronicles of Home has a fantastic tutorial for a DIY X Leg Upholstered Bench that I used as a guide for this project. I adapted her plans a bit which I’ll outline in this tutorial.
DIY Ottoman
Let’s start with a shopping list! It’s always good to know what items you’ll need to purchase before tackling a project.
Materials Needed for X Leg Ottoman:
- 4 1″x2″x6′ Red Oak Boards (or wood of your choice)
- 1 2″x2″x36″ Red Oak Square Board
- 1 3/4″ 2×2 plywood piece
- Tape measure and pencil
- Nailgun (or hammer and nails)
- Staple gun
- Wood glue
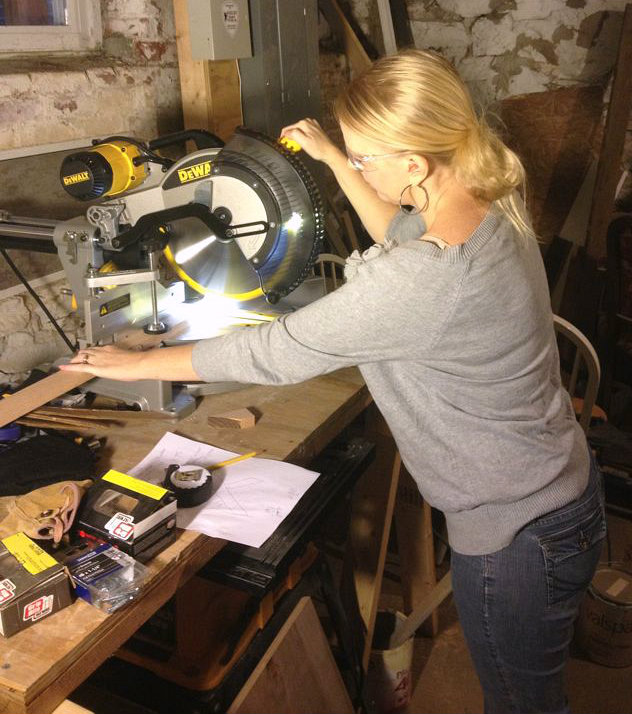
- Compound Miter Saw
- 3M Tekk Hearing Protection
- 3M Tekk Safety Glasses
- 1 1/2″ wood screws
- Drill and bits
- Clamps
- 4″ foam batting
- 1 yard of material and batting
- Upholstery tacks or upholstery nail strip
- Paint or stain
- (Optional) wood putty to fill nail holes
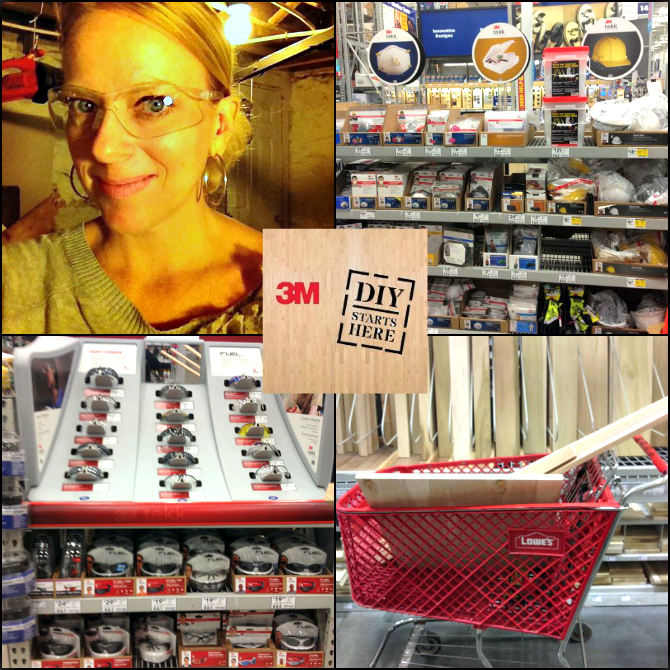
Always remember safety first when tackling any DIY project! I am an amateur and make plenty of mistakes along the way, but I always try to DIY as safely as I know how. Follow all of your manufacture’s instructions and remember to tie your hair back, push your sleeves up, and wear your safety glasses and hearing protection when operating your power tools.
Step 1: Cut Your Wood
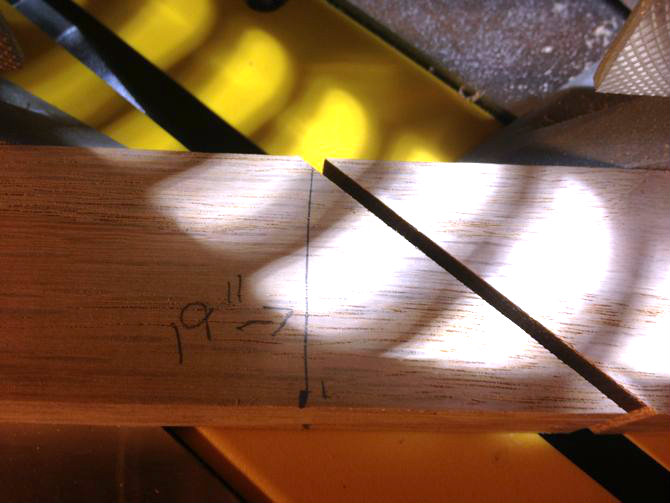
- 1x2x6 Cut one end of your board at a 50° angle. Measure 19″ from the pointed end and cut another 50° angle. You will do this 4 times giving you 4 identical 19″ long pieces.
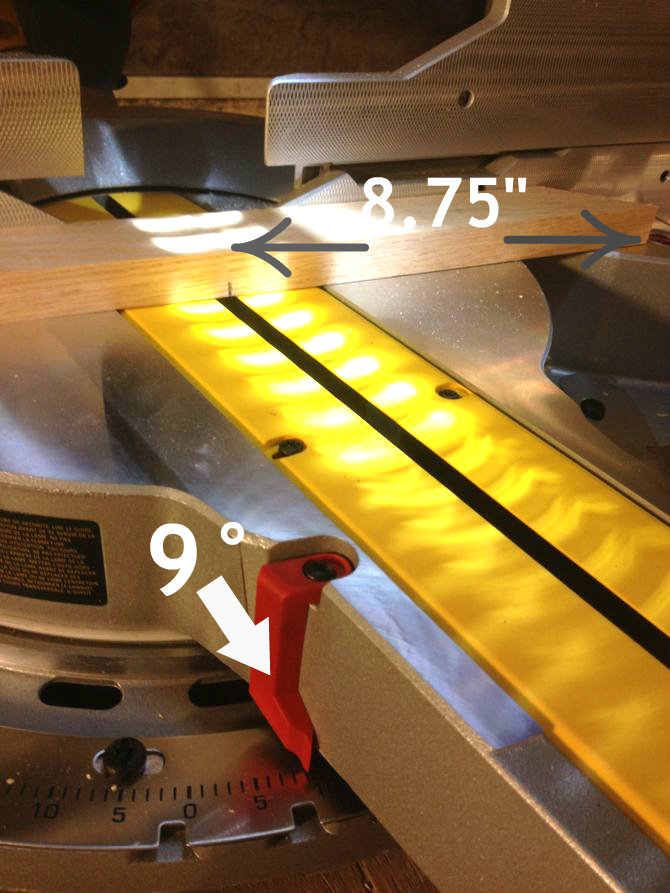
- 1x2x6 Cut one end of your board at a 50° angle. Measure 8 3/4″ from the pointed end and cut the other end a 9° angle. You will do this 8 times giving you 8 identical 8 3/4″ long pieces.
- 1x2x6 Cut 17″ straight piece. You will do this 2 times giving you two identical 17″ straight pieces.
- 1x2x6 Cut 13.5″ straight piece. You will do this 2 times giving you two identical 13.5″ straight pieces.
- 2x2x36 Cut a 14″ straight piece. You will do this once. (This is your center support between the x’s.)
- Take your 3/4 inch thick plywood and cut a 17″x17″ square.
Step 2: Sand Your Wood and Glue it Together
Use a sanding block or your palm sander and gently sand all of the rough edges of your wood.
Once dry, use your nailgun to nail the pieces together.
Step 3: Use a Pocket Hole Jig to Ensure Stability
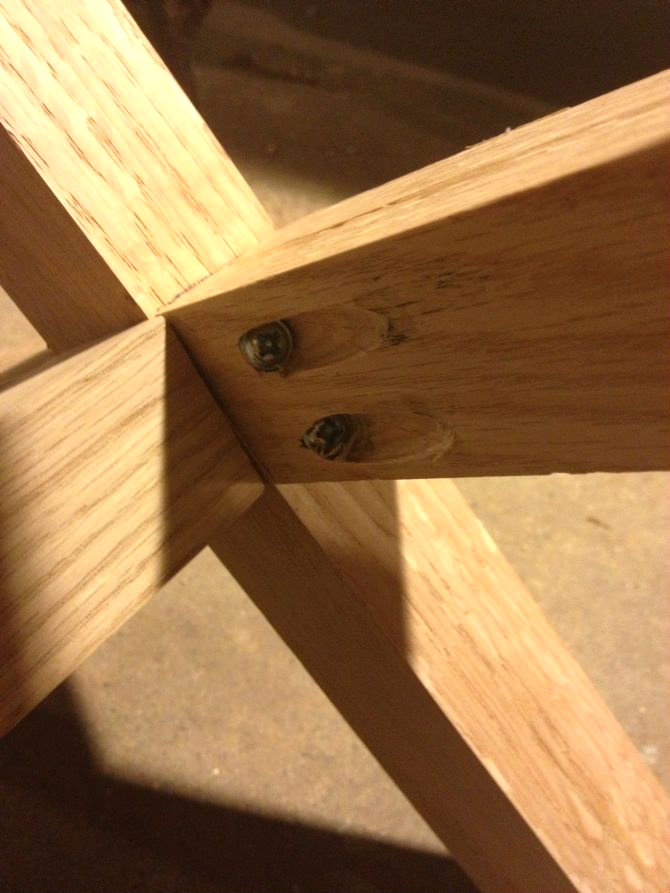
This step may not be necessary, but I added it to ensure stability of the ottoman. I used my Kreg jig on each side of the X to create pocket holes to adjoin the X.
Step 4: Glue and Nail Your Center Support
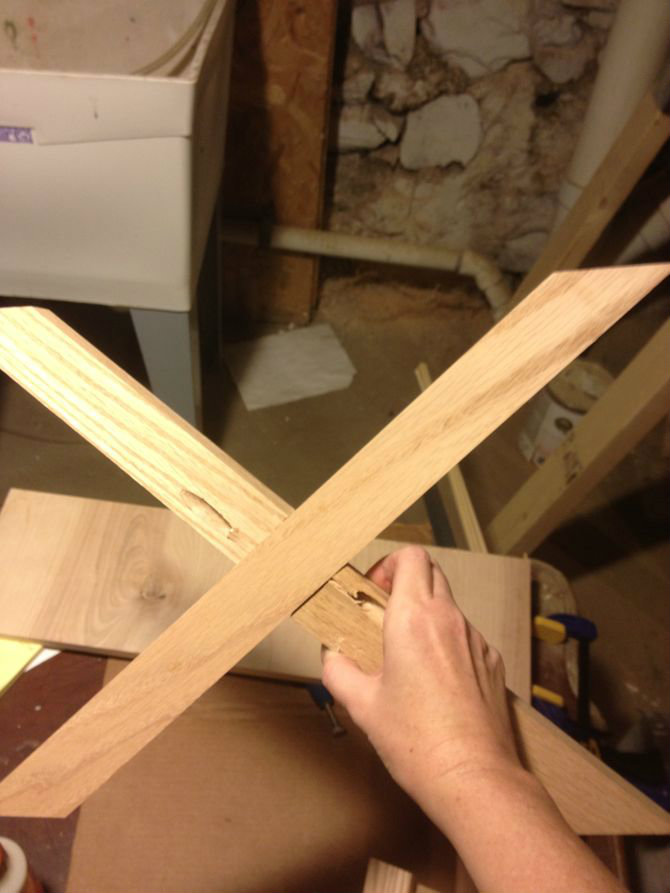
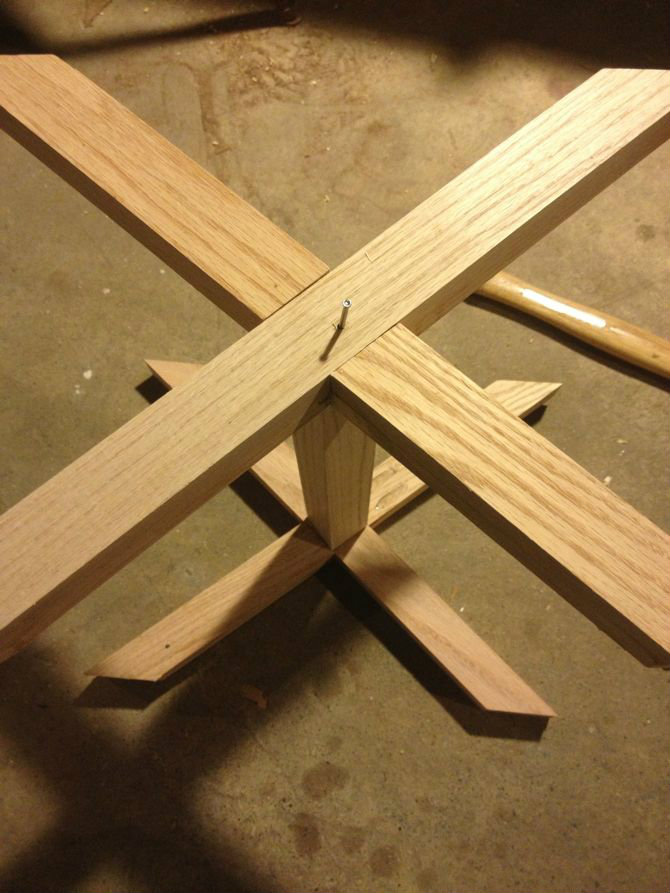
Place one of the X’s on the floor and put a dab of wood glue in the center. Place the 14″ piece of oak in the center and then place your other X on top. Glue and nail in place. Tip: To ensure that the X’s are even and your base isn’t wobbly, draw a pencil line around where your 14″ pieces meet on each X. Make sure that they are lined up before nailing in place.
Step 5: Complete Your Frame
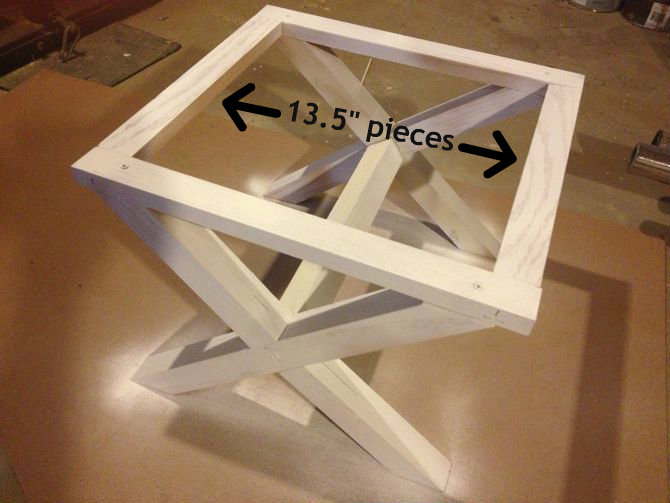
Place your 17″ pieces on top of each X and pre-drill holes for your wood screws. Drill your wood screws in place.
I thought at this point that the frame looked a bit unfinished so I decided to finish off the box and the top by placing a 13.5″ piece of wood to fill in the gap on each side. I used my nail gun to nail them in place.
Step 6: Fill in Holes and Paint or Stain
Use wood putty to fill in your holes and then paint or stain your base. I primed my base with Zinnser spray primer and then used white wood stain to finish it off. I also caulked any gaps with white painter’s caulk.
Step 7: Make Your Cushion
While you are waiting for you paint or stain to dry, work on your cushion. Mark your foam around your 17″x17″ plywood and cut your 4″ thick foam cushion using a utility knife. Cover the foam with a layer of batting and staple in place. Cover your square with your material and pull as taut as possible on two opposing sides and staple in place.
Step 8: Add Nailhead Trim
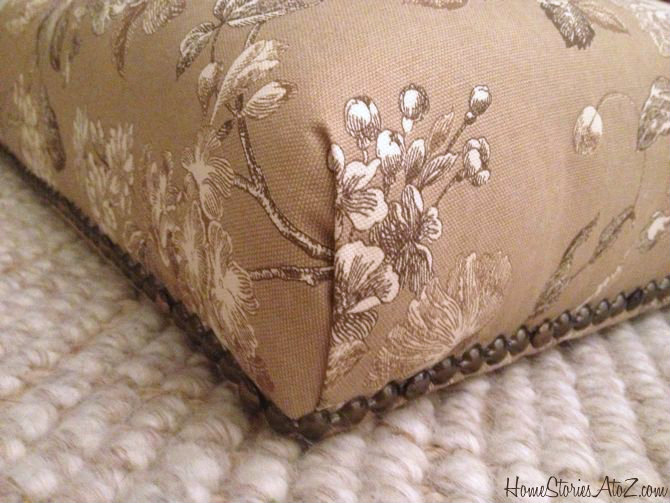
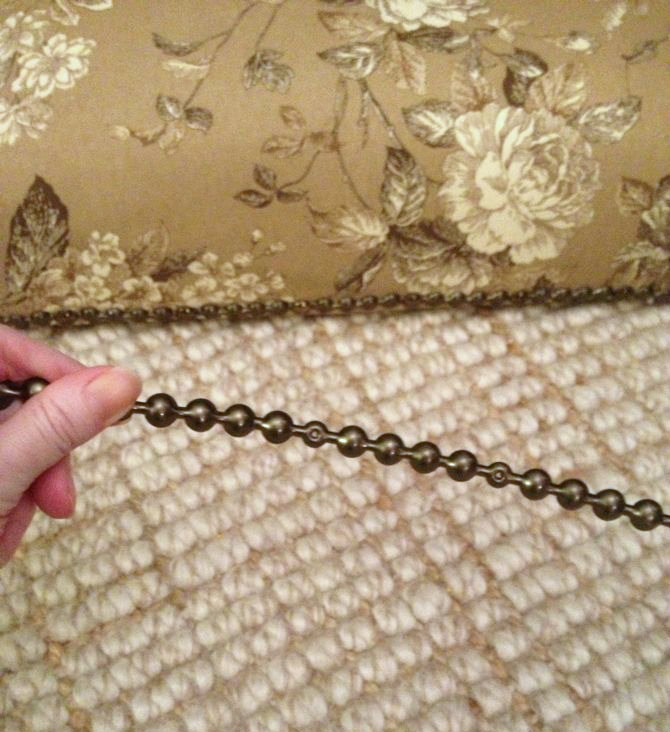
I have no patience for measuring and nailing in 100 upholstery tacks in a straight line, so I like to use prefabbed upholstery nails. You only have to place a few tacks in place and you don’t need to do a lot of measuring. The disadvantage of course is that it costs more. I got lucky and found an entire roll of this stuff a few years ago at a thrift store.
Step 9: Attach the Top to the Base
Flip your cushion over and place your base on top. Pre-drill holes into the center of each plank and secure with a 1 1/2″ wood screw on each side. Congratulations! You just made an X leg ottoman!
Step 10: Admire Your New X Leg Beauty
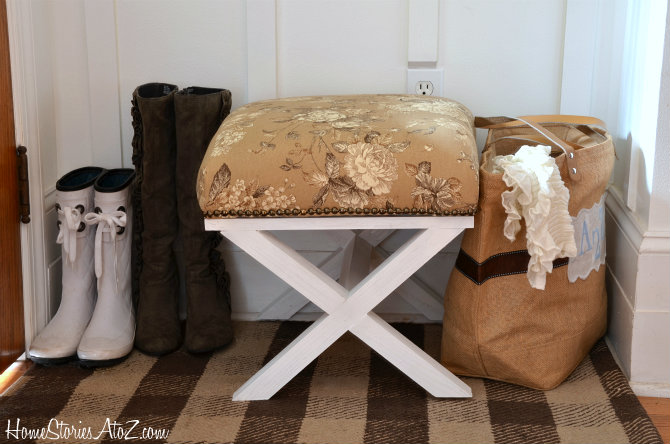
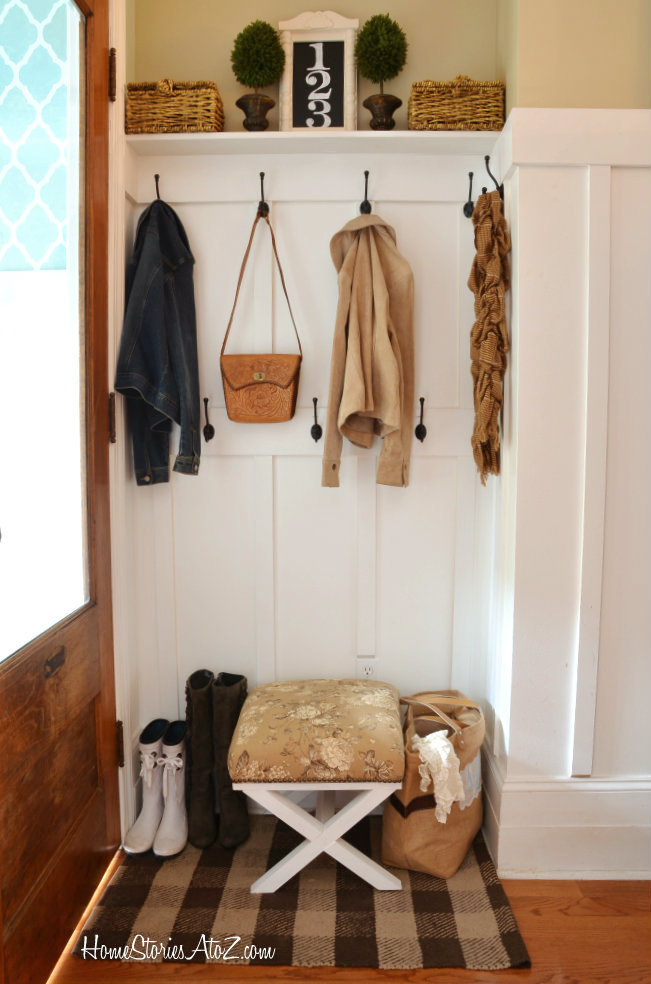
I love how it turned out! It’s a little farmhouse and a little glam–just the way I like it!
 Please visit 3MDIY.com to see other fantastic project plans by fellow bloggers!
This post is a collaboration with 3M DIY. To enter to win free samples for your next DIY project, visit 3MDIY.com Content and/or other value provided by our partner, 3M DIY.








Excellent tutorial, Beth! What brand wood stain did you use?
I am very much doing this, this weekend!!! Love it!
How the heck did I miss this!!!? I was just over on your we create board and saw this and said,”oh that is cute, who made it?” So I’m looking around and clicked and there you were! ha. I guess I need to look at my reader a little more often. GREAT job and fantastic tutorial. Love it 🙂
Great job, Beth! So cute!
Awesome project you handy thing! Looks great.
Woah…”tool time, Beth” way to go! Beautiful job….love the strand of tacks! No jig here so I’ll never tackle this kind of project. Can only imagine what else you’ll be creating w/ your new toy!
LOL! I like my new name. *wink*
Beautiful fabric and nail trim! Great job Bethy!
Mwah! Thank you sis!
It looks great, Beth! I like the way you made it out of oak but still painted it. It should be nice and sturdy, and I’m such a sucker for painted wood!
That must be good nailhead trim you have. I don’t usually like the look of the kind that comes in a roll–it somehow looks fake to me for some reason–but yours looks great.
Thank you for the detailed tutorial!
Thanks Richella!
What a great project and excellent tutorial. I will have to tackle that one. Power tools! hidden screws! The final result looks great.
And I’m sorry to hear about the water damage to your house.
Thank you David. I’m just praying we don’t have any more heavy rains before we can get it all fixed. We’re just drying out over here.
Wonderful job! I am totally going to try my hand at this. I have been wanting a new ottoman to use in place of my coffee table. Thanks for sharing.
Yay Amy! You’ll have to share your final product with me :).
Great job! I love it!
Thank you Tabitha!
It looks great…you always set the bar so high…now I want to make one, but it’s too dang cold to be out in the garage…(that’s the best excuse I can come up with)..Beautiful!!
Thanks Missy! And I know, it’s getting cold here too. I was chilly down in the basement and decided that a space heater down there is a must this year! And seriously girl, anything I can do anyone can do. I don’t say that lightly. I am not artistic or especially handy or gifted in DIY. I AM tenacious and determined to conquer a challenge. I bet you would totally rock a DIY ottoman!
Love this idea! Now I’m mentally rearranging furniture to figure out where I can put one! Also, I’ve been reading on my feed reader and haven’t been by in a while and I LOVE LOVE LOVE the new look. There chic and fresh! xx
Thanks so much Amanda! It’s still in progress :). There are a few more additions that will go on the site this weekend and it will look even better!
Hi Beth,
Thanks for linking to my tutorial 🙂 Your bench looks great, and I like that you continued the top all the way around. We’ve been enjoying our benches and they’re getting a ton of use in my living room. Hope you find you like yours just as much!
p.s. I wound doing a separate post on how I upholstered the top, in case any of your readers are interested: http://www.thechroniclesofhome.com/2012/10/tutorial-how-to-upholster-bench.html
Oh fantastic Jennifer! This would have helped me too. That was tricky tucking in the fabric. No idea if I did it “right” but a tutorial would be uber helpful! Also, I couldn’t figure out how the 19inches with the 9.5 pieces on each side were correct. That’s why I shortened mine to 8 3/4 to account for the width of the 19inch piece. And as you can see it ended up not being flush with my top :(. I should have known better than to try the math on my own. LOL!
I know the measurements seem counter-intuitive. It works because it’s not actually 9.5″ + 9.5″…the 9.5″ is only the long side of the short piece so when you’re sort of adding everything up it’s actually 9.5″ + the shorter side of the piece on the other side + the width of the cross piece. Does that make sense? I had some other questions about that too because it seems like something is off when you see the measurements!
This is awesome Beth! Love the fabric and the detail. Great tutorial….
Thanks love!
It looks so great! Thank you for providing your plans. What was your total cost on this project?
Oh good question! I meant to include that. The wood alone cost $40.76. You could buy cheaper wood but I bought red oak thinking I was going to stain it. I also bought a nice square instead of cheap plywood. The foam cost me $6.36 at Ollies Surplus Warhouse (a chain store that sells odds and ends). I had all of the other materials on hand including the fabric (and even tore apart an old crib bumper to retrieve some batting). LOL! If you didn’t have a lot of tools already purchased, the cost would obviously be much higher.
I love it!! My husband just got a kreg jig for his birthday, so I’ll be adding this to the list of things I want him to make. Thanks 🙂
Hi Lauren! This was my first time using my Kreg jig and I was impressed with it.