Great tutorial on how to mod podge flower pots! These make great teacher and house-warming gifts and are the perfect craft for an adult craft night.
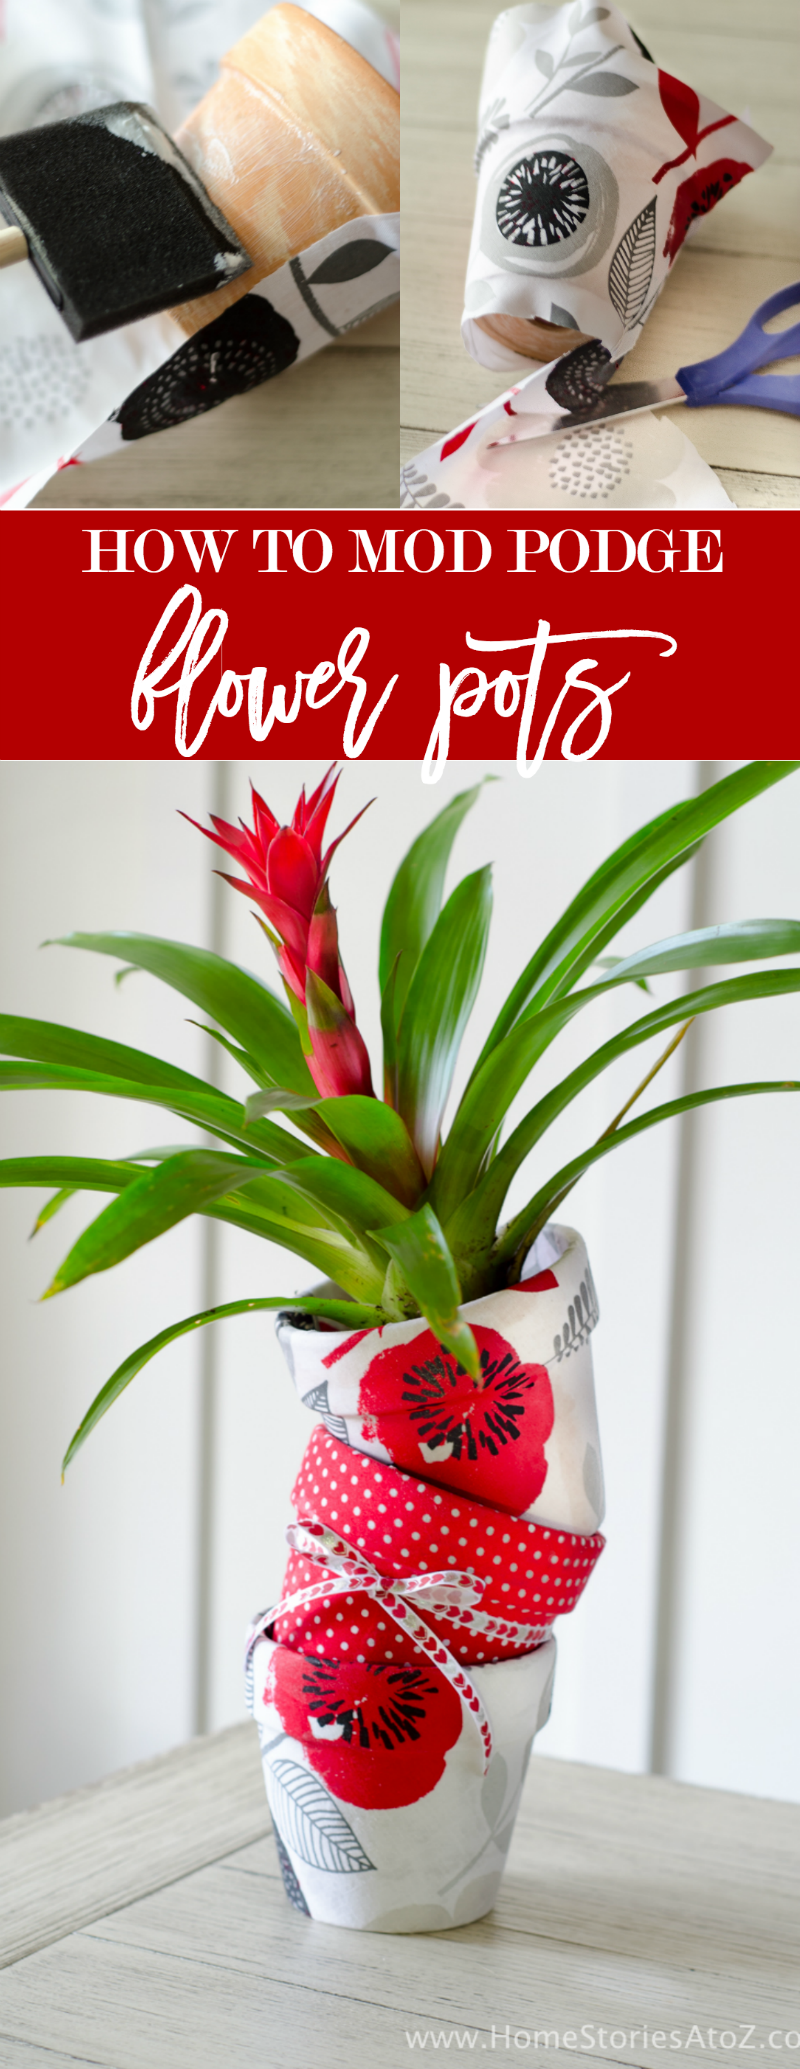
How to Mod Podge Flower Pots
Thanks to Waverly Inspirations at Walmart for sponsoring this post. The favorable opinions of the incredibly cute fabrics, ribbons, and paint are 100% my own. Post contains affiliate links. Find my full disclosure policy here.
Every month, Waverly Inspirations sends me a box filled with fabrics, ribbons, and paints and challenges me to create something with their materials. I’m not much for games, but this is a game I can get behind! Some months I am given a theme to follow and others are designated as “designer’s choice”. This month’s theme was Valentine’s Day decor, and I knew immediately what I wanted to create! My boys love to give their teachers Valentine’s Day gifts, and I thought mod podged fabric flower pots would be perfect this year.

Supplies Needed for Mod Podge Flower Pots:
- Waverly Inspirations Fabric found at Walmart
 . (The floral Waverly fabric I used is only $3.97/yd and can be found here
 .)
.) - Waverly Inspirations Ribbon
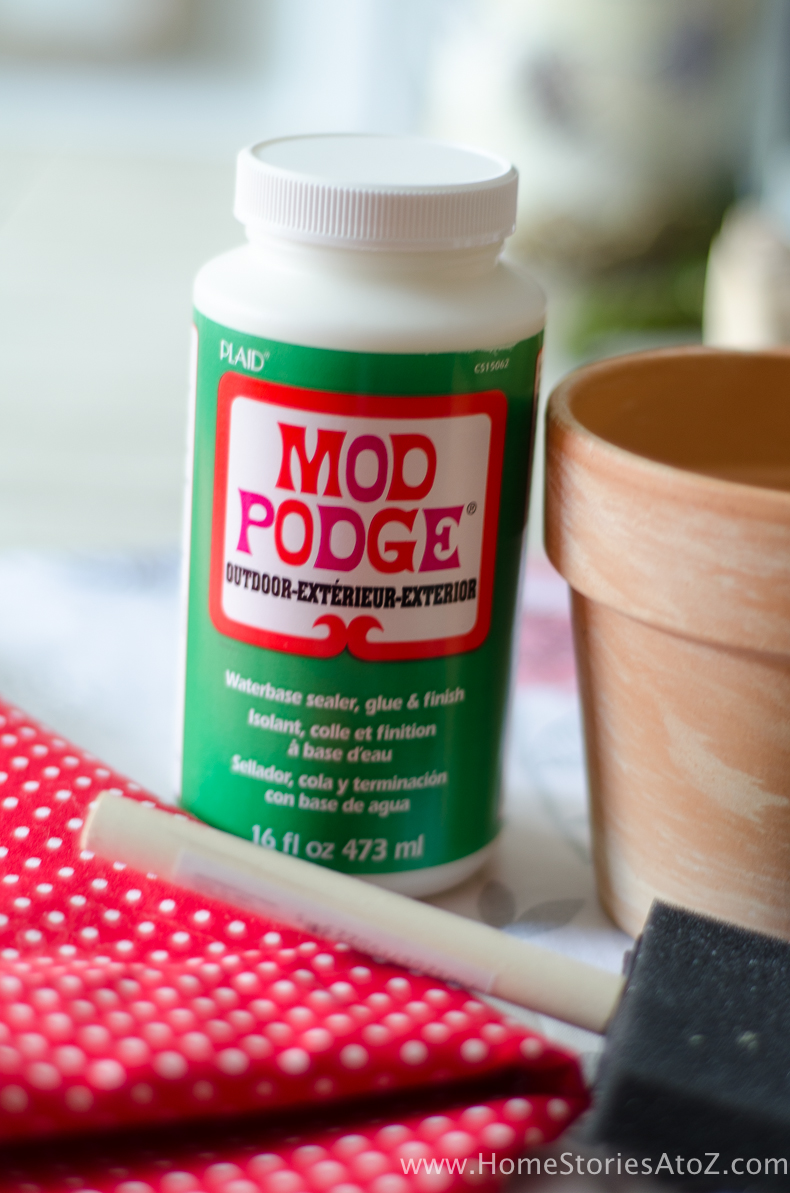
- Outdoor Mod Podge and foam paint brush
- Scissors (here is a link to the gold pair I own)
- Terra Cotta Pots
Instructions for Mod Podge Flower Pots:
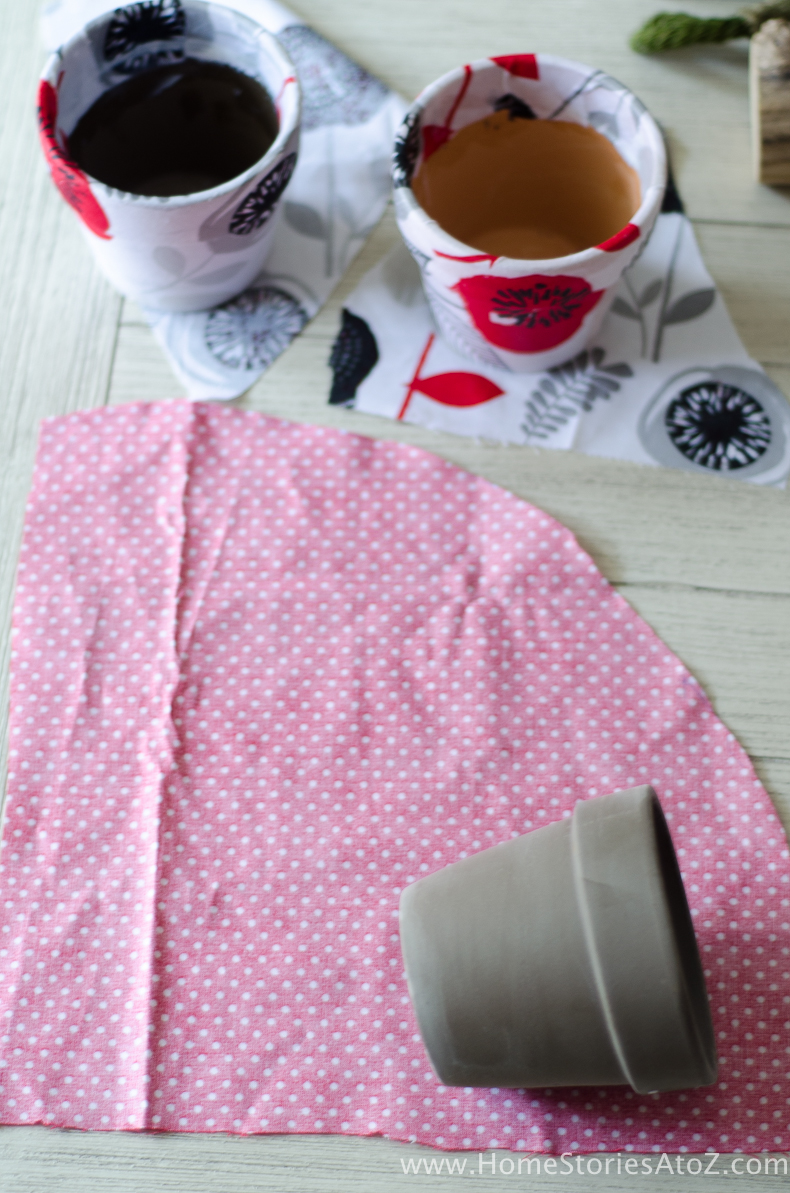
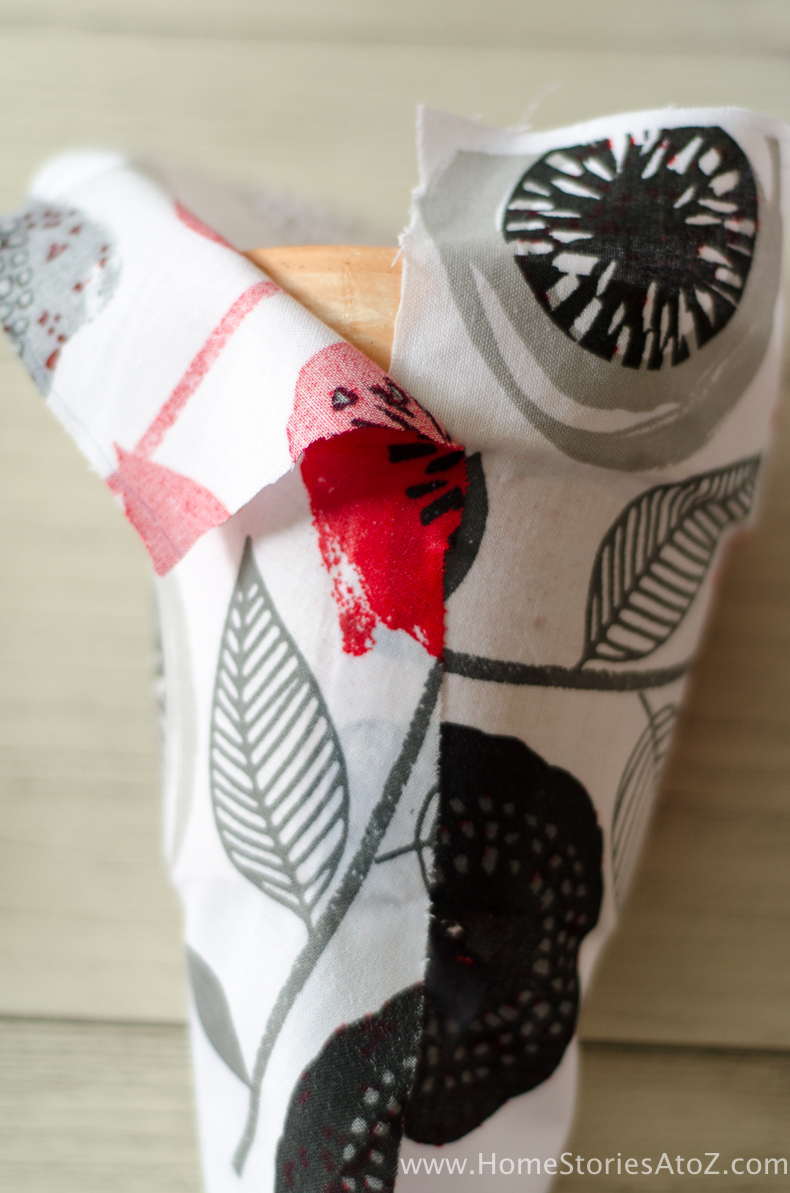
Step 1: Place your flower pot in the right corner of your fabric, leaving about 1 1/2″ of fabric from the edge of your pot. This allows you to have enough fabric to fold over the lip of your pot. Roll your flower pot from left to right in an arch shape and trace the arch shape onto your fabric, keeping the 1 1/2″ fabric allowance.
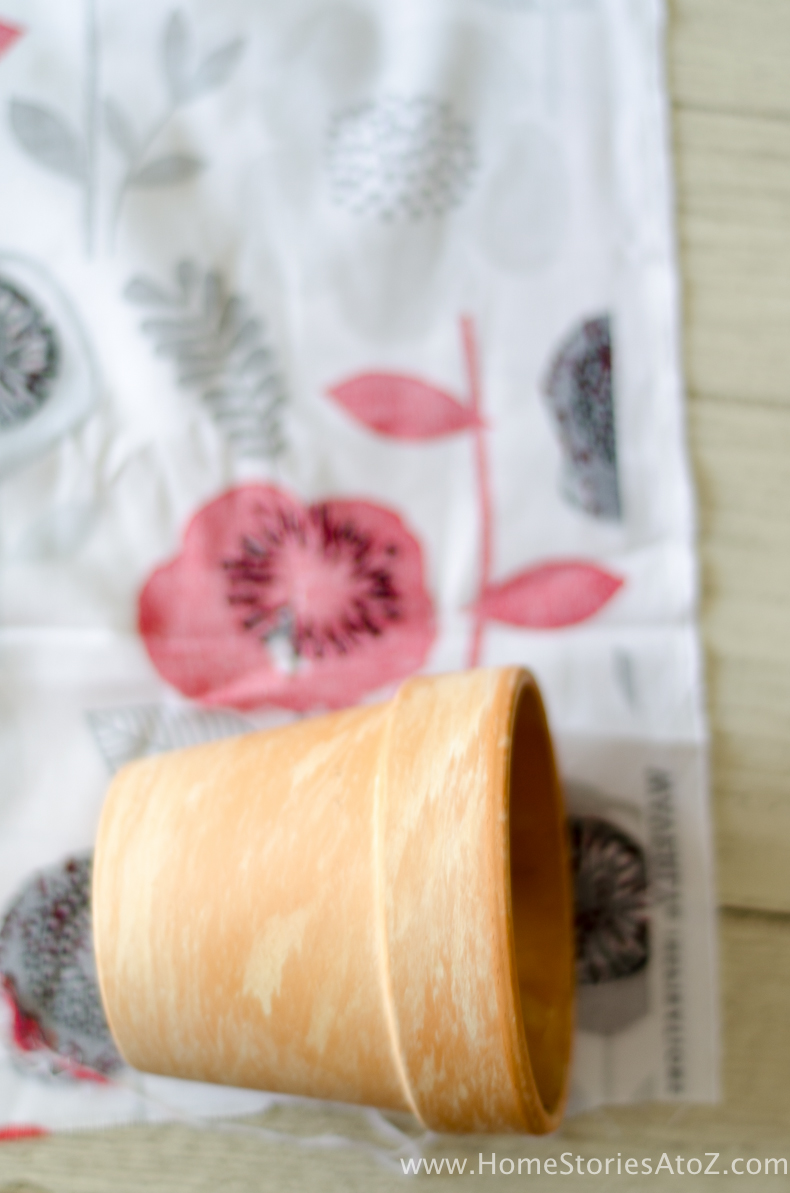
Step 2: Cut out your fabric. The fabric does not have to be completely wrinkle-free and will smooth out with the glue.
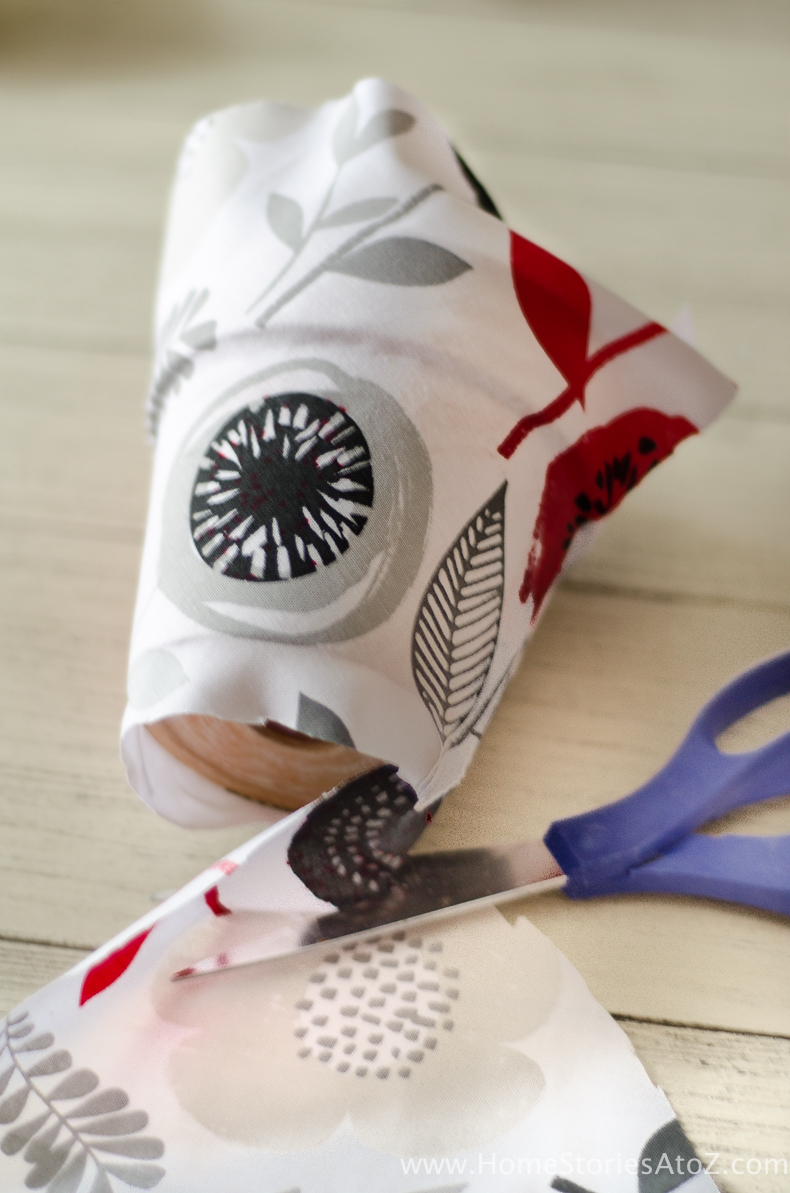
Step 3: Use Outdoor Mod Podge and a sponge brush to paint your glue onto the body of your pot only. Do not yet place glue on the lip or the bottom of the pot. Working in small sections at a time is the key to success with this project!
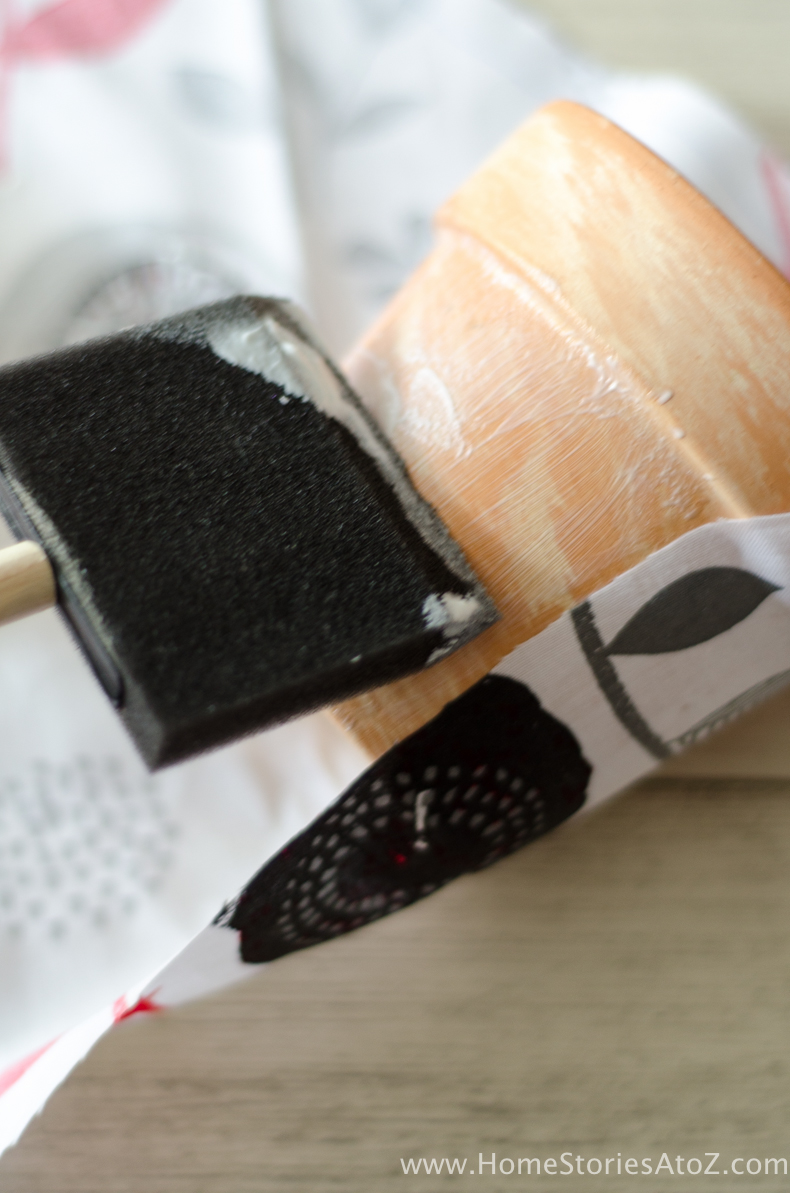
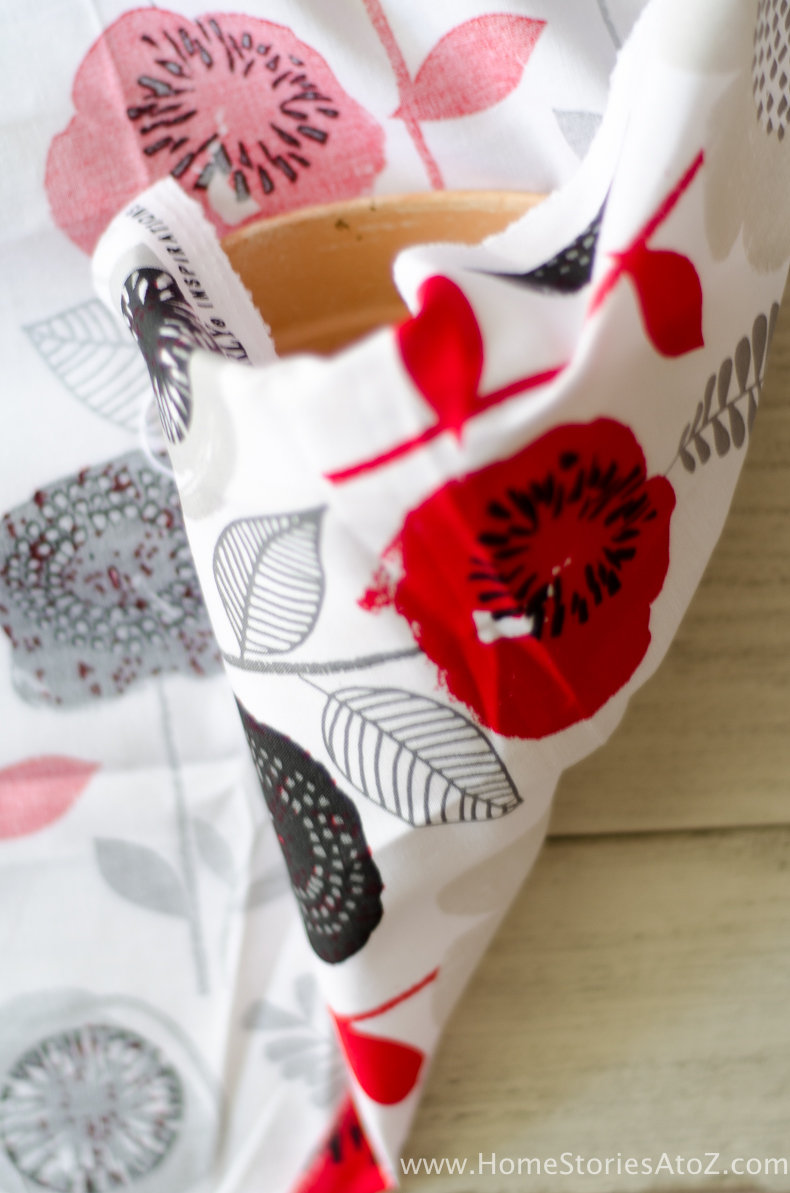
Step 4: Smooth your fabric around the body of your pot and seal the seam of the fabric. If you have excess fabric, first cut it so the seam overlaps by only 1/4″ or so.
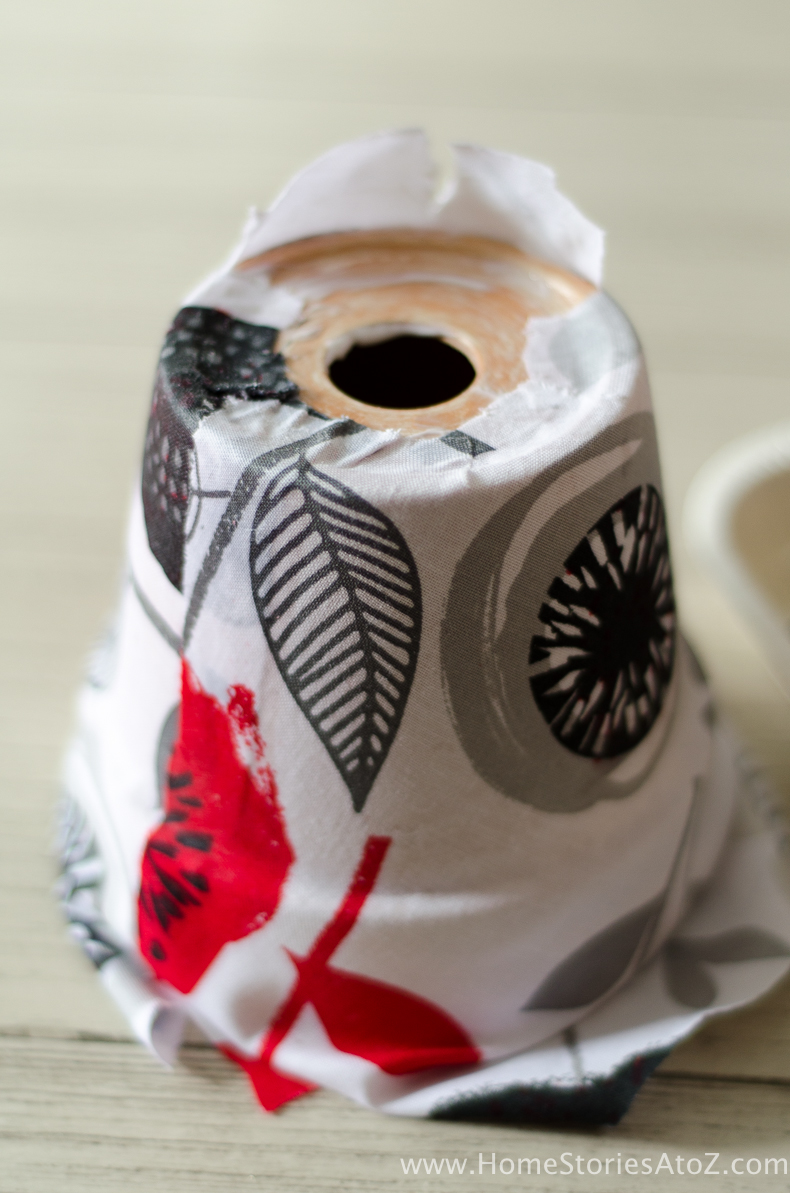
Step 5: Cut the excess fabric off the bottom of the pot.
Step 6: Cut slits in the fabric on the bottom of the pot every 1 1/2″-2″; coat with Mod Podge and press down.
Step 7: Repeat steps 5-6 on the top of the pot.
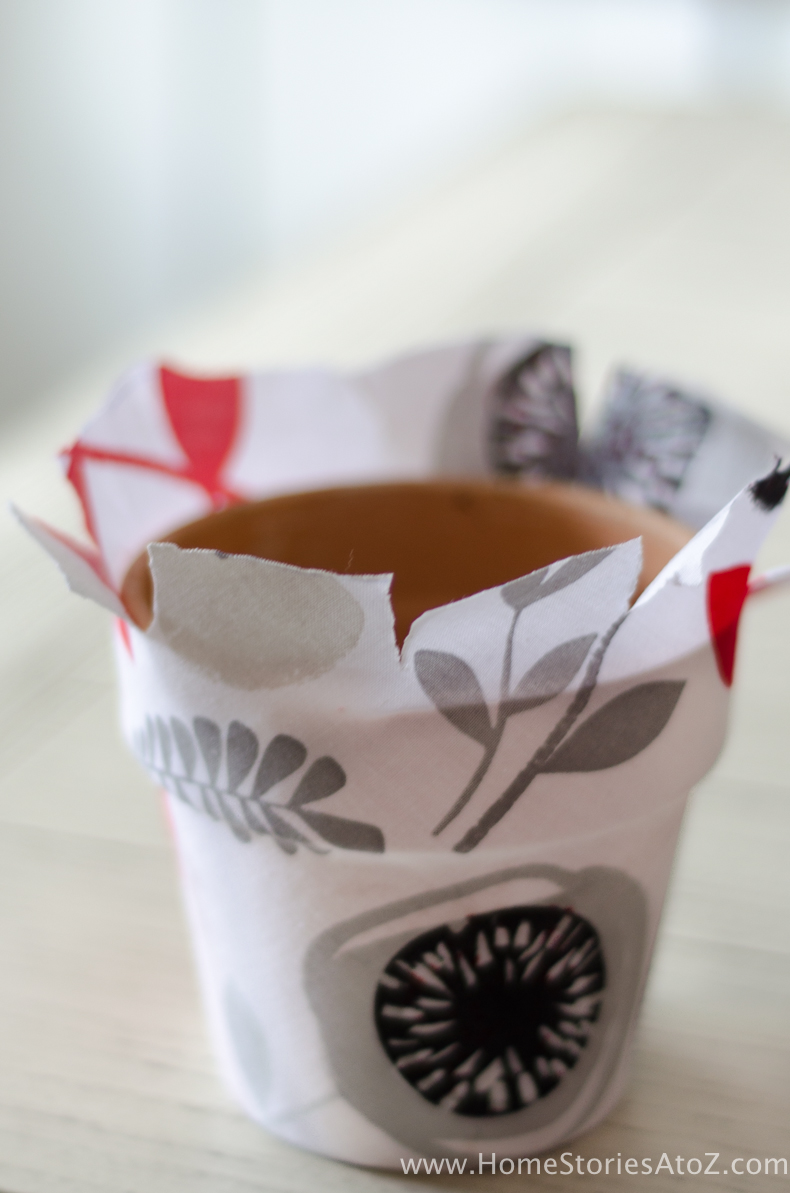
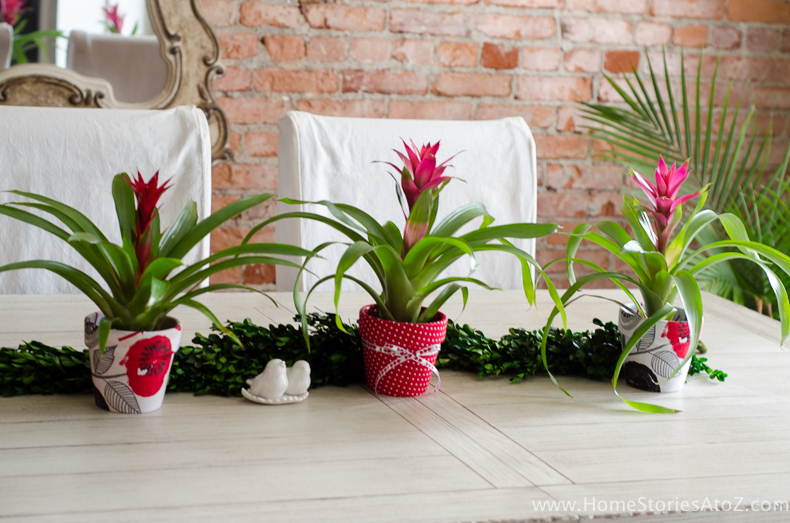
Step 8: Allow the pot to dry before sealing the exterior of the pot with additional coats of Mod Podge. Fill pots with plants, or gift basket supplies and give as gifts!
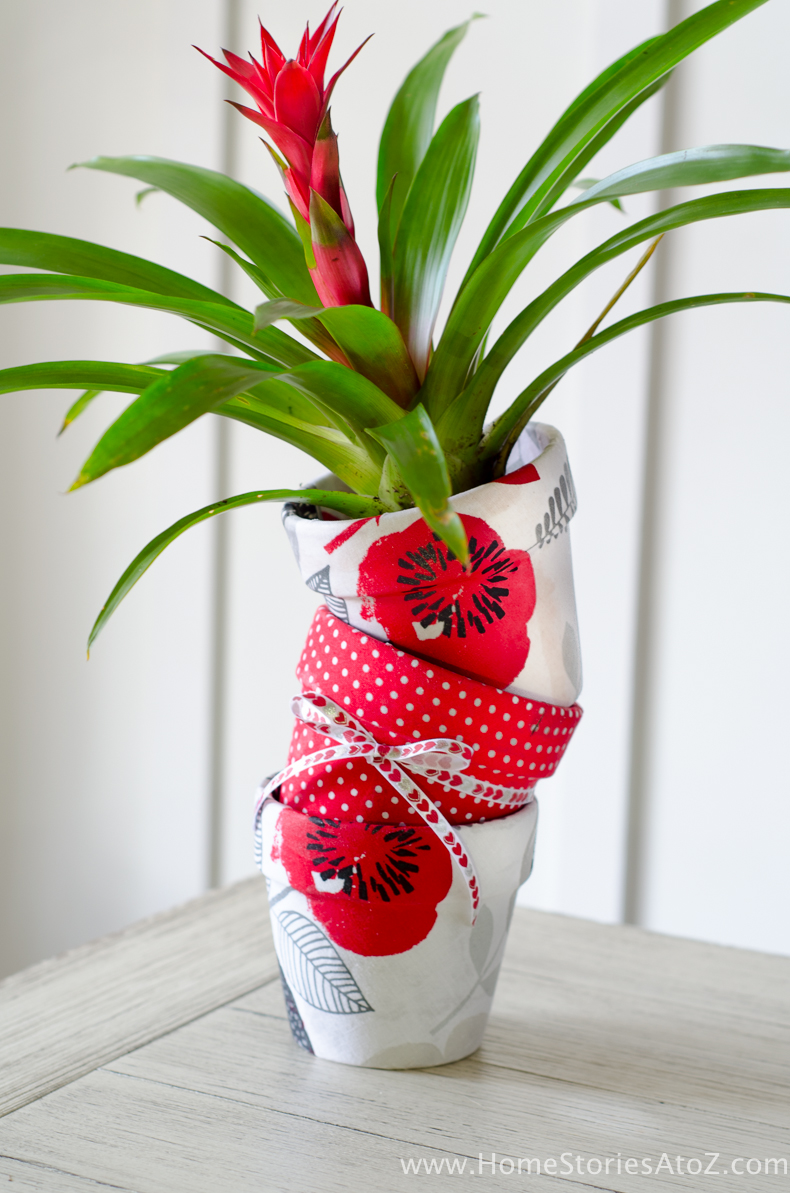
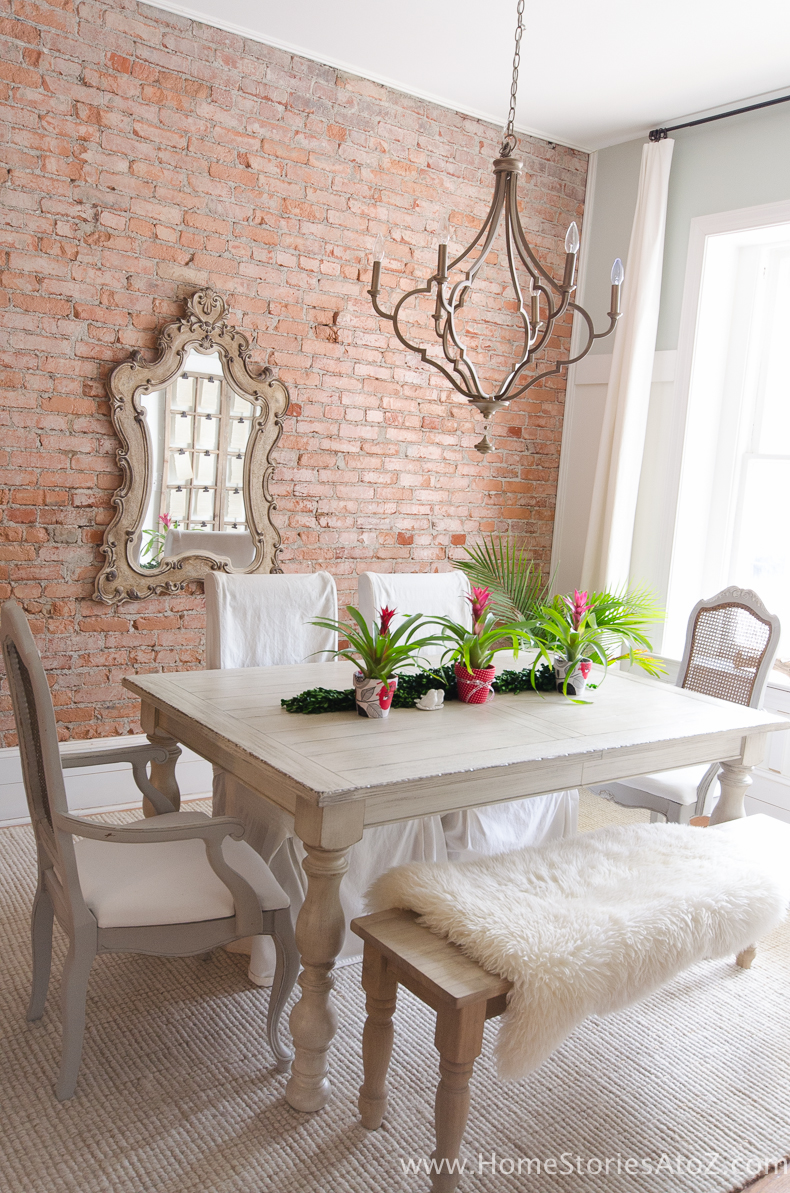
I created three pots to give as teachers’ gifts, but they look so cute on my dining room table that I’m beginning to have second thoughts! 🙂 I might have to make more!


For more clever and easy ways to use fabric, please check out my related posts below!