Learn to make these cute polar bear marshmallows and create adorable polar bear hot chocolate Valentine’s for your child’s class!
Polar Bear Marshmallow Hot Chocolate Valentine
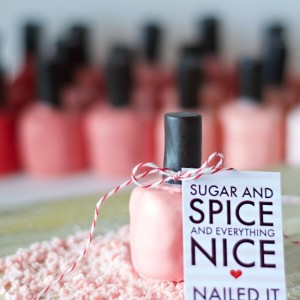
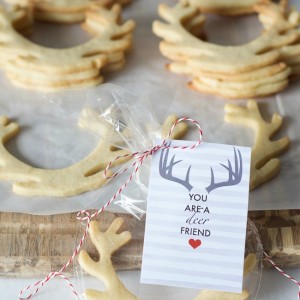
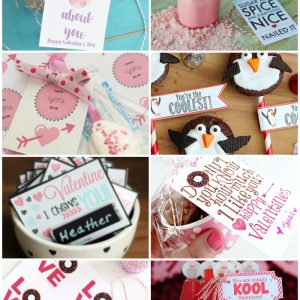
My baby is 10, and last week it hit me that our days of handmade class Valentine’s are rapidly coming to an end. In fact, I think this is our last year for it. 😭 Don’t get me wrong. There have been many years where I’ve GLADLY run to the drugstore at the eleventh hour the night before Valentine’s Day to pick up some generic cards for the class. No shame in the store bought game! However, I actually love creating fun foodie Valentine’s Day treats, and I know I will miss it once the boys are grown! (p.s. I’ve linked all of my Valentine’s creations from the past decade at the end of this post–crappy photography and all! There are some super cute ideas in the mix so don’t miss it.)
I had an idea to create a hot chocolate Valentine with polar bear marshmallows, so on a whim I googled “polar bear marshmallows” to see if they had been created before and lo and behold THEY HAD!! Nothing new under the sun my friends! One of my blog friends, Sarah from Mom Endeavors has an excellent tutorial on how to create marshmallow polar bears and Southern Living has an equally cute video showing how to make them. My tutorial is similar to Sarah’s, so I encourage you to visit her post for the step-by-steps!
In a nutshell, here is how I created my polar bear marshmallows!
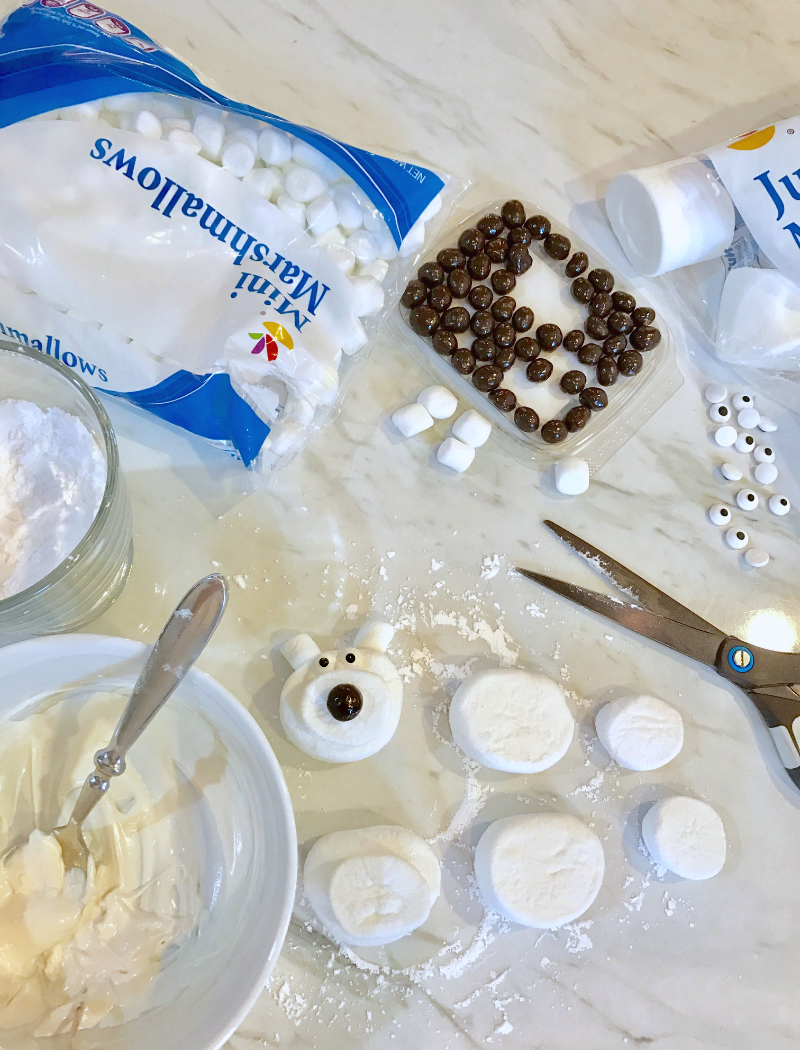
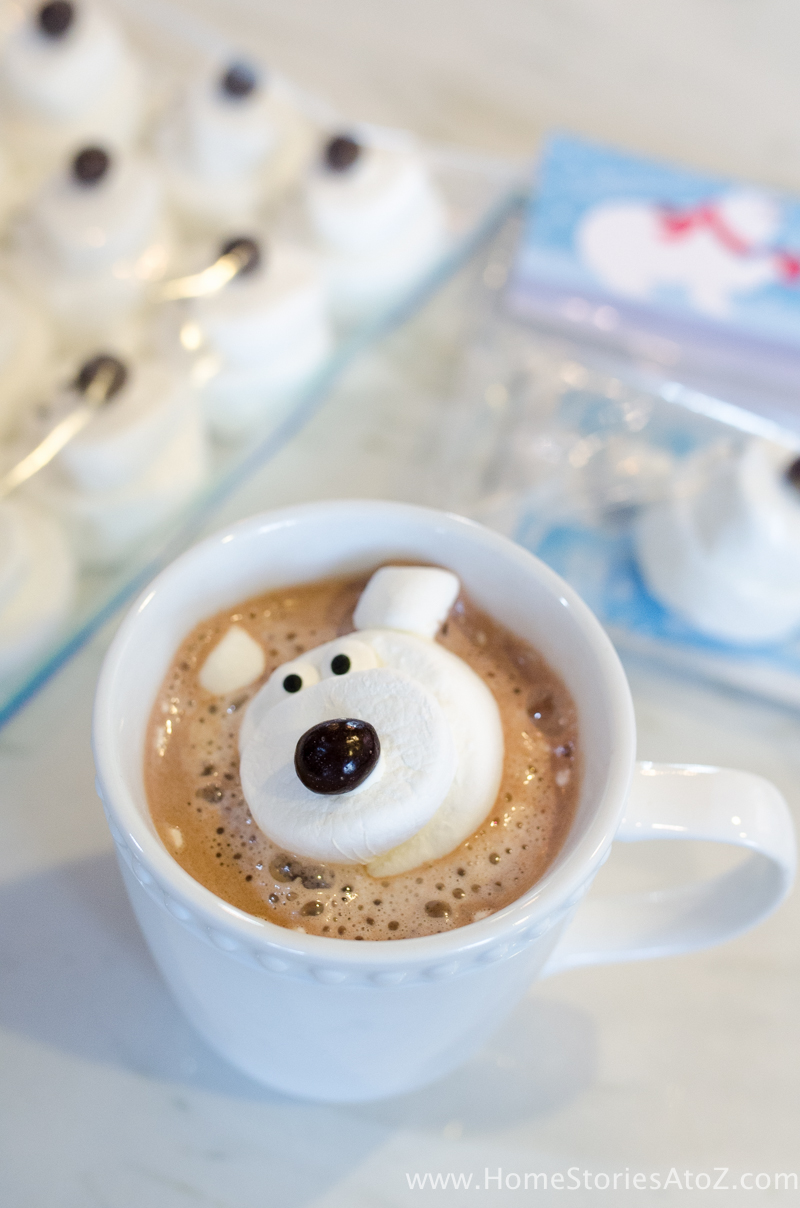
1. Cut a jumbo marshmallow in half and a regular marshmallow in half. The jumbo marshmallow creates the polar bear’s head and the regular marshmallow creates its muzzle.
2. Dip the cut, sticky-sides of the marshmallows in powdered sugar. This gets rid of the stickiness.
3. Melt white chocolate chips or white chocolate melting chips to act as your glue.
4. Dollop melted white chocolate on your cut regular marshmallow and place on jumbo.
5. & 6. “Glue” on eyes to jumbo marshmallow head with white chocolate. I used a wooden skewer to place chocolate on eyes.
7. “Glue” on nose with white chocolate. You can use a chocolate covered raisin, M&M, or any round chocolate covered candy. I used chocolate covered ginger pieces found in the bulk aisle section of the grocery.
8. “Glue” on mini-marshmallow ears.

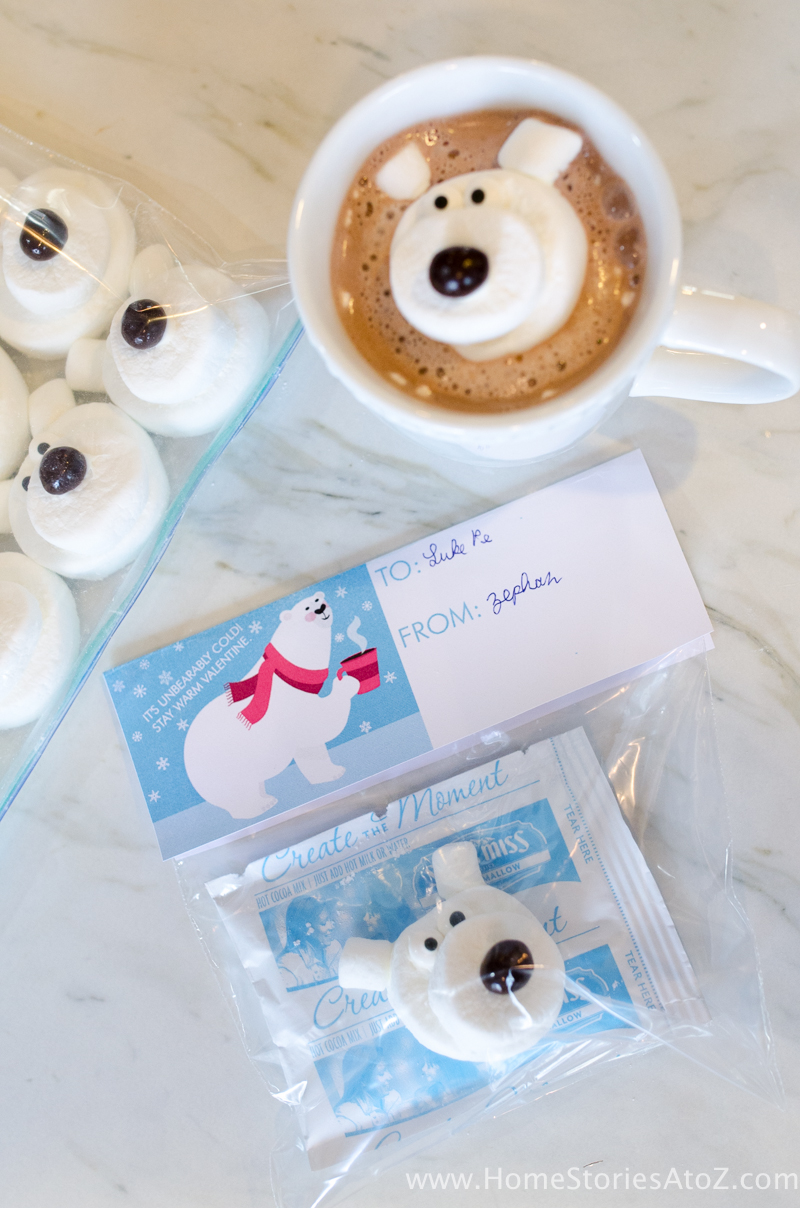
To preserve freshness, place your polar bear marshmallows in a large gallon-sized ziplock as you go. You should be able to fit 20 bears in a gallon-sized baggie.
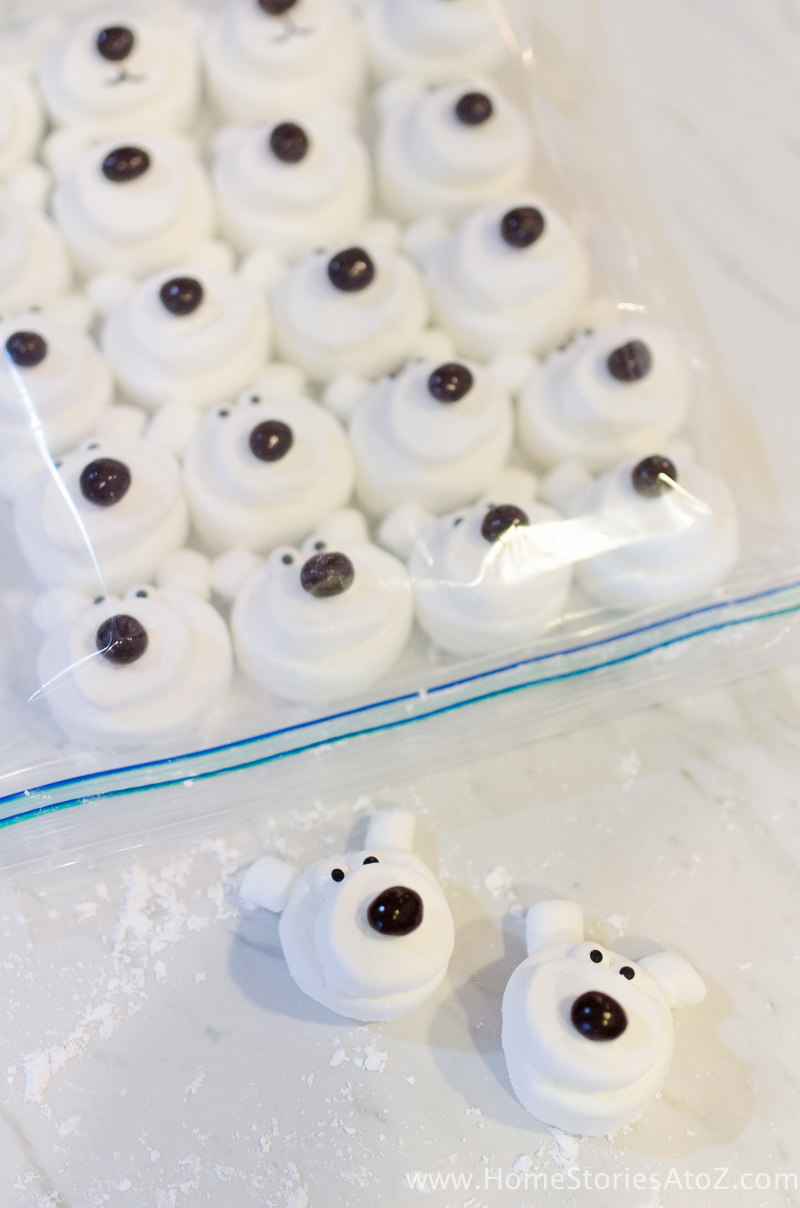
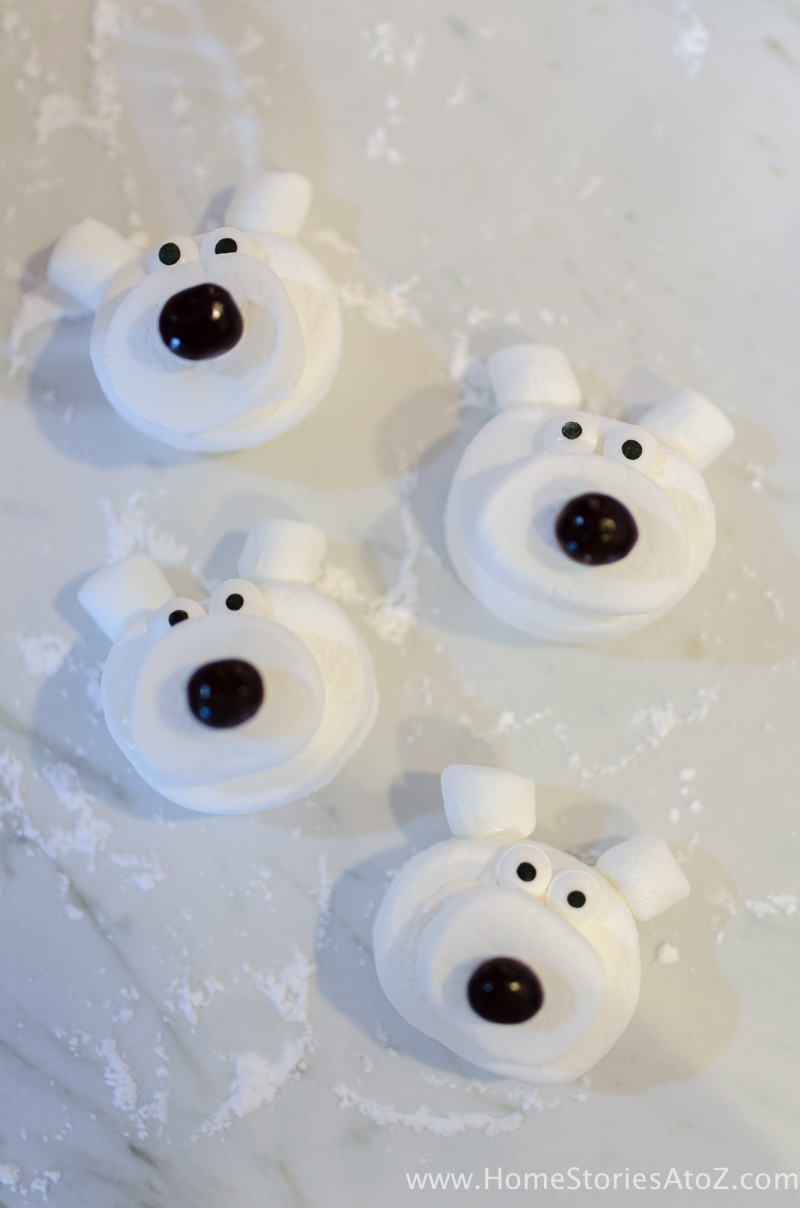
Aren’t they adorable? I love them!
To create the sandwich bag topper, I uploaded a polar bear graphic from Freepik (linked below) and created the Valentine card using the online photo-editing software Picmonkey. Due to the copyright terms of Freepik, I’m not able to offer this to you as a free download, but you can easily create your own if you know how to use Picmonkey and Word. I came up with “It’s unbearably cold! Stay warm Valentine!” using Futura BT Light font.
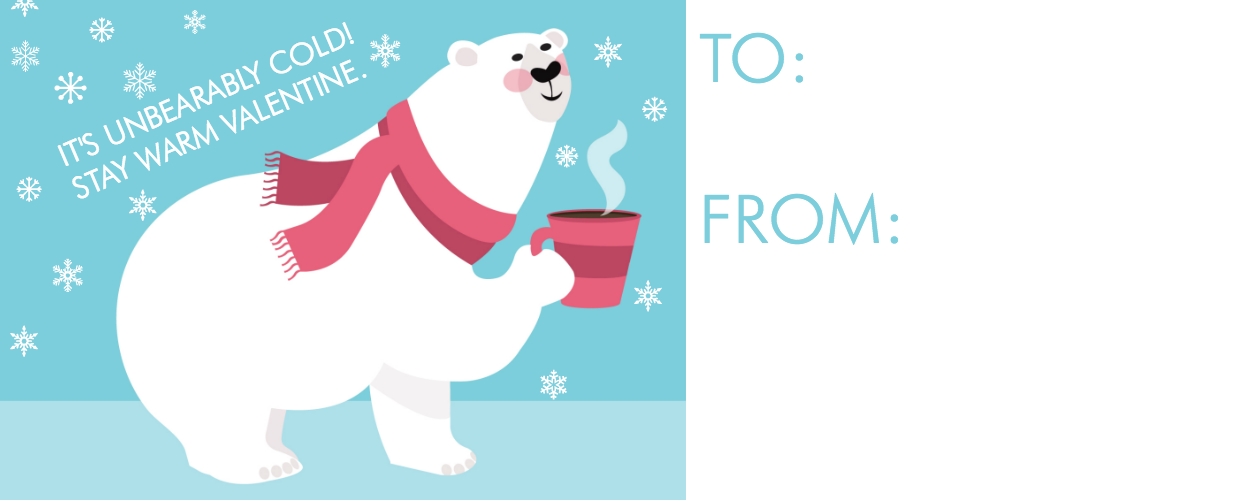
Polar Bear Graphic Designed by Freepik
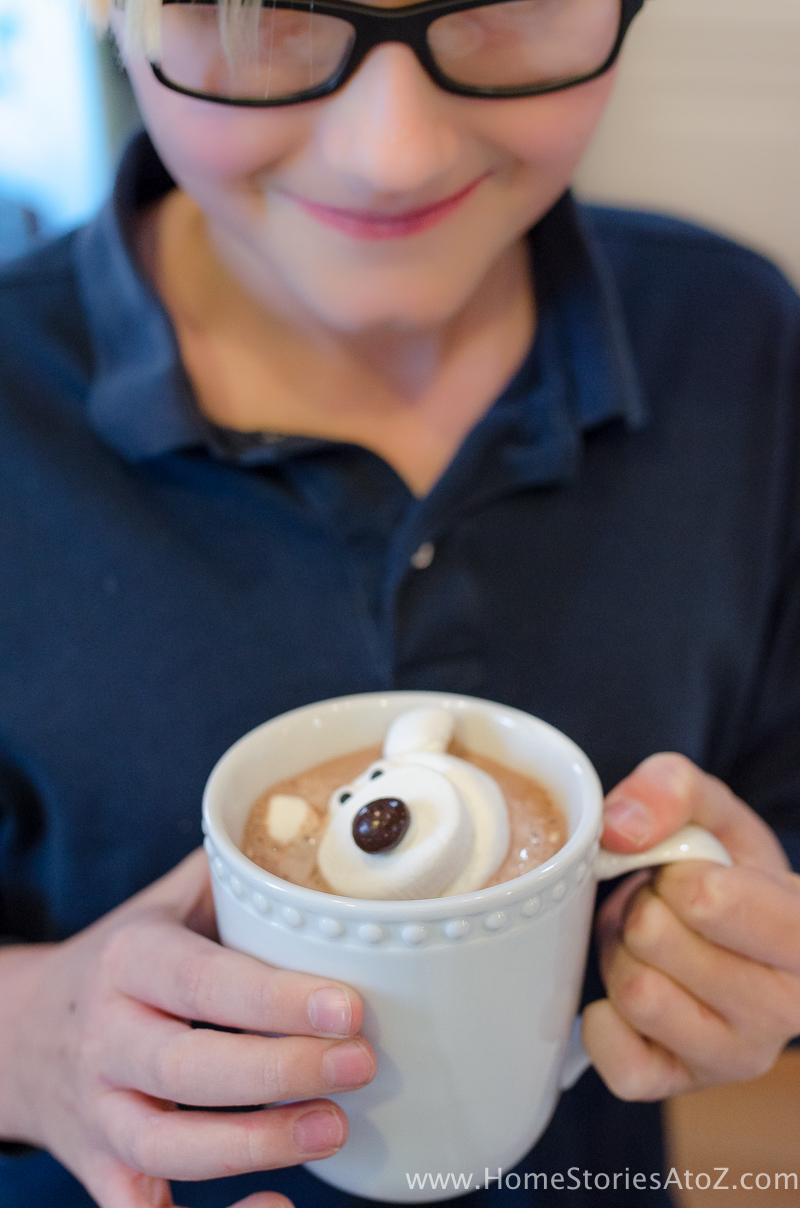
My son and I placed a packet of hot chocolate and a polar bear marshmallow in a 6.5 x 5.875 sandwich bag and then used glue dots to adhere the baggie topper.
And of course we had to taste-test the marshmallows!! 😉
Feel free to pin this idea for later! 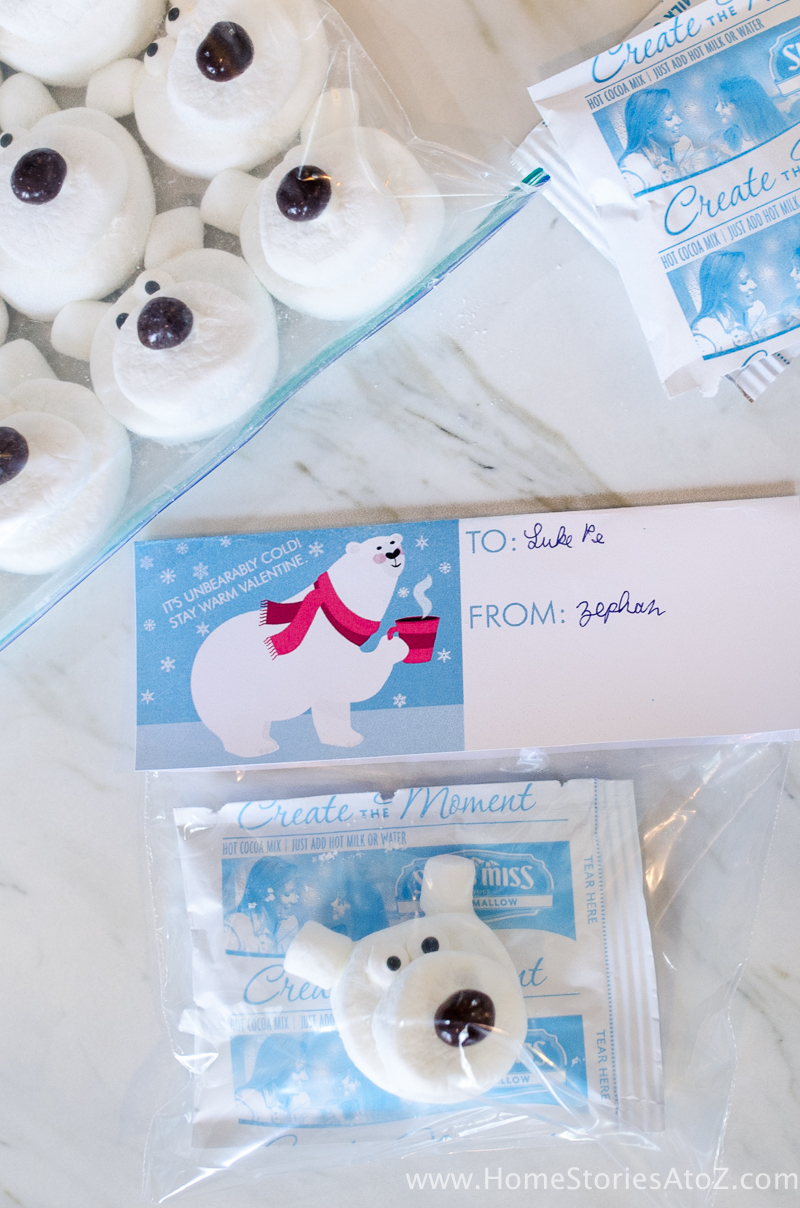
If you liked this post, then you might enjoy the Related Posts below!
Related Posts


These are adorable! What a great idea for a little gift/valentine.
Thanks Elizabeth!
These little bear marshmallows are just adorable! Fun and unique Valentine’s gift, but I also think they’d be great for a Winter baby shower. Pinning.
I think they’d be adorable for a winter baby shower! Great idea! Thanks for pinning Alexandra. 🙂
I don’t usually leave comments on blogs but I just wanted to let you know that I really appreciate everything in this post. I was directed to you from pinterest and I was surpised how you made this little valentines treat really simple and approachable (especially with the photos). I also am grateful that you included your sources and how you created the card. Many other blogs just create it and want you to download theirs without ever teaching how to do it yourself. I have now learned of two new resources: freepik and picmonkey. Thank you for that.
I look forward to seeing what else you have to offer.
Hi Carmen,
Thanks so much for stopping by and taking the time to comment. I’m so glad to hear that you enjoyed my post. I’d be happy to do a post teaching how to create free printables. I think bloggers want to provide their readers with cute and easy ideas that they can copy without having to learn a new skill. I have a lot of readers who aren’t interested in doing it themselves and prefer free downloads. Your comment was a great reminder that there are both parties out there! Thanks again for your feedback!
Beth