
If you are familiar with the way things typically look on A2Z (and aren’t reading me on a reader), then you know that I recently gave my blog a much needed makeover! Two questions that keep coming my way are how did you do your rollovers on your navigation bar and where did you find your social networking buttons under your “find me” section?
First let me say, I am a complete novice when it comes to messing with html and really have no idea what I’m doing. I am, however, tenacious and good at using google search. Anything you could ever want to know about anything is just a search engine away!
Creating Rollovers:
Let’s say you want to show a before and after picture of your most recent project. To combine these two pictures into the same picture box you will need the magic code.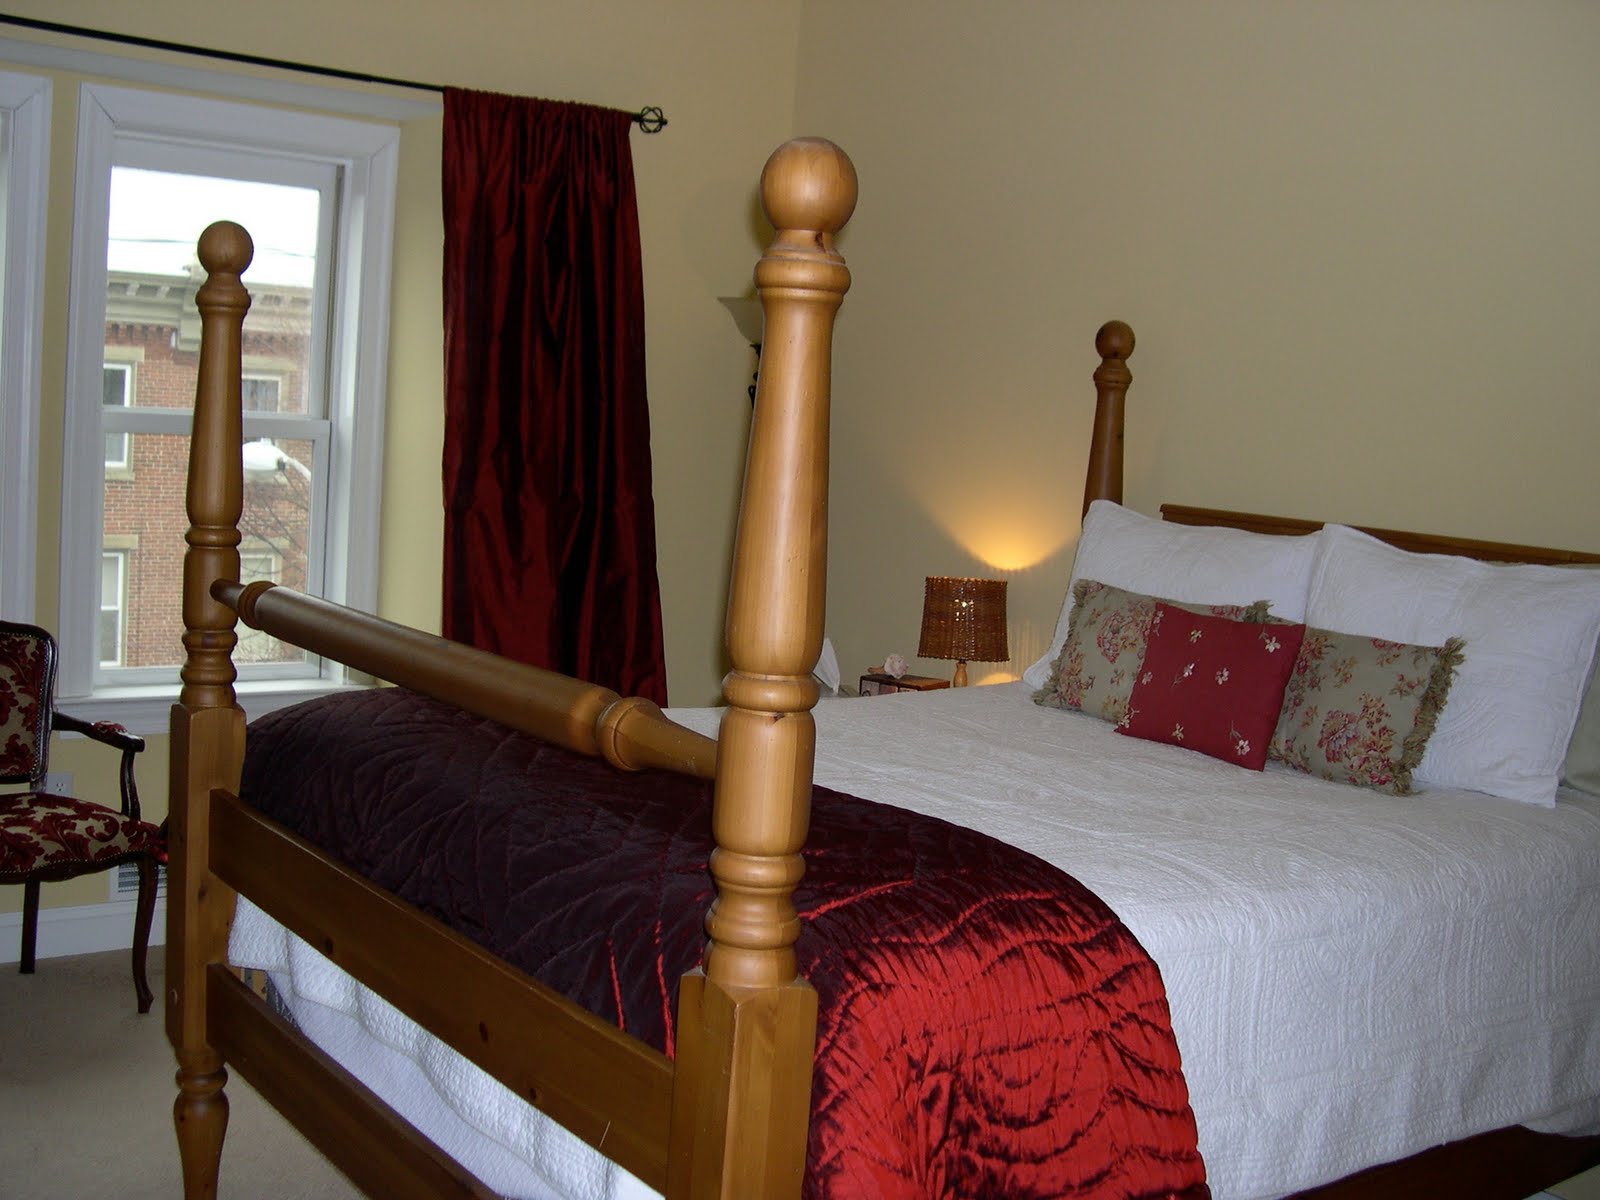
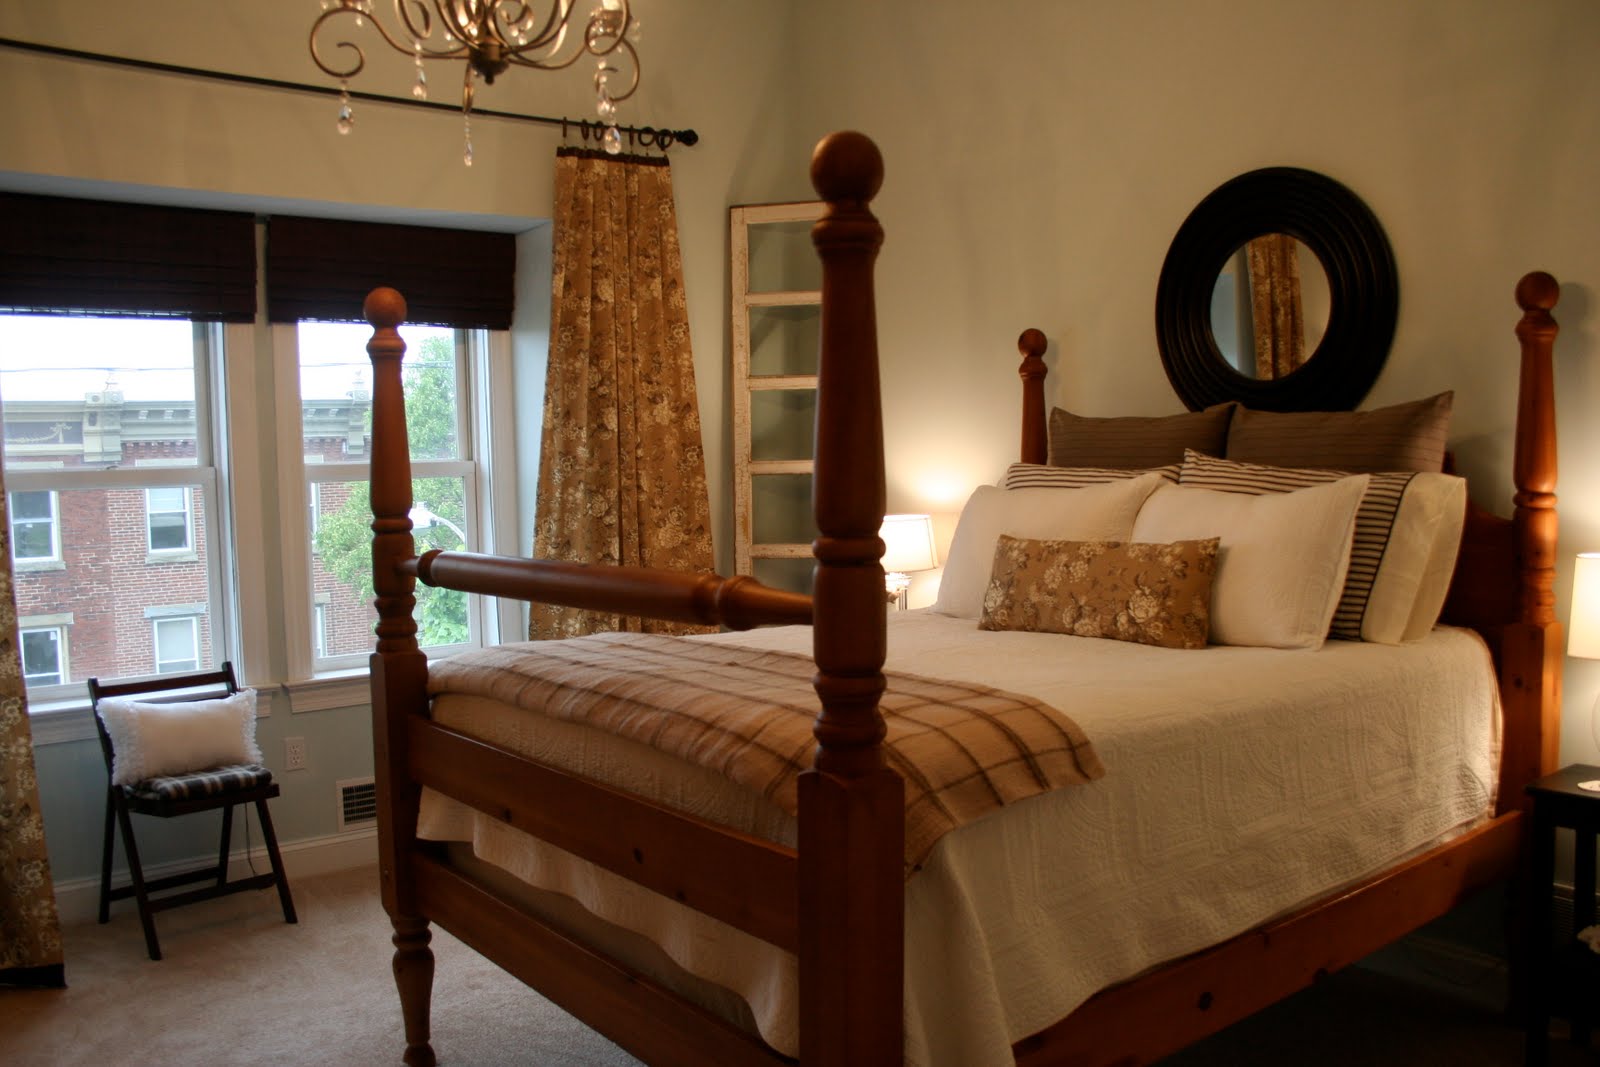
Once you plug-in the right picture codes into the above formula you will end up with this. (Move your mouse over the picture to see what my bedroom looked like before.)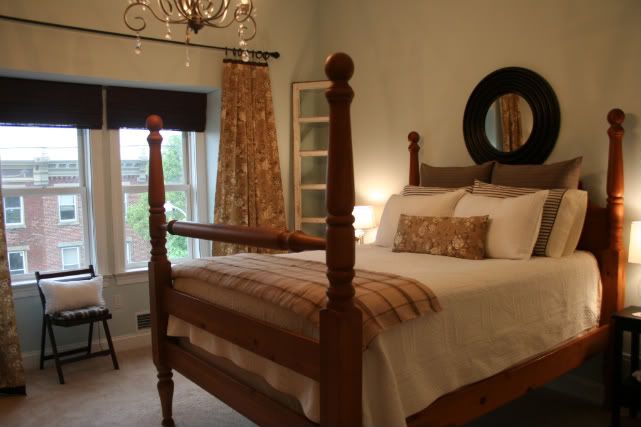
Okay, so let’s break down this code for you….
I never type in whole strings of code. I’ll screw it up somehow along the way and it won’t work. I always copy and paste the code into html and then just change the necessary info. The easiest way to get the http: code for your pictures is to upload them into Photobucket and grab the “Direct Link” code. You can see the I’ve hightlighted the code in blue in the pic below.
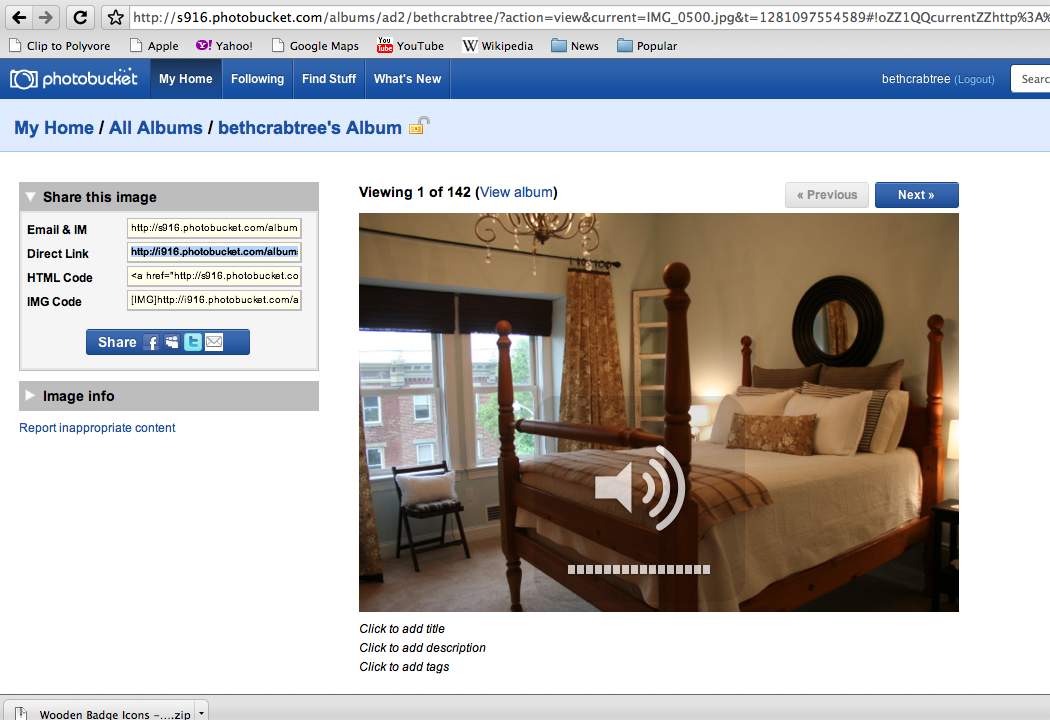
You can also find the code for your pictures by uploading them into your post and looking for the http code for you picture.
Steps:
1. Change the website you want the picture to go to if clicked on. Right after the a href you will see the link to my blog. Change this to your own link, post link, button link, etc.
2. Next you want to change the onmouseout http code to whatever pic you want showing on the screen before it’s scrolled over by the mouse. This code will be entered TWICE. Simply copy and paste in the http code for your picture after where it says onmouseout AND at the very end after the src.
3. The last thing you want to do is change the middle onmouseover http code to whatever pic you want showing when scrolled over.
If this tutorial made no sense, then here is a link to another tutorial that might make more sense!
How to Create Social Media Icons
I created the icons under the Find Me section using Scrapblog.com. However, there are many free icons ready for you to download and use! If you know how to create a link on a picture, then you will know how to link to your twitter, facebook, subscribe, flickr, etc., account. Click on this site, Blogger Tips & Tricks, and choose which icons you would like to use!
Let me know how it works out for you and happy Pimp Your Blog Day!


It won’t work for me? I have googled, googled, googled and for some reason I can’t figure out what I am doing wrong. When I preview my blog post it just shows the codes… HELP ME PLEASE!
Nicole
truly this particular is truly a awesome internet thank you many thanks management great document really messege
Beth, I just wanted to let you know, I awarded you a blog award. Enjoy!
http://mycraftielife.blogspot.com/2010/08/my-first-blogging-award.html
Also thanks! I need to make another button.
Very cool! I always see this on Lettered Cottage & wondered how she did it! THANKS!
cool post! thanks for the tutorial… can't wait to try it.
Ohh… thanks for the great tips!! 🙂
~Jennifer
Ok. Two things. How did you get the logos on the "find me" buttons you made? Secondly, how do you get them spaced out so they can be together like that? I love that you share this stuff! Thank you!
THANK YOU BETH !!!!
Let the pimping begin….
I hope my blonde hair won't be a problem LOL
Kathy 🙂
Thank you for sharing this!!! I have been trying all week to figure out how to make menu buttons, or a menu at all. Blogger will let me have a "menu" of sorts but they are static pages and I can't figure out how to make the menu buttons bring up the particular posts I want. ugh. Anyway, sorry to ramble 🙂
ok, so I just did this, but for some reason the picture only switches once…then stays on the second photo 🙁
I recently found the code for the picture changing thing in posts and have used it. Never occured to me it would be the same code for the mouseovers in the navigation bar.
I think my header is busy enough so I guess I'll stick to the word buttons, but you never know when I might feel the need to change it up. Thanks for the code I saved this post in my delicious file.
Oh and btw your blog is looking great! And thank you for the linklove for my vignette.
This is so perfect! Thank you! Thank you! Thank you!!!
That's so cool!
Thanks Beth. I learned to make blog buttons by googling 'how to' too.