
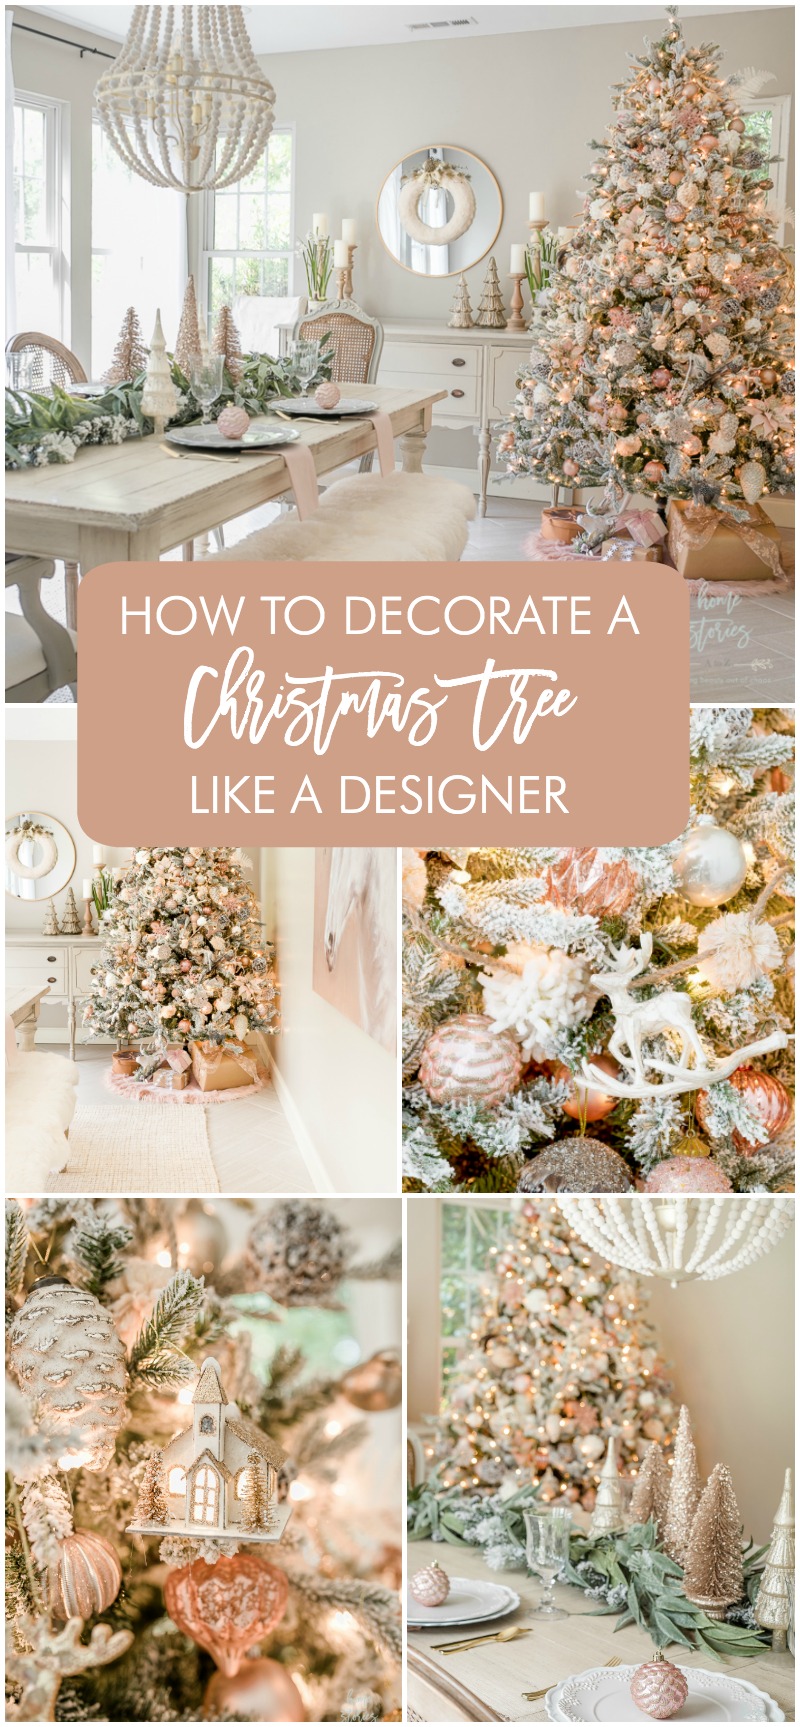
Learn simple step-by-step tips on how to decorate a Christmas tree like a designer and watch a timelapse video to see how I do it!
Watch the quick time lapse video below to see how I decorated this tree! Then read on for even more helpful tips and details.
Step 1: Choose your ornaments and theme ahead of time.
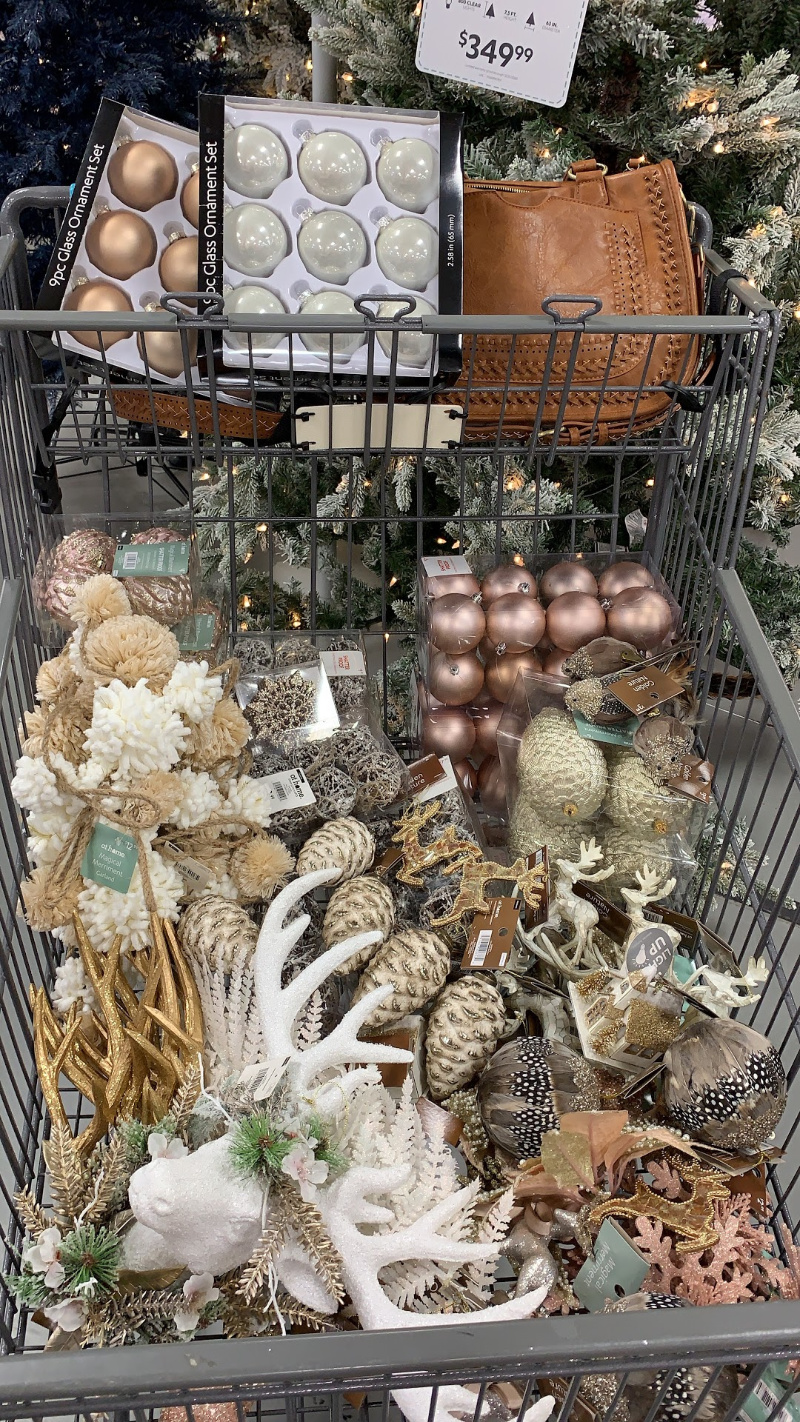
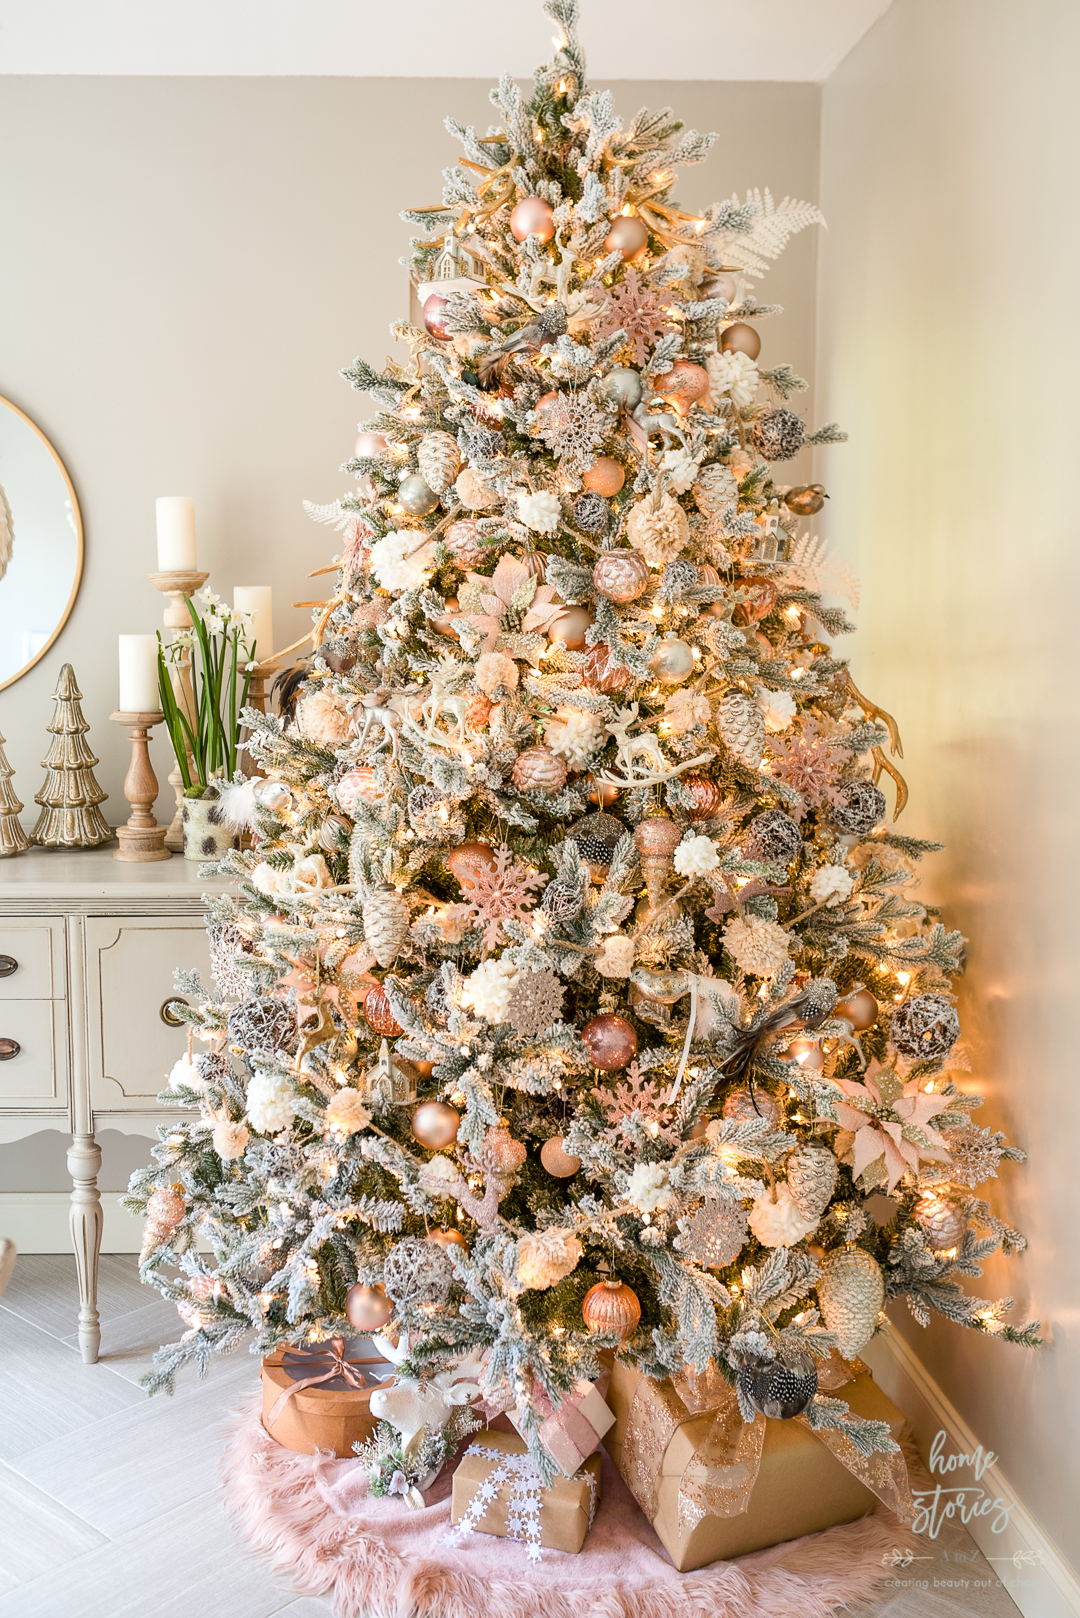
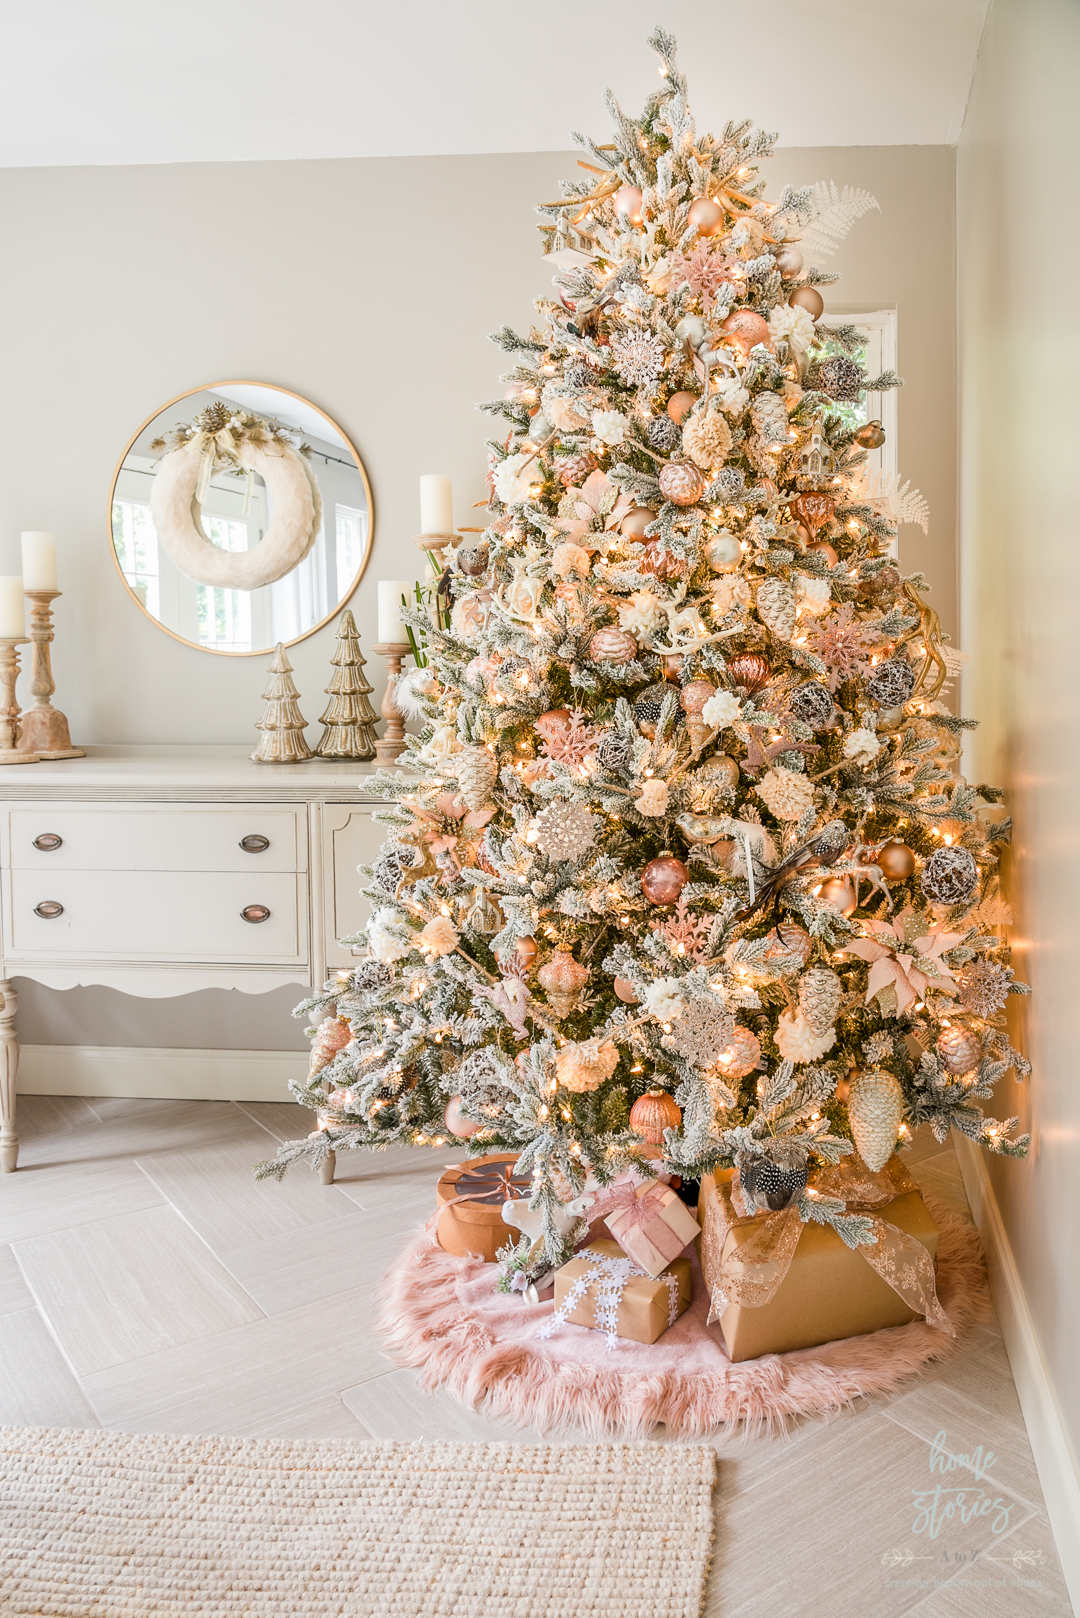
The key to a well-designed tree is having a well designed Christmas tree design plan! Utilize the same principles used when decorating a room. Think color palette, texture, and bling/metallics when choosing your ornaments. This doesn’t mean you have to run out and buy all brand new everything. Choose a color palette, assess what you currently have in your Christmas bins, and add to your collection if needed. Once you have your color palette chosen, lay out all of your ornaments near your tree on a table so you can easily see what you’re working with.
Step 2: Add your garland or ribbon first.
If you are using garland or ribbon, I find it easiest to add it to the tree first. On this tree, I used a pom pom garland which adds a bit of fluffy texture. If using ribbon, Cut your ribbon into 1-3 foot lengths and loop the ribbon into your tree in a pattern that looks free-flowing and natural. Go for a woven look.
Step 3: Hang all metallic ball and filler ornaments.
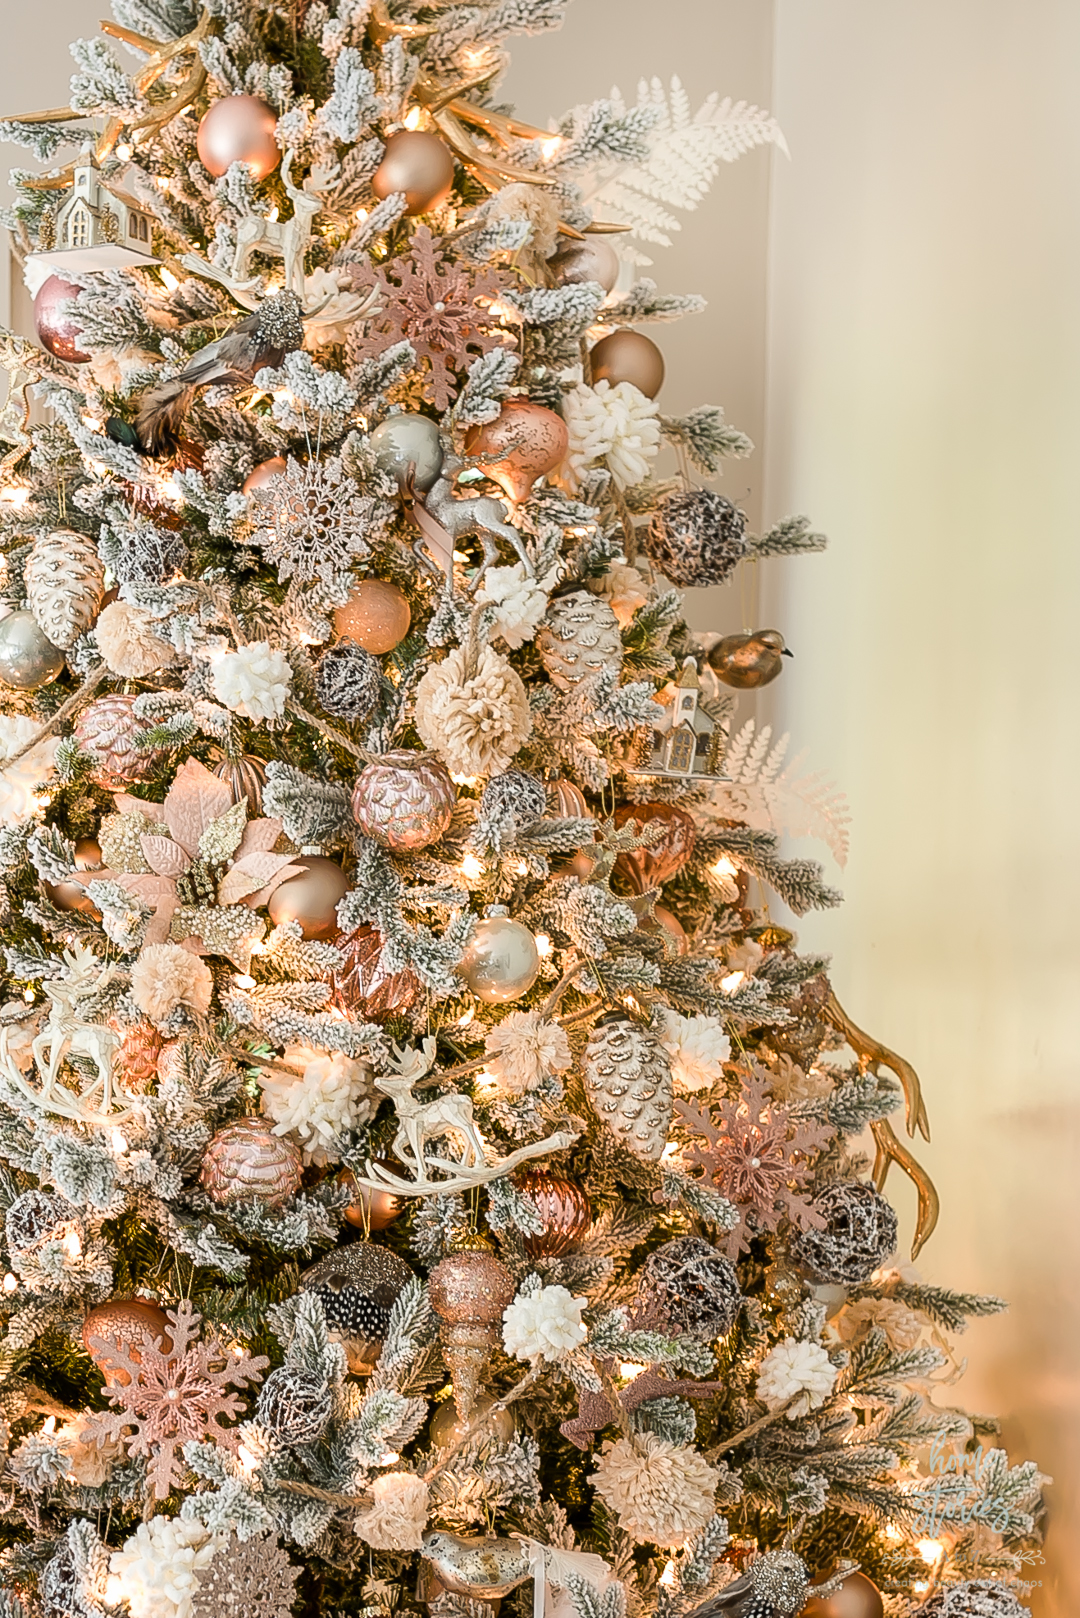
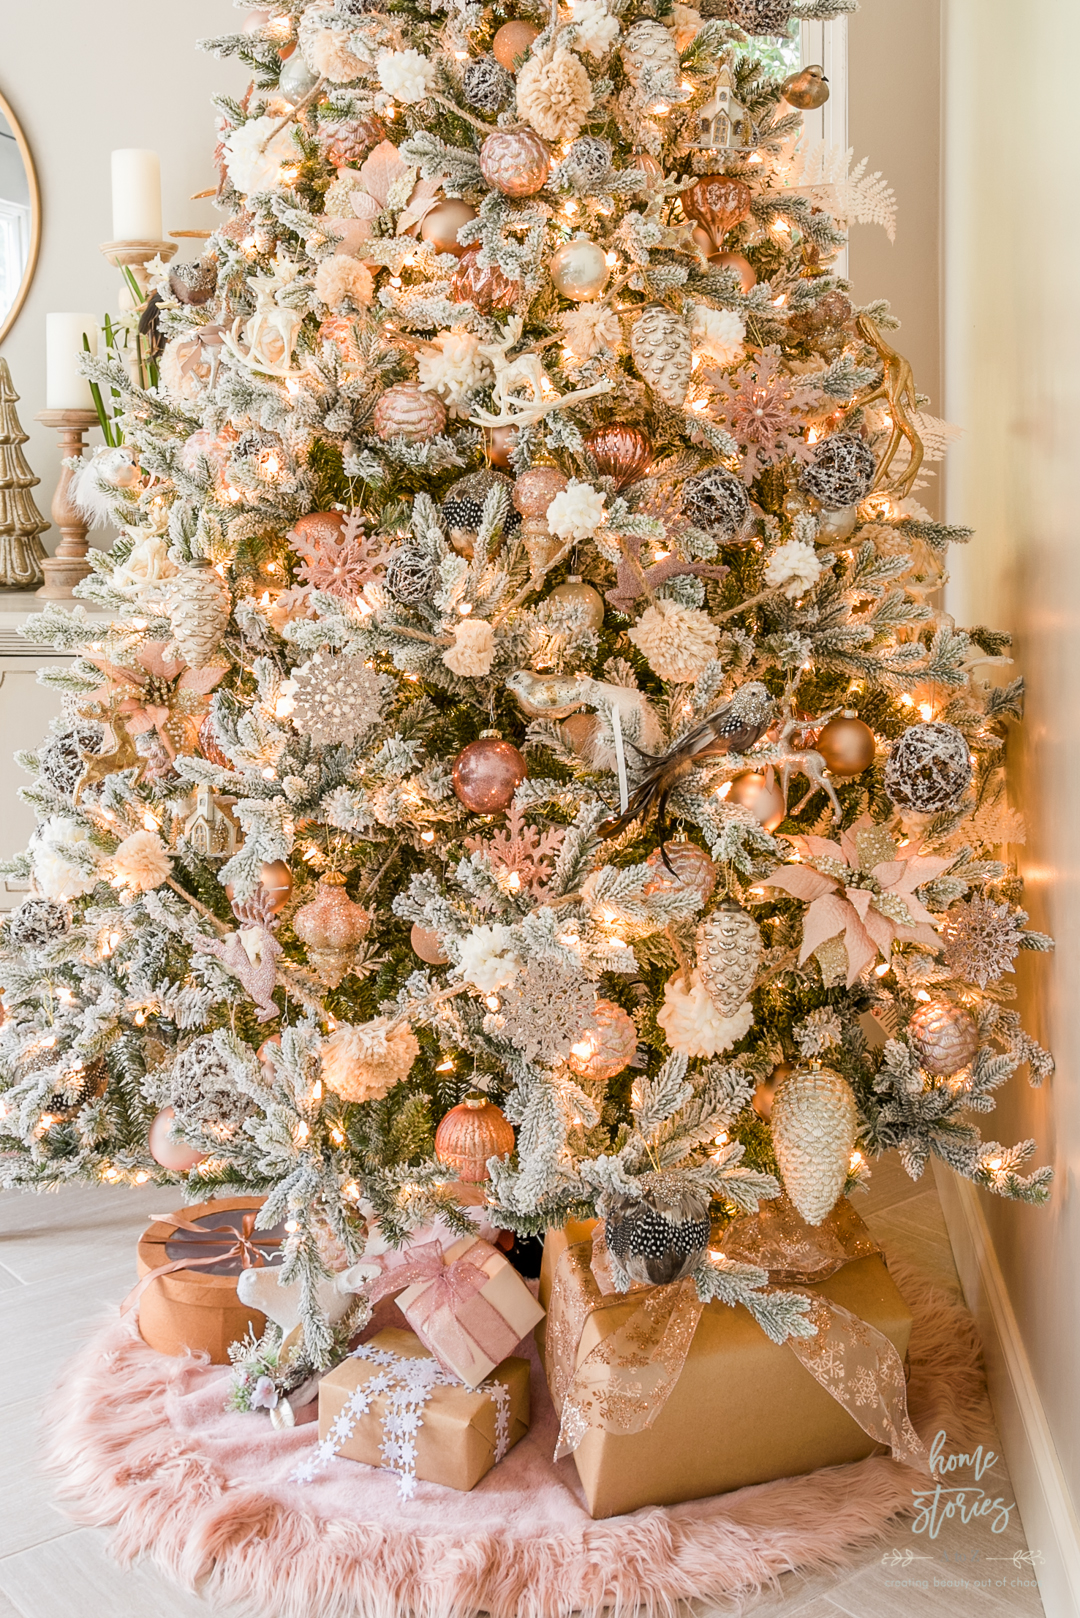
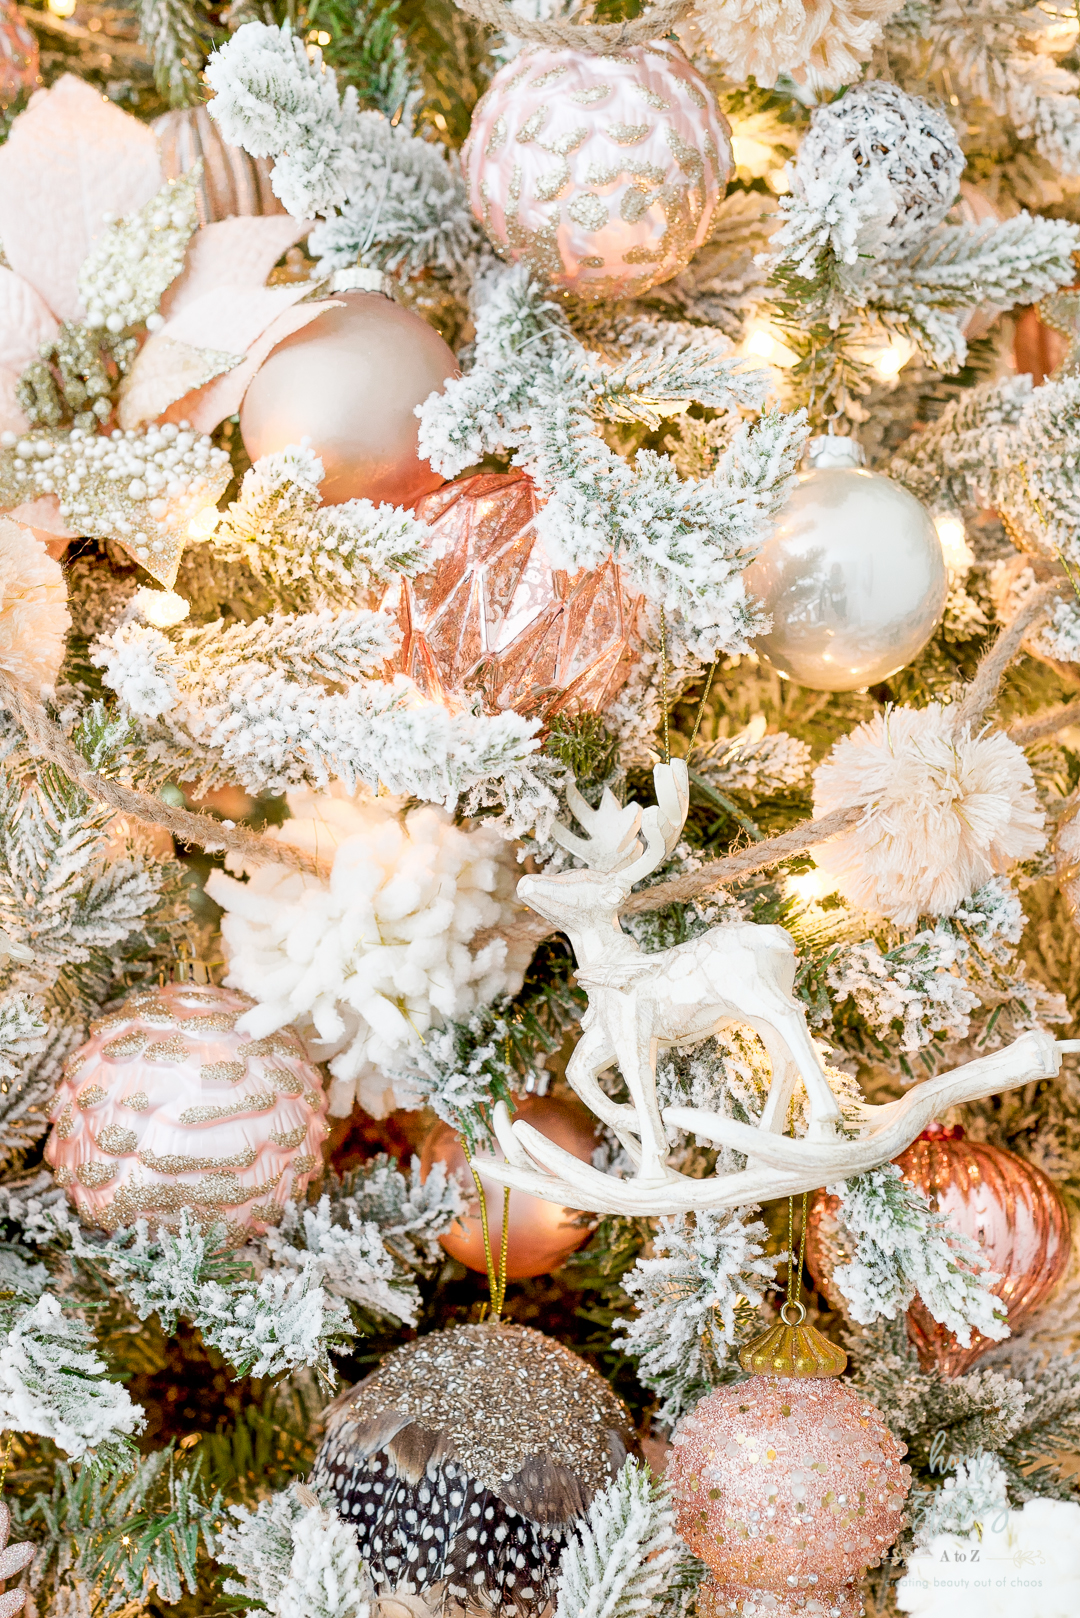
Fill your tree with your less expensive “filler” ornaments next. Hang the ornaments in a zigzag pattern on the tree which keeps the eye moving and looks more aesthetically pleasing. I like to use a ton of shiny ball ornaments in a variety of metallic shades, colors, and sheens to fill the tree first before I add in my special ornaments.
Step 4: Hang large statement ornaments.
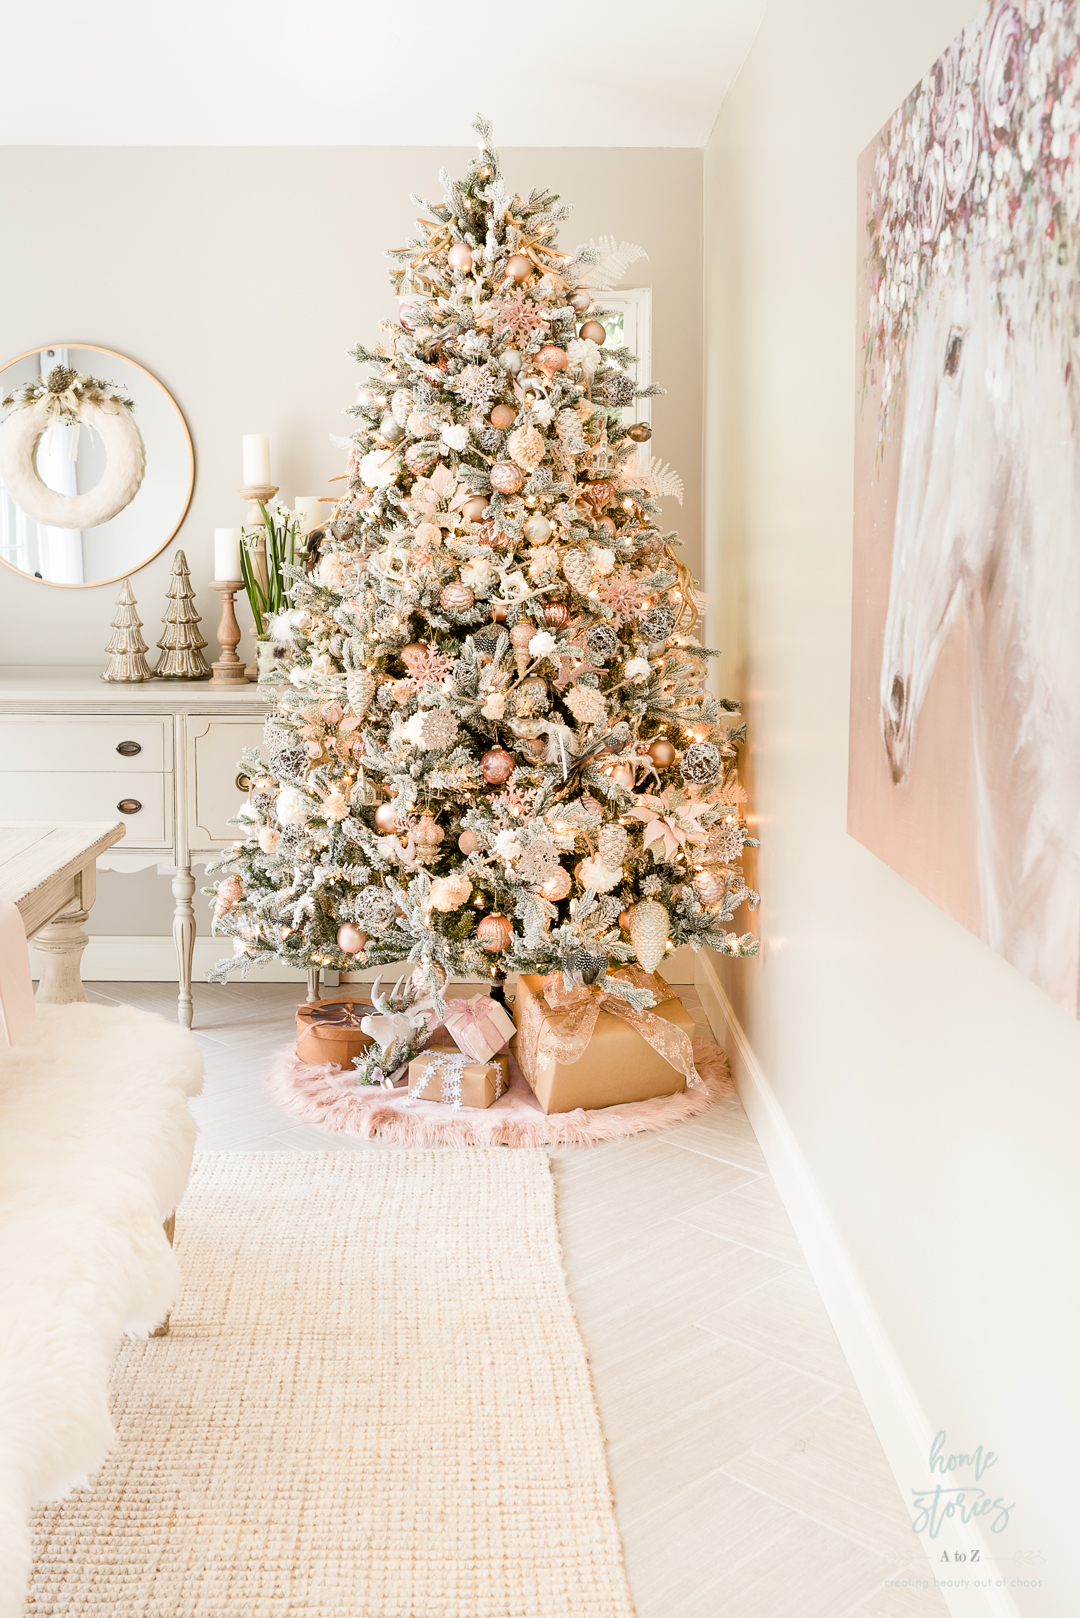
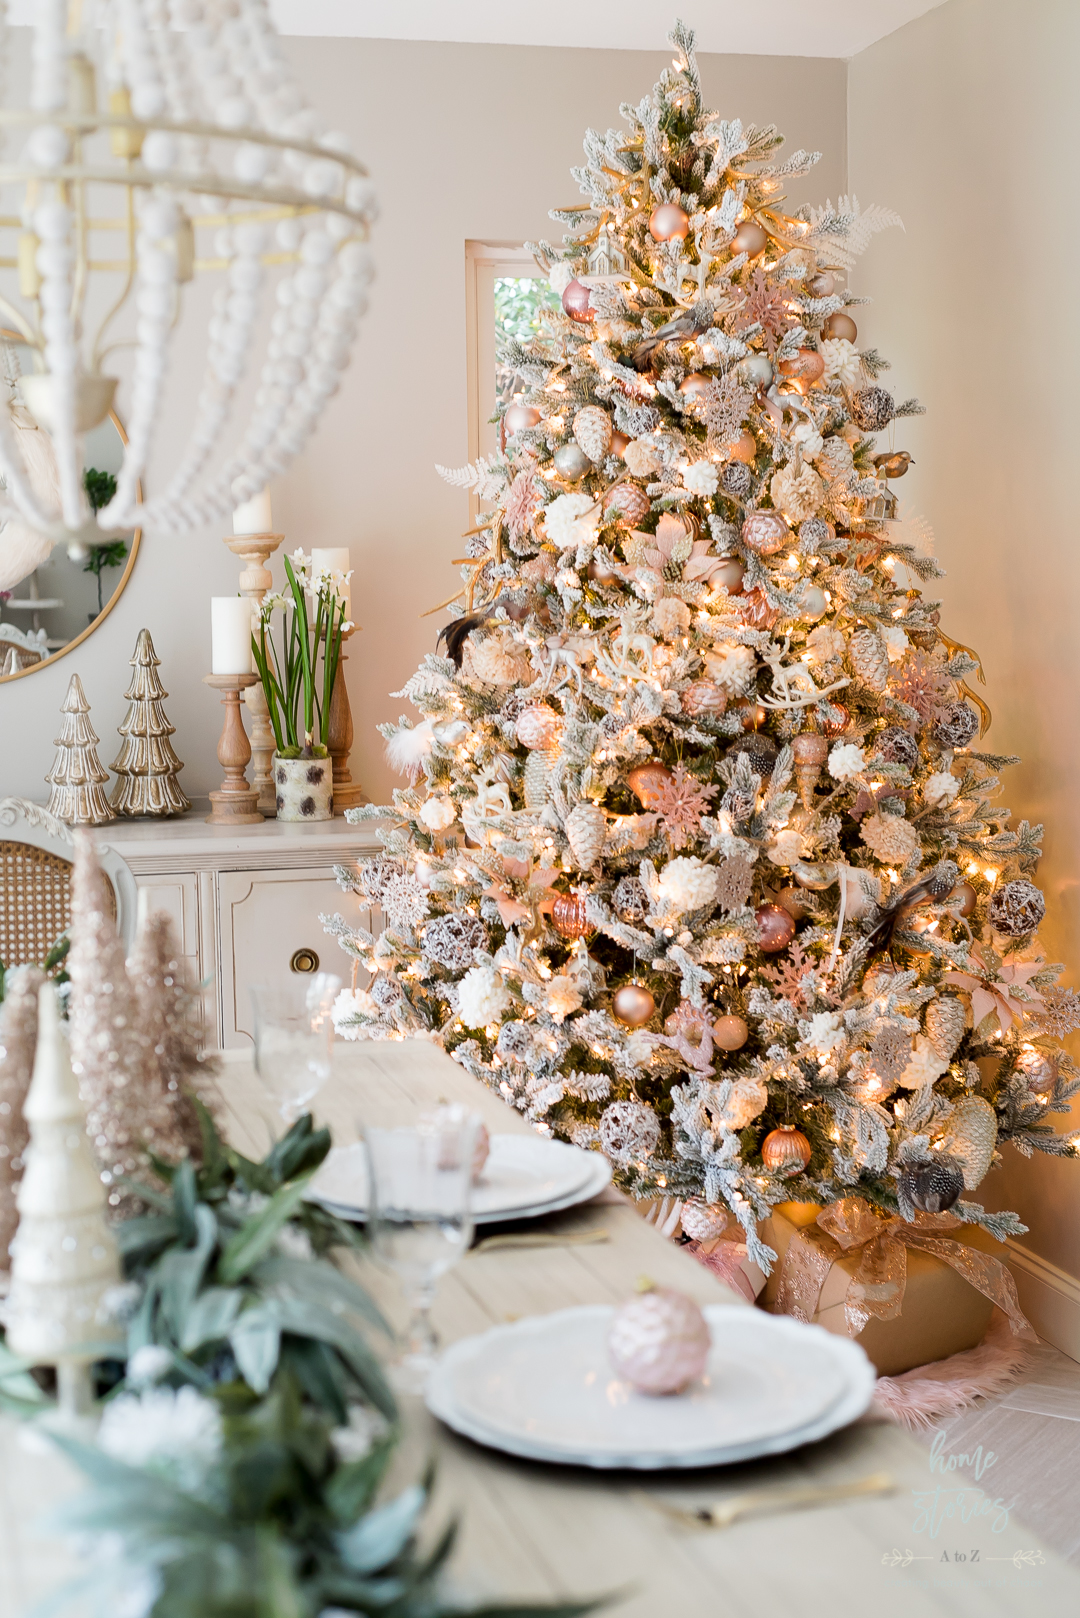
Designer trees typically have some “wow factor” ornaments that are large and eye catching. Now is the time to add those! Remember to continue to hang your ornaments in a zigzag pattern so that your ornaments are nicely spaced on your tree. You can see in the picture below where I placed the large blush poinsettias. If you were to draw a line to connect the poinsettias, they would create a visual triangle. I do this naturally when decorating without really thinking about it, but it certainly can be done strategically! Just keep placing your ornaments on the tree, keeping their colors and textures in mind as you adequately disperse them from top to bottom.
Step 5: Use tree picks such as branches, large faux flowers, and pinecones.
Berry picks are a great way to add additional color and texture to your tree. I used some faux white feather picks on the sides of my tree to add a touch of whimsy.
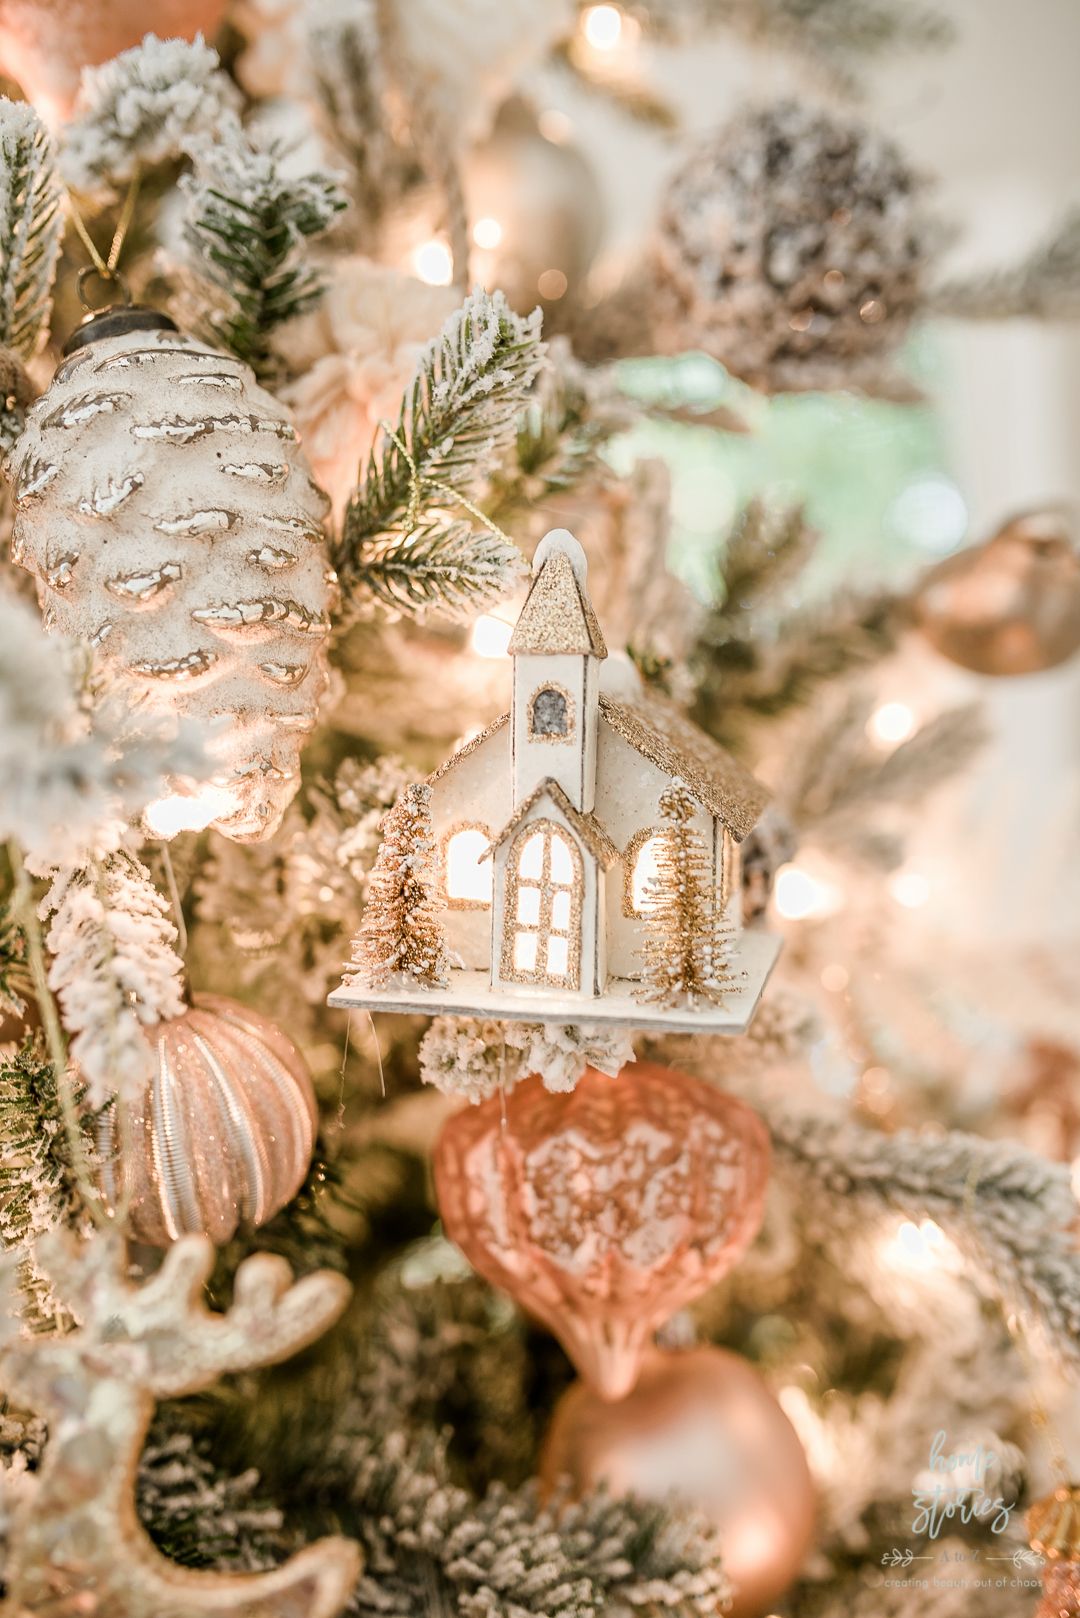
Step 6: Place your special and meaningful ornaments on the tree.
I saved my church ornaments and reindeer to place on the tree last. I love these ornaments and want to show them off at the edge of the branches. Remember to stand back periodically and check your work to see if something isn’t working or if some ornaments may need some rearranging.
Step 7: Decorate what you will see from different angles in the room.
I personally do not worry about decorating the parts of the tree that will not be seen! If a tree is shoved into the corner of the room, I don’t stress about decorating the entire backside. Decorate what you will see as you walk around the tree and don’t worry about the parts that no one will! 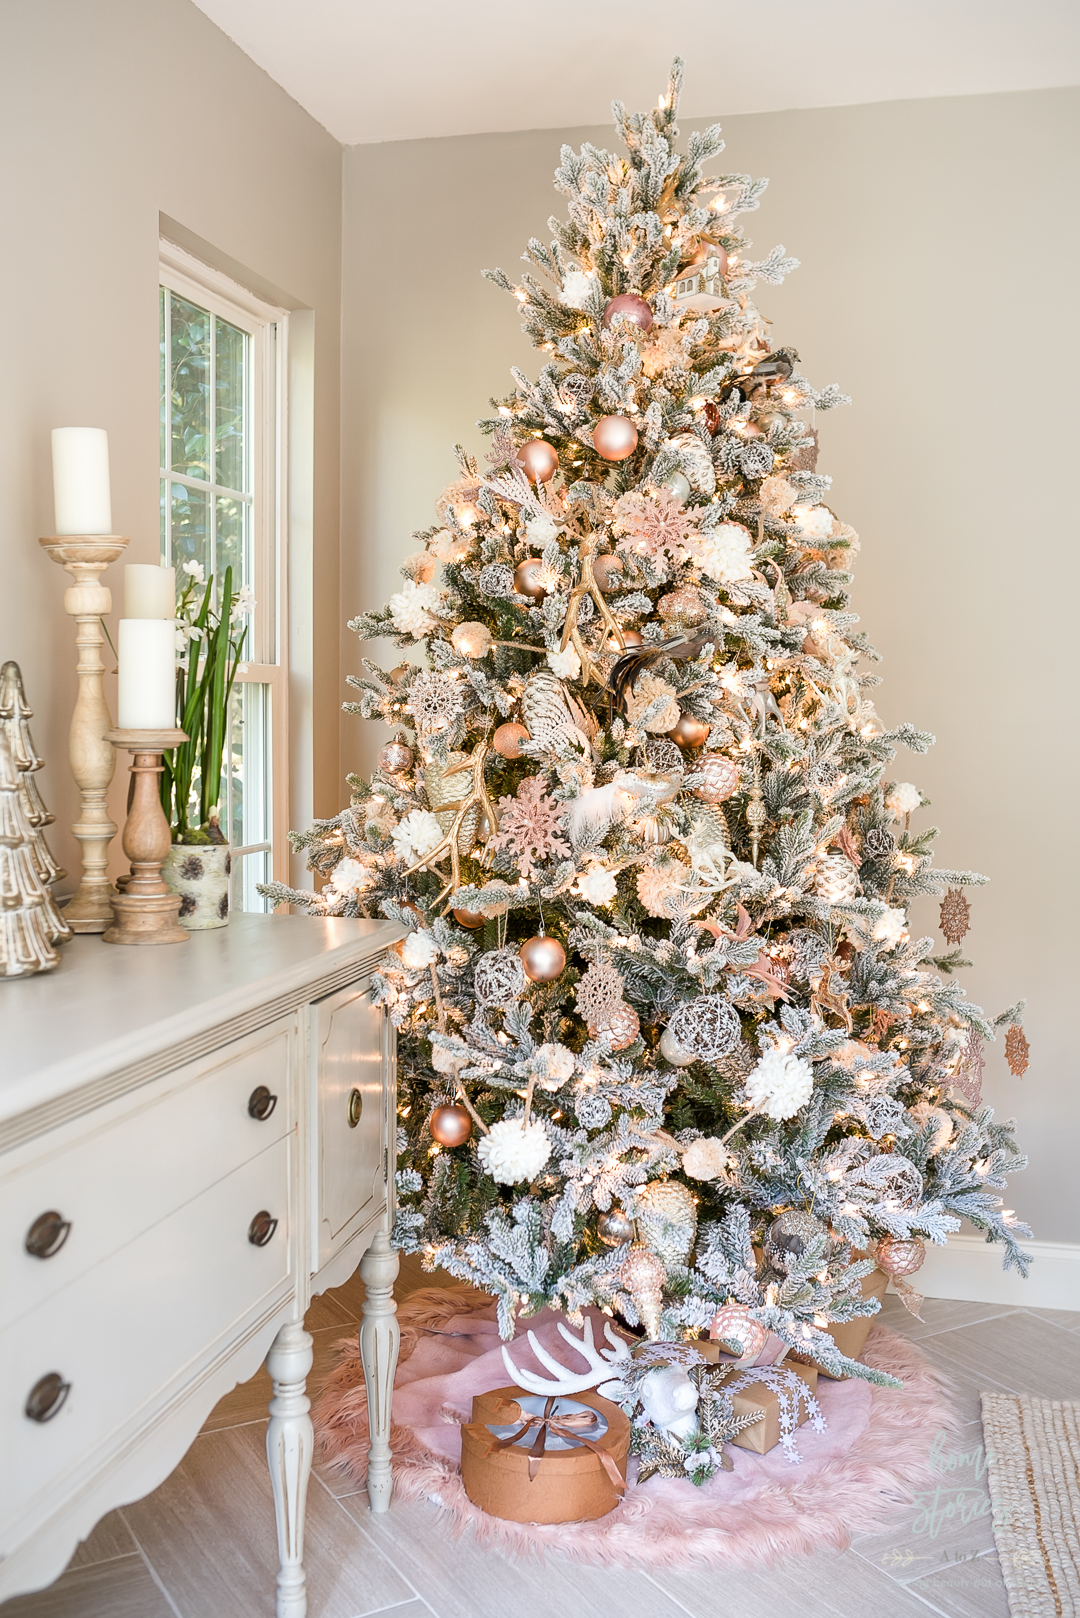
Step 8: Place large statement ornaments on the silhouette of your tree.
I placed the large gold antlers on the silhouette of the tree to visually frame the tree and help these ornaments stand out.
Step 8: Fill in any holes or gaps with remaining ornaments.
Congrats! You did it! Plug in your tree and enjoy the beauty of all of that hard work!
Related Posts


This is stunning! Do you have brand/source info for your beautiful flocked tree?
Beth,
I decorate my Christmas Tree in much the same fashion as you.
I call it “Rockin’ Around The Christmas Tree”, when I’m filling in the branches from every angle. . .
and, yes. . .I decorate the back of the Tree, also!
Thank you for sharing your lovely decorated tree and for filling me with inspiration for next year’s theme!
Pat
Just beautiful! Where does the picture of the horses head with flowers come from please?
Hi Suzanne! Thank you! The horse picture with flowers was a piece of art I found on Clearance at Tuesday Morning.
Thank you for your easy to follow step by step directions. My husband has a much better “eye” for decorating than I do and is the decorator of both of our Christmas trees each year. Good thing I married him. 🙂 I know your instructions will be of help to him, he tries different methods every year with the placement of ornaments and the order in which he places the ornaments and ribbon, he will find this helpful and interesting BTW, your tree is absolutely stunning! Thank you for sharing your creativity..
Thank you so much!
Simply gorgeous. I decided on a silver and gold theme, and this has given me more ideas. Will share a pic when I have it done.