
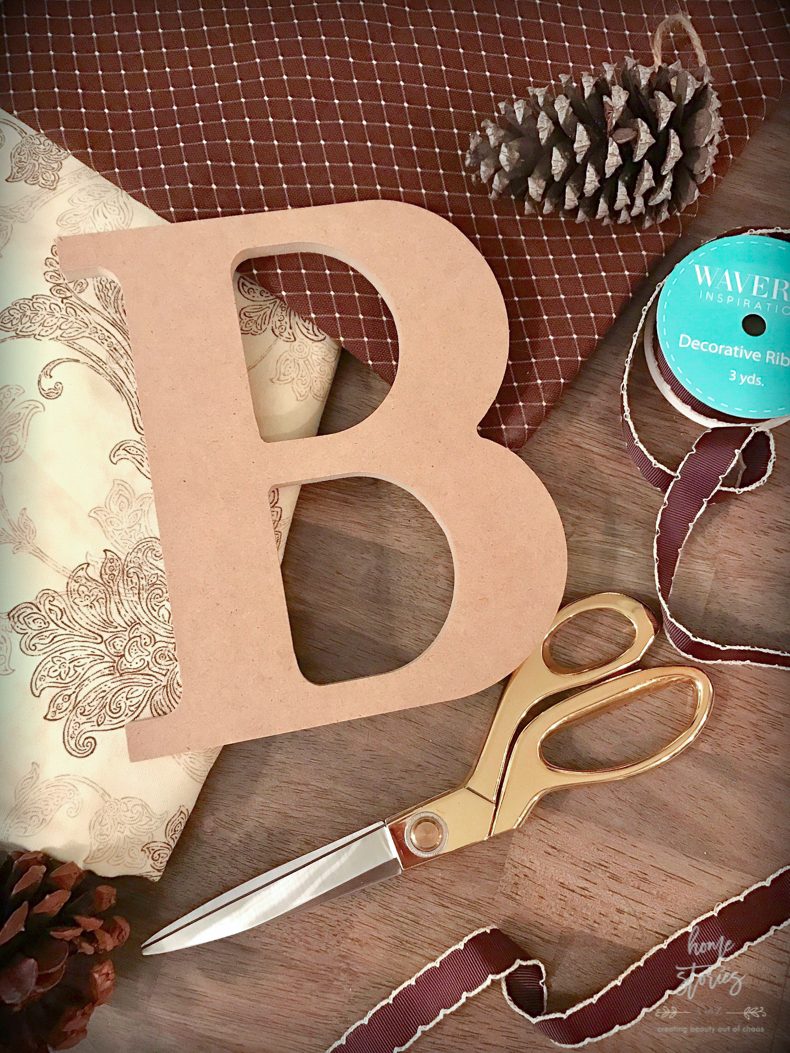
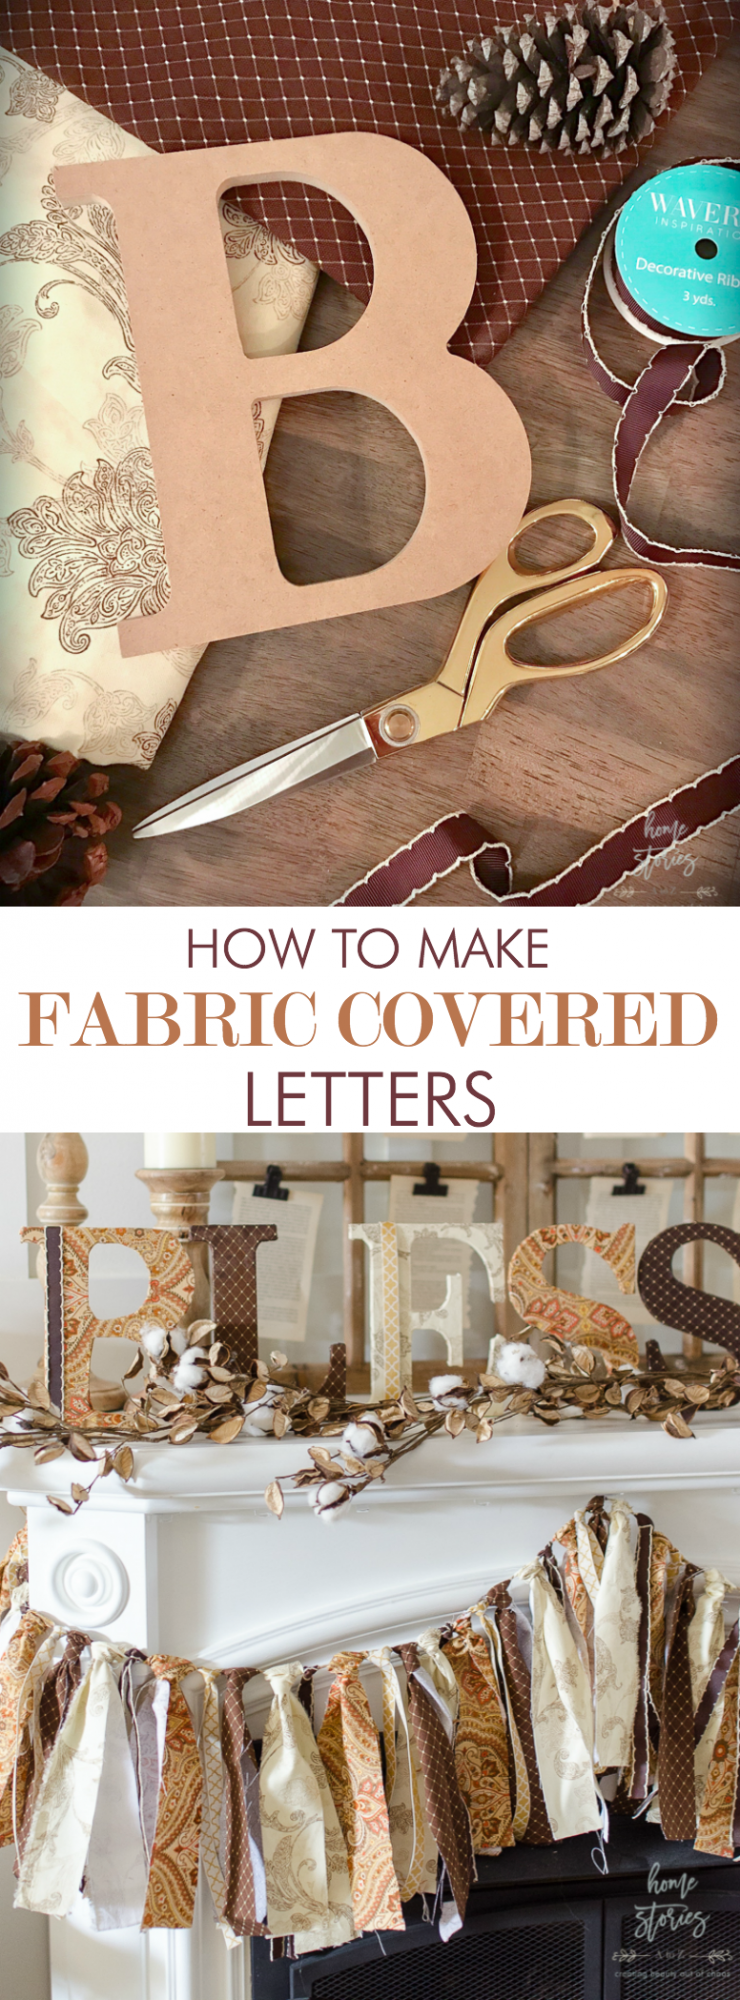
Learn how to make fabric covered letters with this easy no sew, step-by-step pictorial tutorial. Chipboard letters, fabric, and ModPodge are the only materials needed.
Thanks to Waverly Inspirations at Walmart for sponsoring this post. The favorable opinions of the incredibly cute fabrics, ribbons, and paint are 100% my own. Post contains affiliate links.
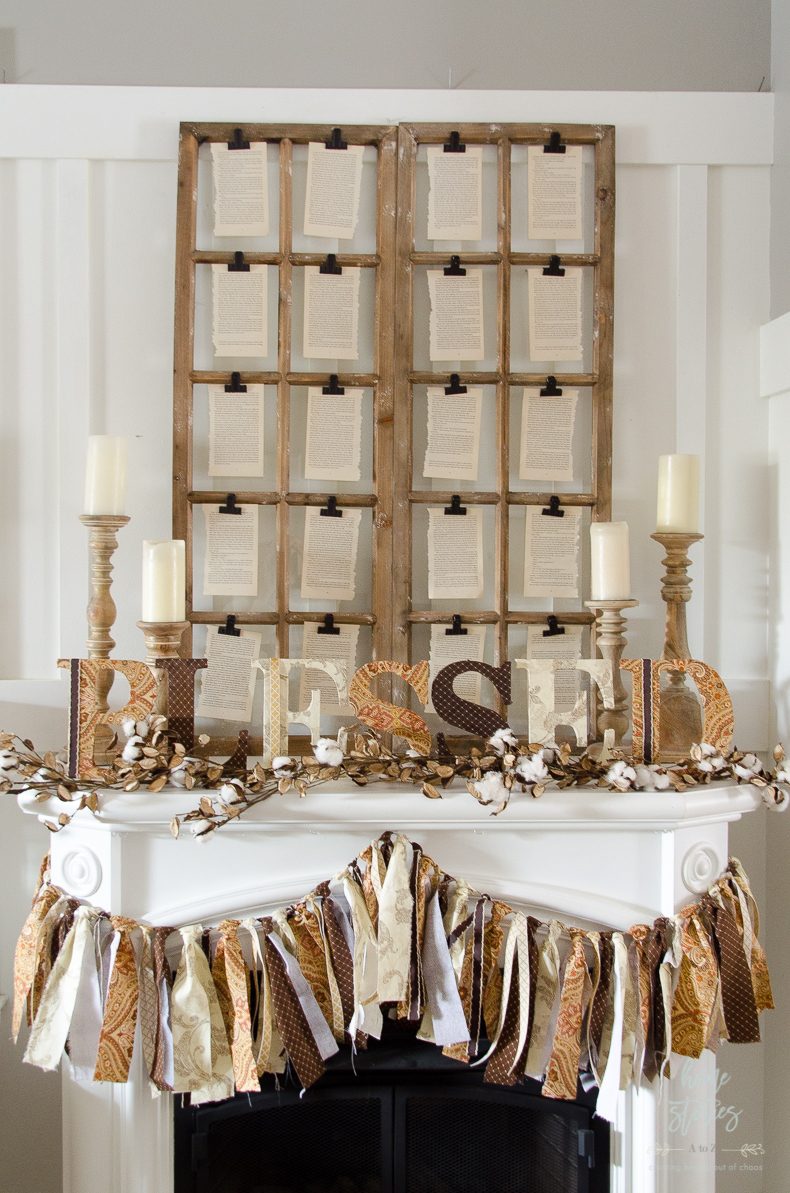
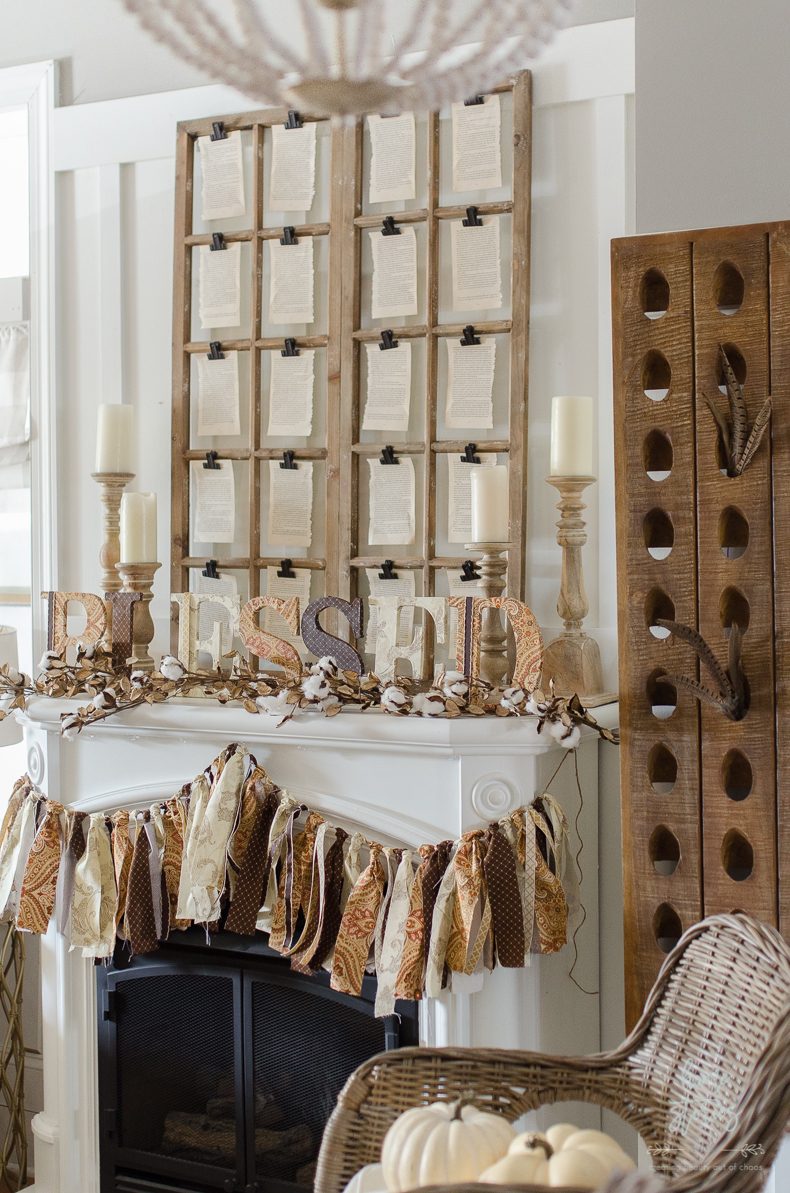
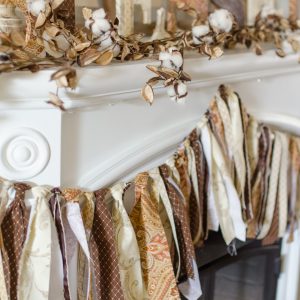
Every month Waverly Inspirations at Walmart sends me a surprise box of fabric, ribbon, and paints and challenges me to create something inspiring with their products. It’s a fun little game that I look forward to every month! This month my challenge theme was “Thanksgiving Decor”. I decided to create some fabric-covered letters and a fabric banner for my Thanksgiving mantle. I love to switch up my decor on my mantle with inexpensive DIY decor.
How to Make Fabric Covered Letters
Materials Needed:
- Wood Letters

- Waverly Inspirations Fabric
- Waverly Inspirations Ribbon
- Mod Podge
and small paint brush
- Scissors (here is a link to the gold pair I own)
Step 1: Determine which letters will be covered in which fabrics before you begin.
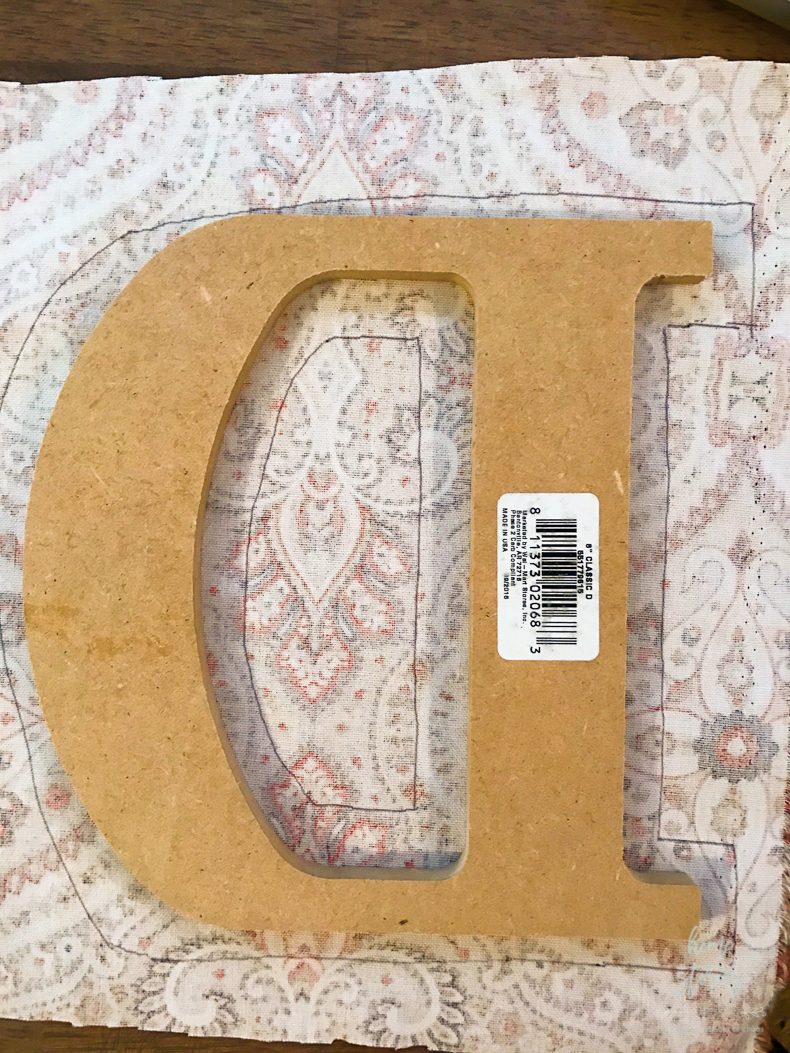
Step 2: Flip your letter over so the wrong-side is facing up and place letter on the wrong-side of the fabric. Loosely trace around your letter.
As you trace around your letter, leave just enough fabric to wrap around the back of your letter.
Step 3: Cut out traced area and cut slits in fabric around letter.
Cutting slits in your fabric will allow the fabric to neatly wrap around the curves of the letter.
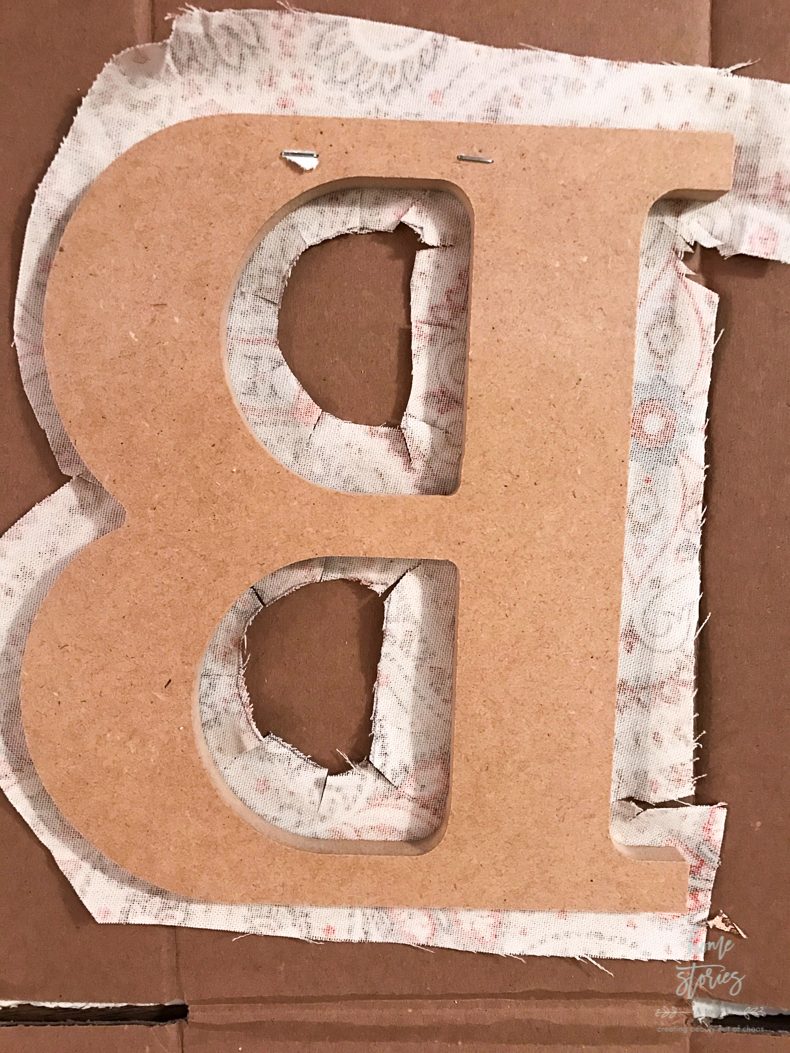
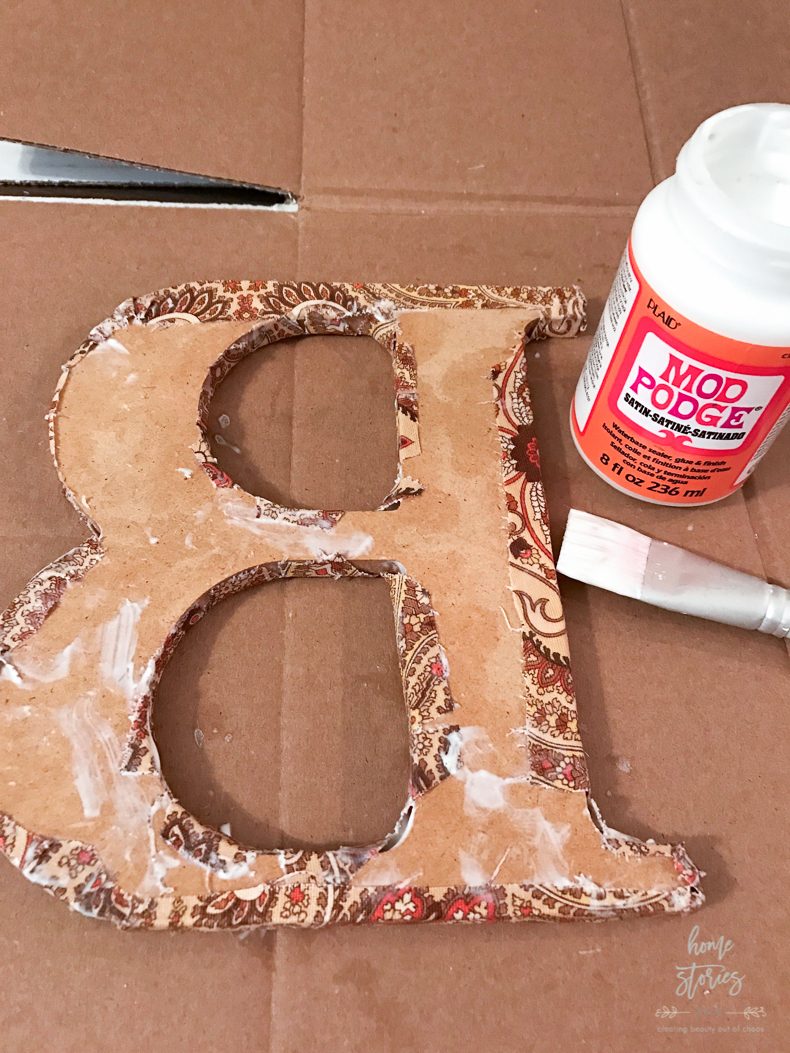
Step 4: Use a small paintbrush to apply Mod Podge to the edges of the fabric. Use your hands to smooth fabric edges to the back of the letters.
As you can see, I didn’t worry about making the backs of my letters perfect. No one will see the backs of your letters so there is no need to stress over this step. If the unfinished look is bothersome to you, simply trace around your letter (right side up) onto a piece of felt and glue in place to cover the messy edges.
Step 5: Embellish letters with ribbon. 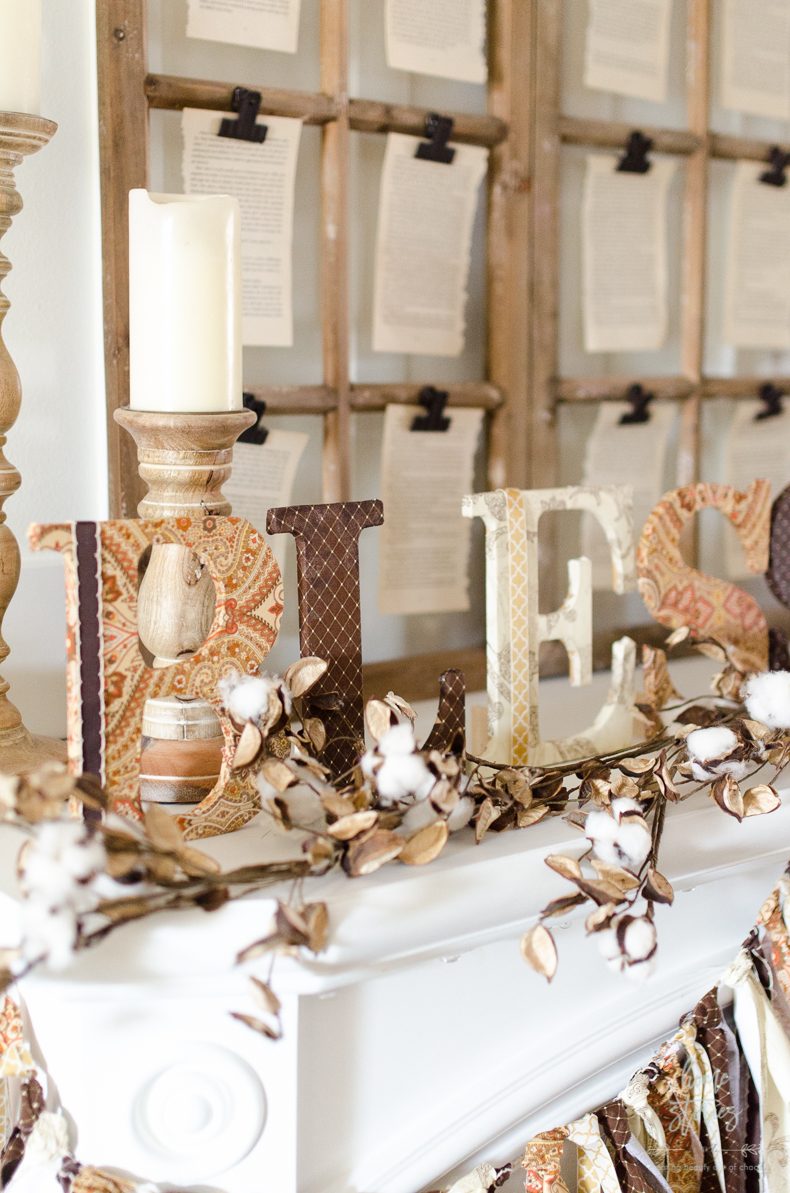
Step 6 (optional): To create freestanding letters, hot glue a small square piece of wood vertically on the bottom back of each letter.
I simply used square pieces of balsa wood that I had in my stash of wood scraps. You could hot glue any small piece of scrap wood to create a support for each letter. Or you can glue them to a board to make a sign.
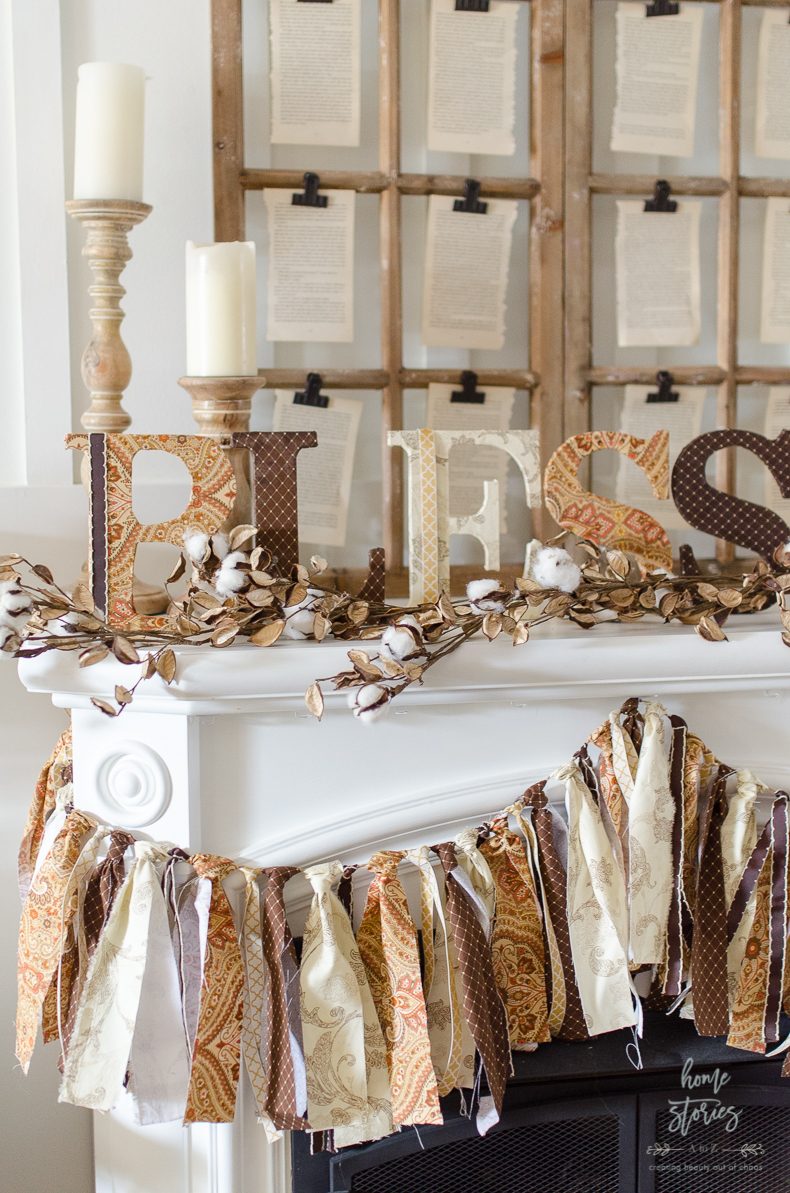
Wondering how to make the cute fabric scrap banner? Tomorrow I’ll share a quick tutorial on how to make your own. It’s so simple and anyone can make it!
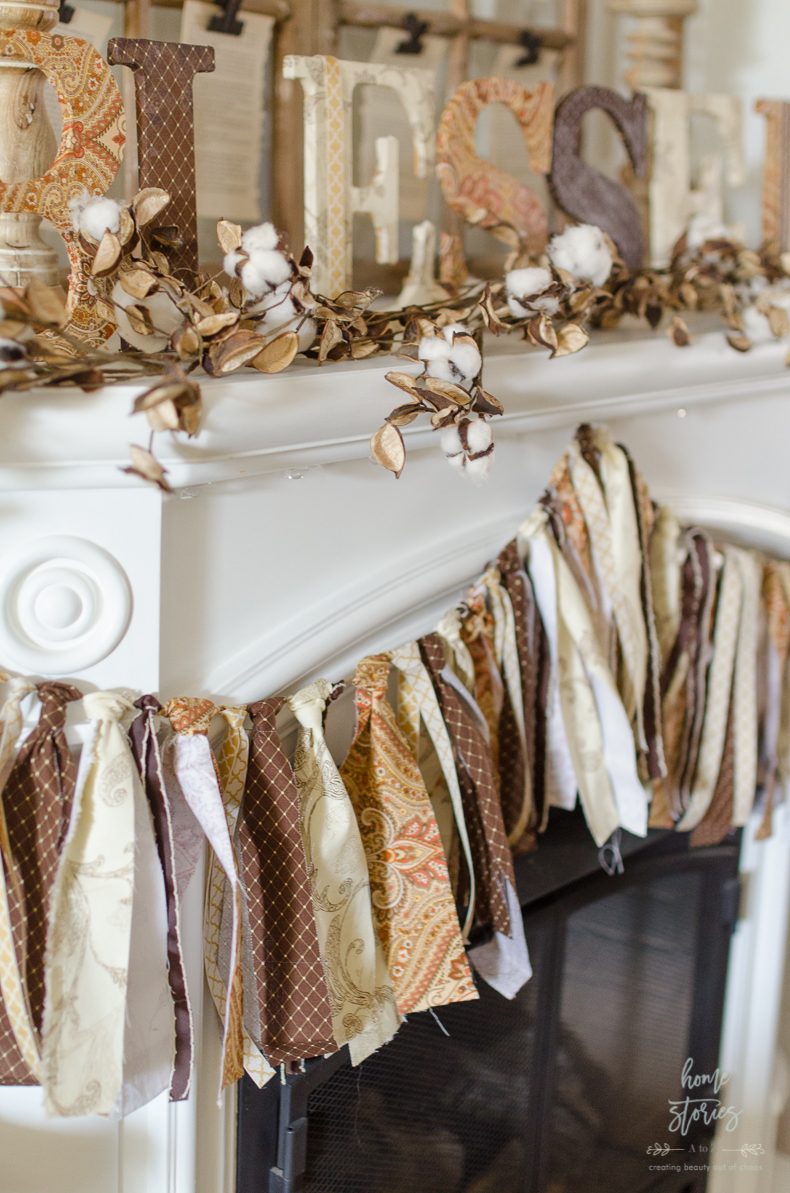
Feel free to pin this project for later and check out my other fabric projects in the “Related Posts” below!


Hi Beth! Just did this project for my upcoming Christmas decorations. It looks great – thanks for sharing!
Wonderful! I’m so glad you found it helpful. 🙂
OMG, I LOVE the idea of covered letters! What a really neat idea! Have letters, will glue!! Thanks so much for sharing this idea.
You’re so welcome! Thanks for stopping by!
Love the fabric covered letters. Great project to do with my daughter-in-laws this weekend. Thank you for the clever idea.
Thank you! I’m glad you like it! 🙂
Thanks for the tip on how to make the letters free-standing!
Sure! I’m glad you found the tip helpful. 🙂 Thanks for stopping by!