
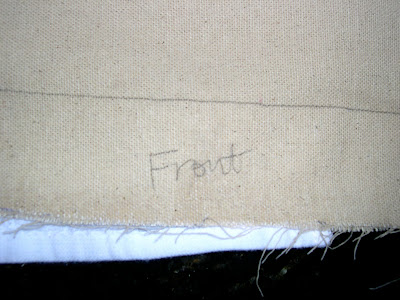
Step 2: Place pillow on drop cloth fabric and trace around. Then measure out an even number of inches around the pillow to leave room for your hem tape and the pillow form. I chose 2 inches. Why 2? I have no idea. It just seemed like it might work. Lucky for me, it did.

Step 3: Once you’ve created your pattern, go ahead and cut it out and use this piece as your template for your other pillows.


Step 7: Take your iron on and follow directions on package for ironing. (I highly recommend using Scrapblog.com for creating graphics. These graphics were not created on scrapblog and probably violate all sorts of copyright laws. I love the way they turned out, but obviously don’t recommend that you follow my poor, stealing example.) I used Avery iron-ons because someone (320 Sycamore?) said that I should. So I did.

Step 8: Have your husband take a picture of you ironing with all your might on top of your kitchen counter. This step is not optional.


Notice my cute Ikea lanterns a-la-Pottery-Barn style? Love them.

If anyone was wondering, this cute basket was on clearance at Christmas Tree Shop for $2.99. That store is fantastic. I avoided it because of the name, but I shall avoid it no more! So many great things for cheap, cheap, cheap.


Love your pillows!
I too love drop cloth pillows. I prefer to use drop cloth than burlap, but sometimes combine it. At my old house I had drop cloth pillows that I left there with the chairs I left for the new home owner.
I have a covered porch now and will be making myself some more. Thanks for telling me what you use for the iron ons. When I get mine made I will link up.
Cute so cute… A really nice tutorial. Come and visit and see one gone wrong and a giveaway.
I love them! They turned out sooo adorable! Of course, the tutorial was pretty great, too! 🙂
Love your use of dropcloths! The pillows look wonderful, as does you patio. Love the iron ons.
What a sweet basket too.
This turned out so great and no sewing! WOW! Now, that is impressive! Nice job!
LOVE, LOVE, LOVE this idea!
these look great! i hate to sew, but you have inspired me to look for some products out there that could satisfy my crafty side sans sewing!
What a great tutorial! Your cushions turned out great! I just blogged about a DIY hammock pillow that you can make from a placemat, so we're both thinking on the same decorate-the-outdoors wavelength!
:)Amy
PS- You have a beautiful family!
Hey B,
Have you ever visited http://www.etsy.com/? I think you would like the site, it is where people can go to sell and buy handmade items.
Maybe you could do some selling. 😀
I will add the tip: "Do not iron on your iron-on on your expensive pottery barn dining room table. You will regret it."
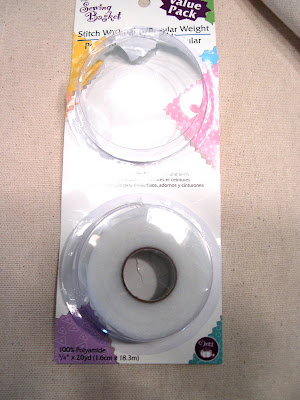
Thank you for explaining stitch witchery – looks like something that I could work with! Love how everything turned out. I think that "Big Red" is probably very happy with his new and improved partners (okay – now I am sounding polygamist too!!).