
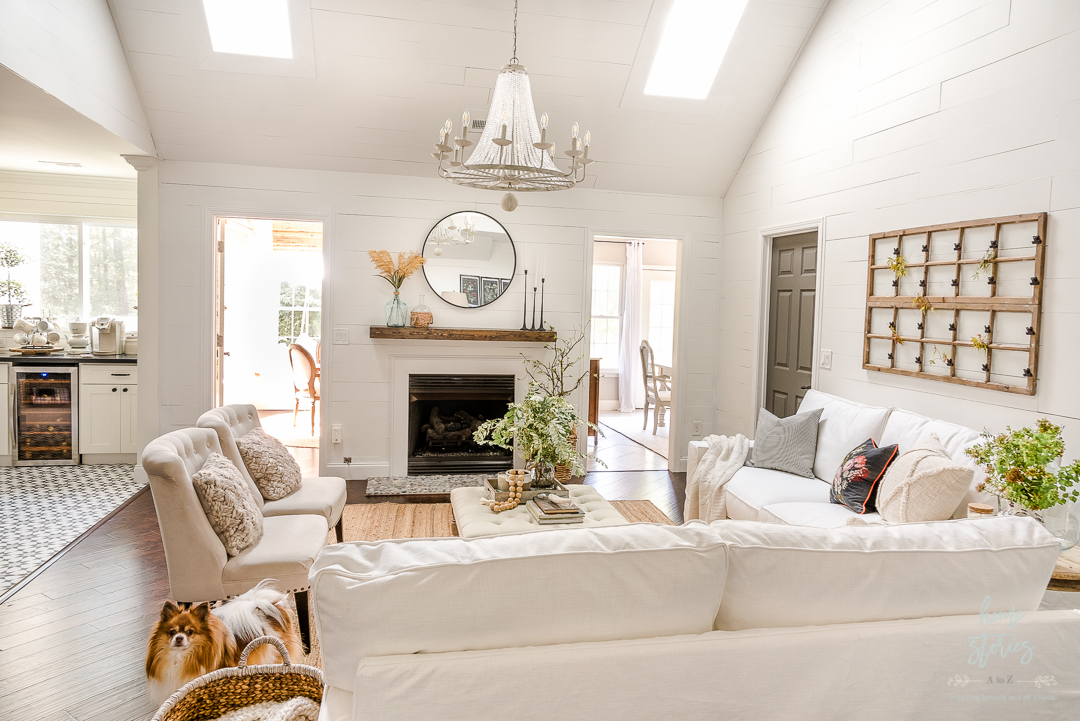
Simple and minimalist fireplace makeover with a DIY stone hearth. Tutorial on how to cover up the existing hearth and how to tile over tile using pebble stone tiles and grout.

Room makeovers are expensive! After making over our living room I didn’t have much of a budget left over for the fireplace and really just wanted to keep it very simple and clean. The original fireplace mantel was simply made from some trim glued to the wall and was unusually high for the wall space. I also wasn’t crazy about the beige granite surrounding the gas log insert. 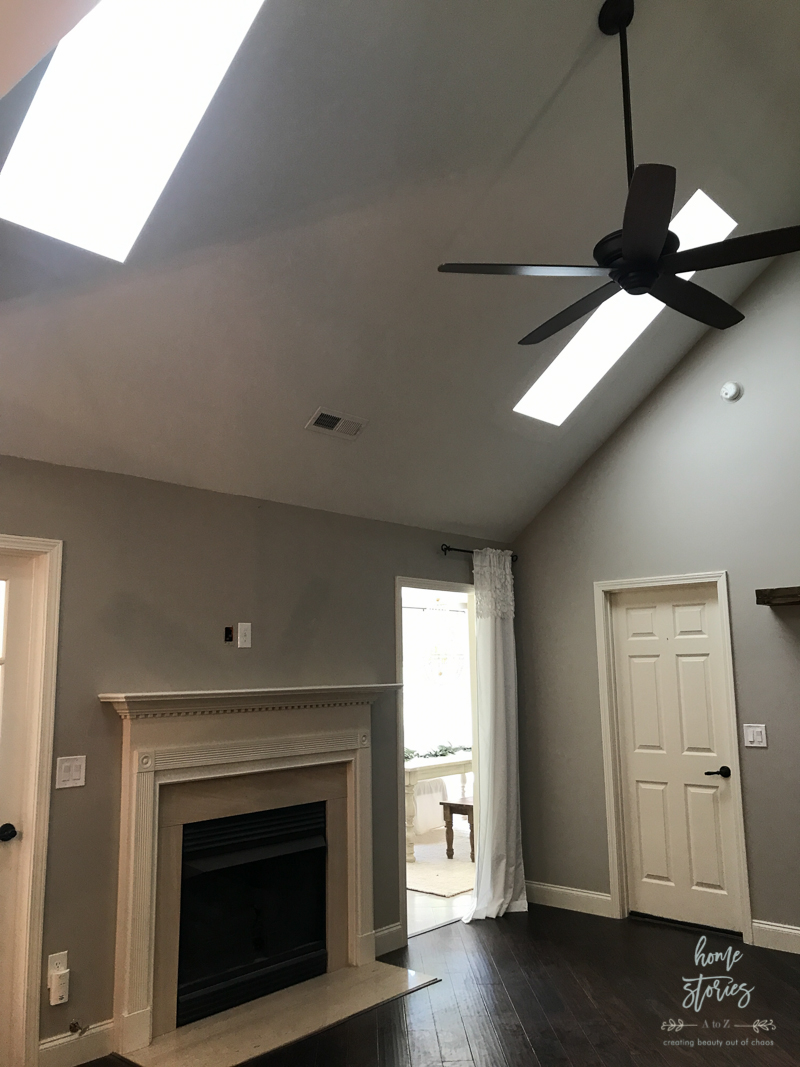
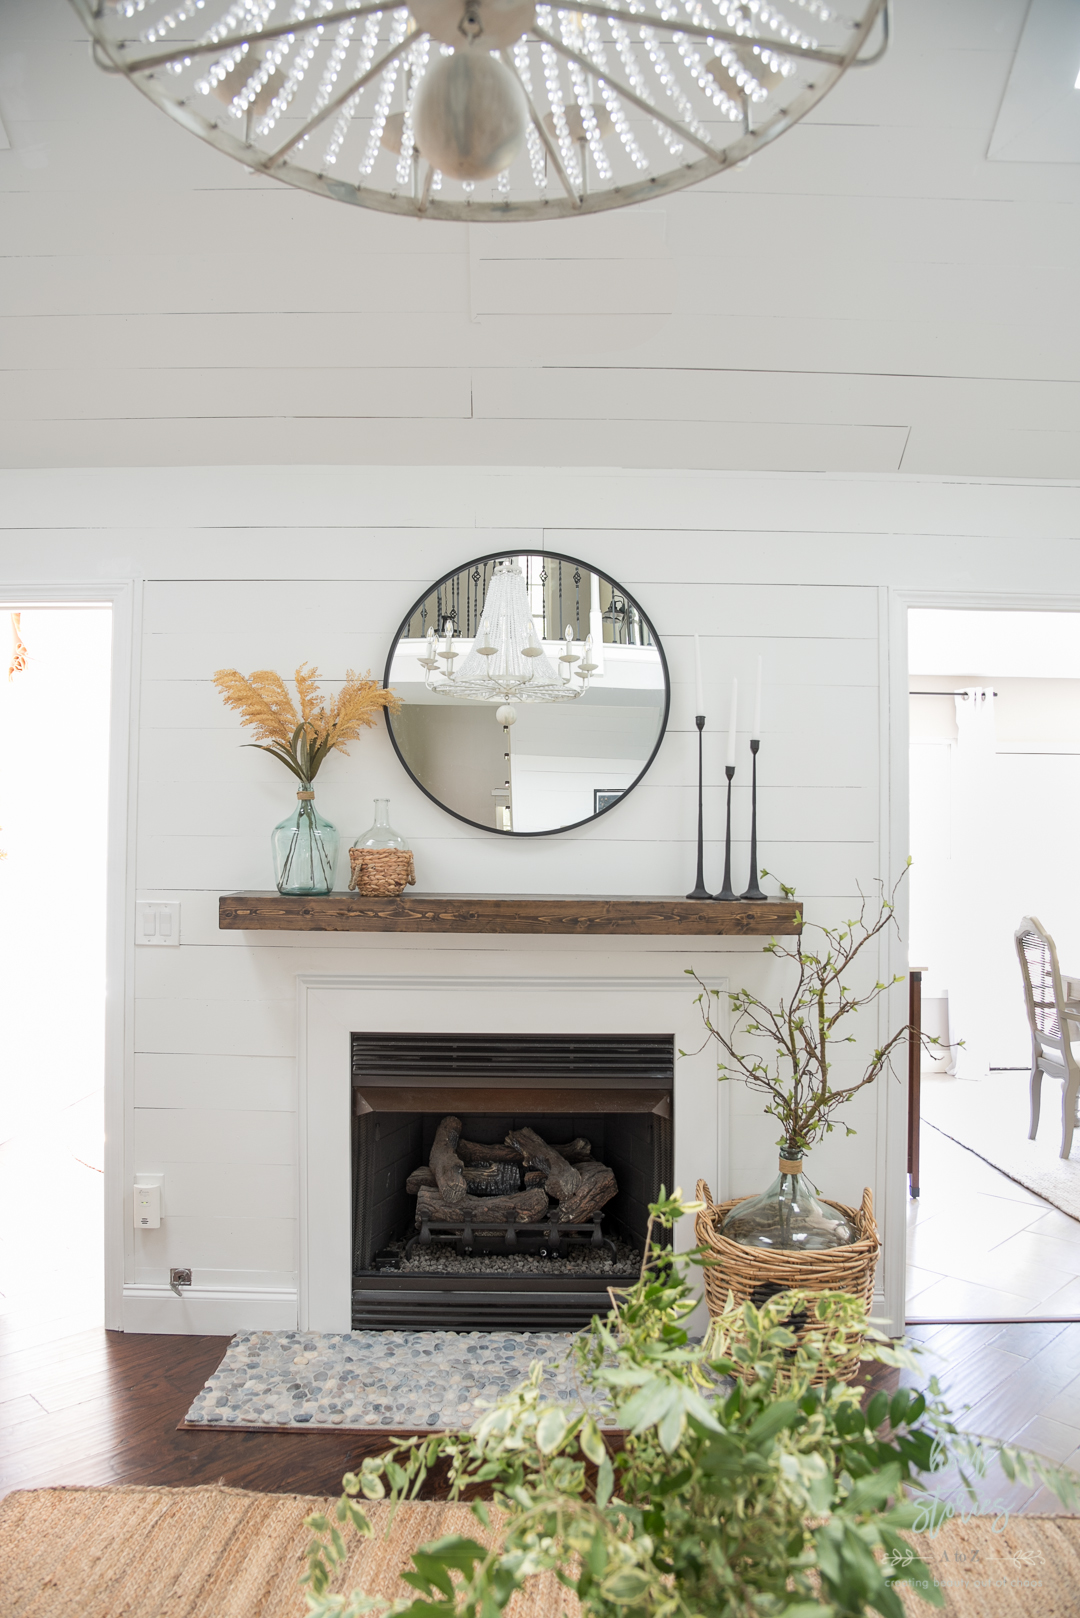
We removed the fireplace surround, planked all of the walls, and hung a wood shelf beam to create a mantel. I loved the clean look of the fireplace but still wasn’t loving the beige hearth. Removing it entirely was going to require a jackhammer and potential damage to our wood floors. I really didn’t want to deal with the hassle or mess of removing it and knew that I could tile right over it with a flat enough tile. I also wanted this project to be as inexpensive as possible!
I had these pebble stone tiles left over from our previous home’s kitchen backsplash and knew they would work well for this project. Here is how I did it!
Step 1: Buy Simple Mat Tile Setting Mat
You can find Simple Mat linked here for you on Amazon
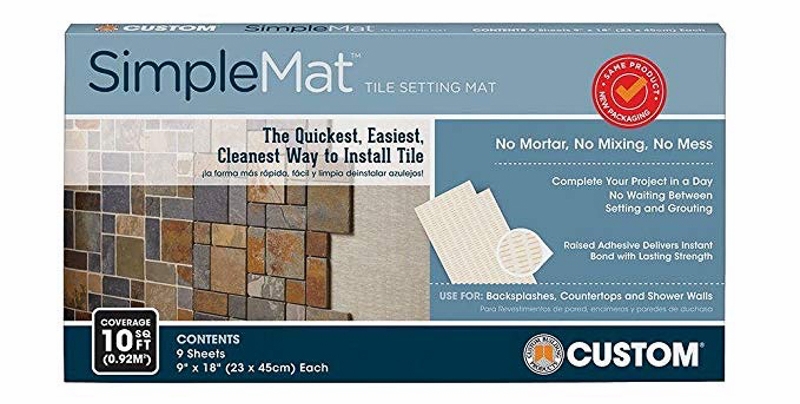
The box contains nine sheets that can be cut to size. You simply adhere the stickers to your existing tile or wall and then press your tiles onto the stickers. I’ve used these several times now with great success!
Step 2: Prepare Your Tiles and Test Placement
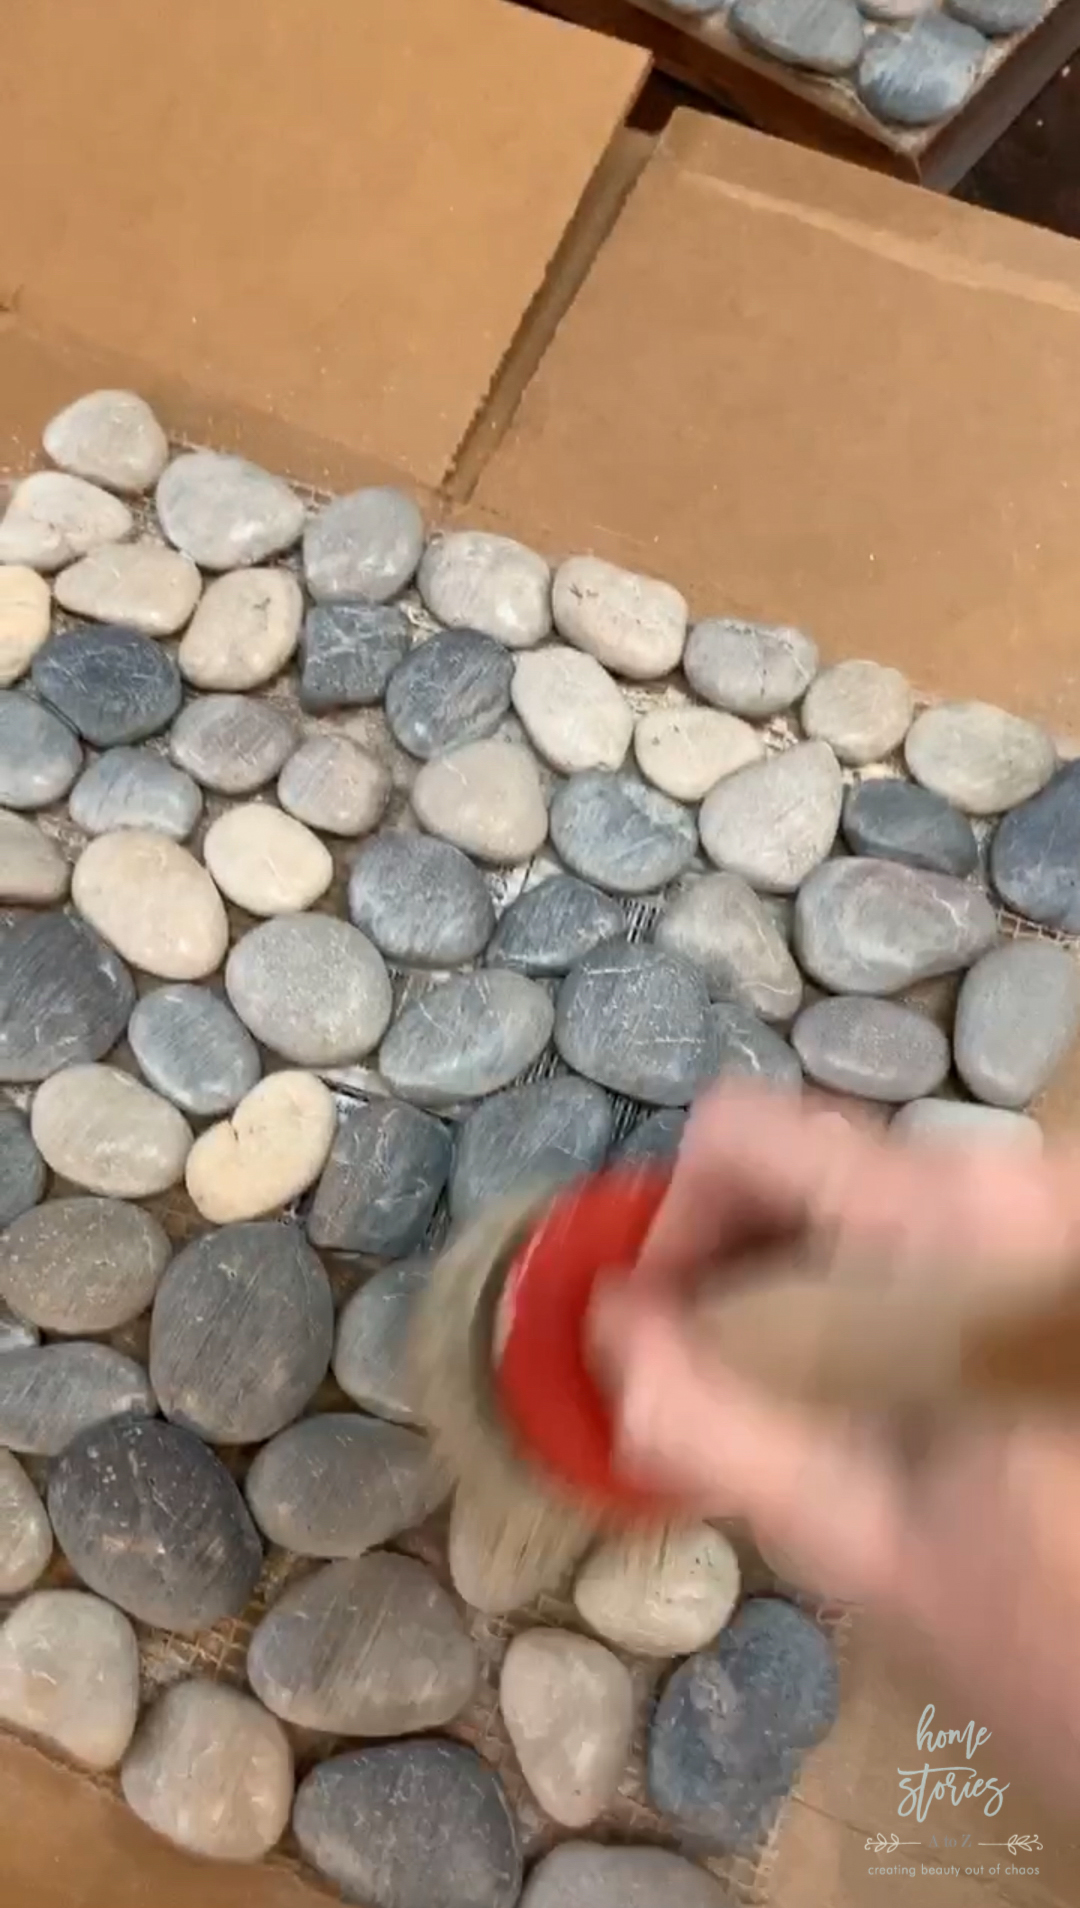
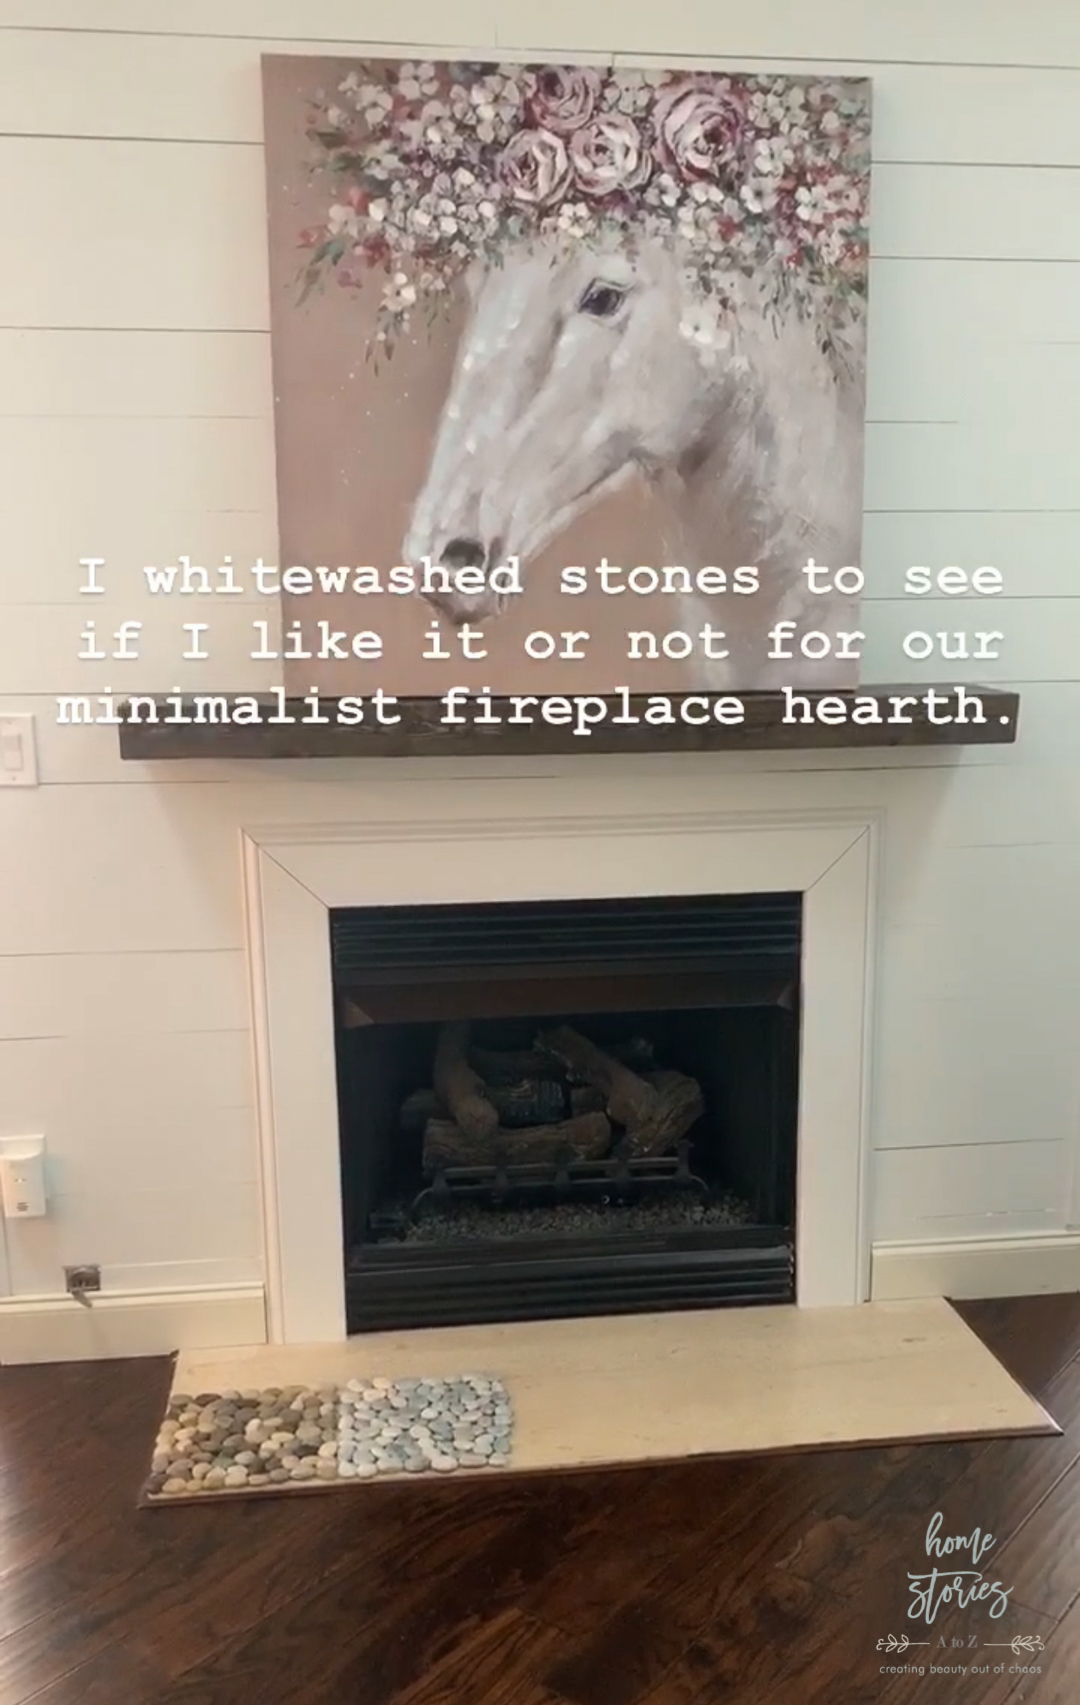
My pebble stone tiles were filled with beige and brown rocks, and I really wanted to pull in the grays from the adjoining kitchen. To change their color, I whitewashed my tiles using Fusion Mineral paint watered down with some water. I simply brushed the paint over the tiles and allowed it to dry. If you are wanting to paint your tiles, save this step for last! The sanded grout will take off any paint you place on them.
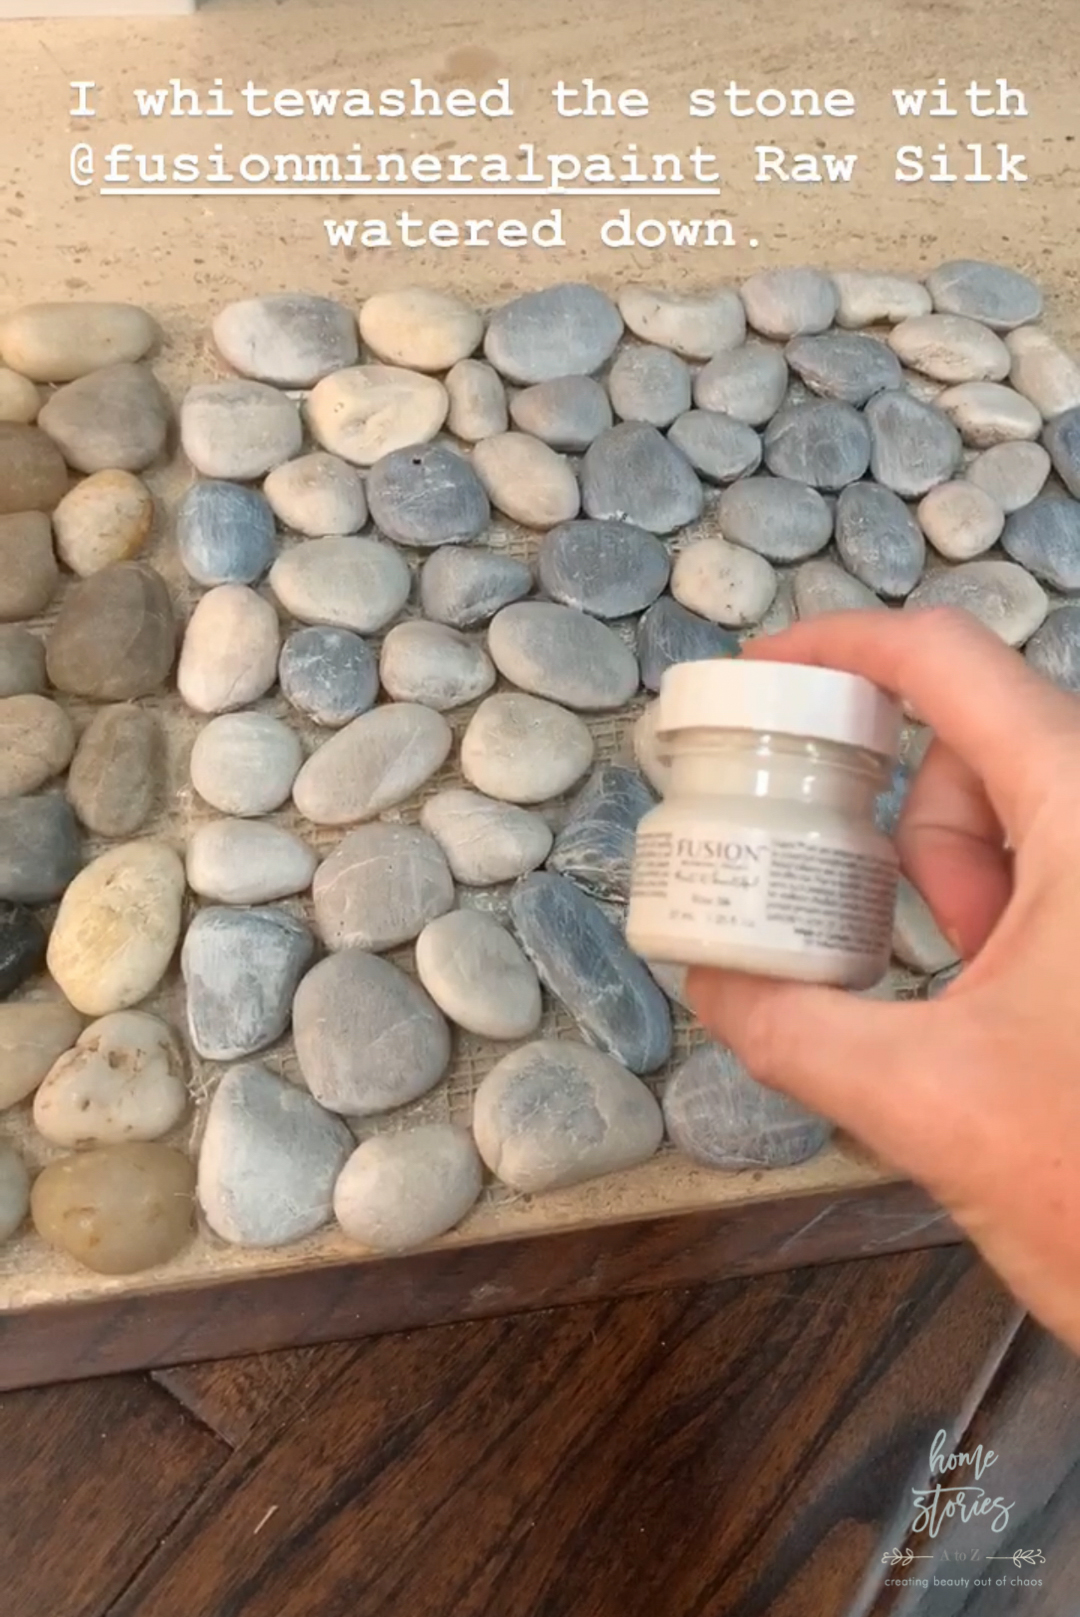
In the picture below, you can see the original pebble stone tile on the left next to the whitewashed one.
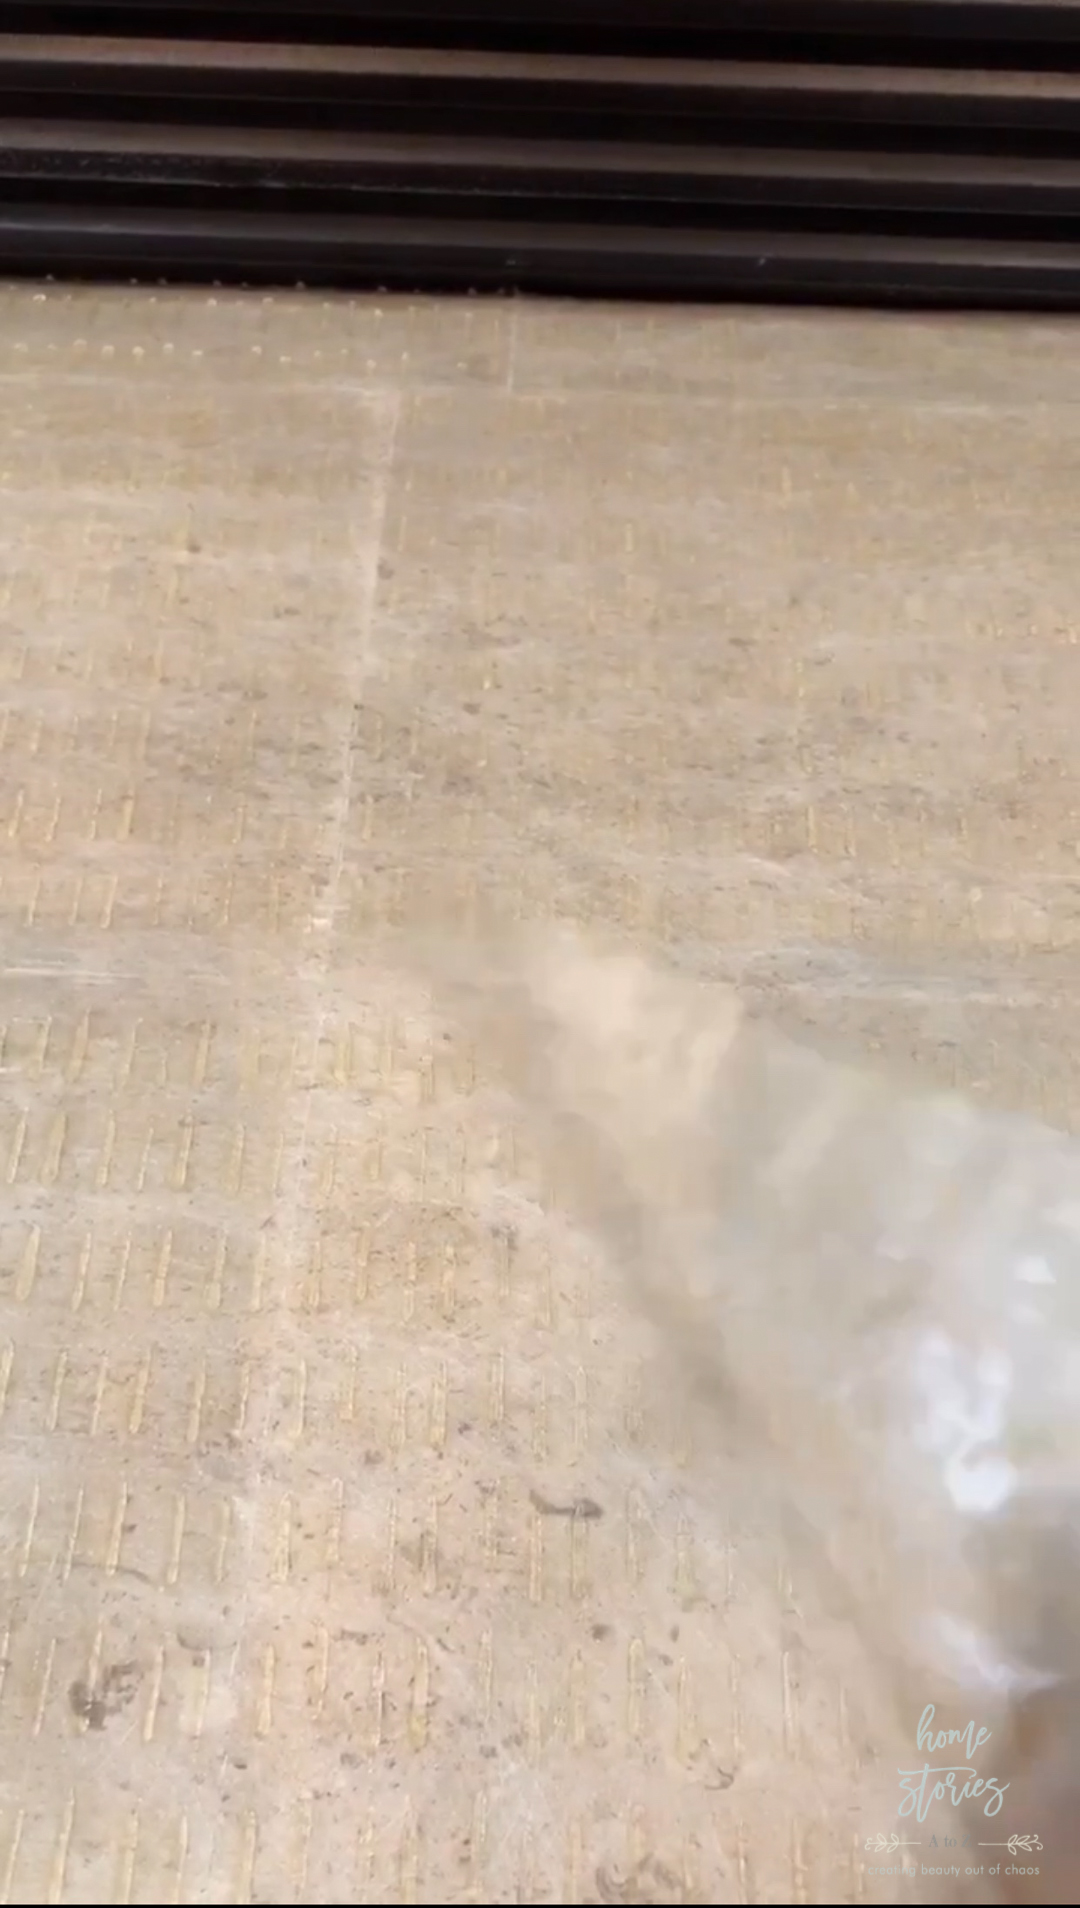
Step 3: Stick Your Tiles to the Simple Mat
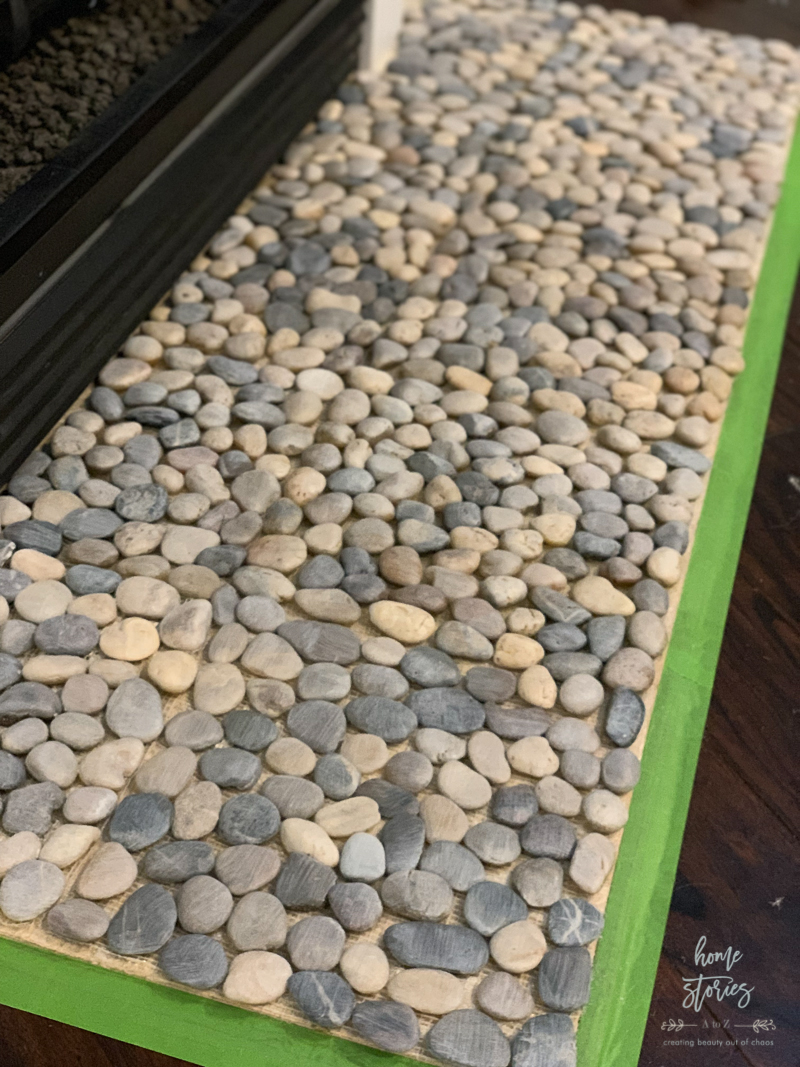
Place all of your tiles on the Simple Mat and evenly cover the entire surface of your hearth. My pebble stone tiles made this a simple task since no tile saw is needed with these. I taped off the wood surround with painter’s tape in preparation for the next step!
Step 4: Grout Your Tiles
I used Mapei Flexcolor Grout in the color Silver. This is not the cheapest grout out there and you will save money if you don’t opt for premixed grout. I’ve mixed grout by hand before with varying levels of success and so decided to spend a little more on the grout this time to get the project done quickly with less hassle. 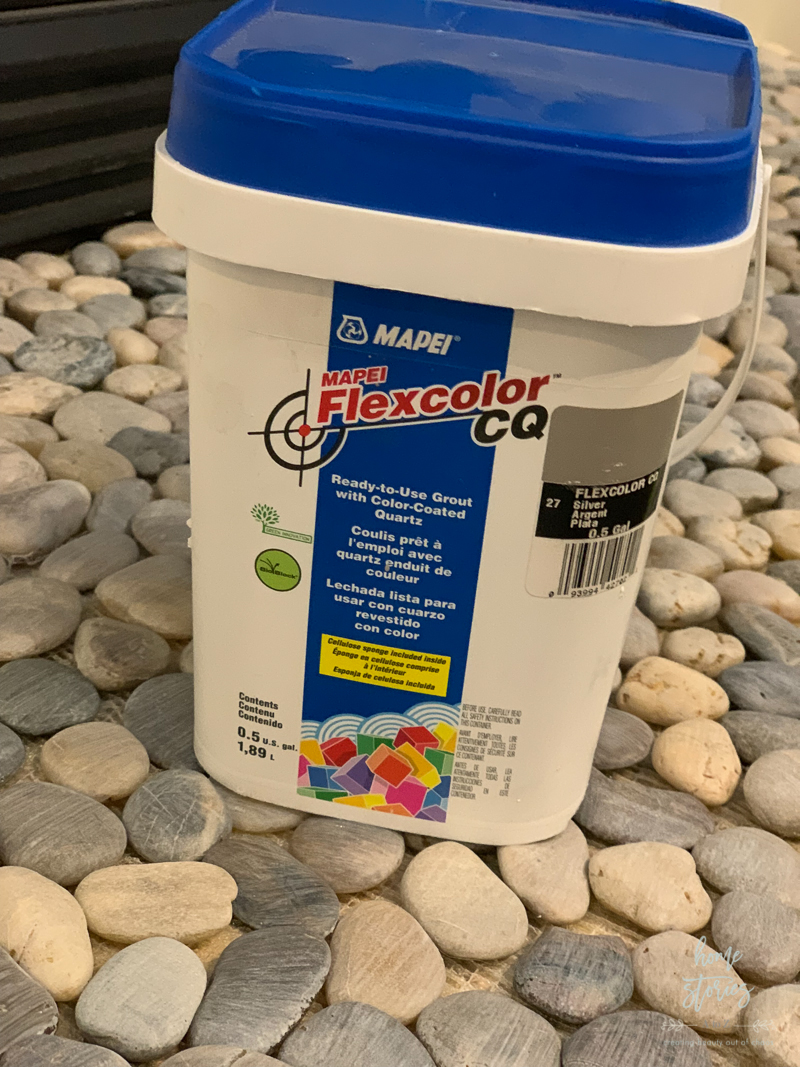
You simply smooth the grout onto your tile and press it into the cracks with a grout float. Then you use a damp sponge to clean the grout off of the stones and out of the grout lines as much as possible. It’s a lot of sponging and rinsing but be patient and work in small sections at a time.

My sanded grout did wear off the whitewashing on the stones so I had to go over it another time and this time I did a more subtle whitewashing. My husband really liked the original stone colors, so I tried to reach a happy compromise. I may still go over it again to lighten them further in the future.

For now, I am satisfied with the much simpler and cleaner look of our fireplace! It was an easy project to do and didn’t cost very much money or time to complete.
Shop the Room


