It has been two months since moving into our new home and redecorating is finally in progress! Today I’m excited to share some progress photos with you; however, before we dive in I feel the need to add a disclaimer. Warning: The pictures you are about to see here are not perfectly-styled makeover photos, but rather depict the flooring installation experience. In other words, many of these photos were snapped quickly with my iPhone during installation and most of the rooms in my home are still a mess and in need of a makeover! I am so used to waiting until the very end of the design process to show you beautifully-staged room makeovers that sometimes I forget to share the incredibly important and meaningful “in betweens”. If you’re considering new flooring for your own home, I hope you find this post helpful on what to expect.
This post is created in partnership with Shaw Floors. This year, I am honored to be part of the Shaw Floors Style Board along with several other bloggers. All words and opinions are my own.
Flooring Installation: What to Expect
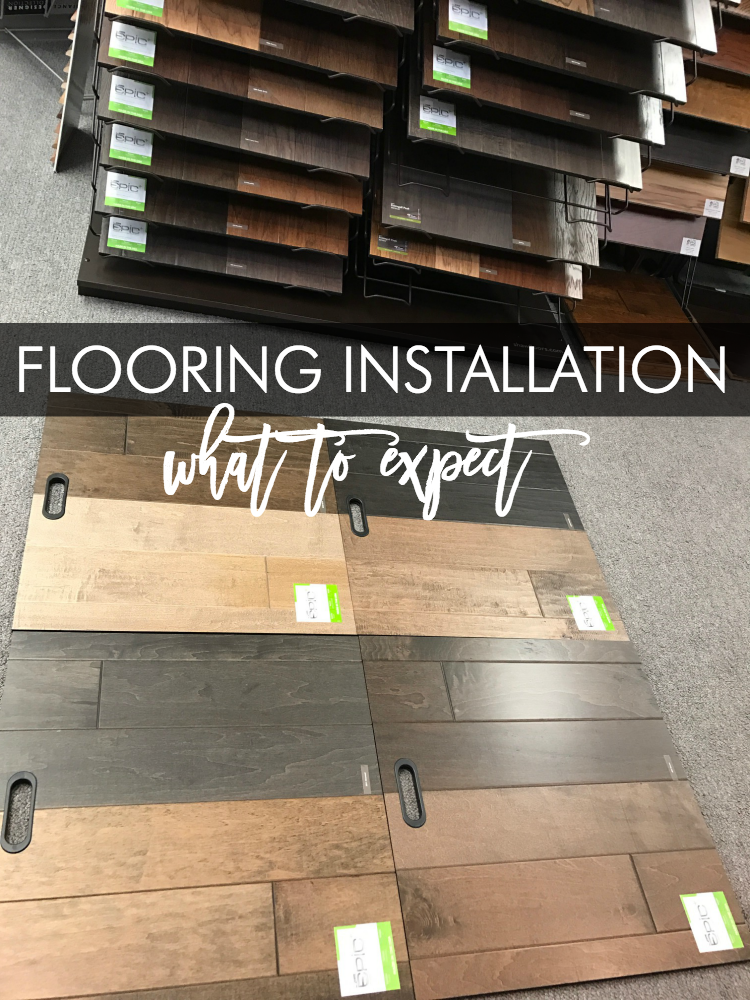
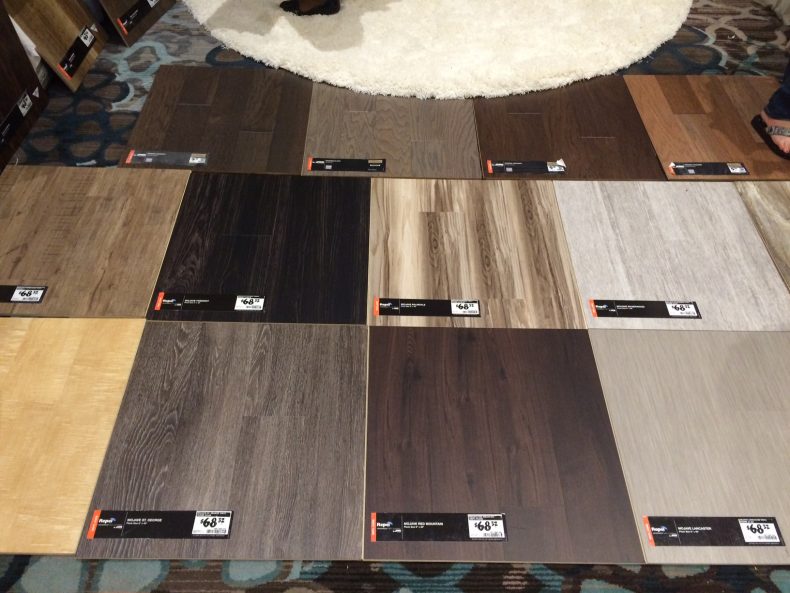
1. Visit the showroom and choose your flooring.
One of the first changes I wanted to make in our new home was to replace all of the bedroom carpeting with engineered hardwoods. While I love the look of plush carpet, and recently installed some gorgeous Shaw Floors carpet in our previous home, I knew that hardwoods would be a better fit for our needs in this home. If you are trying to decide which type of flooring to install, I encourage you to read my post: How to Choose Flooring: 5 Vital Questions to Ask. I revisited this post myself before settling on our new floors!
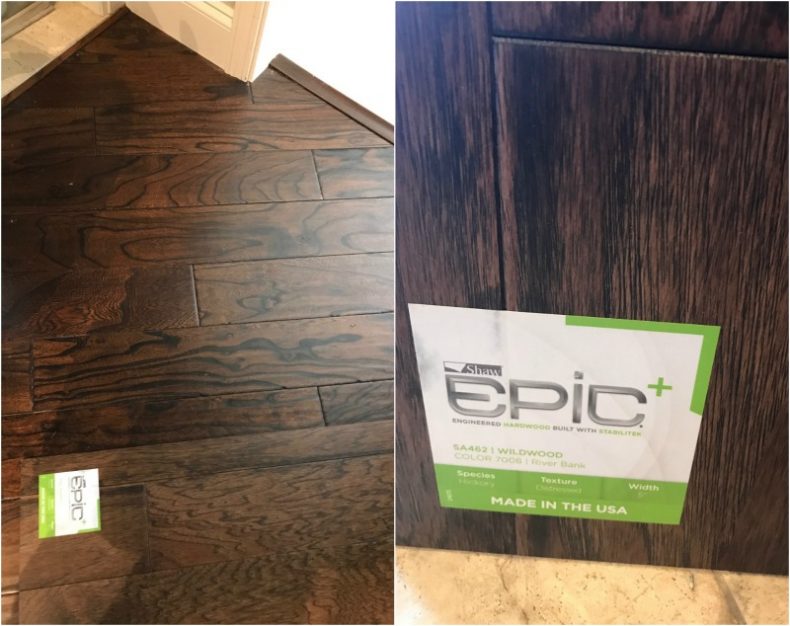
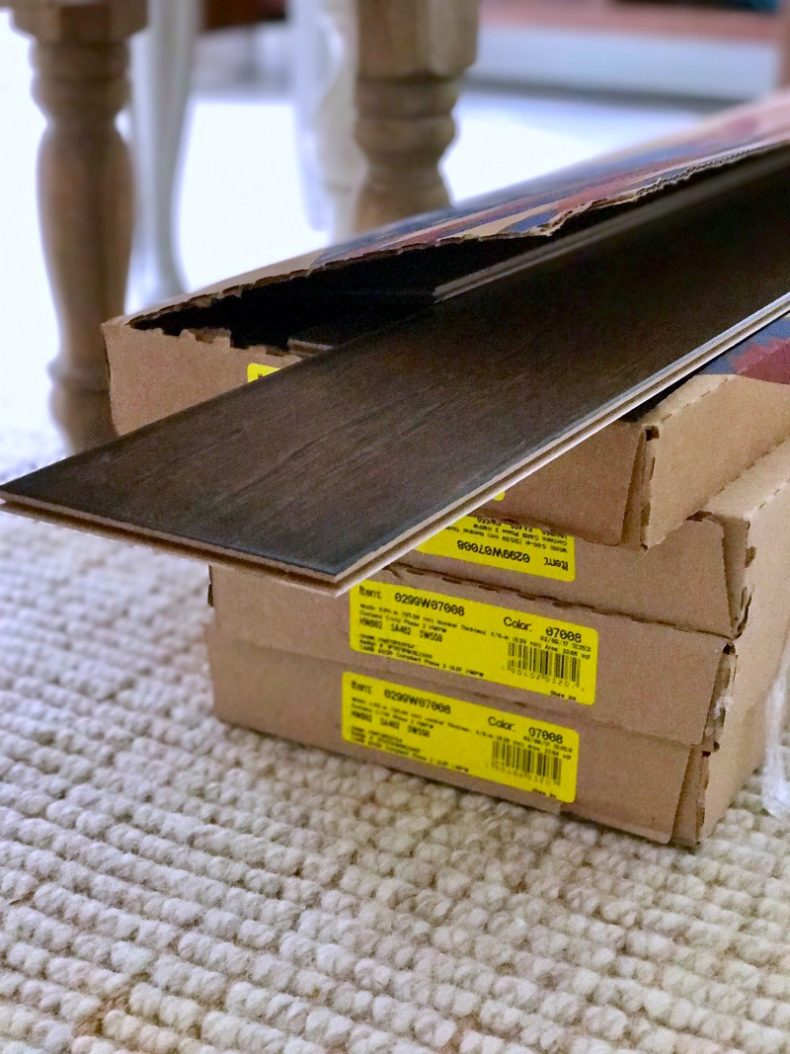
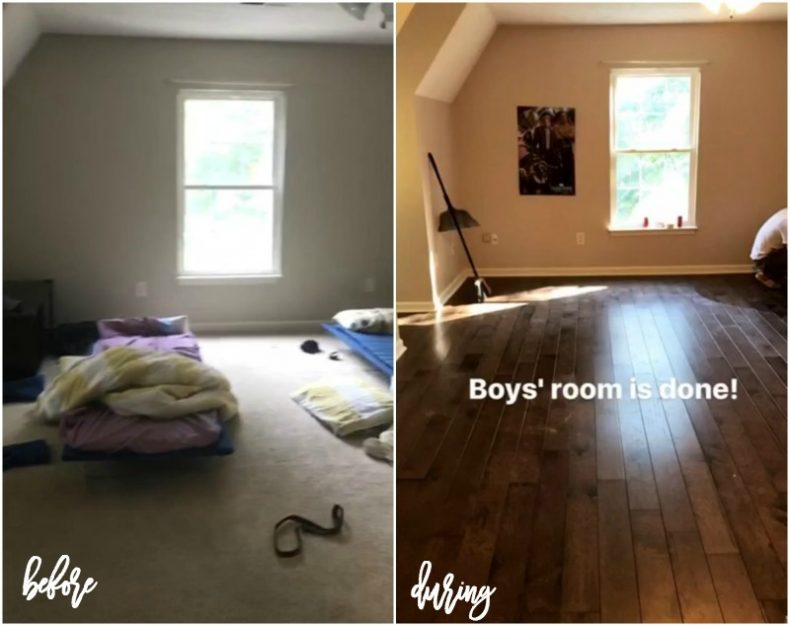
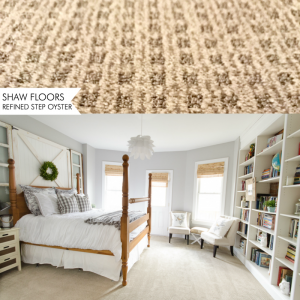
After some deliberation, I chose the Epic Plus Wildwood engineered hardwoods in the color River Bank for all of our bedrooms. It’s a hickory wood that blends well with our existing elm hardwoods. You can click here to see the exact flooring I chose on Shaw’s website.
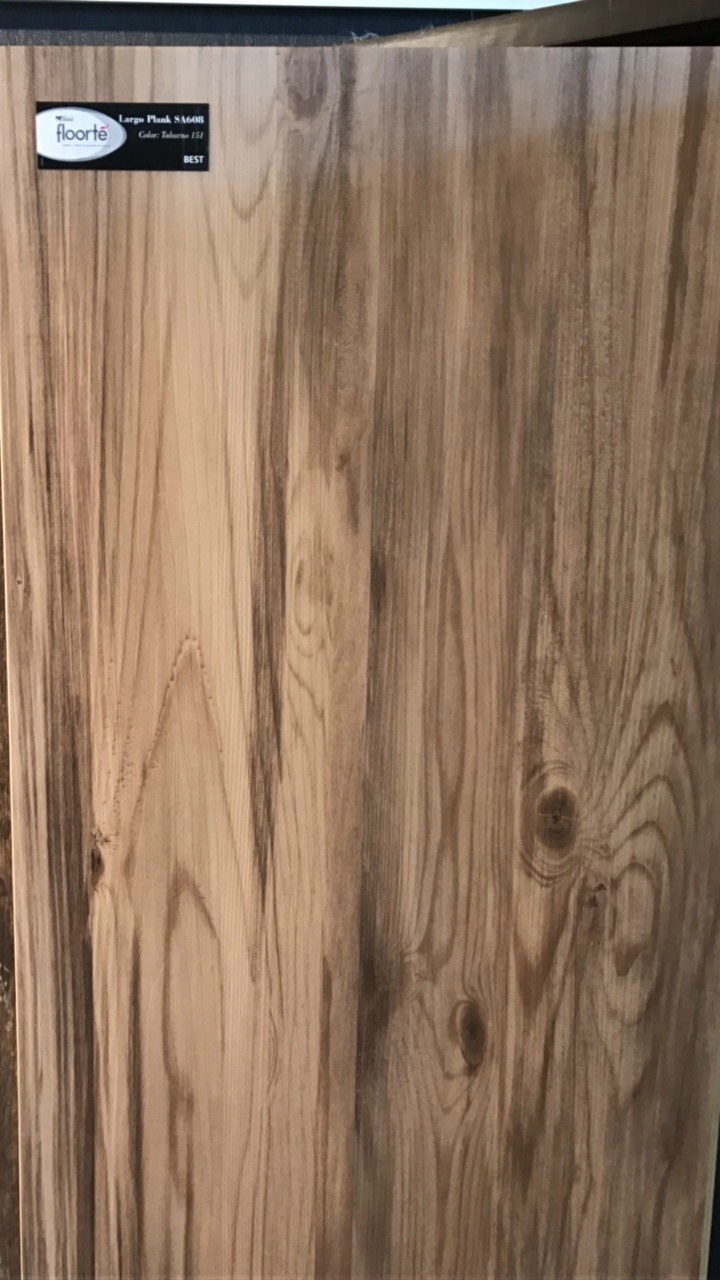
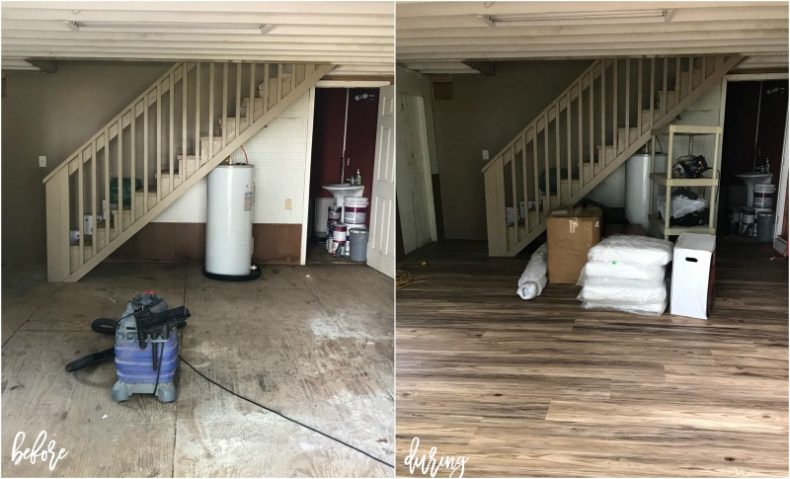
I also chose Floorte luxury vinyl Largo Plank in the color Taburno for our outbuilding. This flooring is waterproof making it the perfect choice for a basement, outbuilding, or mudroom. I absolutely love its realistic barnwood texture!
2. A flooring representative visits your home to measure and discuss any potential subfloor issues.
After I selected our flooring, our installer came to our home to measure the rooms and determine any subflooring issues. We were informed at this time that the outbuilding subfloors needed to be replaced. This is a great time to ask questions regarding the installation process and to determine a timetable for installation. You should also inquire what furniture and items need to be moved out of the rooms prior to installation. Typically, you will be responsible for clearing everything out of the rooms before the installers arrive unless you arrange for items to be moved as part of the installation.
3. Wood is delivered to your home to acclimate for several days before installation.
Your flooring needs to acclimate to your home’s temperature and humidity levels before it is installed. Several days prior to installation, it will be delivered and allowed to rest in an unused room while it acclimates. This step is paramount to insuring a successful installation. If flooring is installed without first acclimating, it risks cupping, shrinking, expanding, or buckling. It was admittedly hard for me to be patient during this step because I was so excited to begin our install!
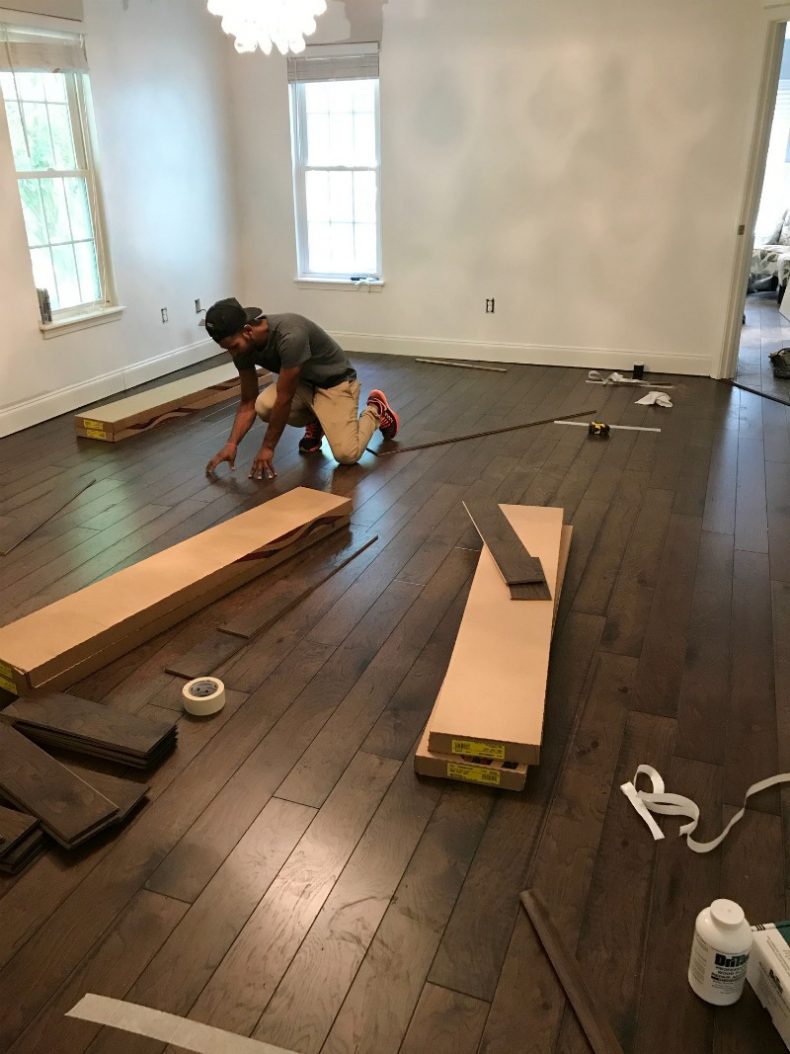
4. Installation begins and things get messy and noisy! Installation may take a few days depending on the amount of square footage being installed.
If you have animals and kids, it’s best to contain them to a part of the house where renovations aren’t taking place, or better yet have them visit a friend or relative for the day! Your wood floors will be cut with a chop saw and as a result there will be noise and sawdust. Typically, your installer will cut your boards outside and will do their best to contain the sawdust; however, home renovations are messy affairs so be prepared for some mess and some noise. You can help your installers by choosing a place outdoors that is sheltered from weather but near the jobsite for them to work. I chose our front yard as the best spot for the chop saw.
5. Mentally prepare for a glitch.
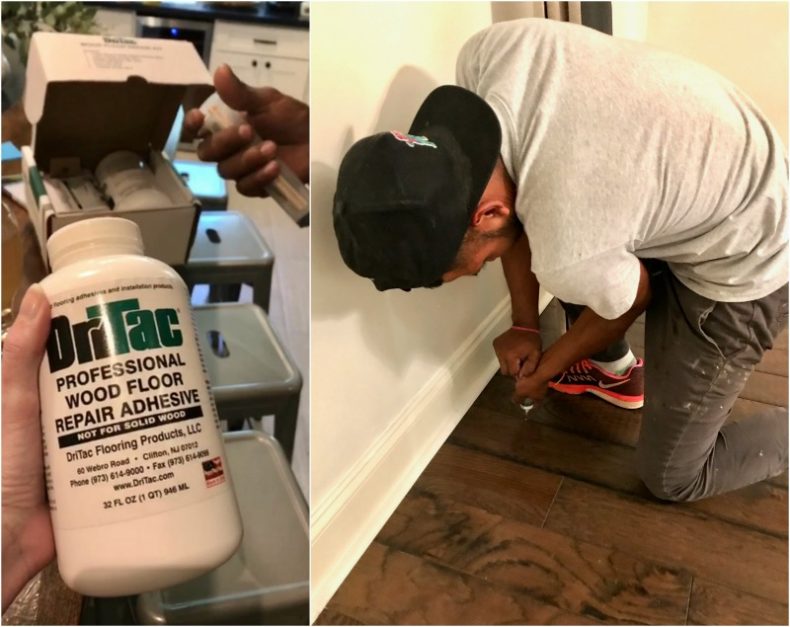
If there is one thing that all of my many years of do-it-yourself projects and home renovations have taught me, it is that there will always be a glitch. Sometimes it’s just a minor, barely-there, whisper of a glitch, and other times it’s a ginormous, doozie, beast of a glitch. Learn to expect it, embrace it, and creatively problem solve your way through it! Your experience with home renovations will go so much more smoothly when you mentally prepare for the glitch.
Our glitch this time was an unexpected subflooring issue. Our house is built on a slab and our master bedroom is on the main level. The subflooring dips in the middle along the seam of the subfloors causing hollow spots underneath the floorboards. Air pockets beneath the boards can cause movement of the floors and compromise installation. To solve this glitch, our installer recommended injecting DriTac Wood Repair Adhesive into the floor to fill up the air pockets with glue. This required extra dry time and a few more days before we could safely move our furniture back into place but it was worth it!
6. Pad your furniture feet before moving back into place.
Protect your investment by placing felt or rubber pads on the bottom of any furniture that will be placed on your new floors. This will help minimize scratching or dents to your new flooring. I placed some dusting cloths underneath a few areas of our bed frame that were too large for felt pads.
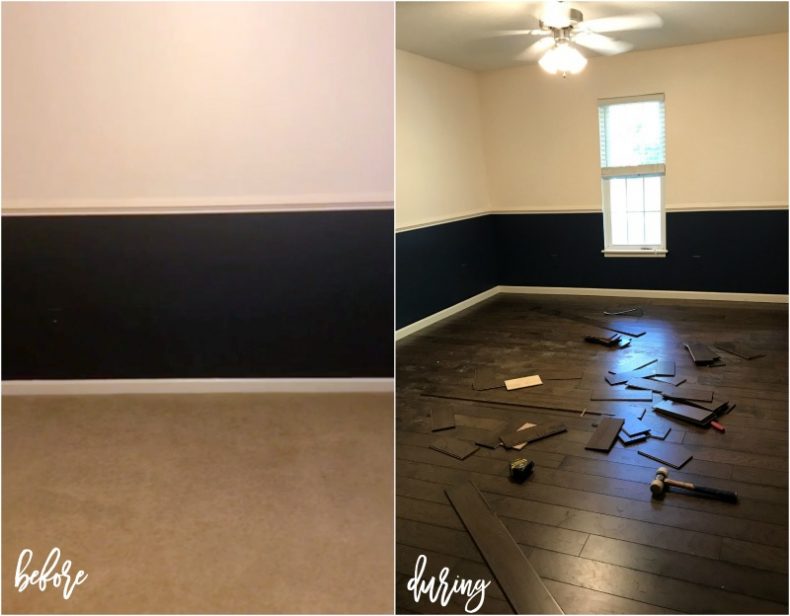
I am anxious to begin redecorating these rooms now that the flooring is installed! Here are a few progress photos for you!

Picture of our outbuilding where we installed the waterproof Floorte.
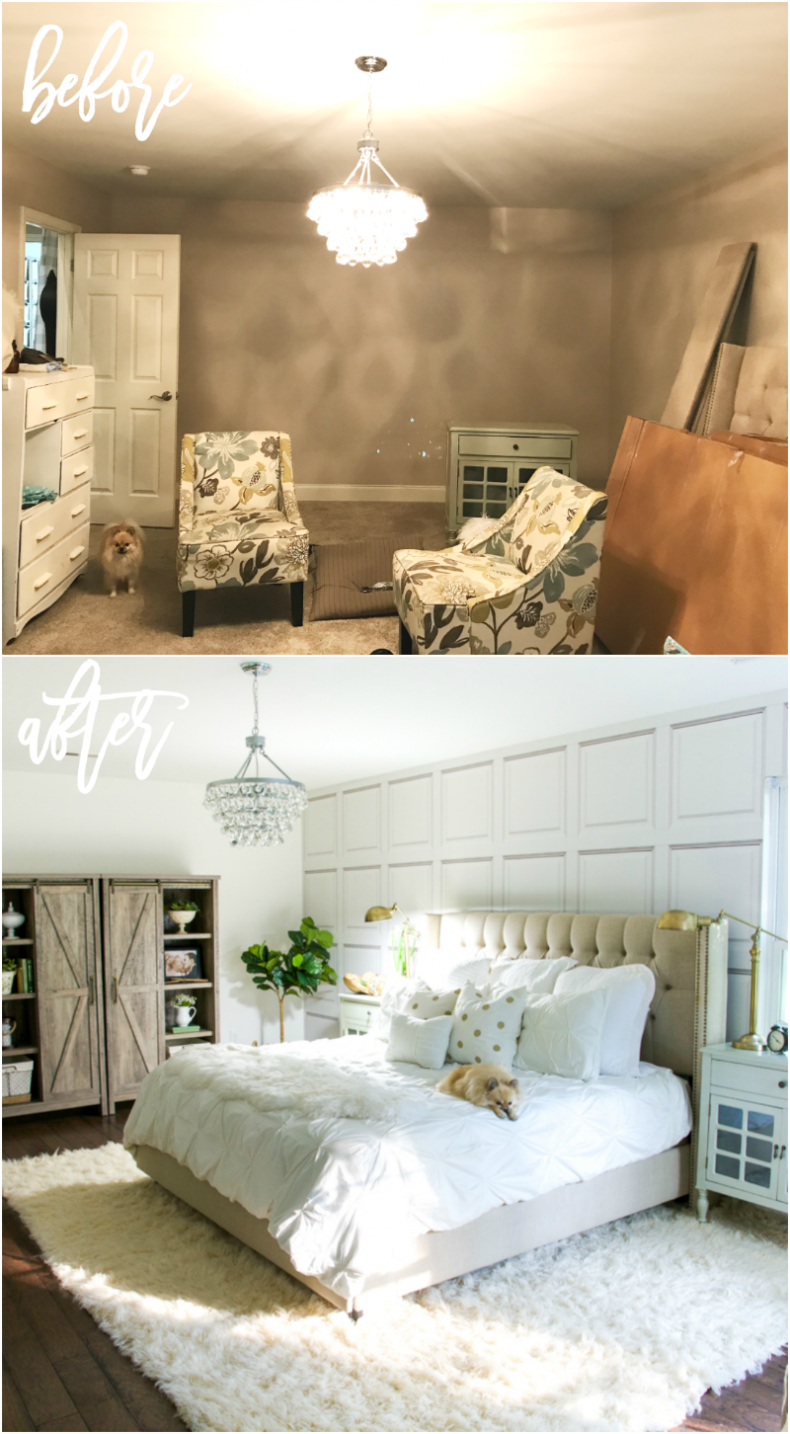
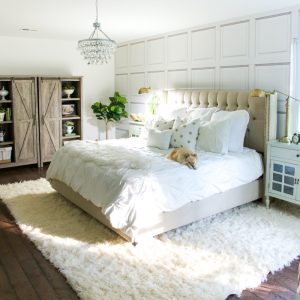
And of course I can’t leave you hanging without one beautifully-staged room makeover! I revealed our master bedroom makeover on the blog last week and you can see more of it here. I am in love with how it turned out, and the new flooring is just perfect for the space!
Please let me know if you have any questions regarding our new floors or my experience with the flooring installation process. I’m happy to answer them! For those of you who are local, we used Brooks Flooring Services, Inc. in Taylors, SC. Their installers are subcontracted and they were tidy, punctual, and had good communication before, during, and after installation. I was happy with the job they performed.


I love your new bedroom sweetie. The floor is stunning. Please keep us informed as to how it wears. Love the wall behind the bed. Did you install panels or is it wallpaper and if so what kind?