
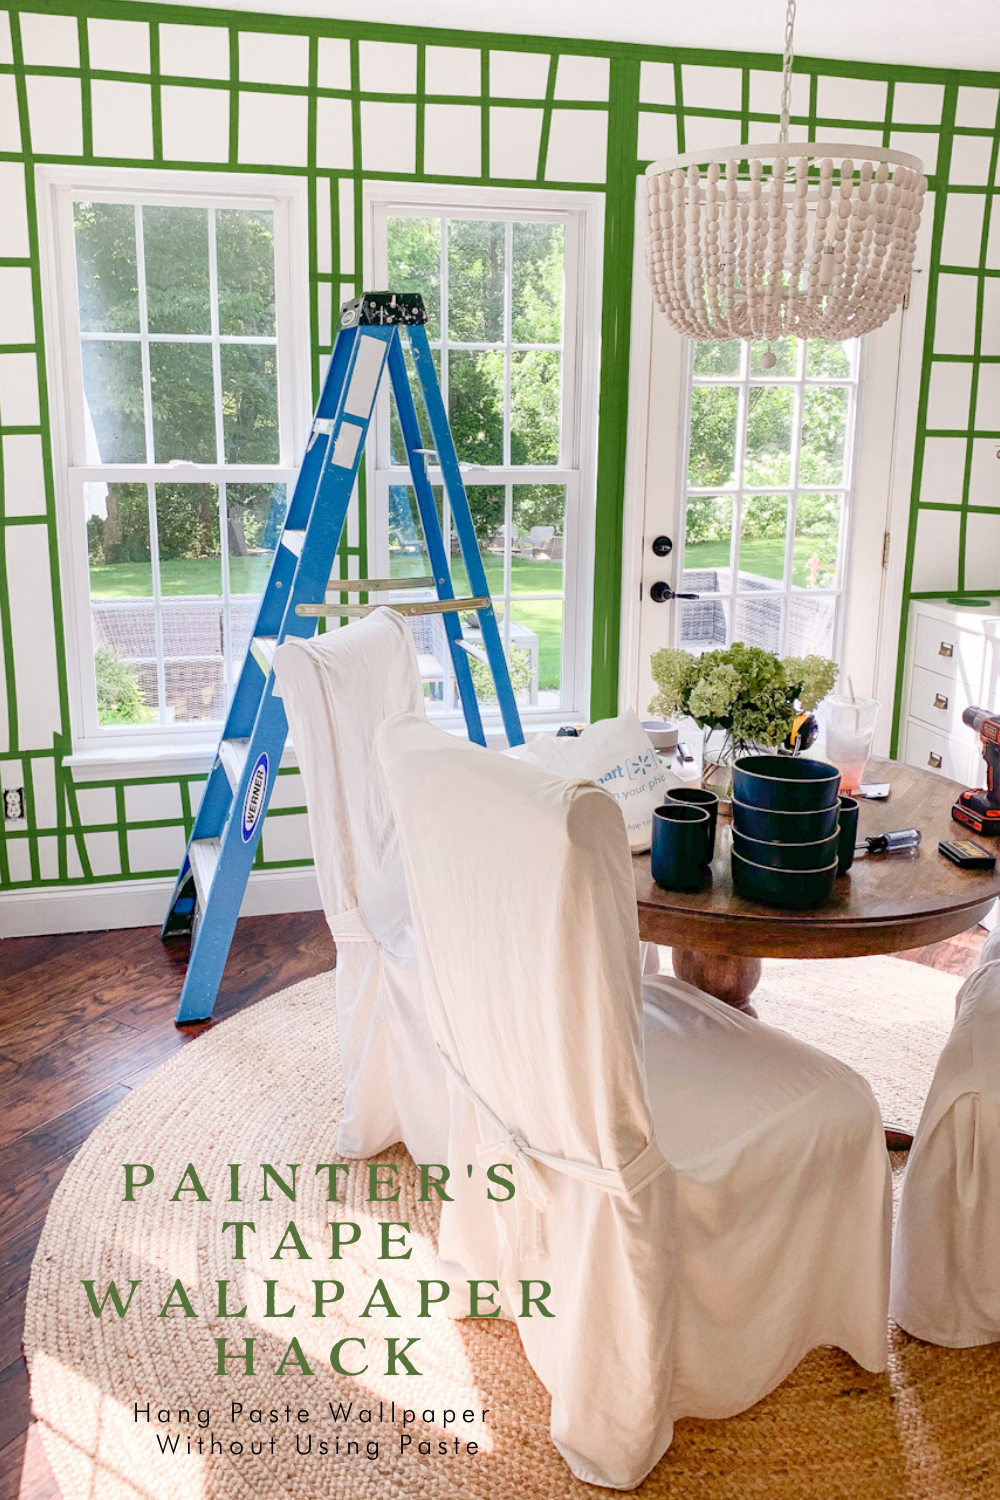
Sharing the painter’s tape wallpaper hack which consists of creating a grid of painter’s tape on the wall and adhering the wallpaper to the grid using double-sided tape instead of wallpaper paste. This is a great hack for renters and for those wanting a temporary wallpaper solution without wall damage upon removal. Today I’ll be sharing both the wallpaper hanging tutorial as well as the pros and cons of this method.
I recently shared with you my Serena and Lily Wallpaper Reveal in the Breakfast Room! I chose the gorgeous wallpaper pattern Meadowsweet in Smoke for this project. However, I had just spent a week painstakingly removing paste-the-wall wallpaper from our primary bedroom and was not in the mood to do that any time again soon! I have seen other bloggers use the painter’s tape wallpaper hack before, and thought I’d give it try myself.
Items Needed for Painter’s Tape Wallpaper Hack
- Frogtape
(I highly recommend using Frogtape
over 3M blue tape for this project because it has a stronger adherence.)
- Double Sided Tape
(You will need a ton of rolls of tape so I recommend buying in bulk.)
- Carpet Tape
(This is optional but incredibly helpful for hanging heavy wallpapers. I used this at the top of the wall and along window edges. It helps offer a tight and very sticky adherence.)
- Smoothing Tool (This is necessary for smoothing the paper to the wall.)
- Utility Knife
(Change your blades frequently for best results when trimming excess paper! I like the snap off kind that I linked.)
- Sharp scissors
- Wallpaper of choice (Serena and Lily Wallpaper
offer some gorgeous selections that I have linked for you here.)

The amount of tape you will need is going to completely depend on your project but you will most likely need more than you think!
Step 1: Wall prep! Remove shelves, blinds, wall decor, switch plates, etc., and clean the walls using a degreaser cleaner.
For the tape to adhere well to the wall, it’s important to start with a clean surface. Remove all items on the wall and clean the walls with a damp microfiber cloth

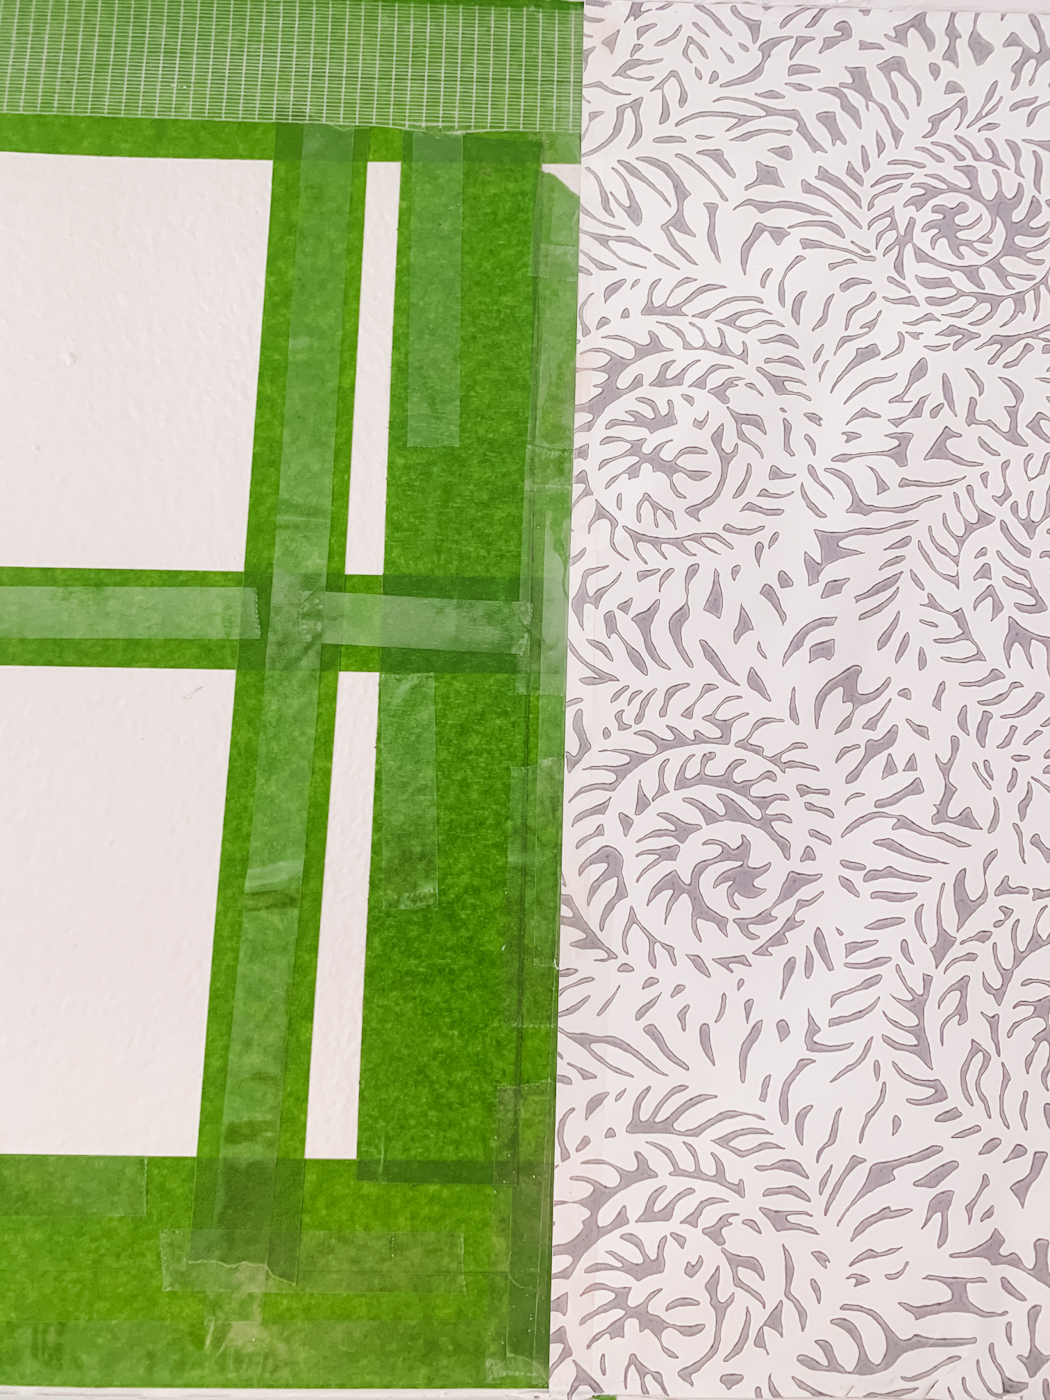
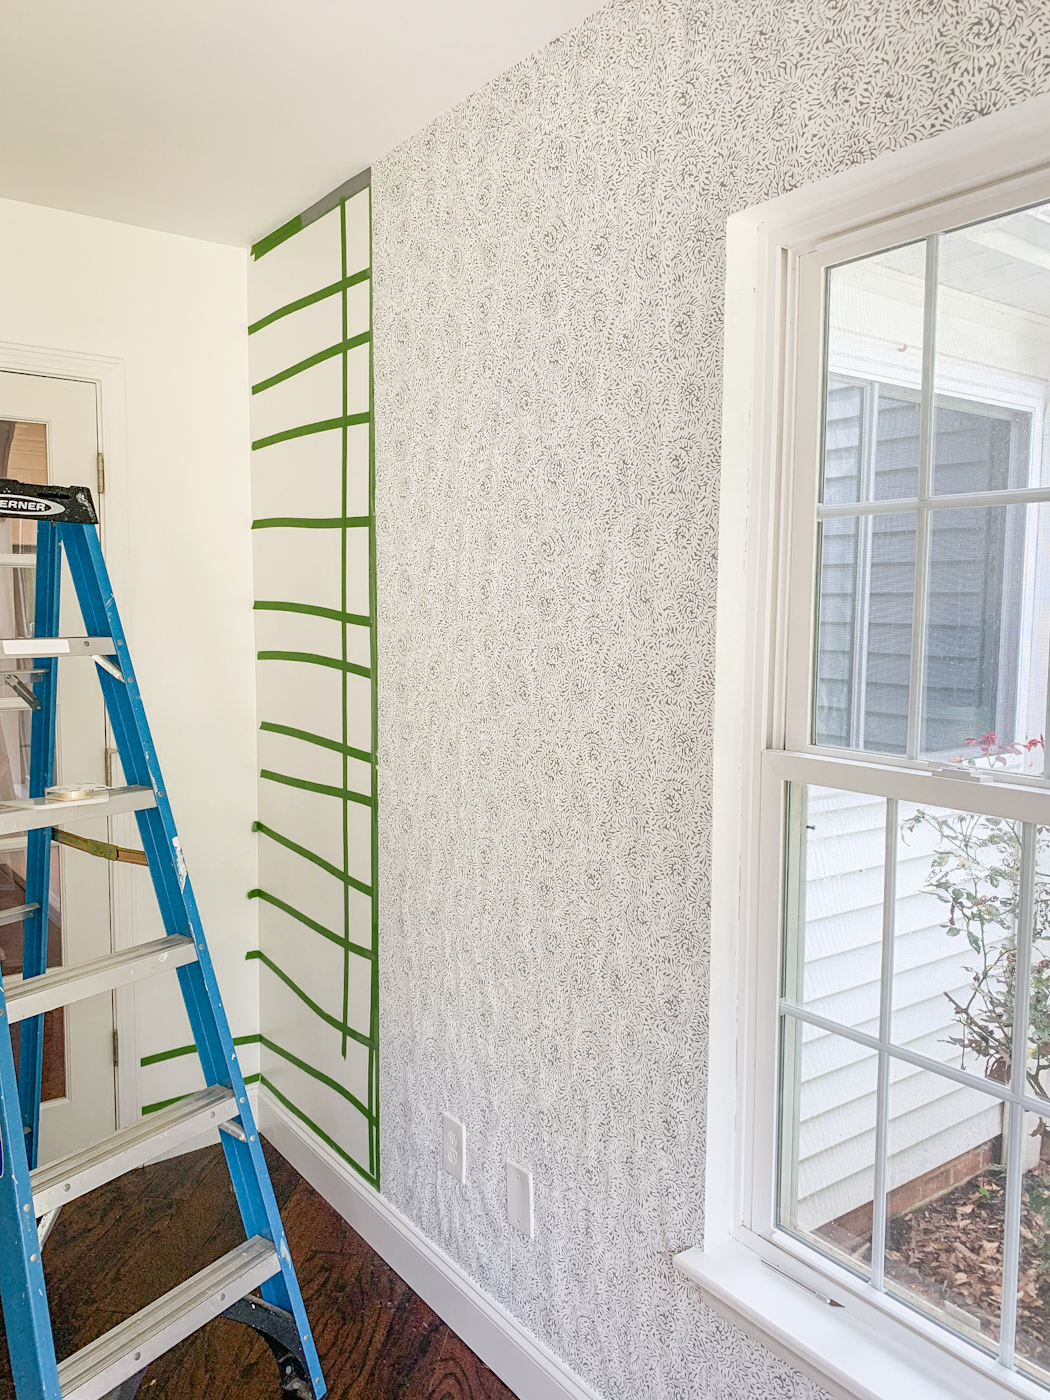
Step 2: Create a grid of painter’s tape on the walls.
Smooth your painter’s tape onto the wall in a gridlike pattern. Your tape lines do not have to be perfectly straight except where the seams of the wallpaper meet. Wherever you place the tape is where the wallpaper will be adhered to the wall using double sided tape. I created thicker lines of tape where I wanted to place my thicker carpet tape
Step 3: Measure and cut your wallpaper as you go.
I like to line up my pattern on the wall to see where I need to cut and then roll out my wallpaper on the floor to make the cuts. I measure and cut as I go leaving excess at both the top and bottom.
Step 4: Place double sided tape onto the painter’s tape and hang your wallpaper, smoothing as you go.
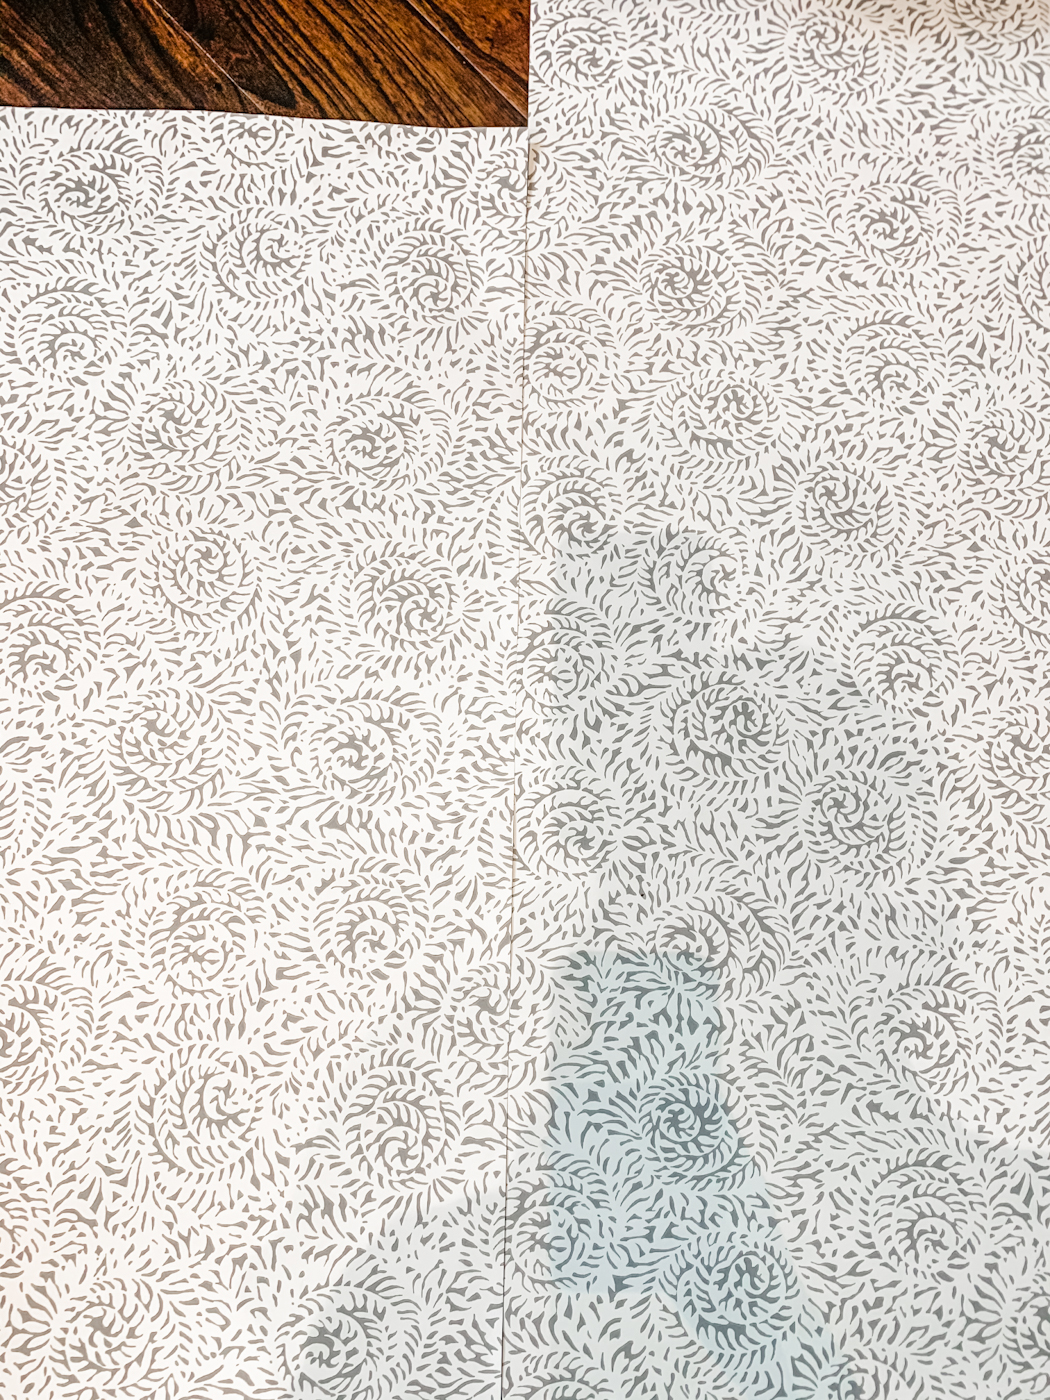
I placed my carpet tape at the top of the wall and used the less expensive double sided tape almost everywhere else. Line up your seams and pattern at the top of the wall and use your smoothing tool to adhere the paper to the tape, starting at the top and working your way down. Use your utility knife to trim off the excess. NOTE: There most likely will be some bubbling in your paper. I’ll talk more about this in my “cons” section, but since you do not have anything for your paper to stick to in between the grids, your paper will have some air gaps.
Step 5: Repeat all steps until the wall is complete.
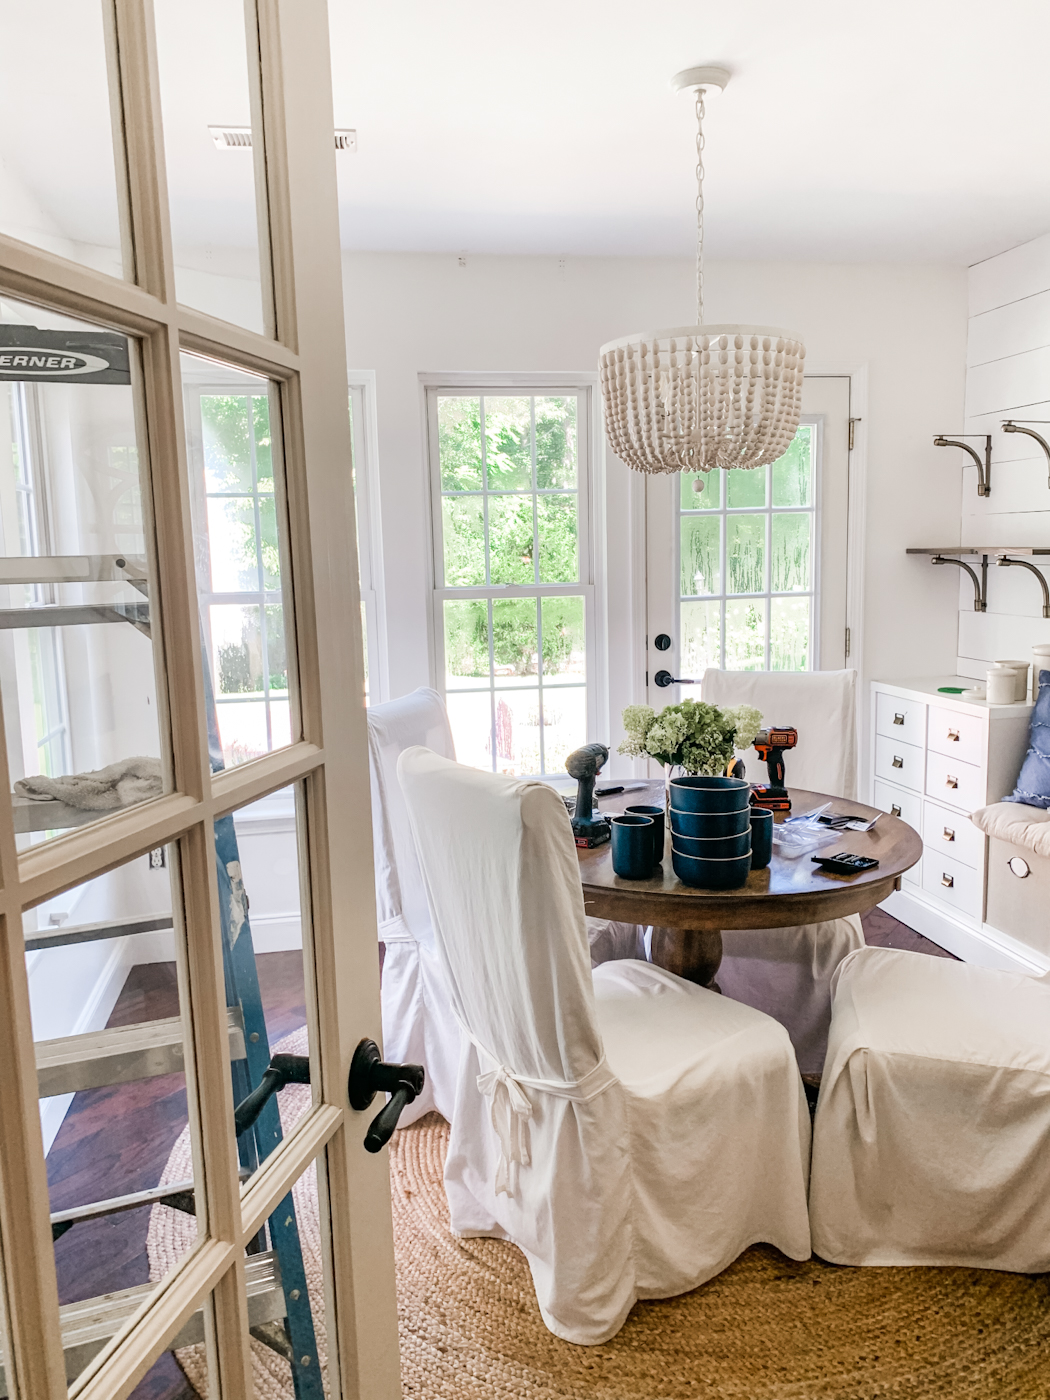
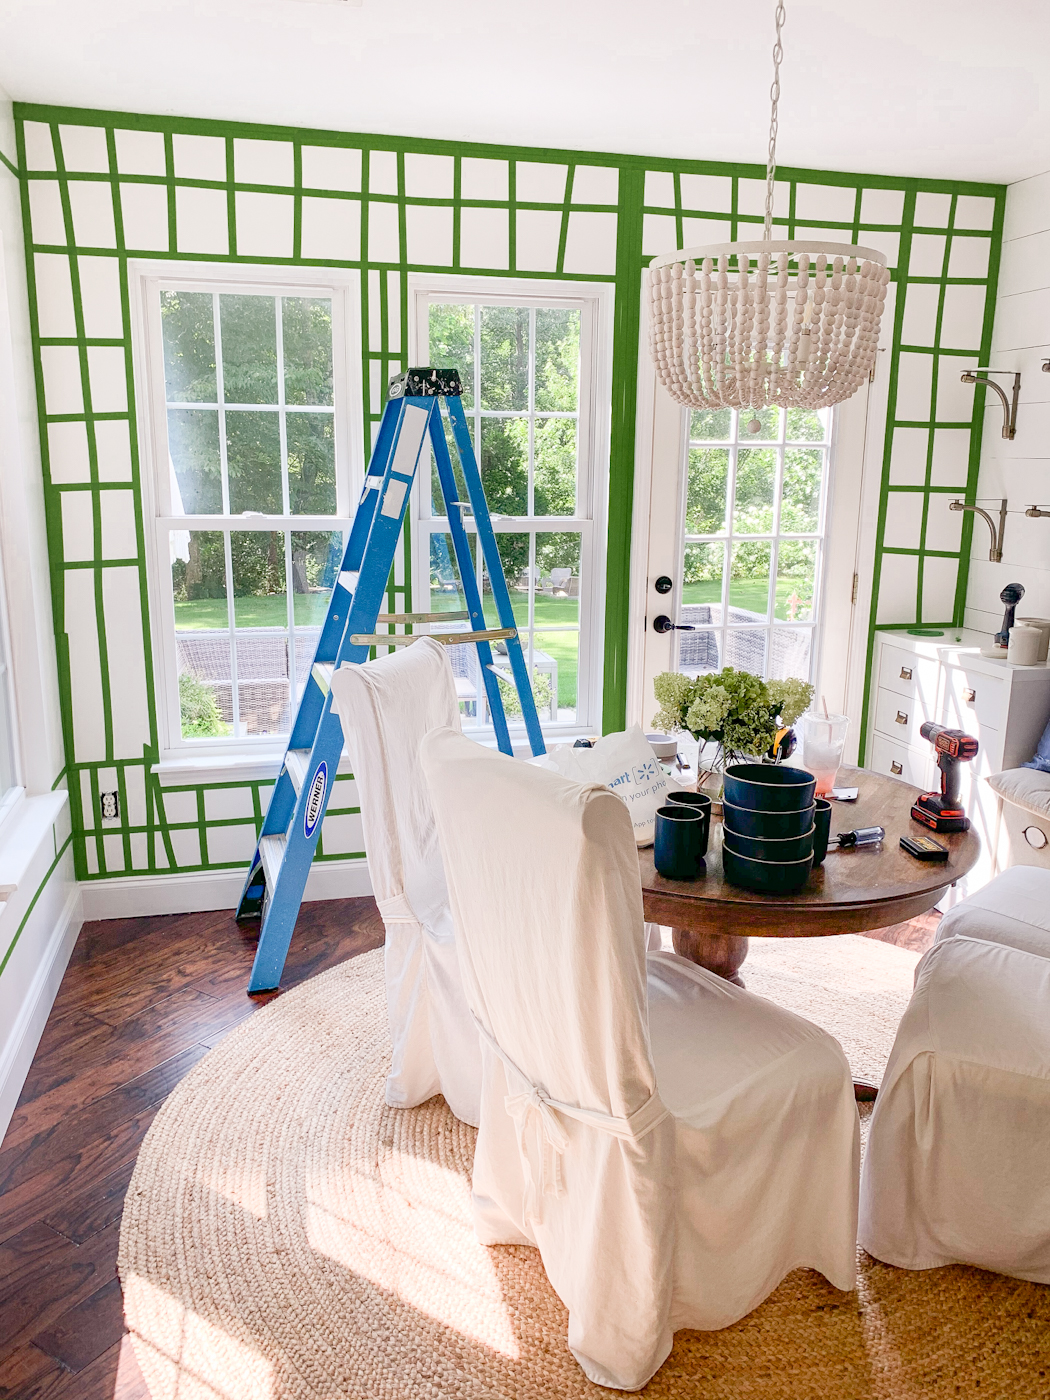
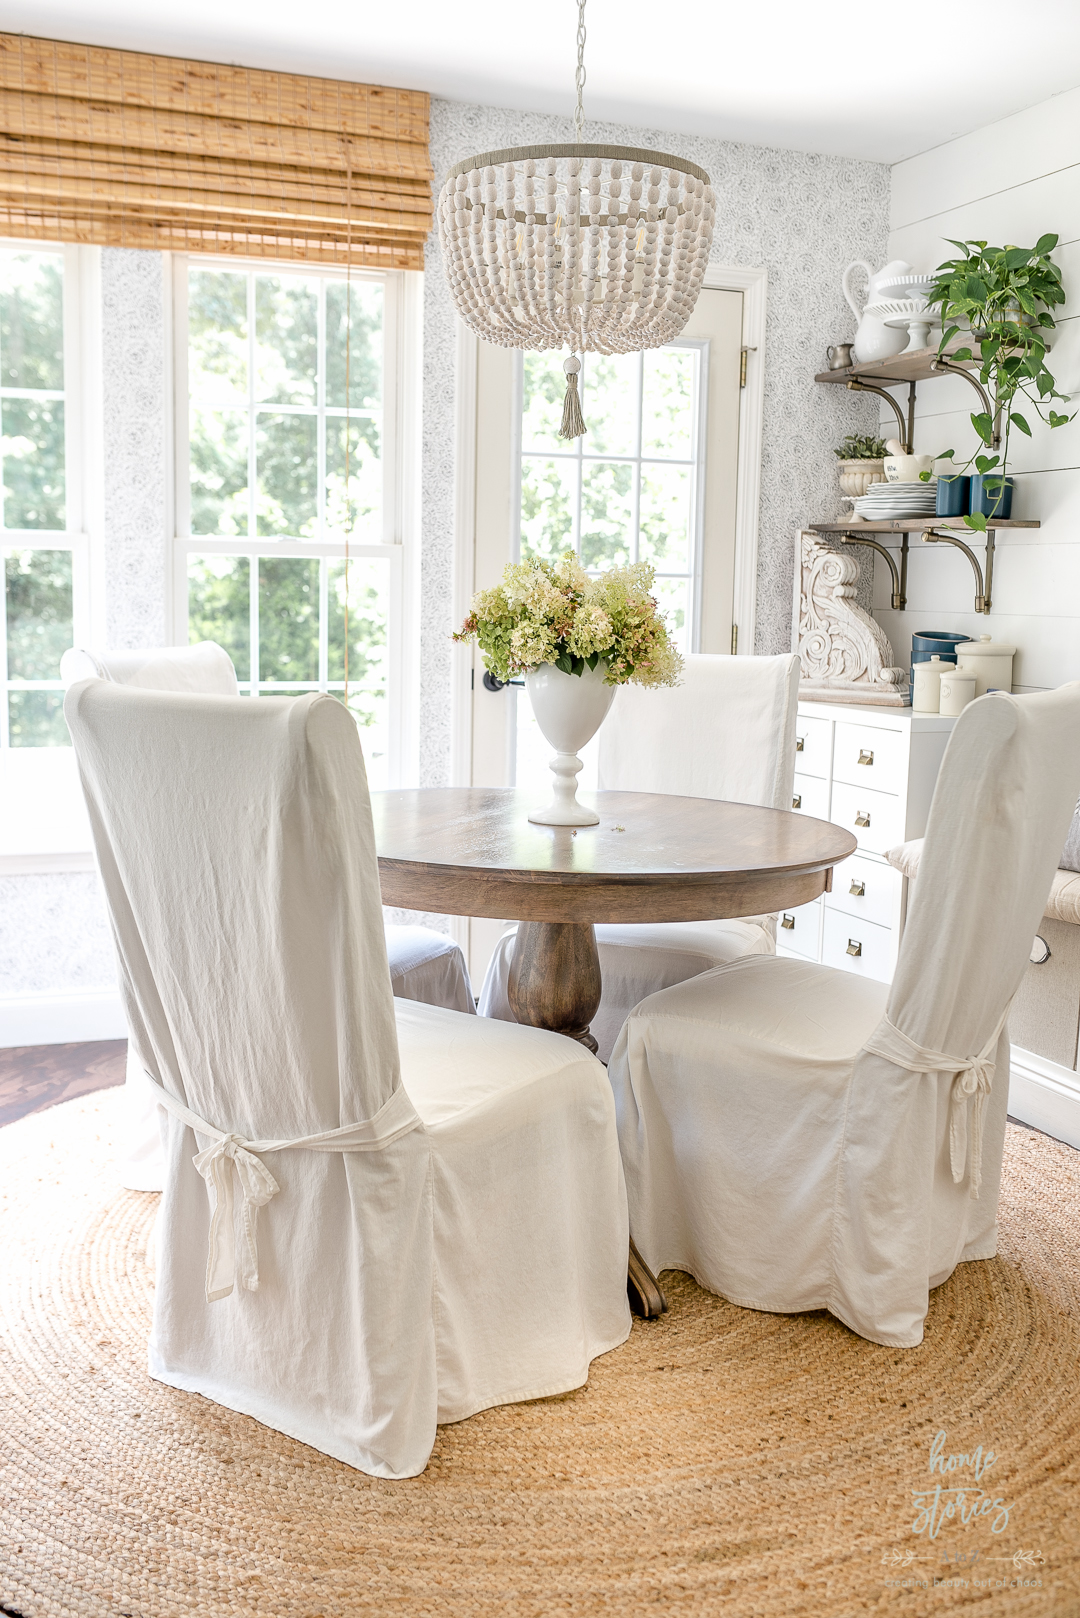
Here is what the completed room currently looks like!
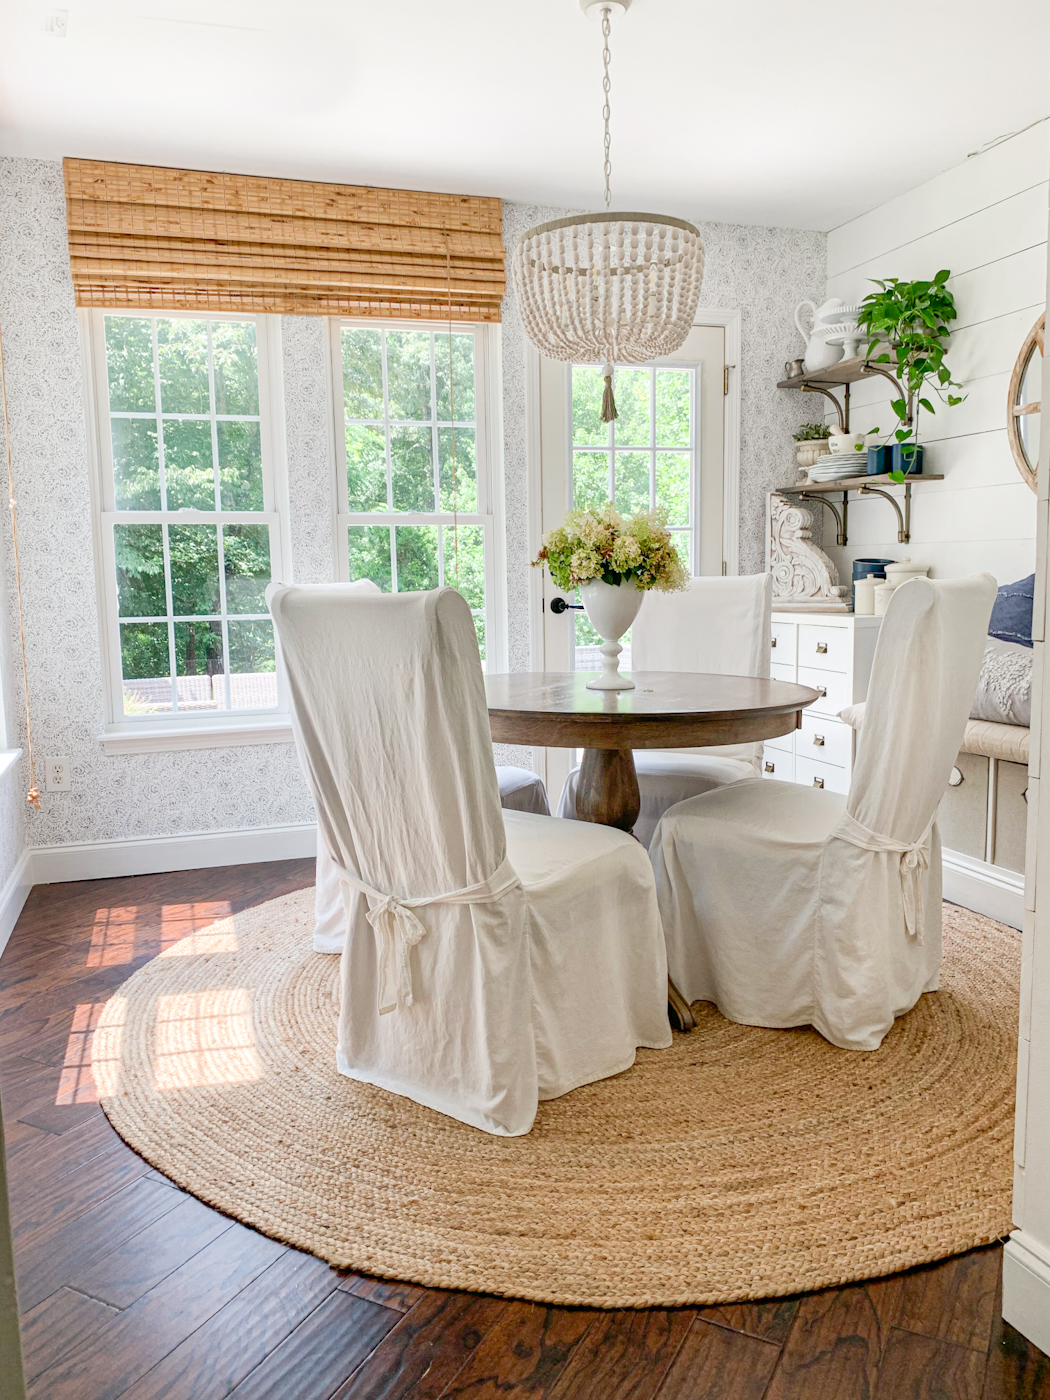
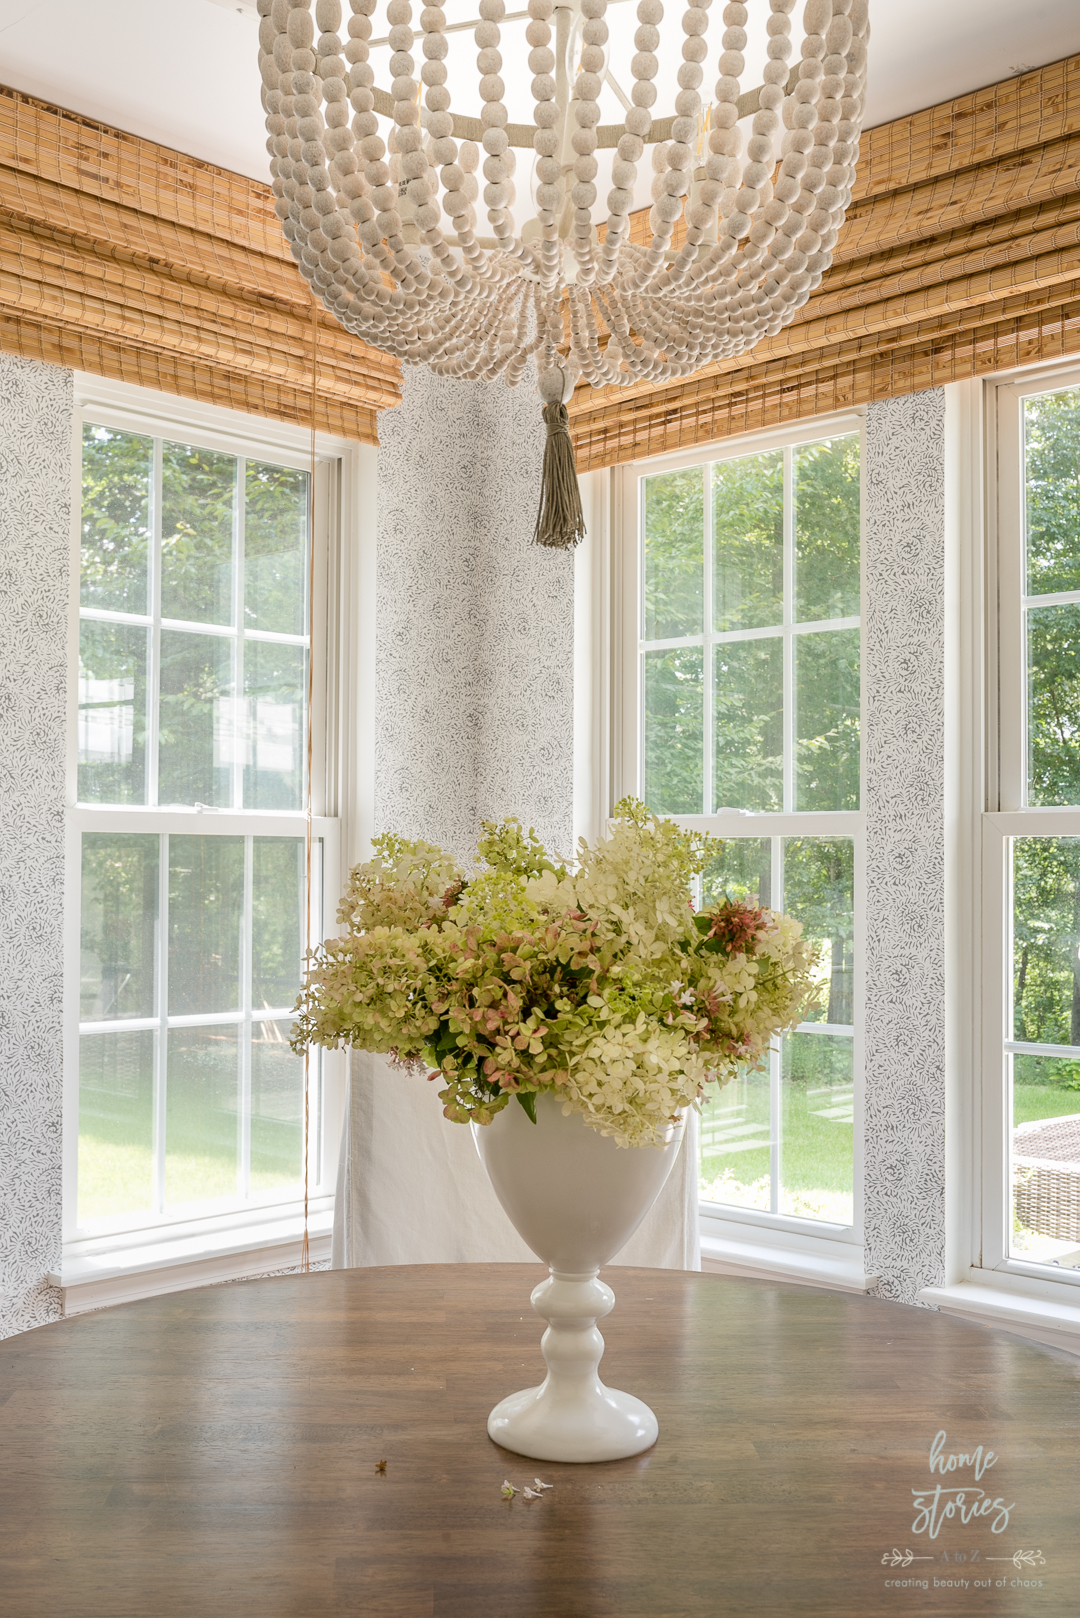
I love the subtle yet noticeable change the wallpaper has brought to this space!
Pros and Cons of Painter’s Tape Wallpaper Hanging Hack
Okay, let’s dive into the pros and cons of this painter’s tape wallpaper hack. If you’re really wanting a way to adhere paste-the-wall, or prepasted paper without the hassle and mess of wallpaper paste, then this method is worth considering. It’s time consuming, labor intensive up front, and will cost you in tape, but when you need to remove the paper it will come off easily with little to no damage to your walls. Bottom line: Although I do think this is a useful method for those wanting a renter-friendly and non-wall-damaging solution to non-peel & stick wallpaper, I will NOT be using this method again.
Chances are good that if you’re using a wallpaper that isn’t peel & stick, then it’s an expensive wallpaper. In my opinion, this method doesn’t produce the quality results that you deserve for the cost of your high-end wallpaper. The wallpaper is just too expensive to go through all of this work and not have a 100% perfect adherence to the wall. From a distance and in photos my wallpaper looks good, but up close you can see the bubbling. Since I change my mind in decorating a lot, I’m okay with the imperfections for now, knowing that in a few years I’ll tire of it and crave a different look. But it was a lot of work for a sub-par application. What do you think? Would you try this?

