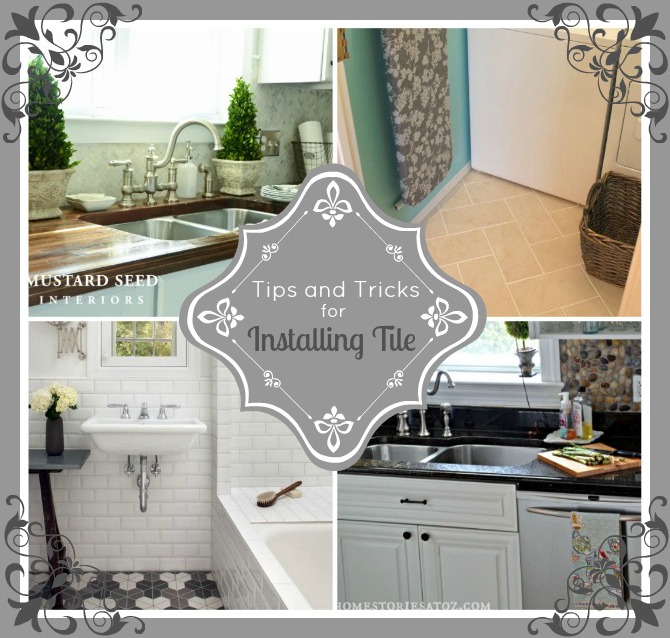
Learning how to install tile properly opens up a myriad of money-saving opportunities for the ambitious DIY’er. If you are thinking about taking a sledge hammer to that avocado green tile in your guest-bath, this post is for you! Today we will explore five tips that every beginner needs to consider when tackling a tile installation.
1. PURCHASE AND PLAY WITH YOUR TILES
When purchasing your tile, make sure the boxes have the same lot number. This will better ensure that the coloring on all tiles is uniform. Another great tip is to pull your tile from different boxes while tiling so that any slight color variations will not be noticeable. It’s also a great idea to map out your tile placement before you begin. You can lay your tile in a brick or square pattern, or on the diagonal. The pattern of tile is a matter of choice and preference but a brick pattern is often found easiest. Use a level, chalk line, and t-square to map out your project. Your goal is to use as many whole tiles as possible and to avoid needing any sliver cuts of tile to fill in gaps. Play with your tiles and have fun figuring out how you’d like your end project to look.
PLEASE CLICK HERE TO READ MORE TILING TIPS…


Great tips! We learned these from errors we made tiling our home. Our worst error? Not making sure our floors were level everywhere! What a headache to fix!
I did the kitchen tiling in my old house, my mom had bought the cheapest ceramic tiles (I think they were 59 cents each) and I tiled it with the compound you had to add water to. Then I grouted them all. Before tiling I nailed a “million” nails every 6 inches into the floorboards as recommended.
5 years later, the grout was chipped and mostly gone, 50 % of the tiles were broken or split and could be picked up easily.
So… Before we sold the house, we had professionals do the job, and had $4.00 tiles, and the floorboards had to be replaced because they were rotten. What a beautiful job and we know that they will last more than 5 years for the new owner!