
Amazing tips to store all your stuff! We all need organizing ideas!
This is an older post of mine that I’d love to share with you again! Some of you may remember that we moved a few years back, and no longer have a basement. These tips worked wonders in our previous home, and I know you’ll love them!
January is a time for reflection, goal setting, organizing and change. Many of us vow to become healthier and get our lives together. My goal is to simplify and declutter our home. As a home/DIY blogger, I have accumulated a lot of home accessories, craft projects, curb-side finds, artwork, dishes, paint, tools, you-name-it. Many days, I feel like we are just drowning in STUFF. Stuff that we really do not need. When I can’t handle the mess in a room any longer, my usual routine is to collect the offending items, march them all down to the basement, and hope for the best. This little “system” of mine has caught up with me over the years and it’s time to do something major about it. And while I’m not the greatest at forcing everyone in my family to keep things organized, I actually am pretty good at organizing spaces! Here are some tips to store your stuff that will help us all wrangle our mess!
1. Plan Your Space
Even if your basement/attic/garage is currently filled to the rafters with junk, you need to space plan. Our basement extends the entire length of our home including the front porch and back porch area. It is a long, expansive space and we really need it to work as a: workshop, weight room, kids’ exercise area, and of course storage space. When planning your space, take into consideration the height of your ceilings, room obstacles such as heating and cooling ducts, and any moisture issues.
2. Purge and Clean
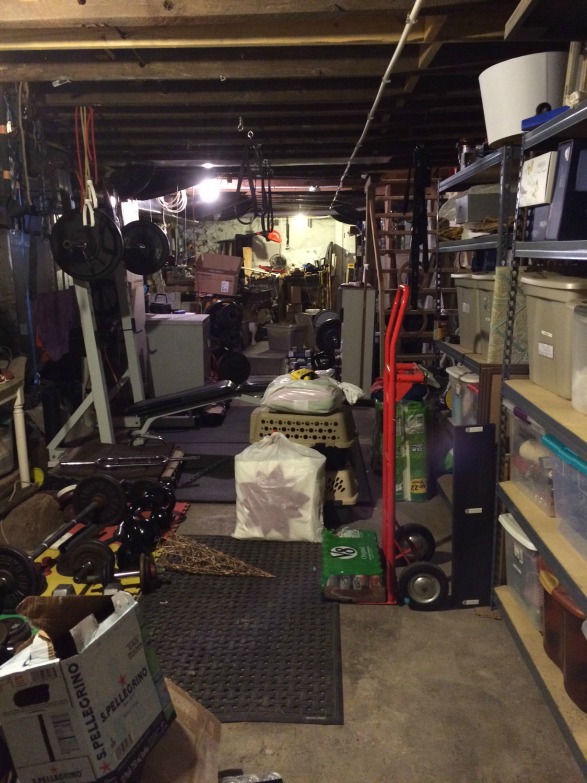
This is the overwhelming part that can paralyze you from getting the job done. The picture below is only a portion of my basement and as you can see it…ahem…needs some work. If I try to tackle the entire space at once, I’ll most likely end up wandering in circles and winding up back upstairs to escape it all. Instead, it’s a good idea to pick one small section of the room and begin sorting the mess into three piles: keep, donate, and trash. If getting your donations into your car and dropping them off is a challenge for you, check to see if any of your local charities have a pick-up service. We have a service here called GreenDrop that will come to my home and collect the items. Remember that Restore for Habitat for Humanity is a great place to donate your extra paint, remodeling materials, appliances, light fixtures and furniture items. Some Restore’s also provide pick-up service for large items.
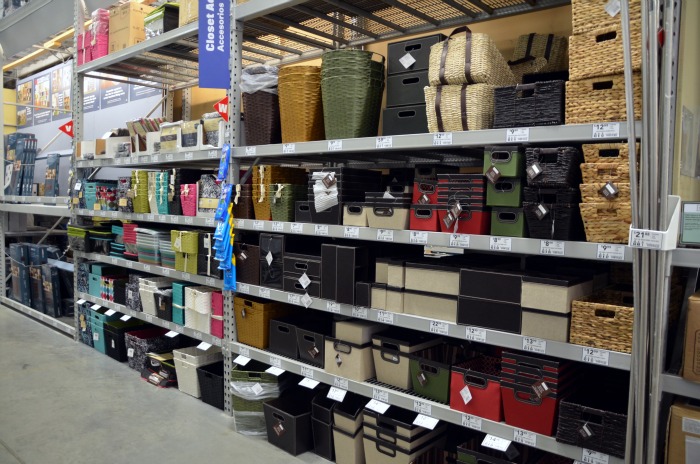
3. Get it Off the Floor and Into Bins
For some reason, spending money on basement storage solutions has always been a struggle for me. But after an entire plastic shelving unit filled with paint came crashing to the floor, I realized that we needed to either build or buy proper storage shelving for our space. We considered building custom shelving around the entire perimeter of our basement. However after pricing out the materials for our project, we instead decided it would be just as cost effective to buy these shelving units from Lowe’s. As I type this, these shelves are marked down by 25%. Prices vary by location but at my store the WORKPRO 72-in H x 48-in W x 24-in D 5-Tier Steel Freestanding Shelving Unit is on sale for $59.98. We need at least three more of these shelves and I hope to pick them up while they are still on sale!
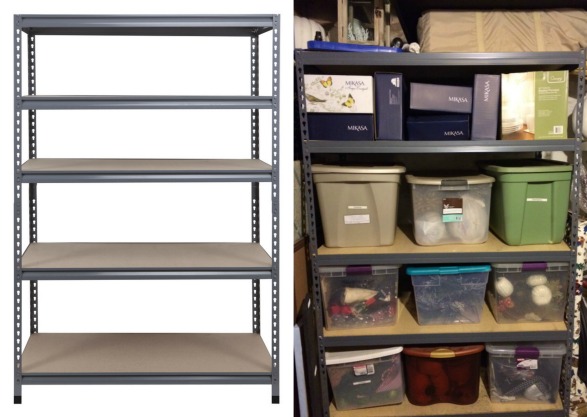
I can fit 9 storage bins on each shelf with room for other items on the top two shelves.
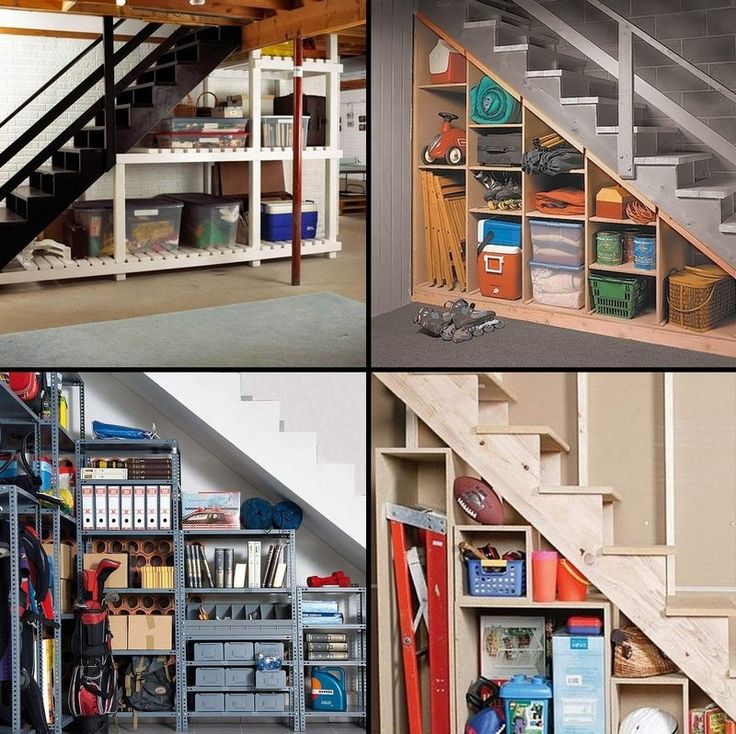
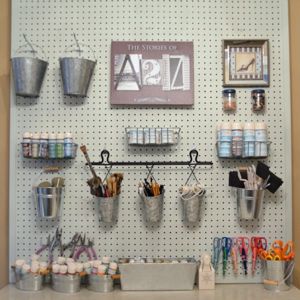
4. Use Creative Space Solutions
Two underutilized storage areas in a basement are underneath the staircase and in the ceilings. Whether you build custom shelving, or buy pre-made storage, you can take advantage of these areas and maximize your storage space.
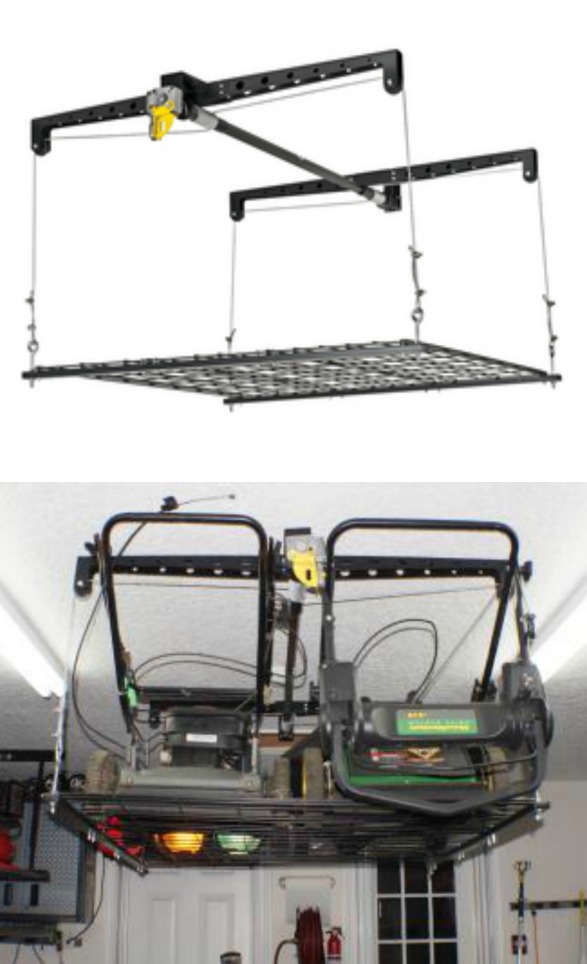
For the ceiling, you can create a flange system for storage containers by creating tracks using 2×4’s and 2×2’s. Here is a good tutorial for a flange system. For heavier items, this Racor Ceiling Storage Lift at Lowe’s is a wonderful option.
5. Keep Bins Organized
It’s not enough to just have items in bins and stored on shelves. If your bins aren’t organized, you will be right back where you started from as family members sift through bins trying to find what they are looking for. As I was packing Christmas away this year, I made sure to place all the silver ornaments together in one bin, all the gold ornaments in another, etc. Just labeling bins “Christmas” for me is a nightmare. Are there lights inside this bin? Where are my mercury glass ornaments? Where is the bin with the disco ball ornaments? This leads us to one of the most important tips!
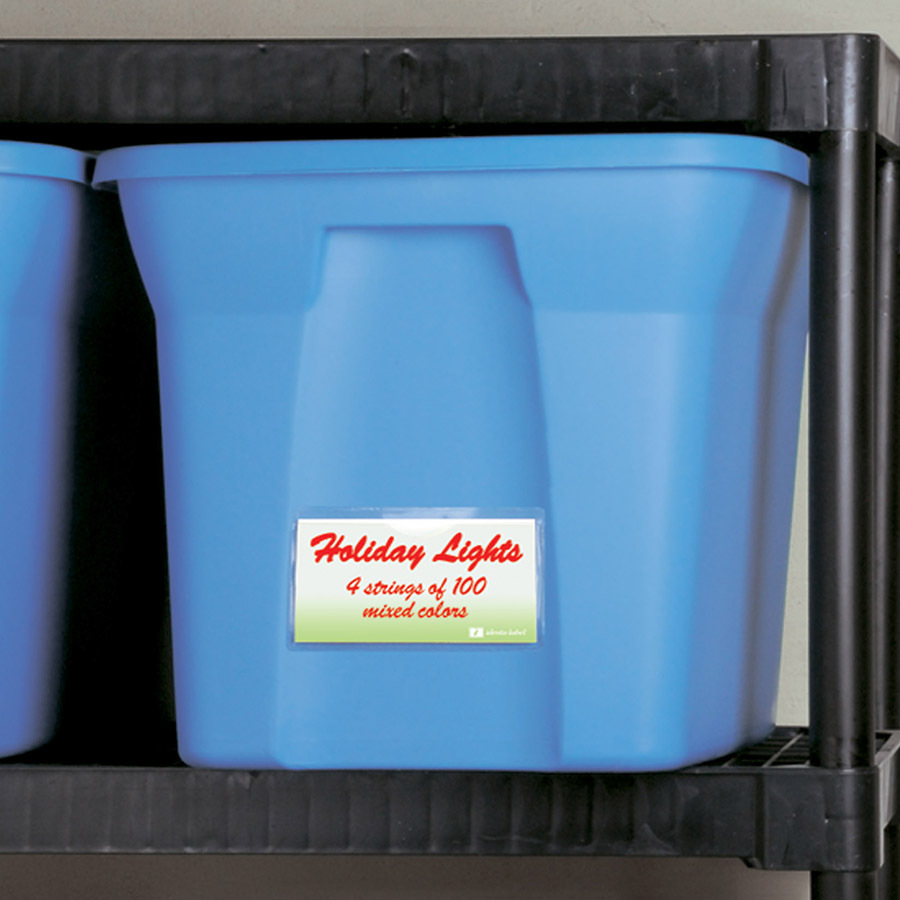
6. Label it and Make it Visible
You must clearly label all of your bins in order to be able to access your items when you need them. If your bins are made of clear plastic and filled with all the same item, you might not need a label. However, I like to label everything as specifically as possible. I use these labels which I found in the organizing section at Lowe’s, Identa-Label 4-in x 2.25-in Plastic Multi-Use Insert Drawer Organizer. You can replace the insert when you change the contents of your bin. Another great idea is to take a picture of the bin contents before you close it up, print out the picture, and tape it to the front of the bin. This way, you know at a glance exactly what the bin contains and do not need to take it off the shelf and rifle through it to find your beloved mercury glass ornaments.
For more creative storage solutions, be sure to check out Lowe’s Creative Ideas page and download the Lowe’s Creative Ideas app for your iphone and/or ipad. You can also find seasonal + do-it-yourself inspiration on Lowe’s Facebook, Pinterest, and Instagram as well.

Disclosure: I am part of the Lowe’s Creative Ideas Network and was provided with a Lowe’s gift card to purchase items for my project. All opinions are 100% my own.


I have a lot of work to do in this area, so I am glad I happened upon this post this morning! Love the creative use of space! Pinned for later!
Thanks for the pin Michelle! Happy organizing!