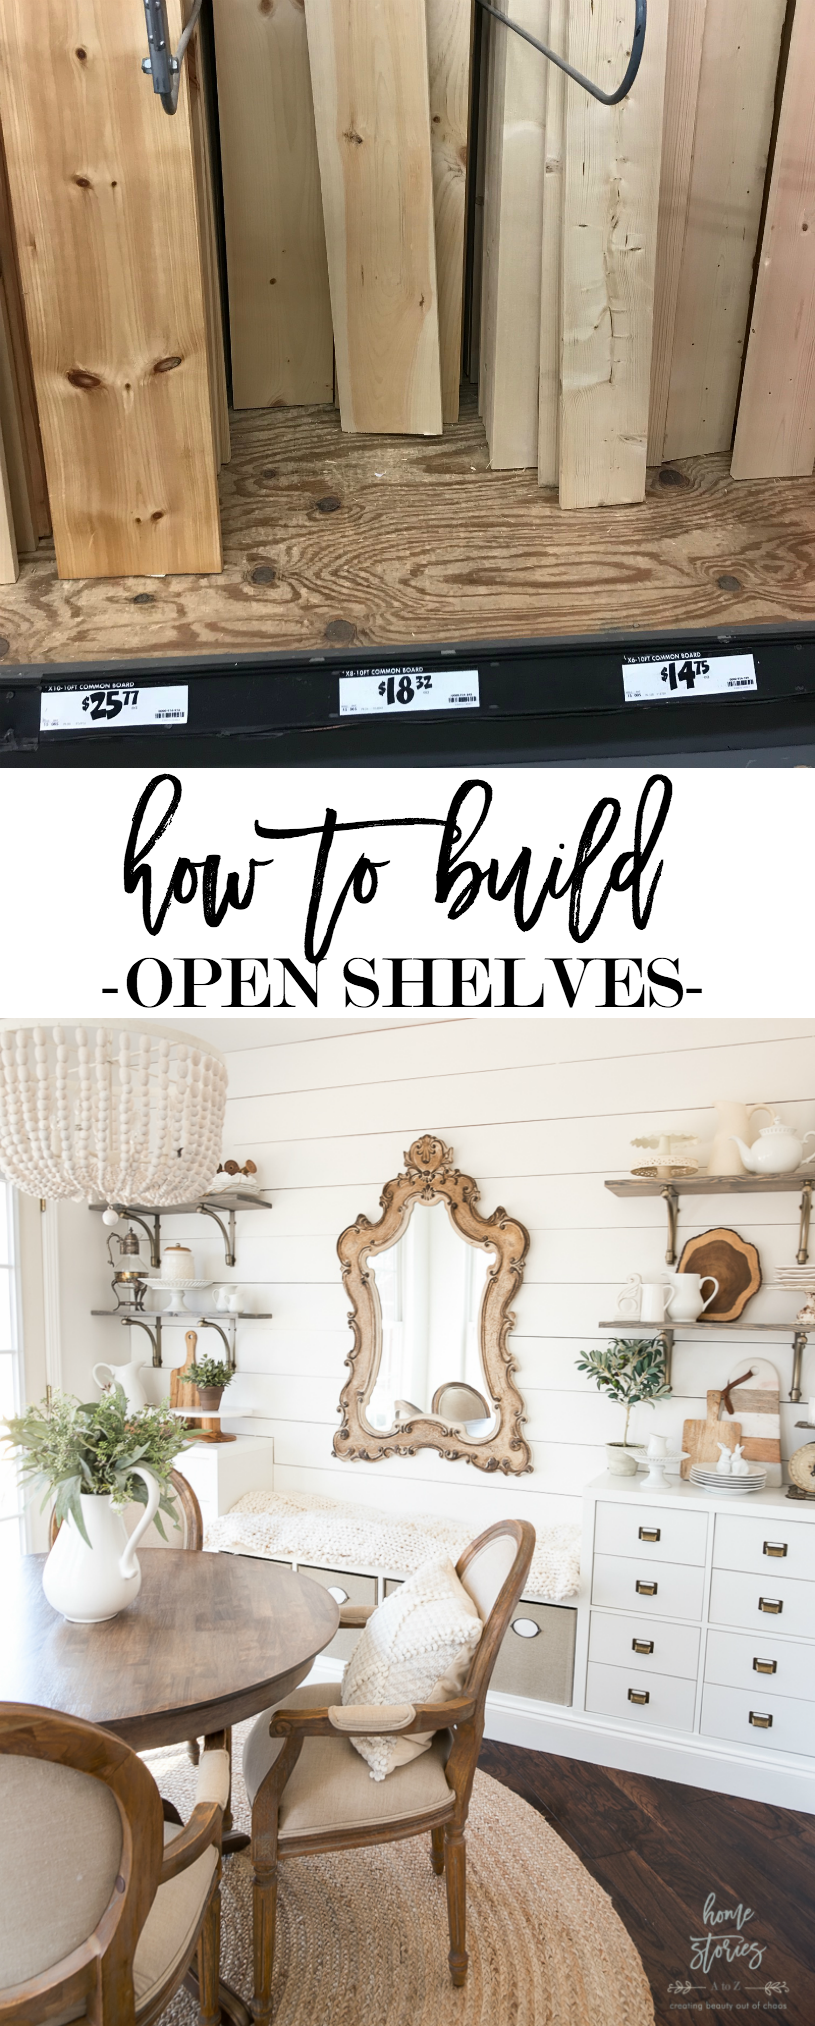
Step-by-step tutorial on how to build open shelves using just one board and some brackets! Also some helpful tips on how to flawlessly install level shelf brackets. If you own a drill and level, then you can do this project no matter what your DIY skill-level.
How to Build Open Shelves the Easy Way
Supplies Needed:
- Wood board
- Paint or stain
- Shelf brackets
- Drill and bits. This is my favorite drill here
.
- Level
- Tape Measure
- Wrapping paper
- Scissors
- Painter’s tape
Step 1 How to Build Open Shelves: Determine the desired length of your shelves and purchase your wood.
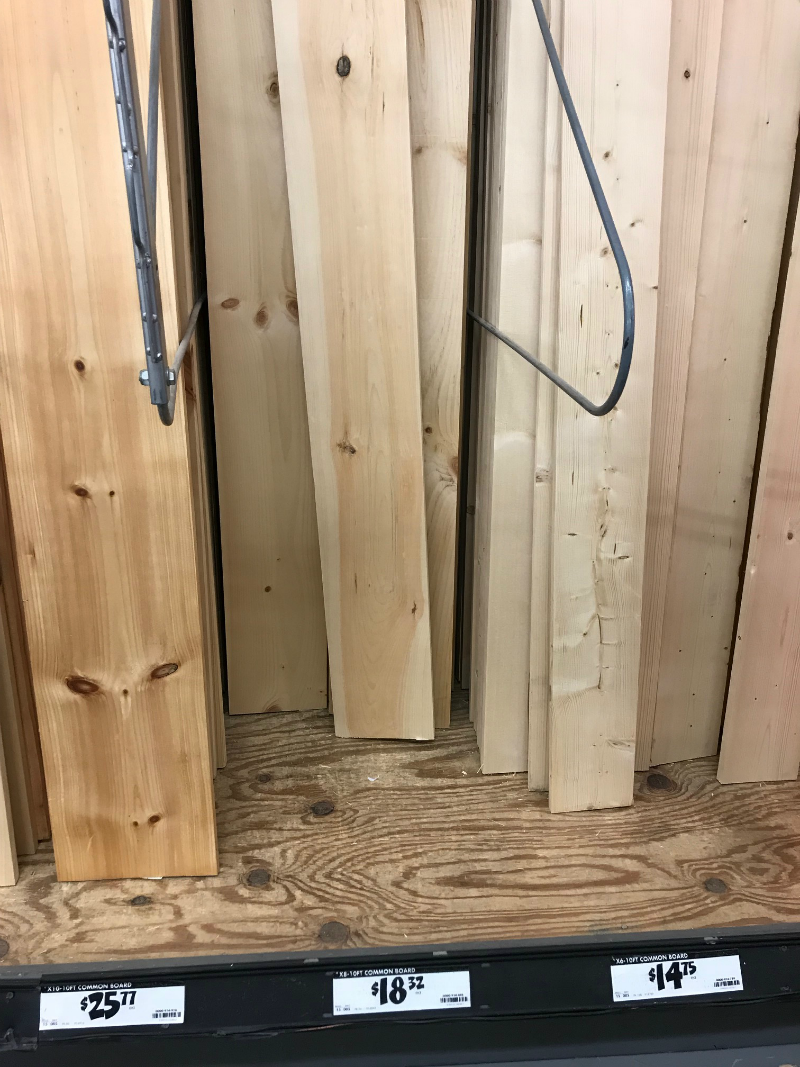
The cabinets underneath my open shelves were 30 inches, so I wanted my shelves to be 30 inches each. Actually, because we installed shiplap over the shelves on the right, they were technically 29 1/2 inches long. I bought one 1x10x10 board at Lowe’s for $25.77, and I had them cut the board in-store to the exact dimensions I needed. (For those of you who hate math as much as I do, one 10 foot board is 120 inches long which allows you to acquire four 30 inch shelves from one board.)
TIP: Have your home improvement store cut your board/s to size in-store.
Let’s talk for a moment about having your wood cut in-store. I know from years and years of reader’s comments from a myriad of project tutorials involving cut wood that various stores have various policies about cutting wood. Lowe’s and Home Depot will cut your wood for you, but they really are there to provide cuts that will help you get the wood home. They aren’t really there to do the project for you. Many times they will give you a certain number of cuts for free and then charge you for additional cuts. Sometimes they will refuse to cut something. HOWEVER, I have never had any of these scenarios happen and I’ve gone to different stores in three different states. If you go to the store during non-peak hours, ask very nicely, and are patient and grateful for their efforts, then I guarantee you will have more success in getting your wood cut to your requested specifications. If all else fails, you can certainly cut your own wood at home but I try to avoid this step whenever possible.
Step 2 How to Build Open Shelves: Choose your brackets and make sure they are square.
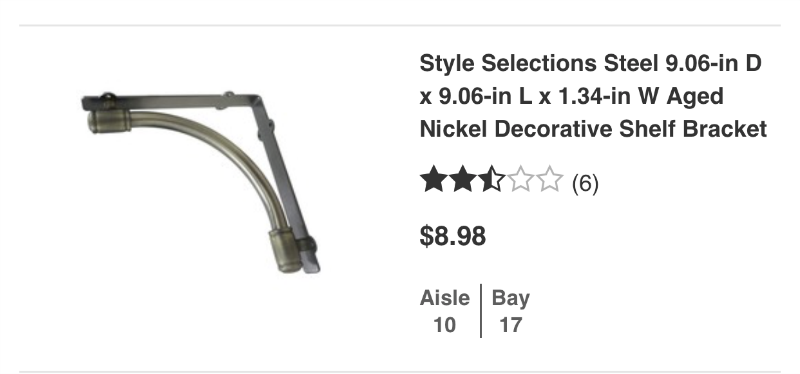
I loved these brackets at Lowe’s but the reviews on them were poor which gave me pause in using them for my open shelving. Many complained that the brackets are not square. I made sure each one was square at the store before purchasing and didn’t have any trouble upon install. Just a fair warning that if you choose to go with these brackets that many of them are not square.
Here are some other shelf brackets I really liked on Amazon:
Step 3 How to Build Open Shelves: Stain your shelves.
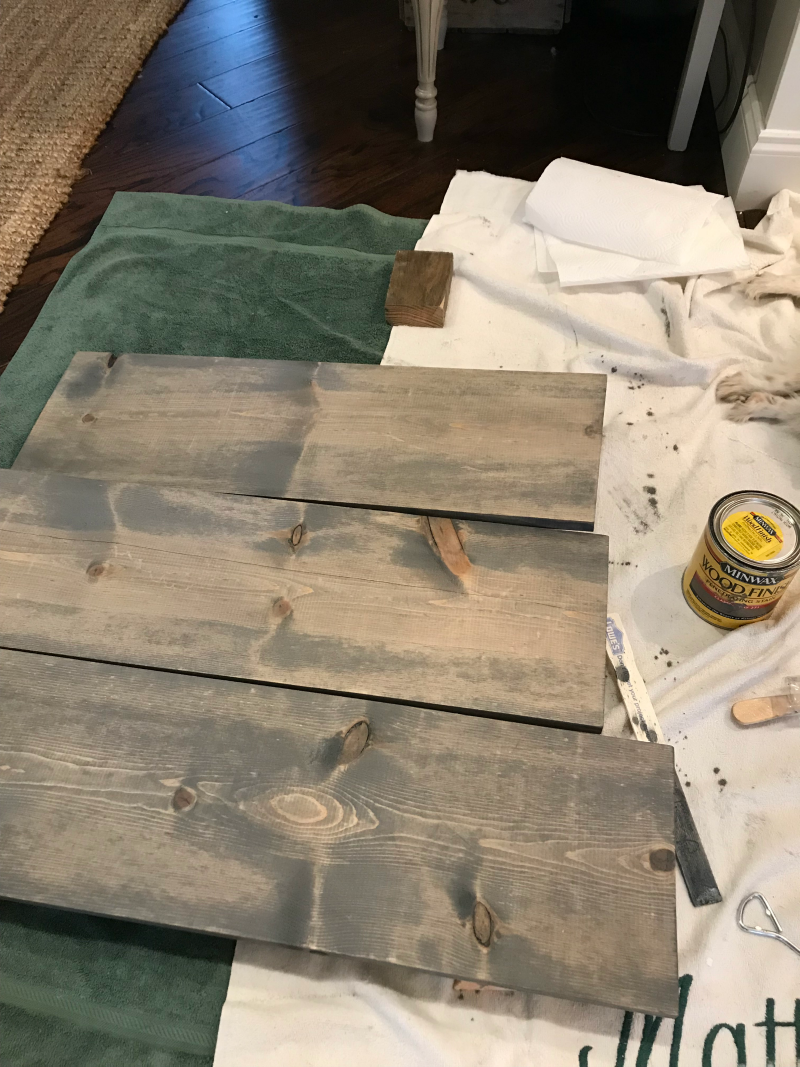
Place your wood shelves on painter’s pyramids 


Step 4 How to Build Open Shelves: Create a template for your brackets using the inside of marked wrapping paper.
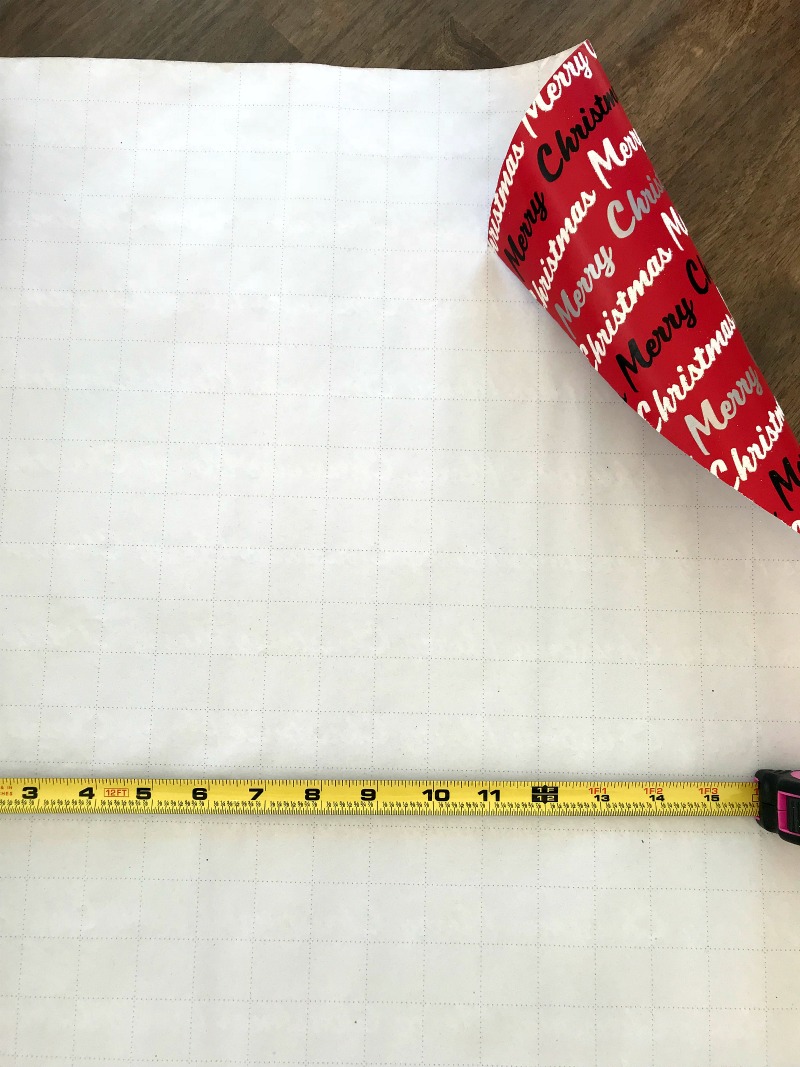
Here’s a little wrapping paper hack for you! I love to use the inside of marked wrapping paper to create templates. The markings are each one square inch making it easy to measure and create a template. I determined that I’d like my shelf brackets to line up with the drawer hardware so measured that distance and traced around each bracket accordingly.
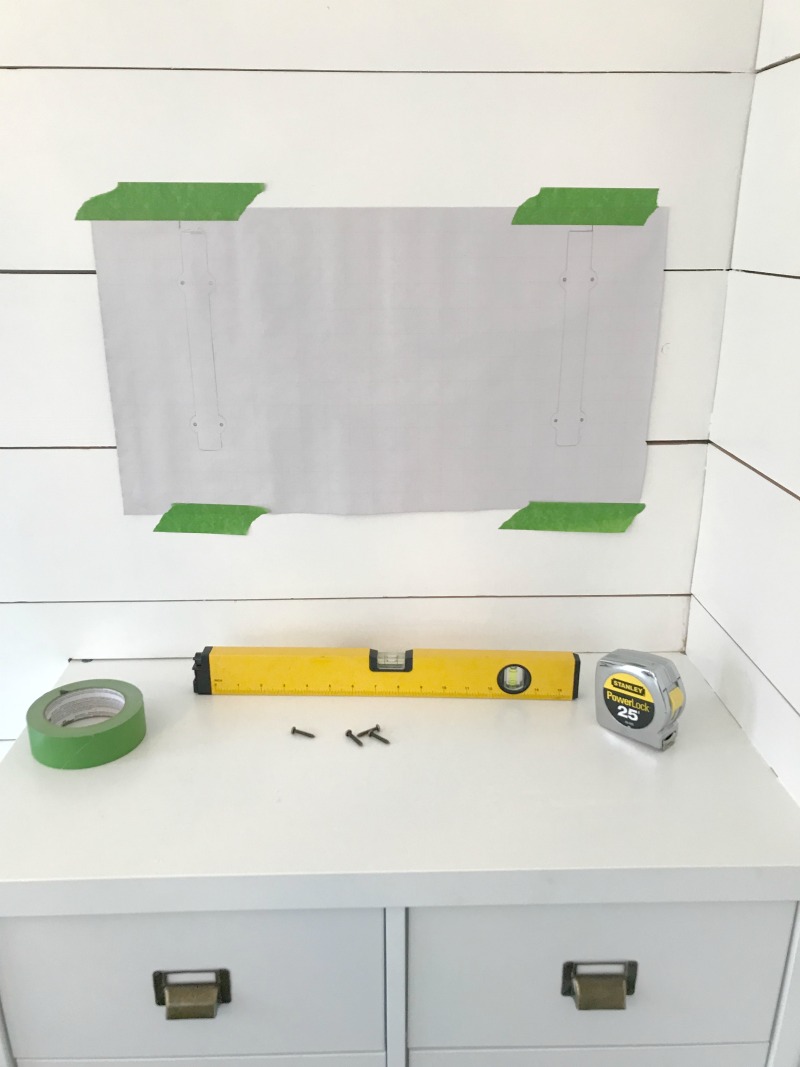
Once you have each brackets traced onto the paper, simply tape the template onto the wall at your desired height. Use this one template for all of your shelves.
Step 5 How to Build Open Shelves: Drill your holes and hang your brackets.
Using a drill fitted with an appropriately sized bit, drill through the paper on your template as indicated. If you’re not sure which size drill bit to use, here is a tip for you! Hold the hardware screw you will be using up to a set of drill bits and choose the bit that is one size smaller than the screw. You can also read the package instructions on your hardware, but I usually just use the “eyeball method” when choosing my bits. Screw in your brackets by hand or with your drill.
Step 6 How to Build Open Shelves: Place your wood boards on the brackets and secure in place with screws.
I didn’t bother pre-drilling any holes for these screws and simply used my drill to secure the shelves to the brackets with some small wood screws.
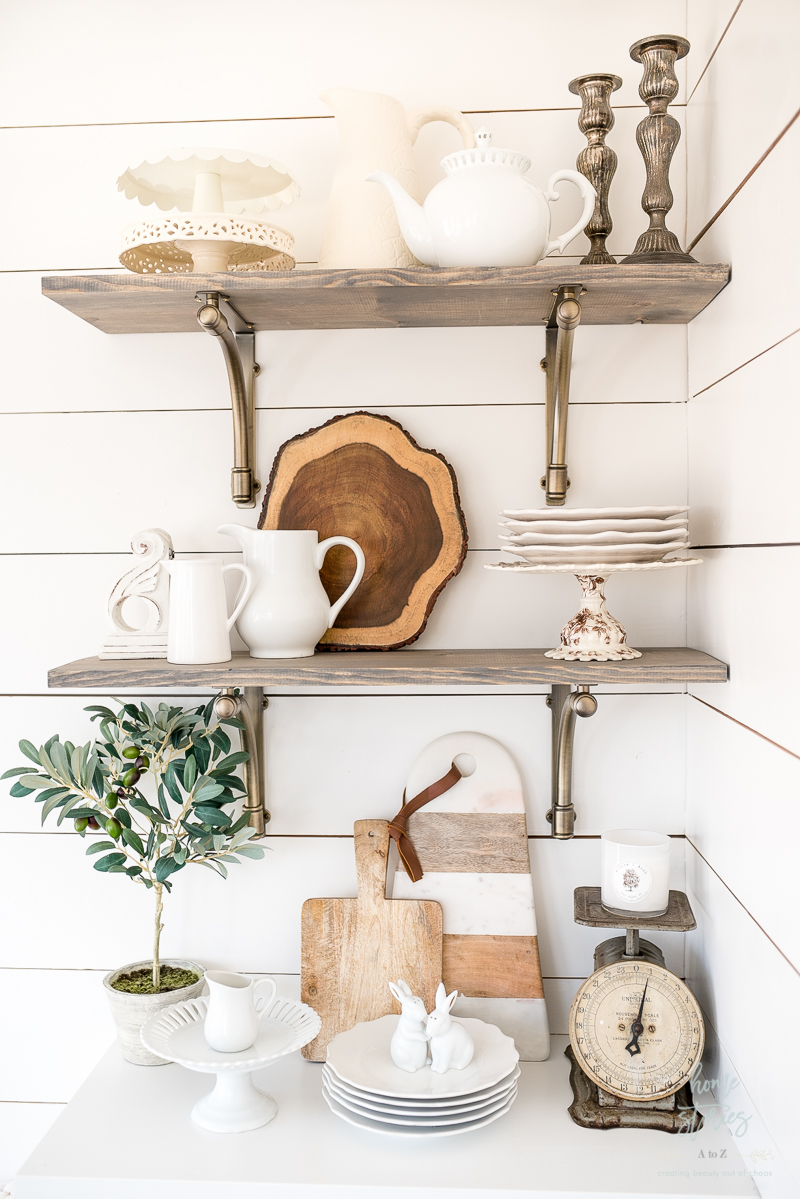
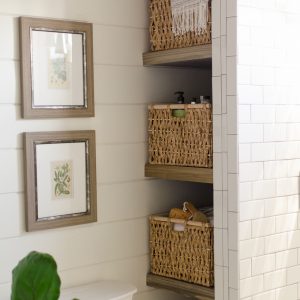
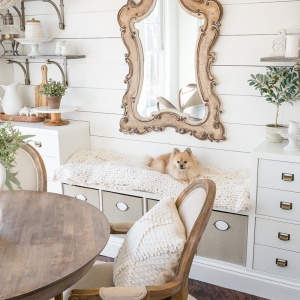
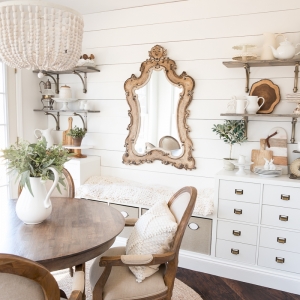
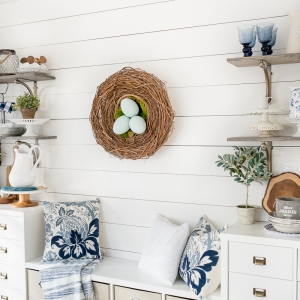
And that’s all there is to it! I created this cute open shelving for around $62 and just love the extra storage and character it’s added to our breakfast room. You can see the full reveal of the breakfast room and more on the clever cube storage hack I did by clicking here.

Feel free to pin this post for later! If you liked this post then you might also like
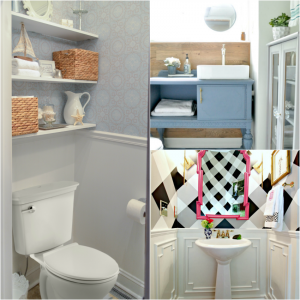
How to Build Bathroom Shelves Next to Shower
How to Install Semi-Floating Shelves {diy shelf}
How to Make a Pallet Shelf {diy shelf}
Letter A Bookshelf Tutorial {3M DIY Starts Here}
Winter Mantel and Shelf Decorating Ideas

These shelves are beautiful! Such great tips. I am going to install some shiplap in my kitchen, and I was thinking about doing some shelves like these. Your tutorial made it look so much easier. Thanks!
I’m so glad you found it helpful Erin! Thanks for stopping by.