
If you open any home magazine or catalog right now, you will see tons of great Spring flowering branches as accessories. I’m planning on stealing some clippings down the street (shhhh…) and forcing them in my windowsill soon! But until then, I thought I’d show you how you can make your own.

First, take some sticks from outside and break them to whatever lengths look good to you. Place some floral foam into your container and arrange the sticks in a natural looking “bouquet”.

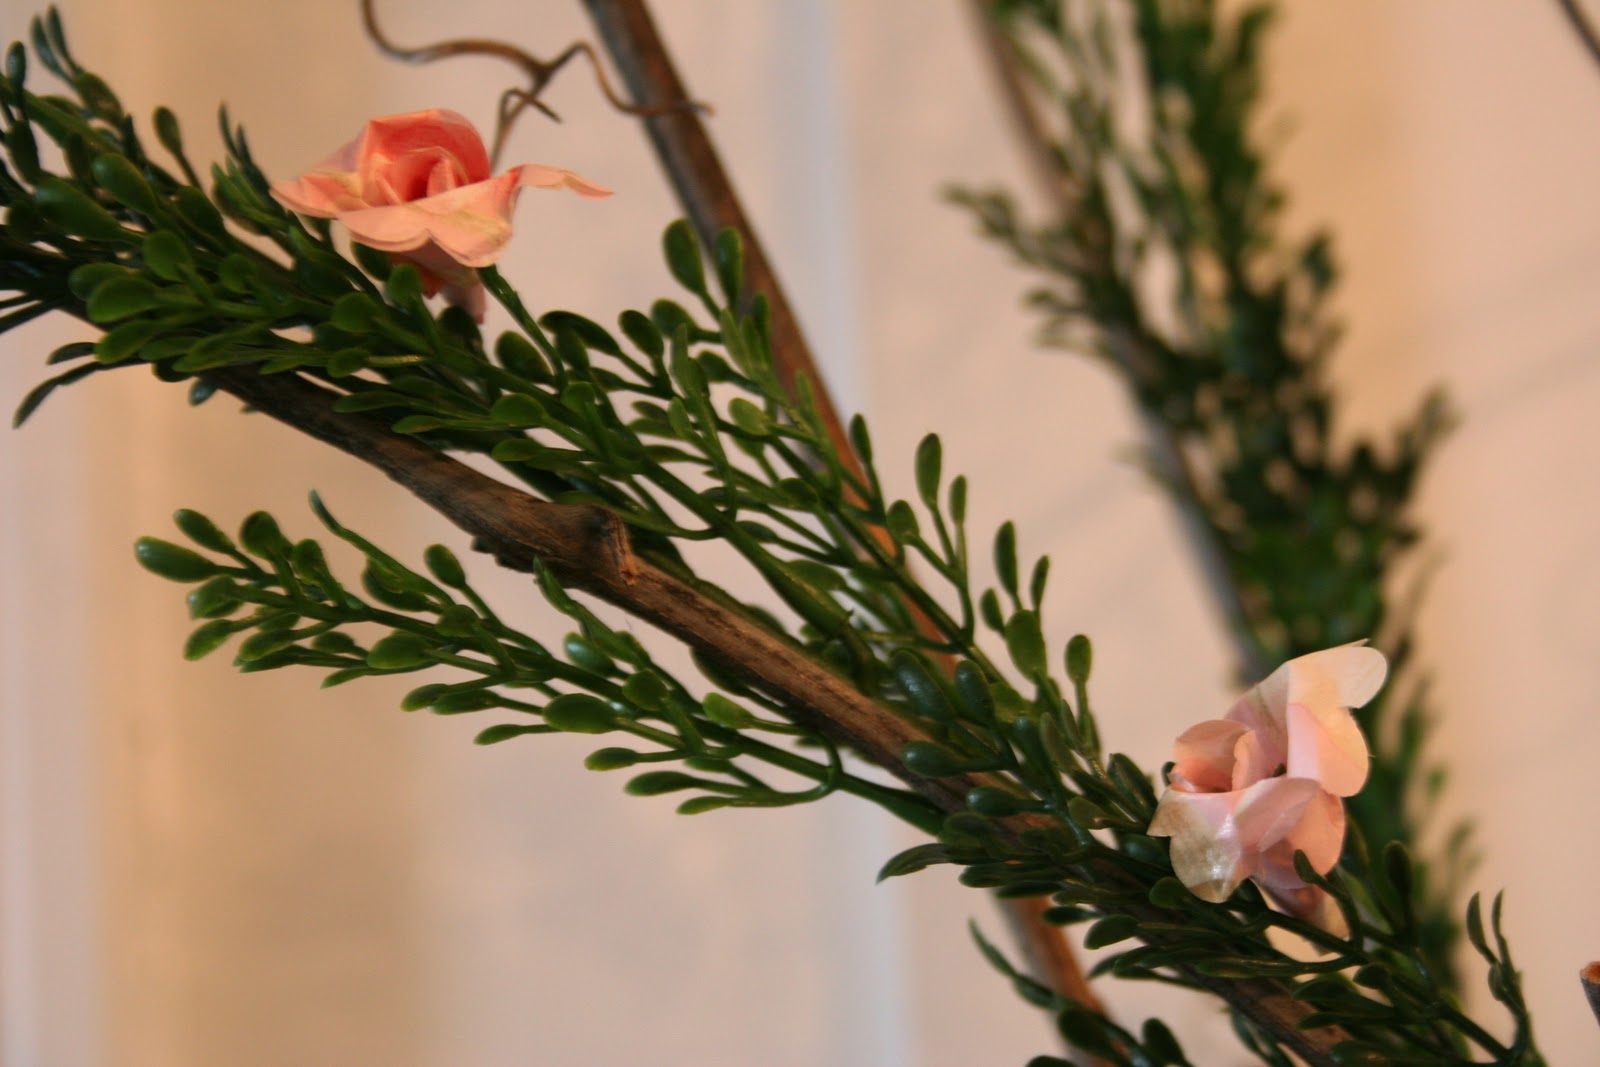
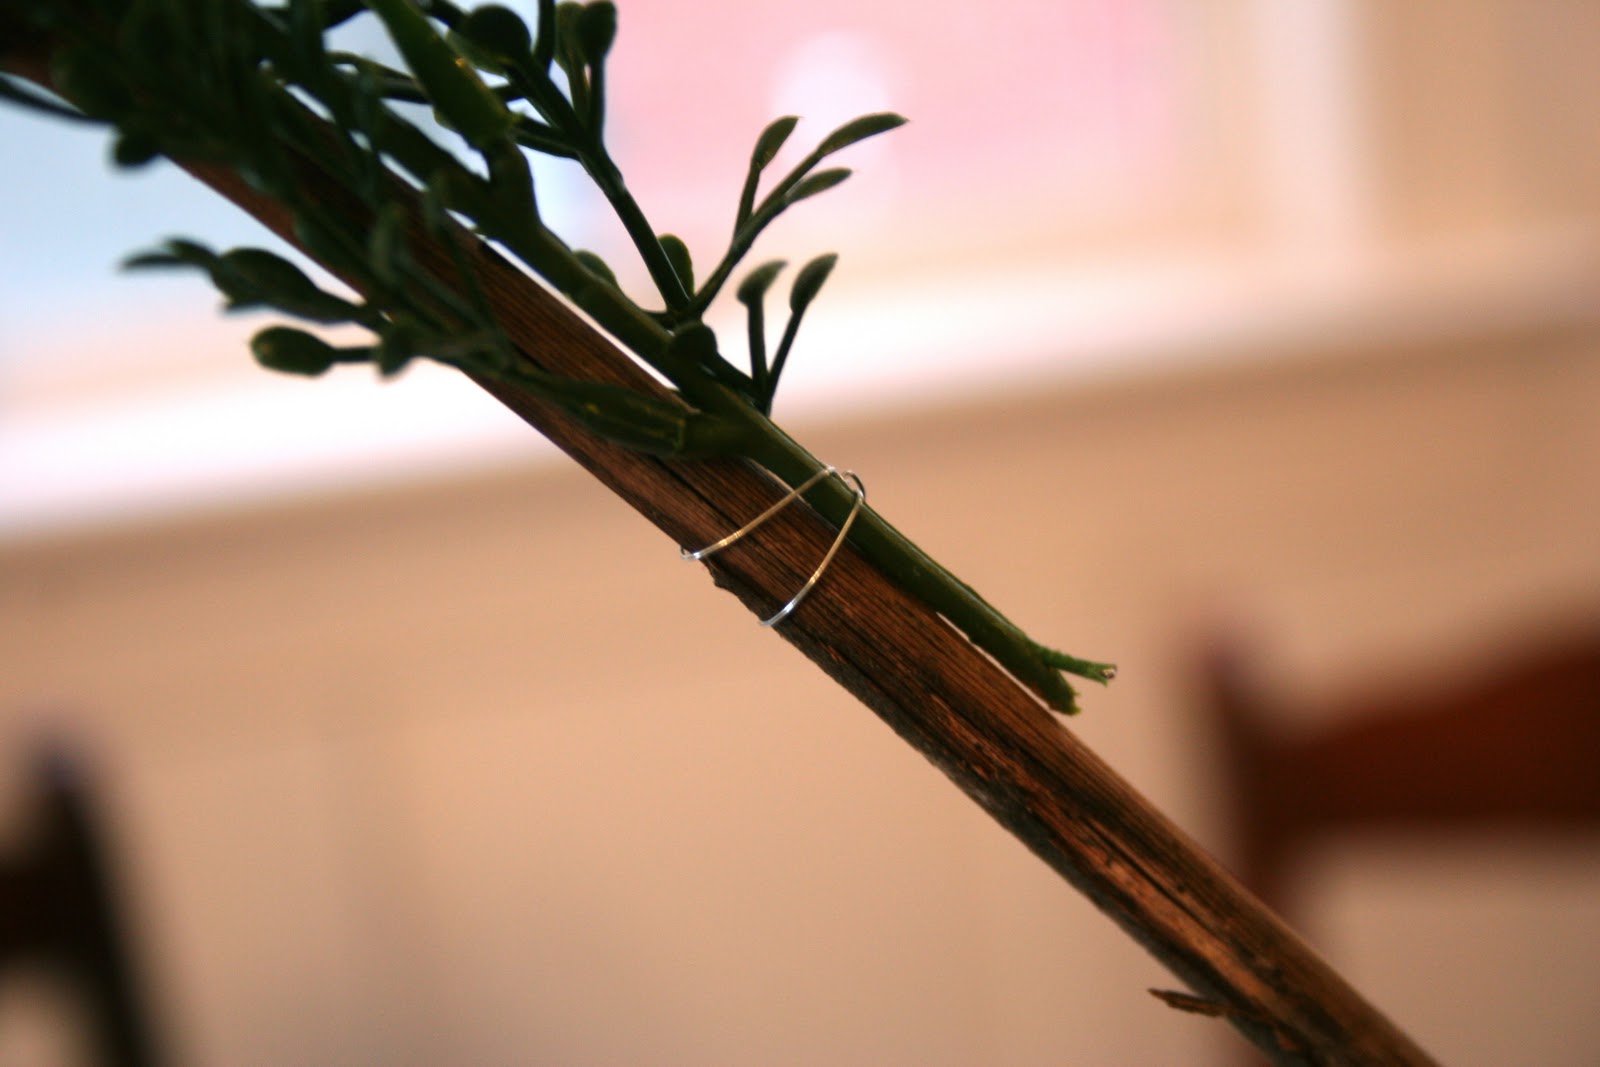
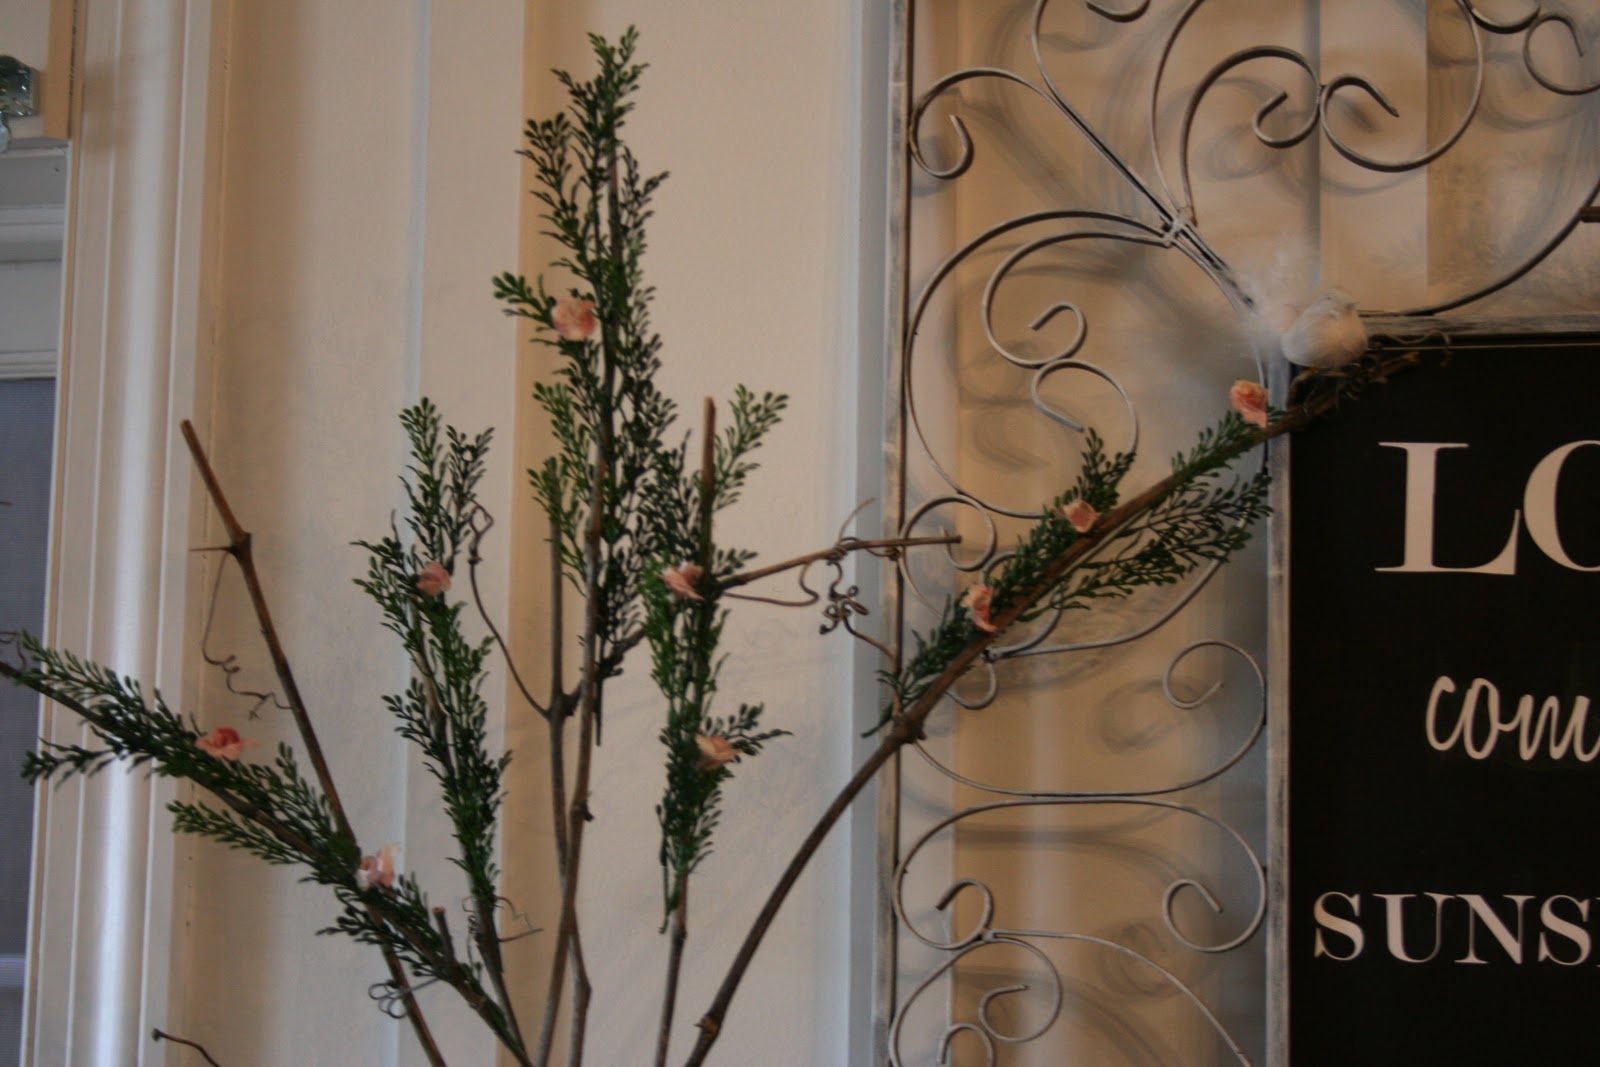
Next, use some greenery to leaf-up your branches. You don’t have to do this, but I think it looks prettier. I just used some sprigs I had on hand. Wire your sprigs to your branches using beading wire. (LOVE this stuff! I use it for everything. It’s like my own female version of duct tape.)
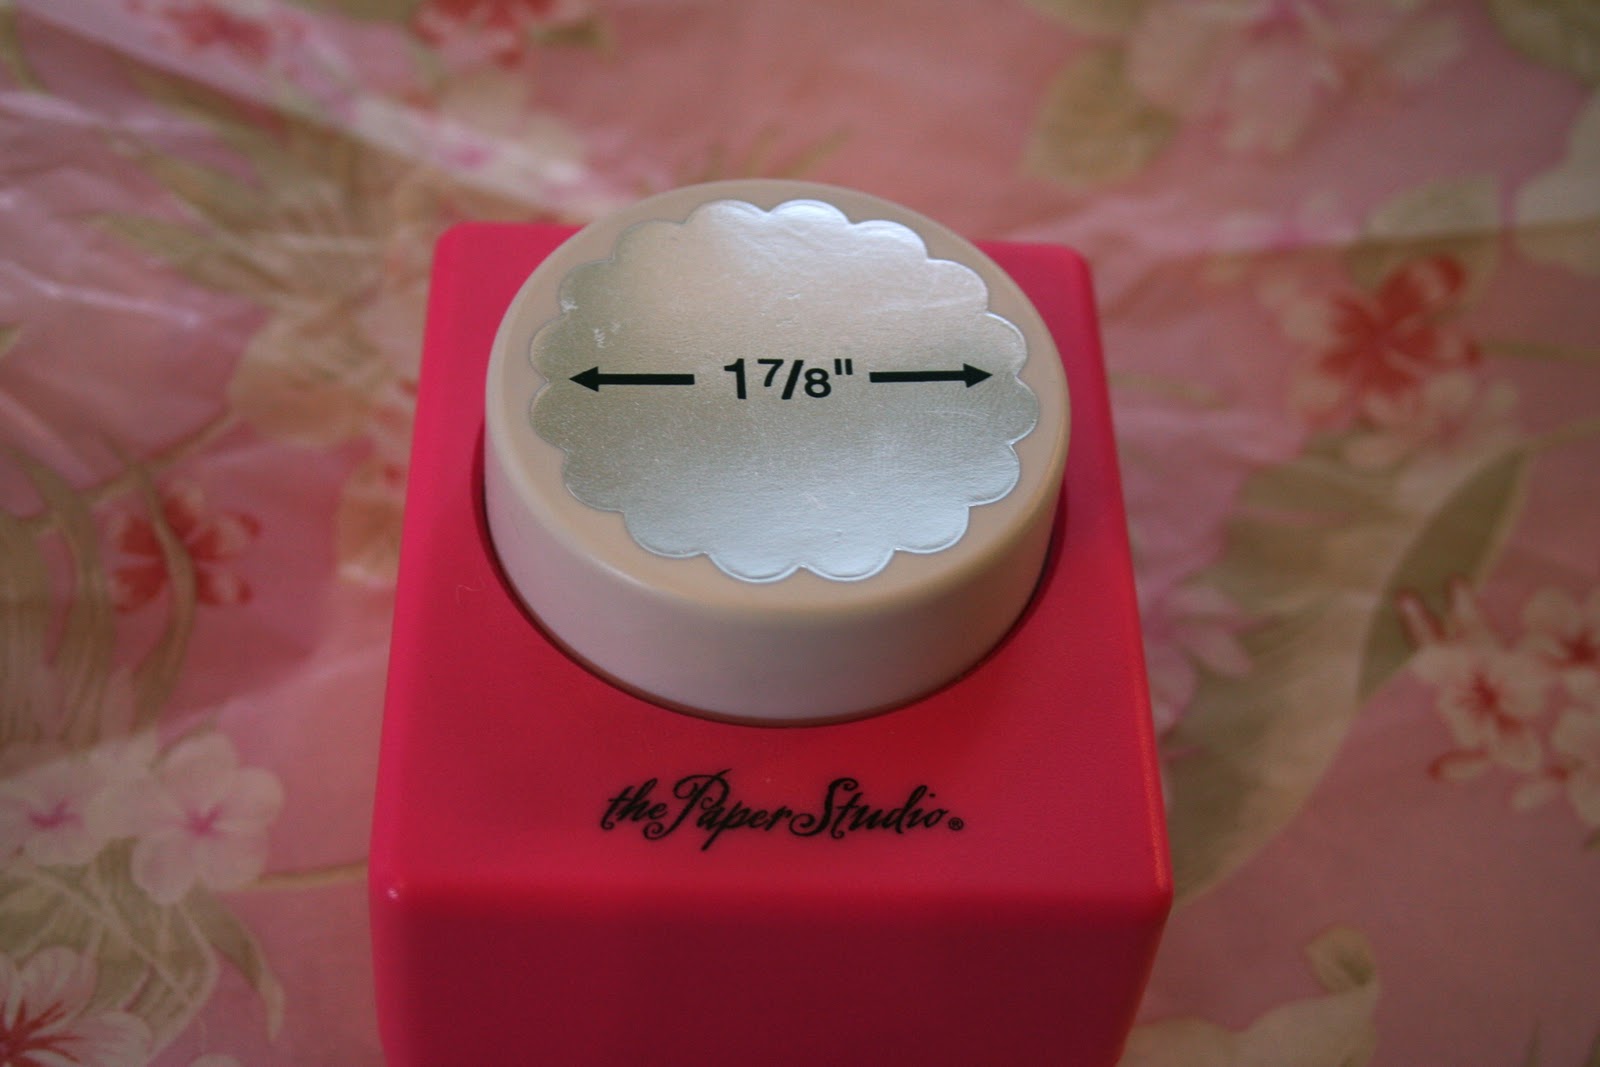
Now you are ready to make some cute flower buds. Use a scalloped edged hole punch, your silhouette, or some scalloped edged scissors to create circles. I used a piece of waxed tissue paper which is ideal for this project.
Create your circles.

Now, take two circles and follow the steps to create your flower.

Step 5 is really the most challenging to explain in a pic. You are wrapping the second circle around your first rolled up one. As you wrap, you want to fold the paper outward. Don’t panic if is rips a bit. It’s not a big deal and you won’t even notice. Keep twisting and folding outward until you have a cute bud. Twist the bottom of your paper to secure the two pieces together. Glue if you wish. (I was lazy and actually didn’t glue mine. Do as I say, not as I do? 🙂
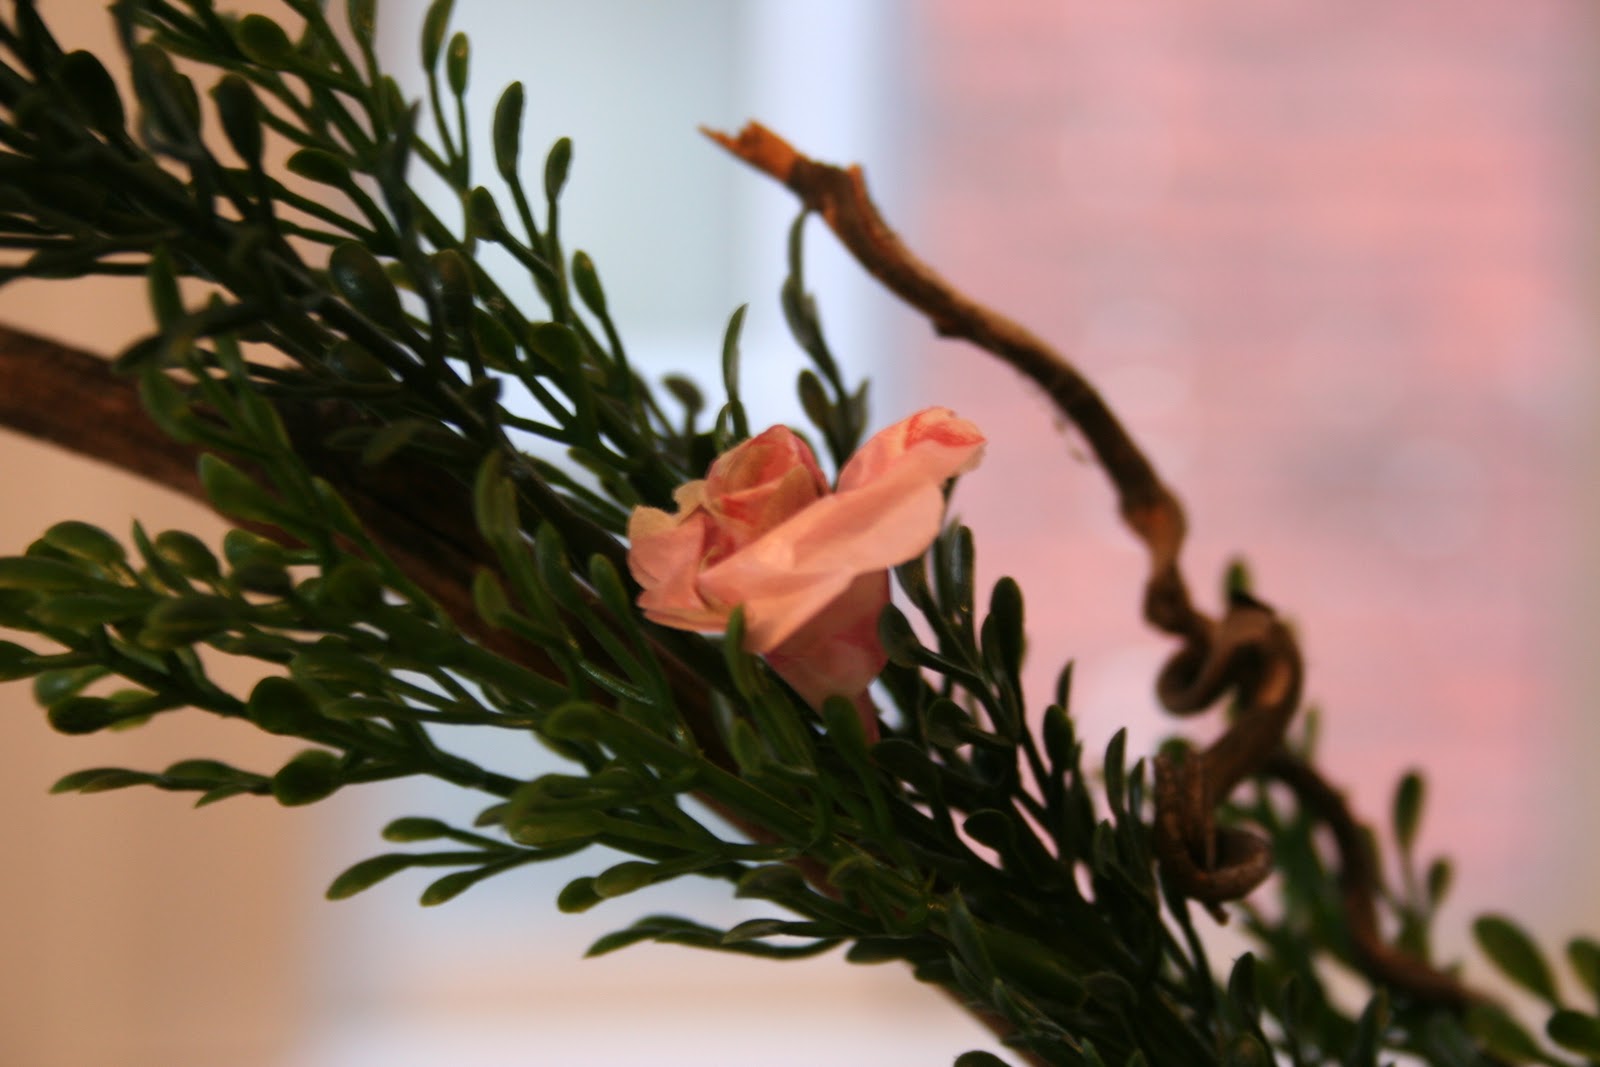
When your flowers are done, place them on your sprigs!
And because I’ve been bragging about my mantel on twitter all weekend, I’ll give you a sneak peek!

Don’t forget that the mantel linky goes up tomorrow! And here is some additional incentive for you to link up. Better Homes and Gardens online contacted me as well as several of YOU asking if they could use pictures from my Halloween mantel and from Layla’s Christmas mantel linky! You just never know who is watching so link up!

Linking up to:


Sweet and delicate looking!
Beth that is so adorable and what a wonderful way to bring some springtime in the house! 🙂
Adorable Beth. I love them with the added greenery. The folded petals are precious! Thanks so much for linking to the Sunday Showcase; I greatly appreciate it. Hope you had a wonderful weekend. I'll be featuring this today. ~ Stephanie Lynn
Oh how cute, Beth! Thanks for the instructions….Christine
They look so real! Thanks for sharing. I'll have to try this!
Oh how sweet… so, so pretty! What a great idea! 🙂
Wow…that's really pretty. I need to try this! My mantel needs a little something…and this would be perfect!
I can't wait to see the whole mantle, it looks so pretty!
How Cool!! I never have seen that done before…didn't know how easy it was.
Thanks for sharing!!
This is darling… and I was craning my neck to see the sign beside it… then I realized you can't crane your neck to see something not shown in a photo. Go figure. (giggle)
These are really beautiful! I can't wait to see your mantel! Thanks for the tutorial.
I had seen this type of idea a long time ago, but couldn't recall all of the steps. Thanx for the tutorial. I can't wait to find my paper now!
That is so pretty! Thanks for doing a tutorial – I'm so visual I needed to see that. My daughter is going to be so excited to do this with me…..I see these all over the kitchen table in about an hour!
Beth, it's funny that you posted this today, I made some about two year's ago for my nail studio and they are still beautiful I used white pearl tissue paper and tree limbs. super easy project.