
Today, I am busy making labels and a paper banner for a wedding candy buffet. In case they might prove helpful, I thought I would share with you some quick tricks in making cute party decorations!
Scrapblog.com has been a faithful sponsor of A2Z and I heart them. I made all of the following mock-up labels for the bride within mere minutes and for FREE on scrapblog! If you haven’t played around on Scrapblog yet, I encourage you to do so. It’s a fantastic program. (By the way, the bride has chosen the look of number two for her candy table labels!)


Below is a pic of the (mostly) finished paper banner which will hang above the candy buffet.

For those of you lucky ladies who own a Cricut or Silhouette machine, we kinda hate you feel free to skip over this tutorial designed exclusively for us poor unfortunate machine-less-souls! If you’re like me and are forced to do things the old fashioned way, here are some tips on making stenciled letters.
- Open Microsoft Word and under File go to “paper layout” and keep it as is or set it to landscape (if that enables you to cram more letters on your page).
- Next, set your margins appropriately. I wanted to make the most of my scrapbook paper, so I aligned my letters to the right.
- Choose your font and size your letters as desired. Here I have used a 450 font size.

- If using large sheets of scrapbook paper, fold in half and cut.

- Place paper in printer so that the letters will print on the OPPOSITE side of your printed paper. (With my printer, that means pretty-side-up.) I flipped the paper around and ran it through the printer again in order to get two letters on my paper.

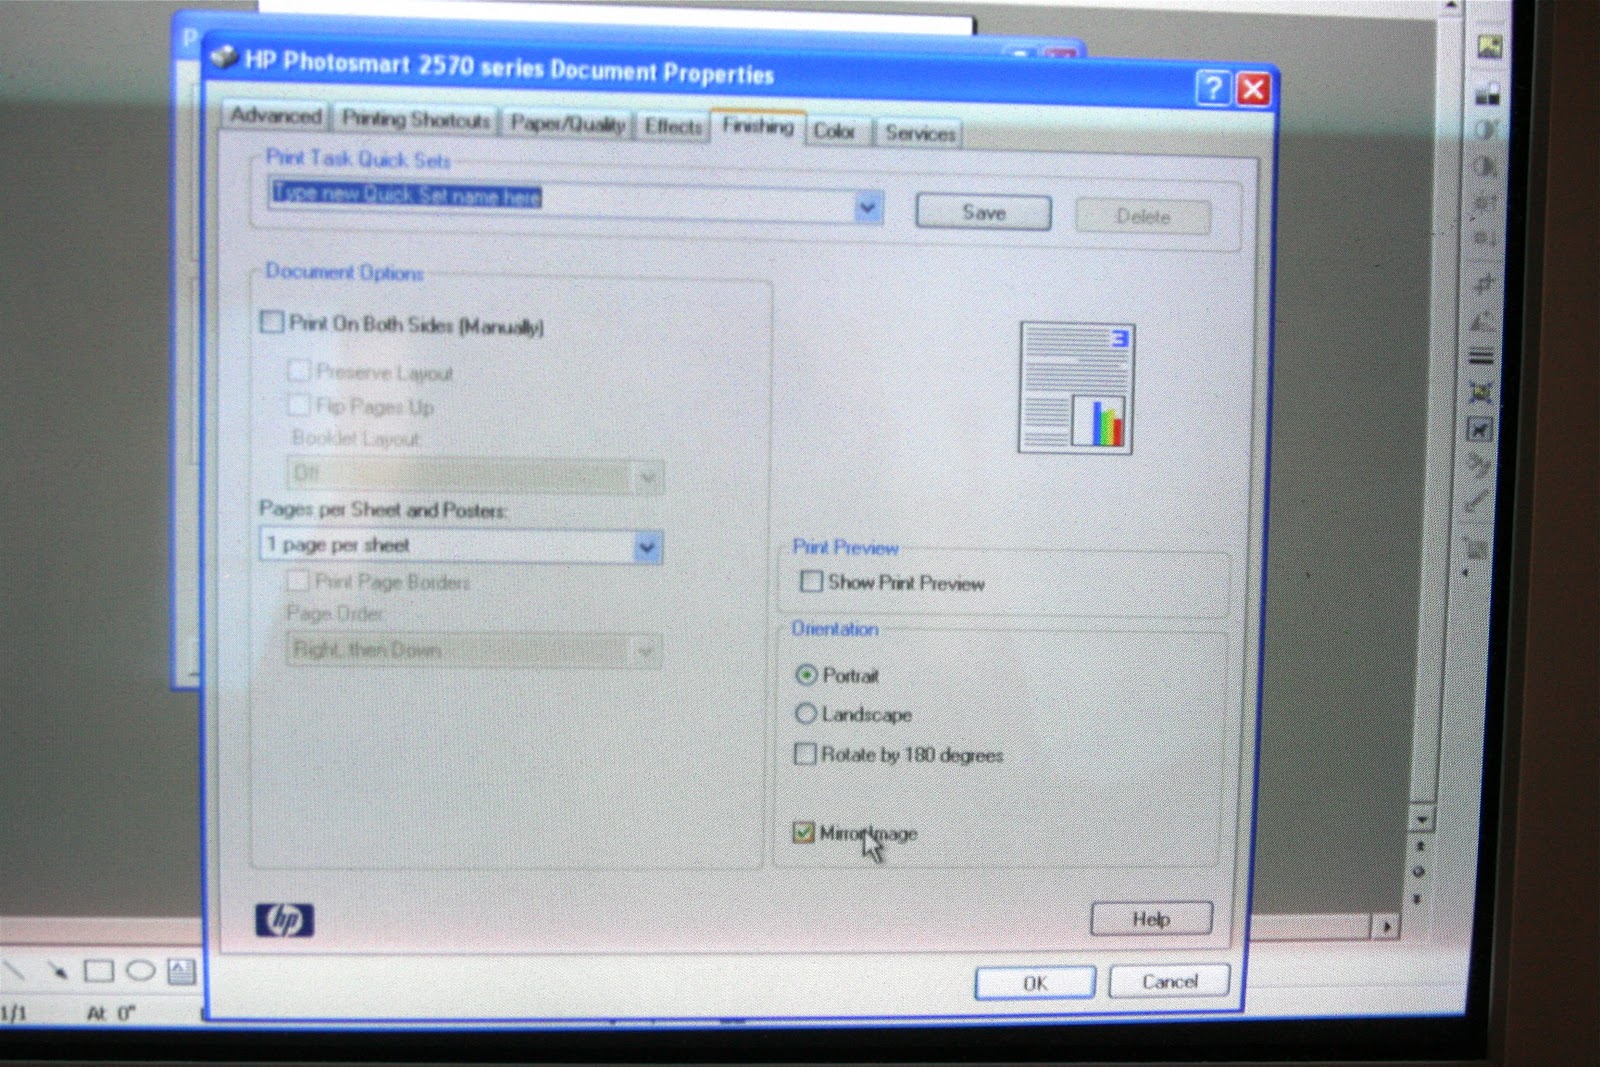
- Under your printer settings, find where it says “Mirror Image” and click to check. On my printer, it is located under the “Finishing” tab and at the bottom. Print out in draft (saves your ink).
- Cut all your letters out and glue into place!

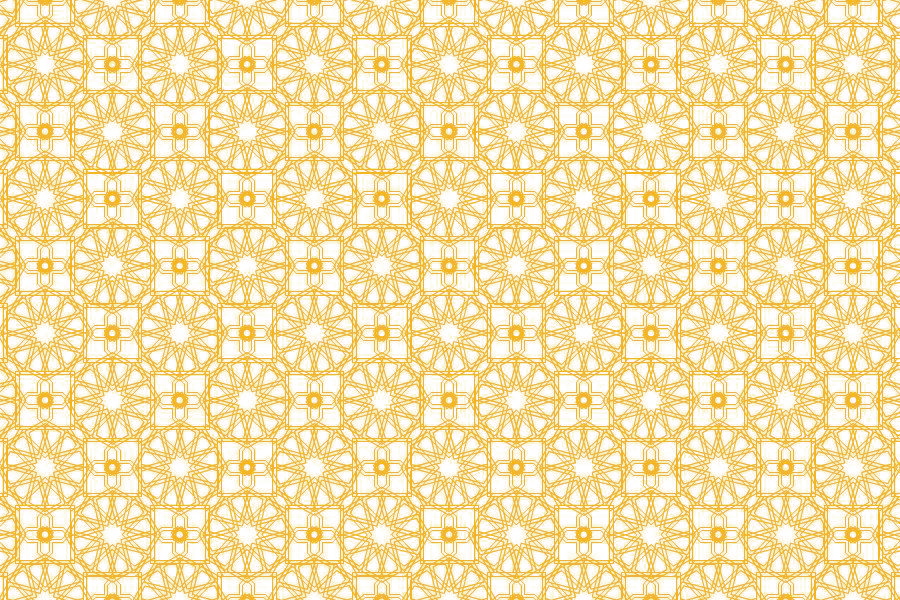
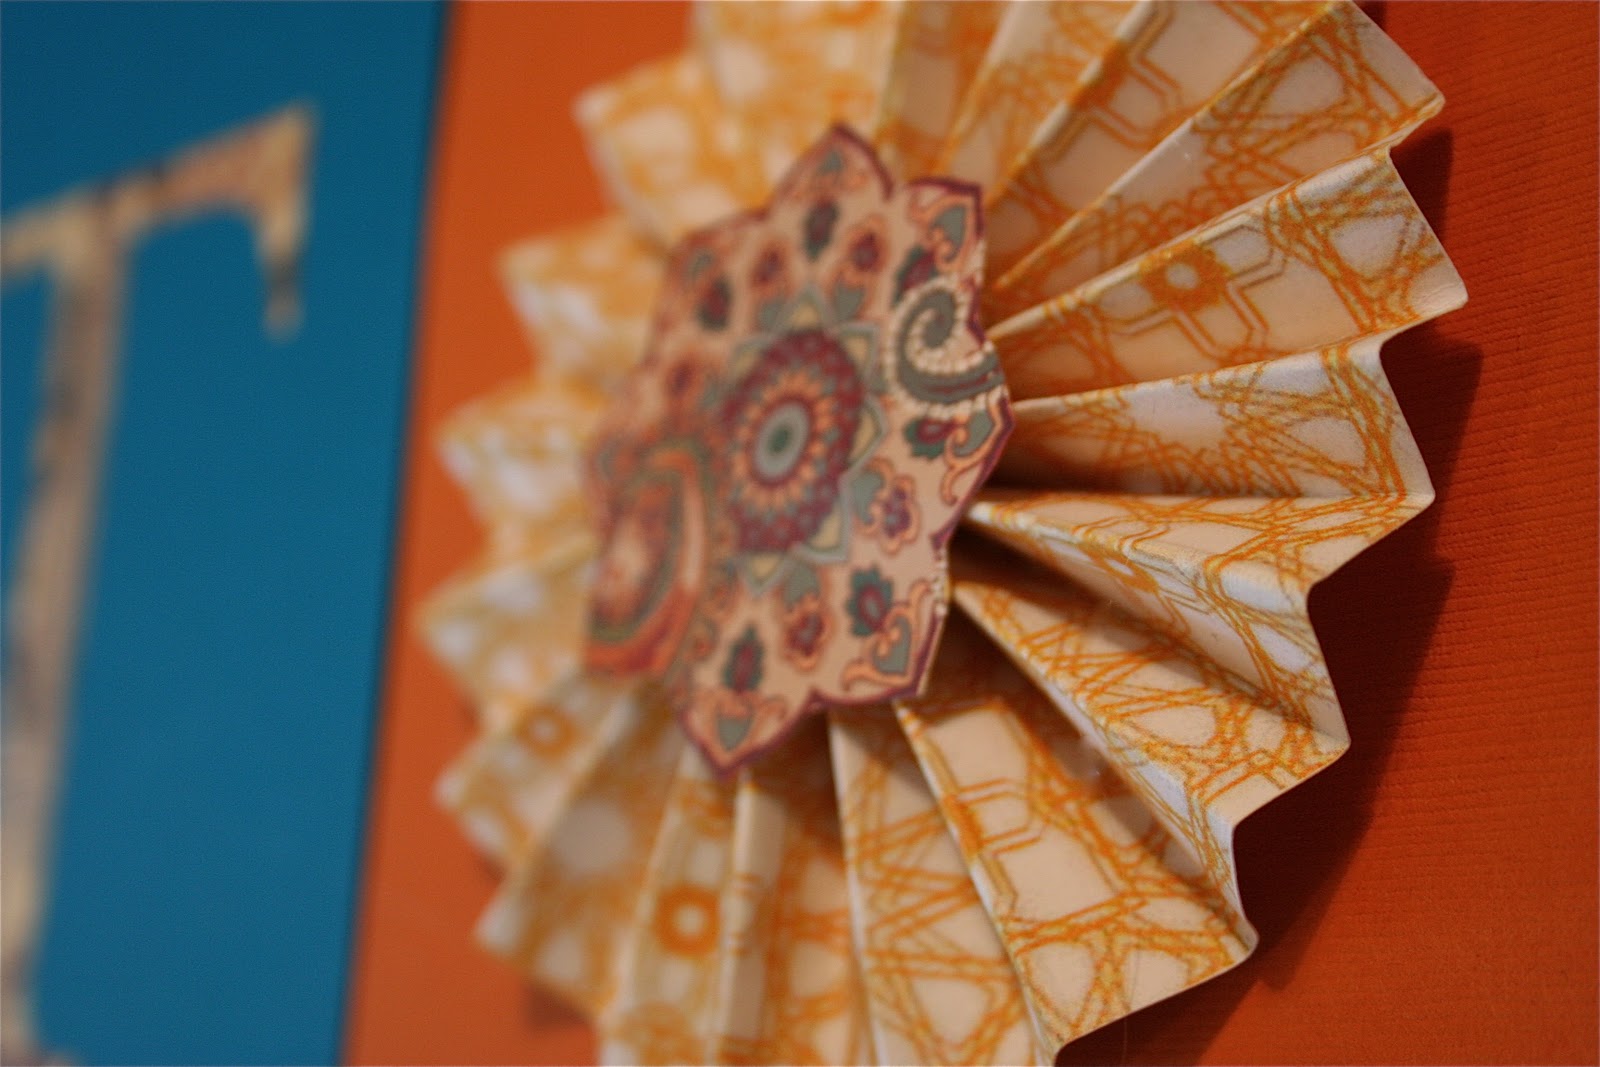
- To make the cute paper fans on my “blank spaces”, I downloaded an image from Scrapblog which matches the candy labels and printed it out.
- I used a craft stick and folded my fan over it to make sure the pleats were even.


- Then I pinched each side and glued the seams together.
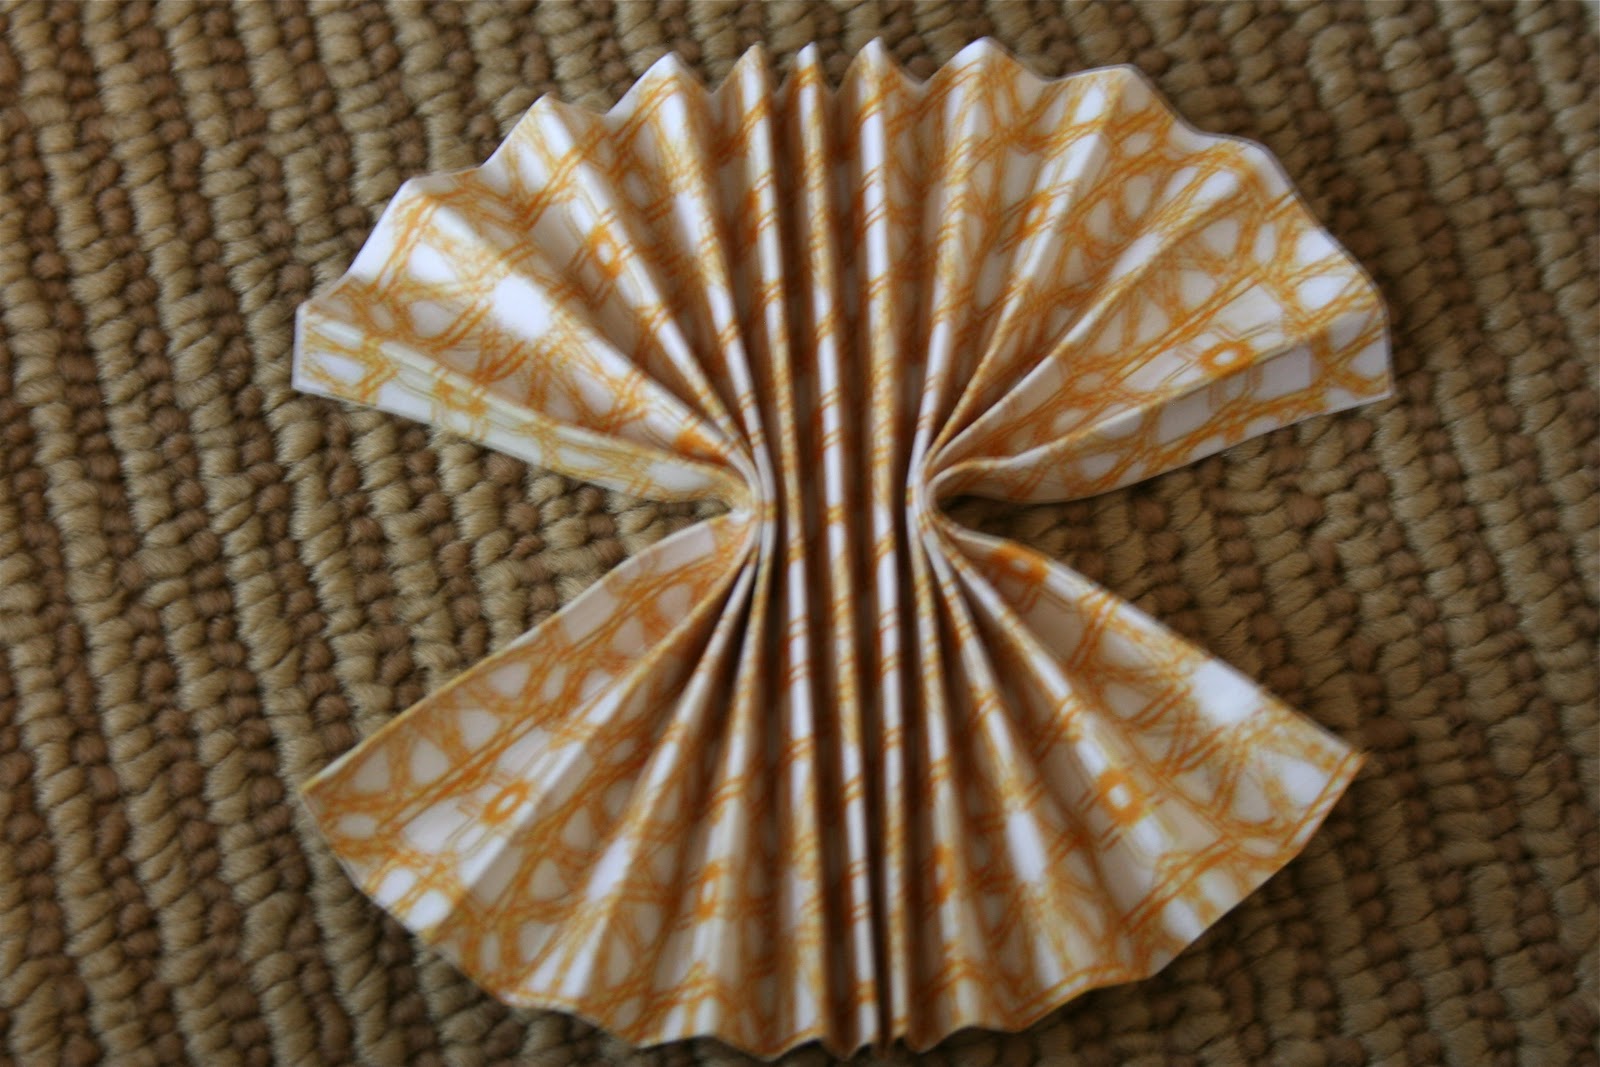
- I cut out a portion of the scrapbook paper and glued it in the center as my button.
How sweet it is indeed! I need to ask the bride how she wants her ribbon (glued to the front of entire banner, weaved through out, tied in knots between each letter, etc.) before I finish!
If I’m able, I will take some pictures of the final product at the wedding. Remember that banners and cute labels aren’t just for weddings. They make any occasion special and are not hard to do!
Share this:
Want my decorating tips weekly? Sign up for my newsletter.

Your information will never be shared or sold to a 3rd party.

OH my word…so simple, but I didn't know how to do it! THANKS for the advice…I will be using this obnoxiously in all of my crafts now 🙂
By the way…if you want to enter my give-away, check out my site athttp://christinasadventures2010.blogspot.com/2010/10/blessings-give-away.html
Thanks again for the tutorial 🙂
It looks great!
Those paper fans would look really cute on a garland around christmas as snowflakes or something. I'm holding this in my ideabook. And thanks for the tip about Scrapblog – maybe I'm behind the times, but I haven't played around on it yet…
SUPER cute!! And sweet. 🙂 (giggle)
love all of your ideas!
i sure hope the bride to be appreciates you!!!
good luck with everything & ALL the work!
kellie
Hey, great post. Us old schooler need to stick together 🙂 We may get cramped fingers from all the cutting but we'll muddle through.
Yep – old school here too. As a matter of fact – I am working on a banner too, in miniature for a tiny party. 😀 My very petite 9 year old will be 10 on 10-10-10 – so she is celebrating a huge day in a tiny way. Thanks for the tips – should make this go much easier.
Tiffany
And now i finally know. Thank you so much for sharing this.
I have to do things the "old school" way too. I've never printed it out on my printer though. I have chipboard letters that I trace. Yeah, I trace and cut them out. I so need a Cricut! haha! I love your creations. So stinkin' cute!
Oh wow this is way cute!!! Thanks for the great instructions 🙂
~ Emily N. from "too Blessed to Stress"
This is brilliant…thanks, Beth!
XO,
Janie
You're so funny. . . "we kinda hate you". . . honestly, sometimes I think I must be the only person who doesn't have a Cricut or a Silhouette! I guess I could break down and buy one–but it doesn't seem worth the expense for what I'd do with one. Anyway, thank you for sharing your expertise concerning OTHER options!
Yes, scrapblog only allows you to go up to 72 in font size. I will often export the image/label as a jpeg and then "write" on it in Word.
Love it! I've been trying to figure out how to change my font size…I only see an option to go as large as 72…Am I doing something wrong? Can you help a girl out?
Beth, you are so creative and talented! I have to do these things the old fashioned way as well and I will be using your instructions soon.
Blessings!