
Tips for Creating Your Perfect Gallery Wall


Okay… so let’s get started. I’m her to share some tips and tricks when it comes to,
Gallery Wall Decorating
Recently I finished a large family photo gallery wall in our living room, and we couldn’t be happier with the results!

I have to be honest. I had seen lots of variations of Gallery Walls before, and never thought twice about their actual assembly, until WE had to put one together! These bad boys are NO easy task. If you think you can dive in head first, without thinking about placement, colors, and frame sizes… then you might be in for a bit of a surprise.
Remembering a few key things, will definitely help alleviate any “gallery wall stress” that may come your way, when you’re contemplating using this awesome style of decorating in YOUR home!
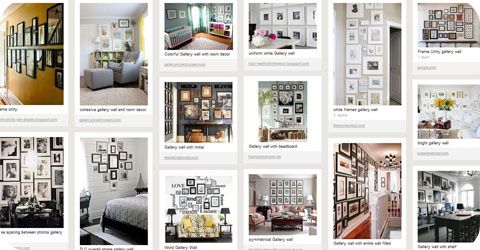
Tip 1: Gather Lots of Photo Inspiration
Are you going for an eclectic look, that consists of vintage frames and repurposed goods? Or are you looking for a more organized streamline display?
You can always google the net for great ideas, but I’ve found that Pinterest.com has been the best way recently, for me to rally all of my ideas together in one place.
Create a Plan of Action
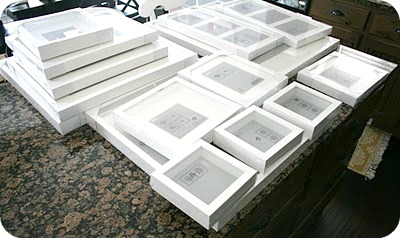
- We wanted ALL the same style frames
- We wanted to fill the ENTIRE wall in our given space
- All the frames needed to be white
- And we wanted to stay within a certain budget
Tip 3: Make Paper Templates of Your Frames
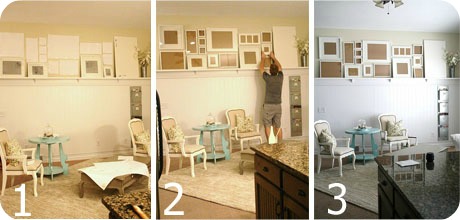
Using paper templates are an easy way to layout your gallery wall again and again, until you can come up with the PERFECT overall shape, style and layout that you’re going for. Once all your paper templates are in place, you can easily nail up your frames with virtually zero mistakes or guess work!
Personalize Your Gallery to Fit Your Decor
This has GOT to be the best part of the whole process 🙂
Whether it’s personal photos, monograms, words, prints, small decor, mirrors, or more! There are so many ways to go about personalizing and decorating your gallery space. And once you have the basic layout down, you are free to play with lots of different options.
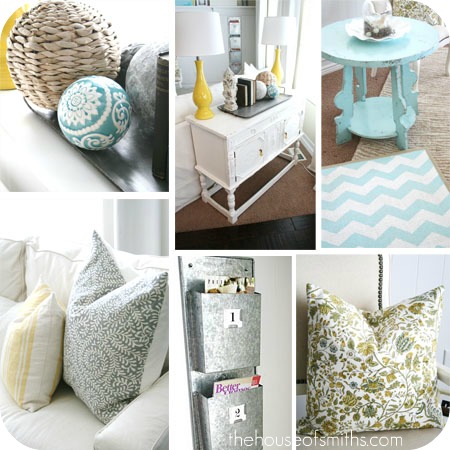
The first thing I did before I started adding things to my gallery, was to look around my home and figure out what direction I wanted to go, as far as color was concerned.
Things to Consider When Displaying Gallery Wall Photos
- Think about placement. Will your poses and camera angles fit into your frames well?
- Does the backdrop of your photos give you the “look” you are going for?
- Is your family’s clothing cohesive with the rest of your homes decor?
- Do you plan on using individual shots of your family members, couple photos, candid photos?
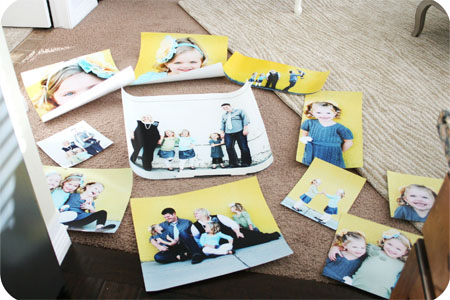
I promise you, that if you think about these things BEFORE your shoot, and maybe even jot them down, then you will feel like you have some sort of purpose at your next family photo session. I think that your photographer will also appreciate the fact that you have a vision of what you’re trying to achieve with your soon-to-be printed photos, as well! PLUS, it forces you to actually plan on how you’re going to DISPLAY those beautiful photos, that you spent all that money on, and so much time preparing for!
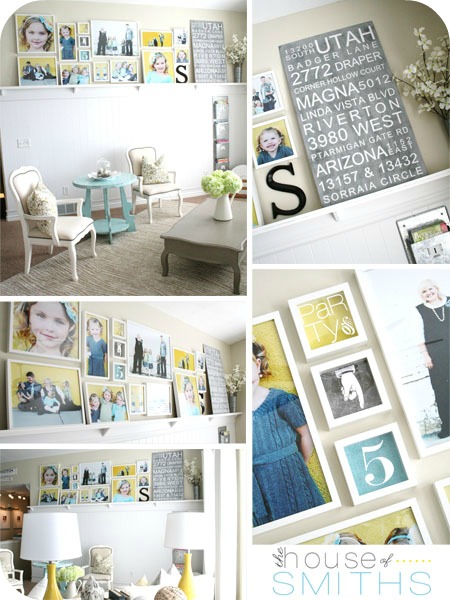
Gallery style displays are quickly becoming one of the best ways to fill those large, usually hard-to-decorate walls in your home. They are also proving to be one of the easiest ways to add the MOST personality to your space as well, with endless possibilities, when adding decor!
With a little imagination, a bit of planning, and a bunch of great frames, that fit your style… YOUR next Gallery Wall can and WILL turn into a beautiful, well laid out, show stopper!
……………………………………………..

Related Posts


I really love her living room & the kitchen pantry is super cute!!
I love gallery walls! (We have EIGHT in our house!) I love how your turned out and the great tips you offered for planning one. I’ve been learning from my errors! My favorite gallery wall tip is to use command strips because they save my walls from the inevitable misplaced nail holes!
You can see my latest photo gallery here: http://www.dejongdreamhouse.com/2013/03/chair-rail-family-gallery.html. I love that it’s just the right height for my four-year-old to see and remember the faces of his grandparents, aunts and uncles.
Can you tell me where you got the address board? We are a military family and this would be so cute with our past addresses!
Love your gallery! While looking at these photos I fell in love with the magazine “rack” in the photos but am unable to find this type online. I know we have one like this in my office, but wanted to ask where you bought yours? Thanks!
I’ve been seeing these gallery walls all over the web, and decided that I wanted to do a gallery wall after repainting our walls this spring. I now have a beautiful collage of all different black frames. I love it. It is simple and classic. So far this is the ONLY thing on my living room walls right now. We’ll keep adding as we have the room in our budget too. I’ve decided that I want to do so carefully though. I don’t want to put things on the wall just to fill spaces, which is what I have done in the past. Instead I want to put things on the wall that i love, and that I think fit the look I’m going for in each particular room. So far I’ve got my bathroom, and kitchen and living room redone… Still have two bedrooms to work on, but that may not happen for another year or so.
I LOVE LOVE LOVE this idea and want to encorporate it into my dining room. However, here’s my problem. I want to include OLD family photos in sepia tones and new pictures both formal and candid-most-favorite shots and am wondering should I unify them by the sepia tones or the color of the frames or both. I wanted to use these around the vinyl quote: We remember moments, not days. (That’s not the exact quote – but you get the idea.) Help??
If you have your photos on the computer, try putting them in a rough collage in a word document or something just to put them together and see if you like the look. Personally, I think you can do old and new photos together. I’d just try not to do too modern frames or too “antuque” frames so it doesn’t look like too many “looks”. If it’s well organized, it’ll look great! Plus, you can always change the photos!!! That’s the best part! 🙂