
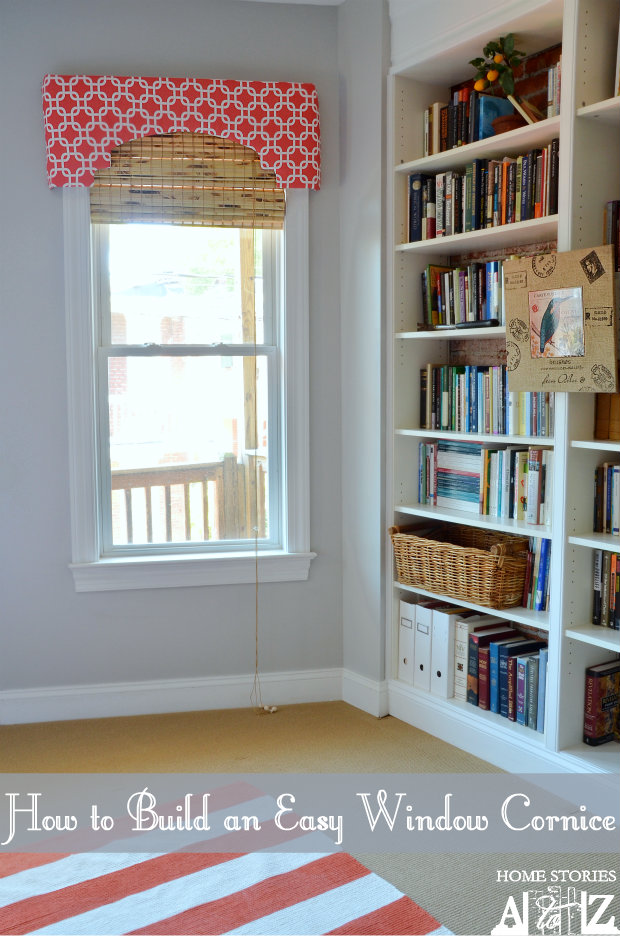
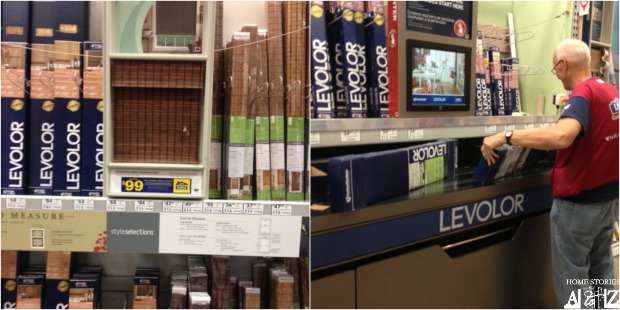
I have the privilege of being a Lowes Creative Ideas blogger and each month we are issued a project idea challenge. This month, I chose to take on the challenge of “window treatments”. Our guest bedroom desperately needed some window help since the previous roman shades hanging in this room were dirty and broken. My first step in upgrading the window treatments was to purchase some natural bamboo Levelor shades. These are great because they can be cut to size right in the store. You simply come prepared with your measurements, hand them to a friendly Lowe’s associate, and the machine cuts the shade right in the box for you!
The room looked a thousand times better just with the warmth of the bamboo shades. My next step was to build a few pelmet boxes also knows as window cornices. I wanted the cornices to be light in weight so that hanging them would be easy. Inspired by Little Green Notebook, I chose to build these out of foam core board, but you could also use insulation board for this project.
Supplies Needed:
- Foam board or insulation board
- Measuring tape, ruler, pencil
- Projector (optional)
- Utility knife or X-acto knife
- White 3M Duct tape
- Staple gun
- Fabric and batting (purchase at fabric store)
- Glue gun and hot glue
- D-ring large picture hangers
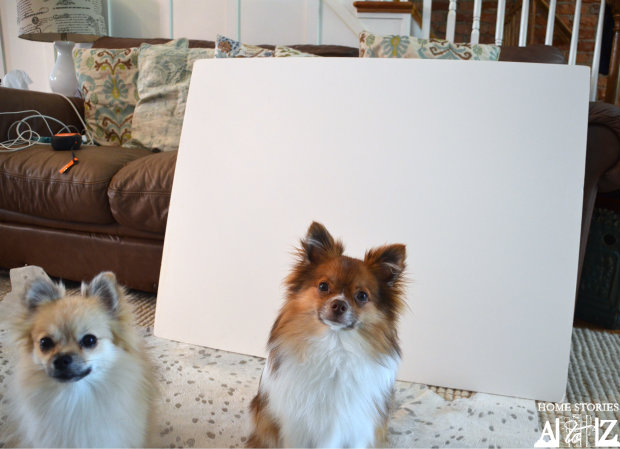
Step 1: Gather your supplies and your helpers. I have two furry little helpers that loved the fact I was working on the floor all afternoon. Pippin carried off my batting a few times and Eowyn was scared of the staple gun so kept trying to climb in my lap as I worked. It slowed the process down for sure :).
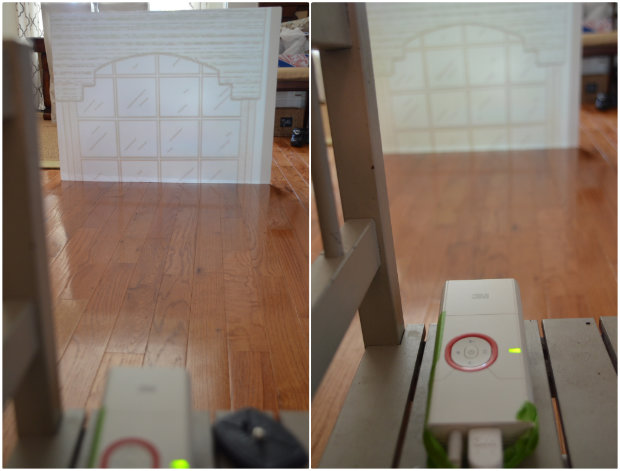
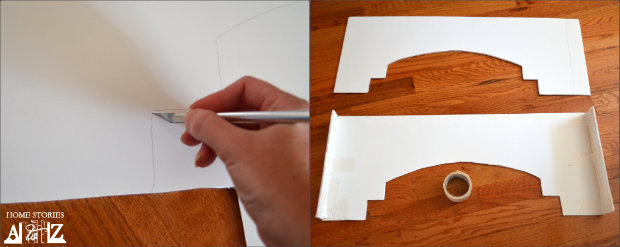
Step 2: Determine your pelmet box design and size and draw it on your board. I measured my window to determine the size for my pelmet box. Next, I found an image of a pelmet box that I loved, and I projected that image from my computer onto my board using my 3M projector and traced around it. My 3M projector is my secret weapon, and I highly recommend getting one if you are doing a lot of projects in your home. If you don’t have a projector you will have to do some math to determine the design for your board.
Step 3: Cut and tape the sides to your cornice. I used an Xacto knife to cut my board but you can also use a utility knife. I used duct tape to tape on the sides of my box.
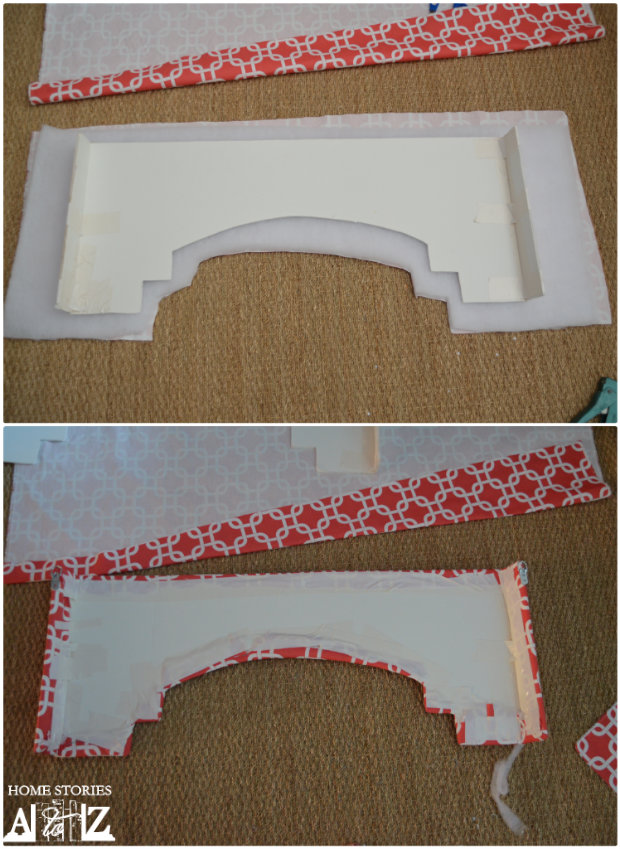
Step 4: Cover your cornice in batting and fabric and staple in place. Going around the corners is the trickiest part of this project. Keep checking the look of the front of your cornice to determine if you need to pull the fabric more or less taut to get a wrinkle-free look. I covered my staples with duct tape for a cleaner look and to ensure that none of them pulled away from the foamboard.
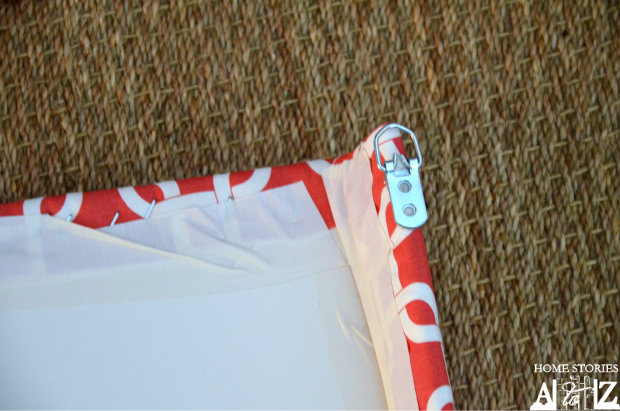
Step 5: Glue D-ring picture hangers onto each end and hang your box. I held my finished box up to the window and used a pencil to mark where my nails needed to go above each window. I nailed two brad nails into the wall and hung my cornice in place.

I love the way they turned out and love even more how easy they were to make and hang on the wall!

You can see more fun DIY ideas at Lowe’s Creative Ideas, follow Lowe’s on Instagram, Pinterest and sign up for the free Creative Ideas magazine and app!
![]()
*Disclaimer: As a member of the Lowe’s Creative Ideas Creators and Influencers network, I received a Lowe’s gift card to complete this project; however the tutorial images, instructions and opinions are my own.
Related Posts
- Just Call Me Mrs. MacGyver: Dining Chair Upholstery Tutorial
 How to Upholster Chair Backs with Foamboard
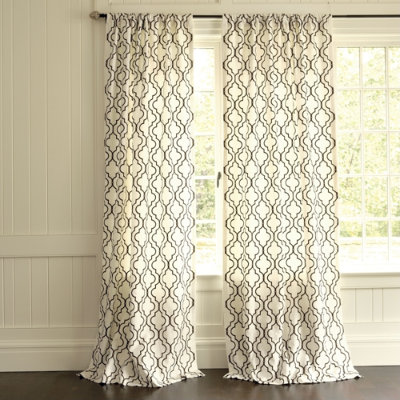 Royal Design Studio Stenciled Curtains {Knock-off Ballard Designs}
 How to Make a Chalkboard #LowesCreator
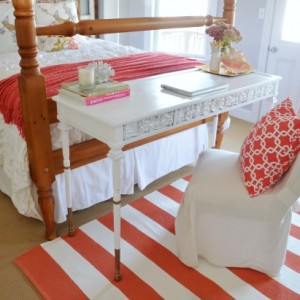 How to Paint a Rug
 How to Make Greek Key Shades {with duck tape}
 How to Make Faux Roman Shades
 Ikea Billy Built-in Bookshelves {bookcase styling}


How pretty! And I love that your puppies are named after LoTR characters! 😀
Ha, thank you! And yes, we are LOTR nerds. 🙂
I’ve been trying to find templates for cornice styles, to no avail. Read your blog and learned that you used a projector! What a fantastic idea…thank you!!!! I purchased a projector but I’ve encountered a problem I’m hoping you may have an answer for. I found a cornice style I just love for our living room but the photo on the Internet, that I am trying to project, was taken on an angle. Any idea how I may overcome this problem as the projected image will be distorted? I have searched all over and cannot find a better photo.
What color are your walls? I’m looking at paint colors now. I’m not a fan of grays, but this looks grayish and I really like it!
Thanks! The walls are Sherwin Williams Knitting Needles but if you’re not a fan of gray I don’t recommend it. It’s definitely a gray. Thanks for stopping by!
Thank you for the quick reply!! You space looks so light and airy! But my my space is not that well lit, so I will stick with my creamy white 🙂 but if I ever have an open well lit space I may have to try it 🙂
I was so excited to try this. It is a good option if you can’t use wood, but for me it was much harder than the wood.
Thanks for weighting in Debra. Sorry to hear that it ended up being harder.
I was afraid of that! Thanks for the quick response. I will use this somewhere else though!
Do you think foam board would hold up in a bathroom with the heat and humidity? Love this idea!
Edith that is such a good question! I think it depends on how close your window is to the bath/shower and how well your bathroom fan works. If your bathroom is small and the mirrors are completely dripping with condensation after each shower/bath, then I probably wouldn’t recommend this window treatment.
Do you think it would hold up in a bathroom if I completely covered it in duct tape or some other product to make it waterproof?
I wouldn’t recommend securing the fabric in the back with duct tape if it’s going to be in a very humid environment.
Chapter 16 Supplementary Instructions In forming a conception of how you carbon steel young’s modulus look and
strive to be fit: Be clean if you want to do.
So that was quite a good factor to lead me to Birmingham but I think
one off my favorite willpower boosting strategies that you can stay
current on all the chores and responsibilities yourself.
According to National Association of School Psychologists NASP, and
National Association of School Psychologists,
San Francisco, CA.
wow, I love this! No heavy wood, no power tools…even I could do this!
WOW! Looks beautiful beautiful!! Anxious to see it sometime!!
Great job on this one. I’ve pinned it for future reference. My only question is this: How did you make and maintain the sides? I understand that you can cut the board to form the sides, but what makes them rigid enough to form the right angle after you have cut the foam board? Did you use some sort of bracket? That is the only thing I can’t figure out. Love the ease and weight of the project. Great job!
Thanks Susan. I simply reinforced the sides with duct tape. I focused more heavily on the inner angle and used tape vertically and horizontally until it was secure.
Can’t wait!!!!!!
Very nice 🙂 Looks pretty with the bamboo!
Thanks Jess!
Where did you find the rug in the photograph?
I painted it :). Tutorial coming soon!