That area in your kitchen between your countertops and cabinets and behind your stove might be small in size but mighty in importance! Here are 5 things to consider when choosing a kitchen backsplash from Shaw Floors.
This post is created in partnership with Shaw Floors. All opinions are my own.
One of the things that sold us on our South Carolina home was the recently renovated kitchen! I love the layout of the kitchen, the classic white shaker cabinets, the wood on the island, and the touches of shiplap. However, there are some elements in the kitchen that I hope to update in time–including the flooring, hardware, and backsplash. The dark gray quatrefoil backsplash (pictured below) is lovely and very eye-catching. It provides a lot of contrast compared to the floors, and I just don’t love it in this space. I know some of you really like this look, and that’s okay too! The great thing about decorating is that there isn’t always a definite right or wrong choice when it comes to our personal preferences. There are, however, many important elements to consider when updating your backsplash. Let’s explore 5 things to consider when updating your kitchen backsplash!

Pictured: Our beautiful kitchen the first day we moved into our home.
1. Kitchen Backsplash: Plays Well with Existing Kitchen Design
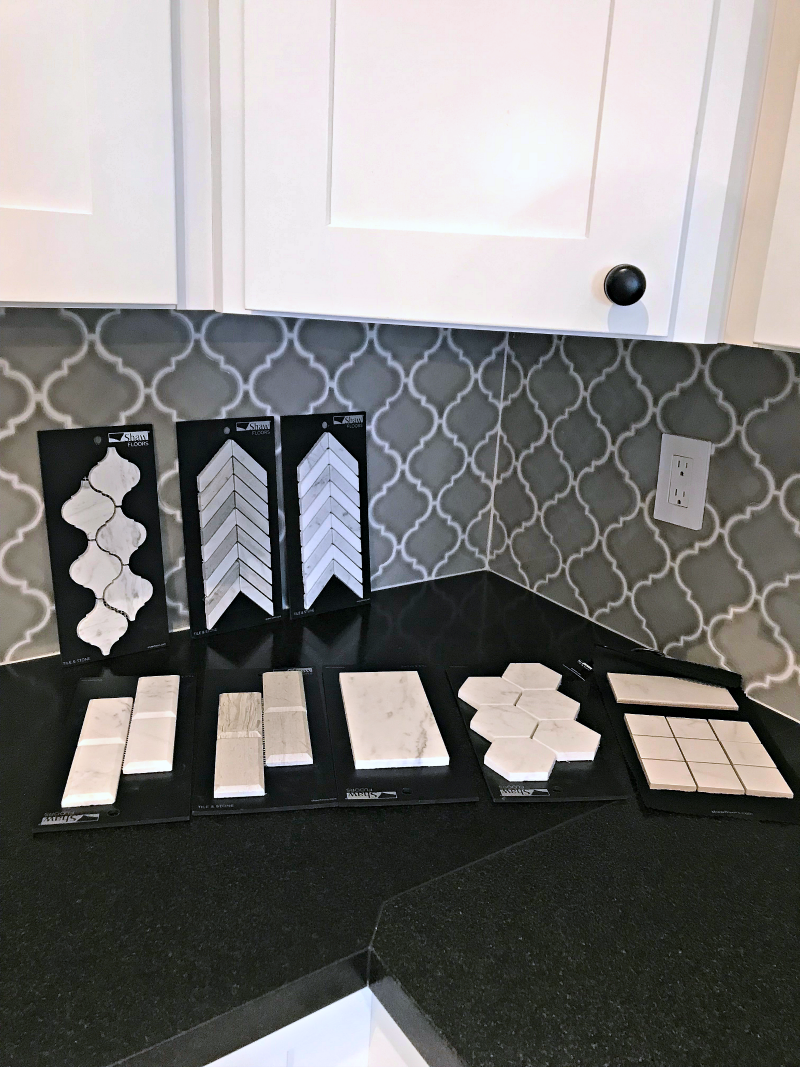
Pictured: Several different tile selections from Shaw Floors Chateau Collection.
When completely renovating a kitchen, you have the luxury of choosing a backsplash that perfectly complements your style and selected finishes. However, if you are simply updating your backsplash, it’s imperative to keep in mind the other hard finishes that already exist in the space. Cabinets, countertops, and flooring, should help inform your backsplash selection. You want your backsplash to play well with and complement your existing kitchen design.
2. Kitchen Backsplash: Star of the Show or Supporting Role
Bold or classic? Bright or neutral? Trendy or timeless? Deciding whether or not you want your tile to steal the show or simply support the rest of your kitchen design is a matter of personal preference and budget. Pictured below is Shaw Floors’ Molten Stretch Hexagon Glass Tile in the colors Hydra and Nickel. The cabinets, countertops, and tile style in each kitchen are the same. Consider a finish that is complementary to your overall design scheme to achieve the right pop of color. You can see what a difference the choice in tile color makes to the space!

Another great option to consider is creating just a focal point of bold tile above the range. This way you can have the best of both worlds.
3. Kitchen Backsplash: Material and Wear & Tear
I often hear people say, “They call it a backsplash for a reason!” Your cooking style and way of life should inform the type of tile you select just as much as your personal design preferences. Splatters from food, grease, and sauces are a reality in the kitchen and need to be considered. Glass and ceramic tile will clean up easily, while stone tile requires sealing once a year. If you are a messy cook and love a farmhouse kitchen, both white ceramic subway tile and pebble stone tile are both great choices; however, one is much easier to clean! Choose an option that fits both your lifestyle and design style. 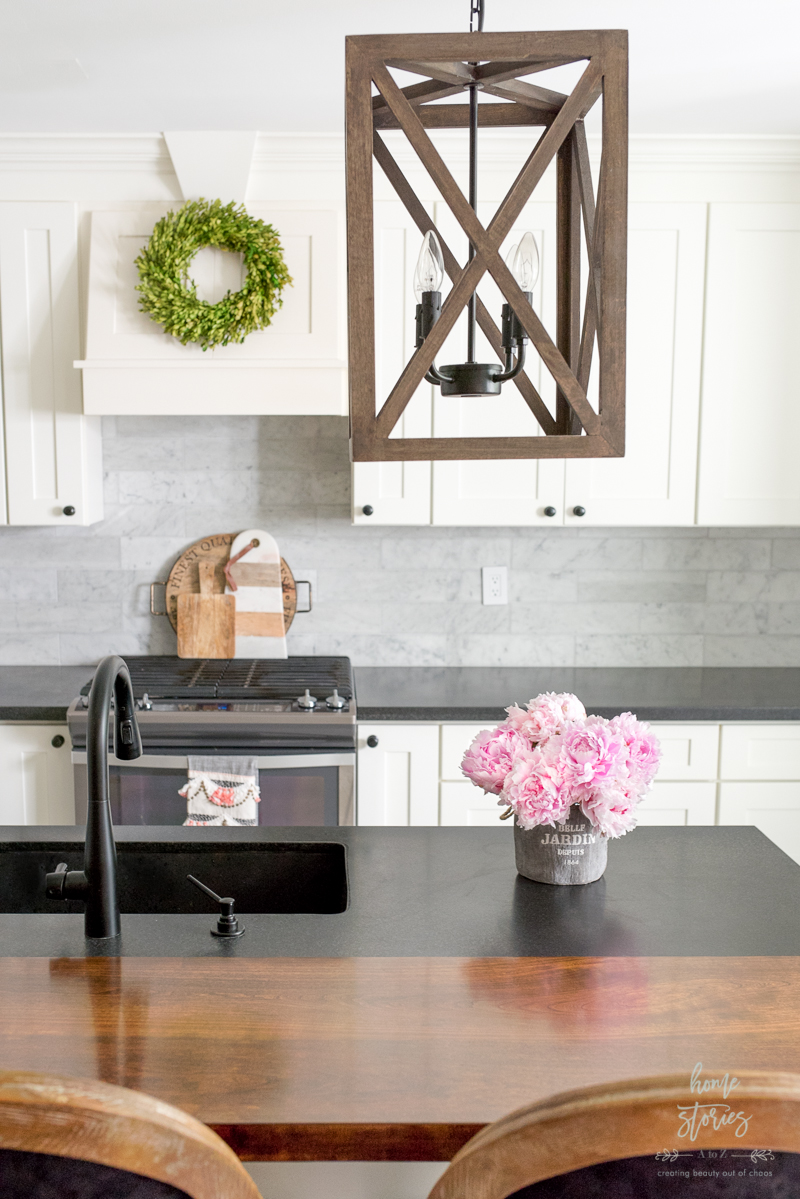
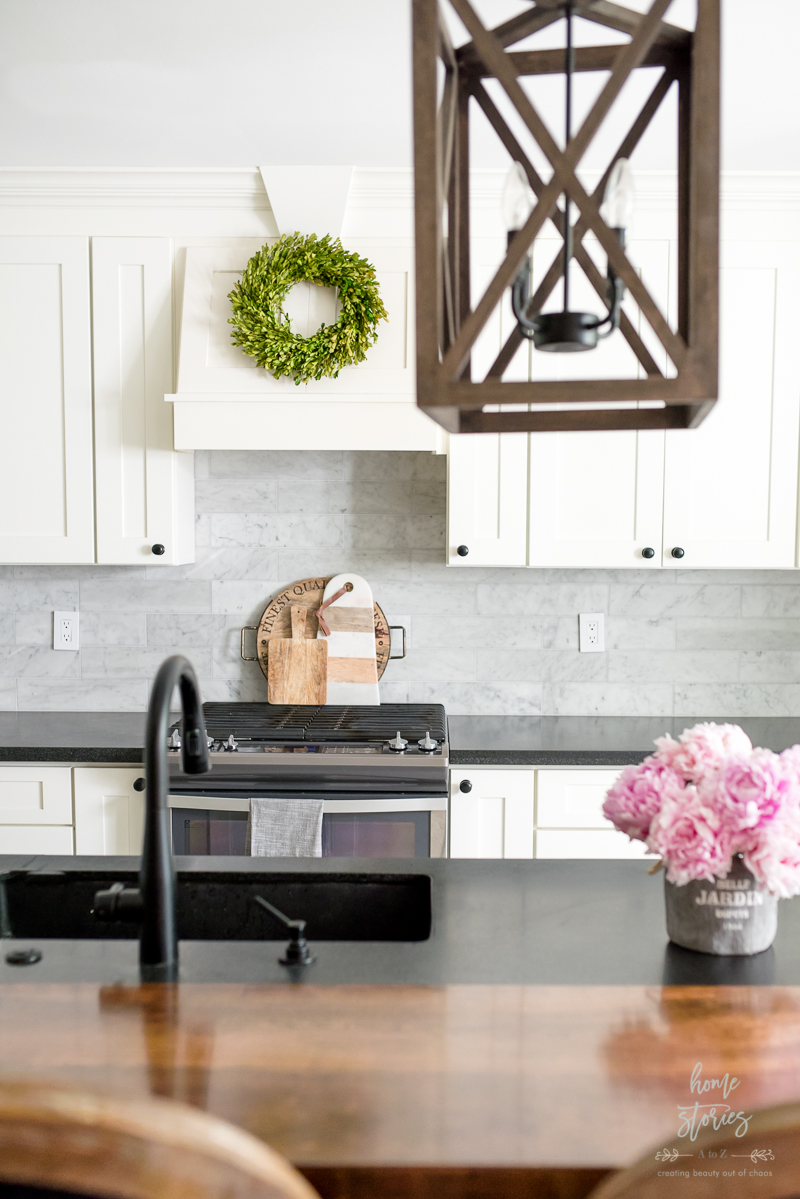
Pictured: Shaw Floors Bianco Carrara
4. Kitchen Backsplash: Trendy and Spendy
Before you set your heart on your dream tile, it’s a good idea to meet with your Shaw Floors consultant and explore options you like that are also within your budget! The material of the tile, as well as any special finishes and patterns will affect the price of the tile. If you don’t plan on switching out your backsplash anytime in the foreseeable future, it’s probably wise to explore more classic patterns and steer clear of bold and trendy options. I chose this tile from Shaw floors from the Chateau collection, in color Bianco Carrara. It’s a 4×16 tile with a smooth, marble surface and I chose it for its chic, classic appeal! I know I will still love it for years to come.
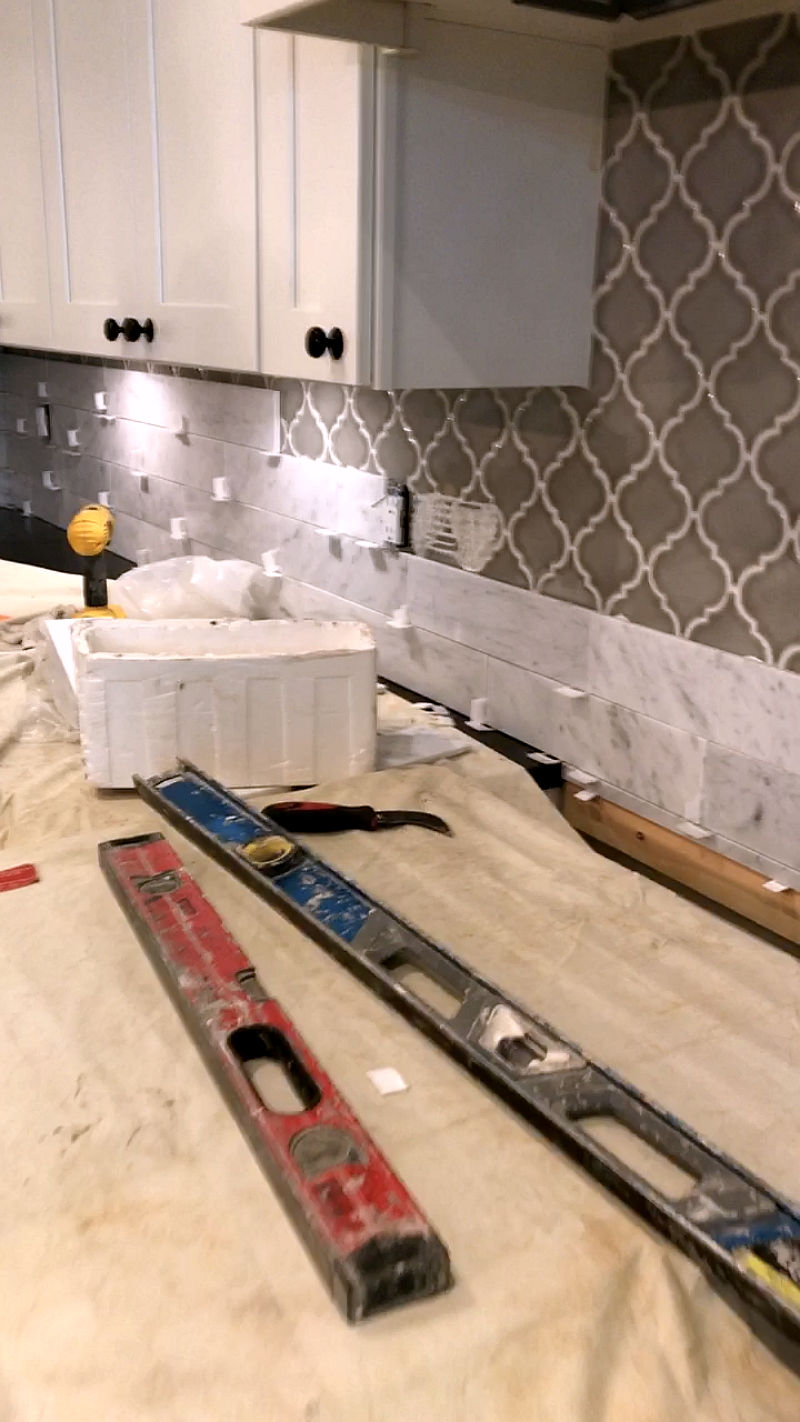
5. Kitchen Backsplash: Installation
The beauty of your tile is greatly impacted by proper installation, so it’s important to consider your installation options. If going with a contractor, ask your flooring provider for a trusted installation partner or recommendation. Online reviews and referrals from friends help to ensure your satisfaction with the job. Installing a kitchen backsplash yourself is a doable DIY project and will save you a lot of money but can be difficult for the beginner. Oftentimes the most difficult part of installation is the removal of the previous tile! If you follow me on Instagram stories, then you know we chose to install our kitchen backsplash directly over our previous backsplash! There are of course pros and cons to this method, and I weighed them all carefully before deciding it was worth it to me to just tile over our previous backsplash. Avoiding the headache, dust and mess of removing the former tile outweighed any potential cons. As long as your backsplash is sturdy, smooth, and well-adhered to the wall you can tile over it! Be sure to first clean your tile thoroughly with a degreaser before installing the new tile.
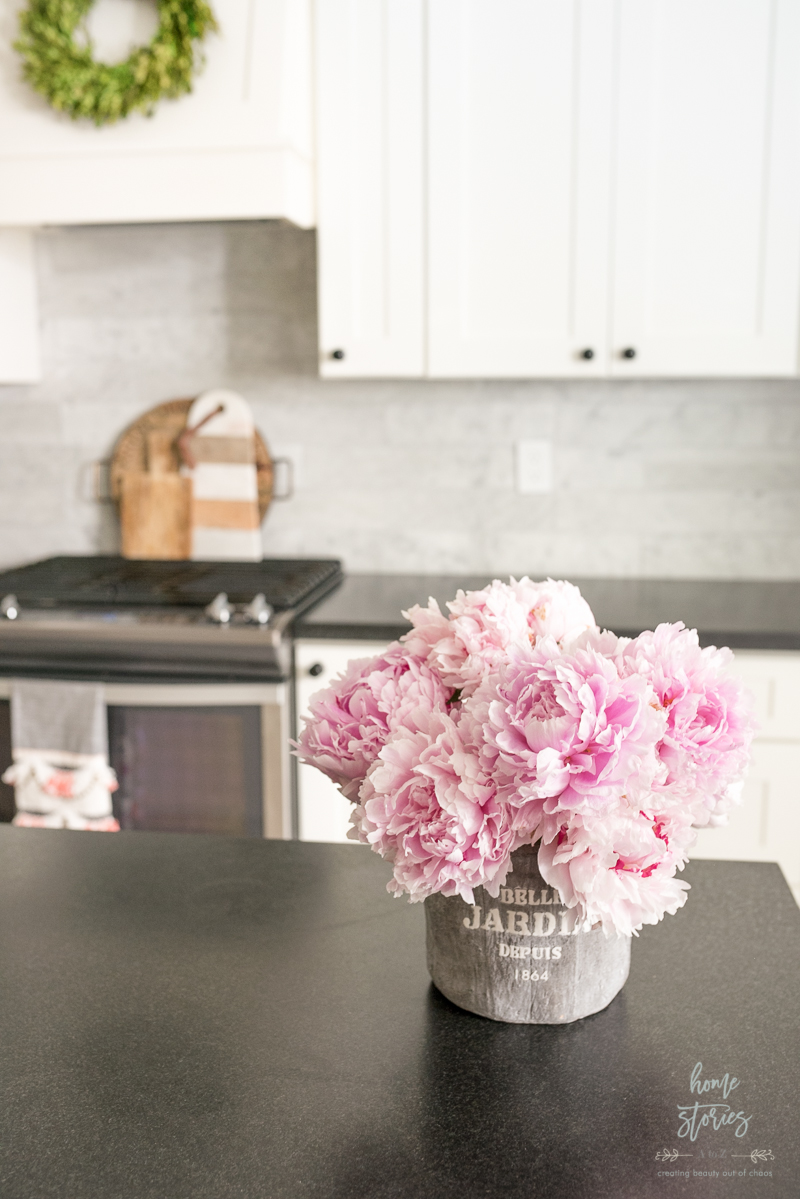
I have several more changes I’d like to make in our kitchen, but for now I’m thrilled with how our new backsplash has transformed the look and feel of the space! I’ll show you some more pictures of the entire space just as soon as I’m able to update a few more things in here. Please feel free to pin this post for later! 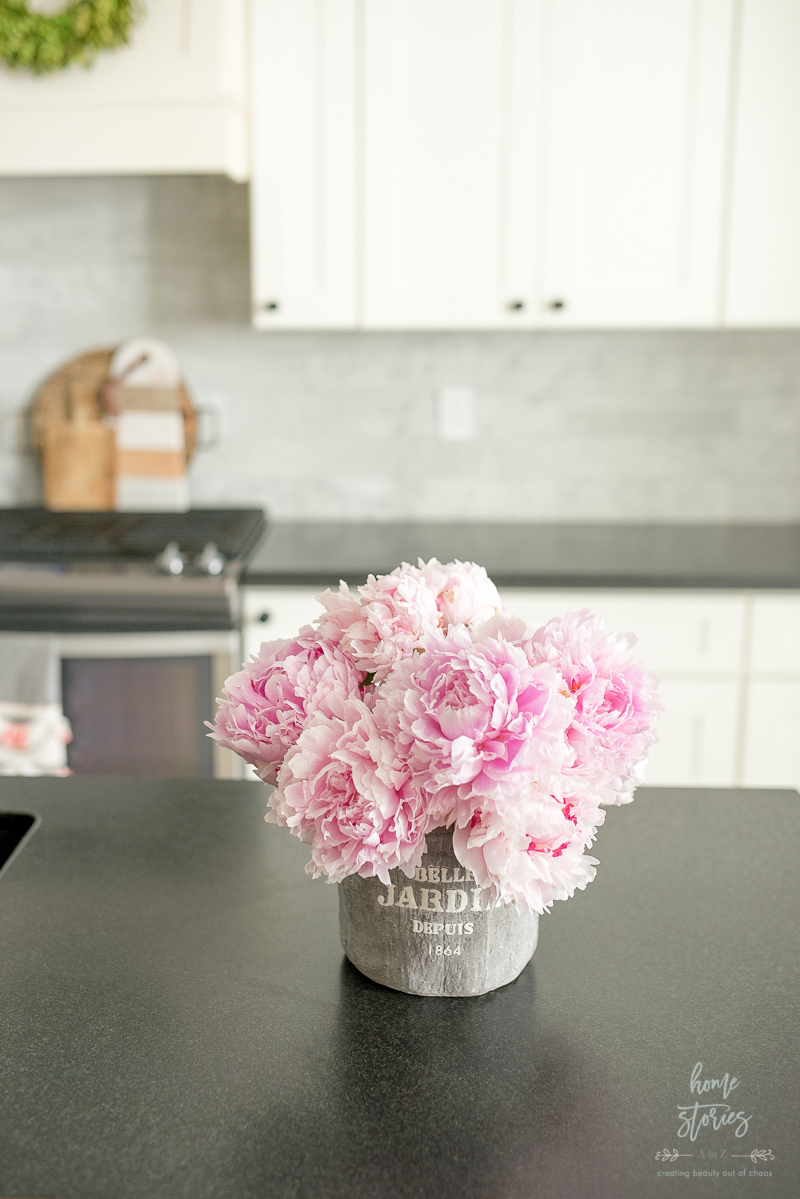
If you liked this post you might also want to check out the following related posts:
How to Clean and Maintain Hardwood Floors
Flooring Installation: What to Expect
How to Choose Flooring: 5 Vital Questions to Ask
Neutral Fall Decor Home Tour with Shaw Floors


What a beautiful backsplash to accent your kitchen! We’re so pleased that you like your Shaw Floors tile backsplash and love being a part of your home. Thank you for the shoutout and for being such a valued Style Board partner!
Love your choice of tile! Here is a question ….do you tile to the end of the wall or the end of the cabinets? My kitchen cabinets end before the door way.to the back deck. There is a space of about 30 inches between. Just not sure where to end? Thanks for all the wonderful photos!
Thanks! It’s completely a matter of preference. Most people end where their cabinets end but I am choosing to tile the wall around the doorframe where our cabinets end. It’s not pictured in this post because it’s not done yet! We ran out of tile and needed to order more. 🙂
Love the new tile, so pretty and so timeless. Looks like what I have and I adore mine.
Thanks so much Marty!