
Easy tips on how to update curb appeal without breaking the bank! Painting your exterior doors is one of the simplest ways to create a big impact. I’ll show you how.

Updating your curb appeal doesn’t have to cost a fortune! Never underestimate the power of paint, power washing, and plants!
1. Powerwash your exterior, sidewalk, and driveway to freshen up the entire look.
White siding gets dirty and is not very forgiving in the light. If you’re able to power wash your home, you’ll be amazed at how much fresher it looks once clean!
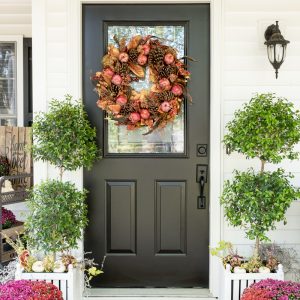
2. Plant some new plants. Container plants are your friends!
Relandscaping an entire yard can be expensive, but you can update your curb appeal with just a few small changes. Container plants on either side of the front door will give you the most bang for your buck. They are what everyone will most notice.
3. Paint your exterior door to update curb appeal.
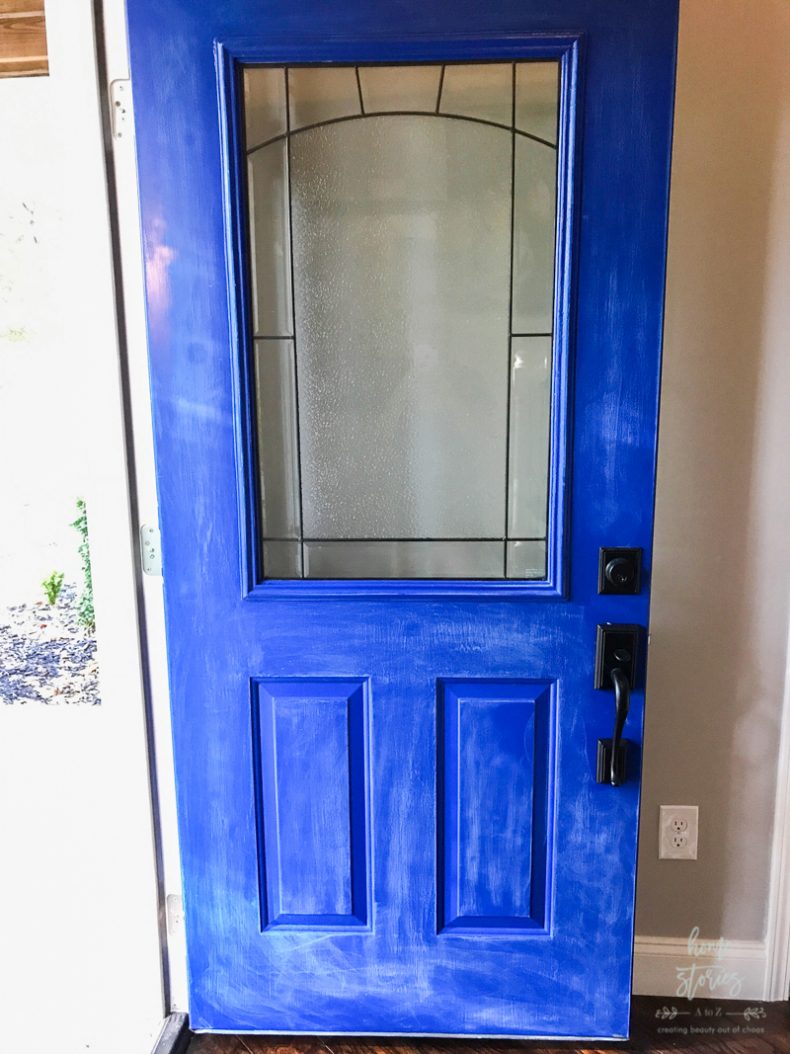
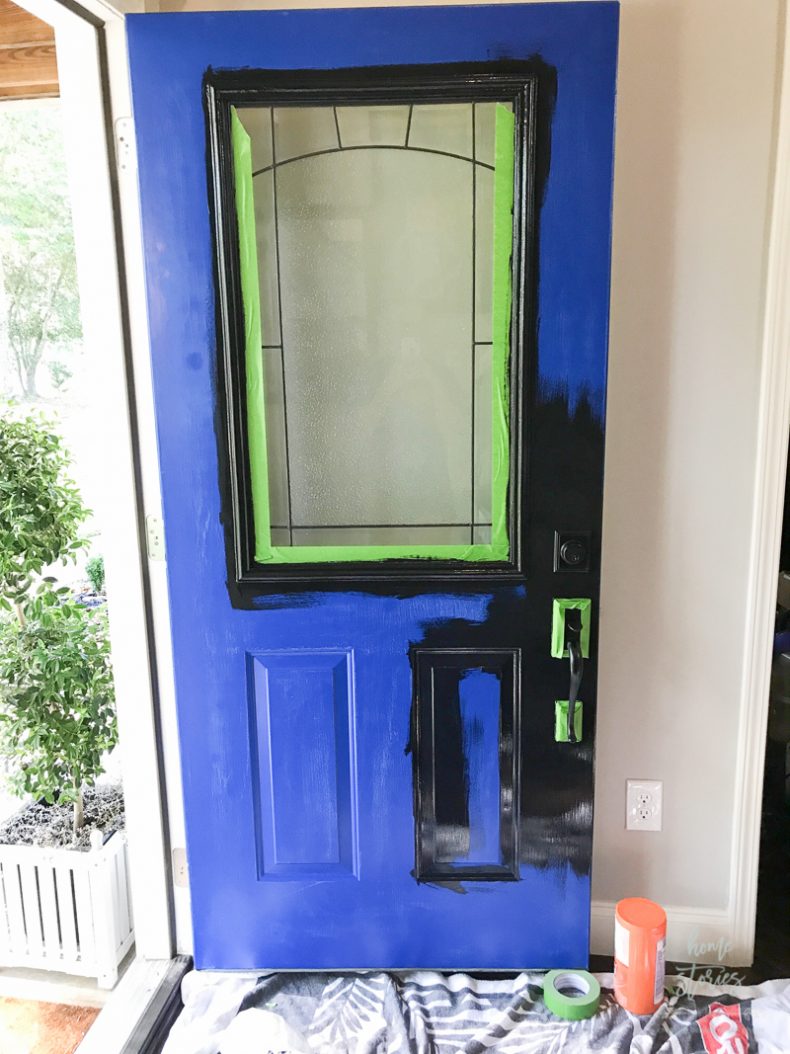
When we moved into our home this past summer, the front door was painted a fun electric blue. It was a bold choice that I wouldn’t normally have chosen myself, and I liked the change of pace. The blue looked lovely with my hydrangeas and summer decor. However, it just didn’t feel like “me” and after a few months of living with it, I decided it was time for a more subtle color to carry me through the other seasons.

Painting your front door can completely transform the look and feel of your curb appeal for around $18–the cost of 1 quart of exterior paint. It’s a fantastic trick to remember when you feel your home needs a refresh and best of all it only takes a half-day to complete.
How to Paint Exterior Doors
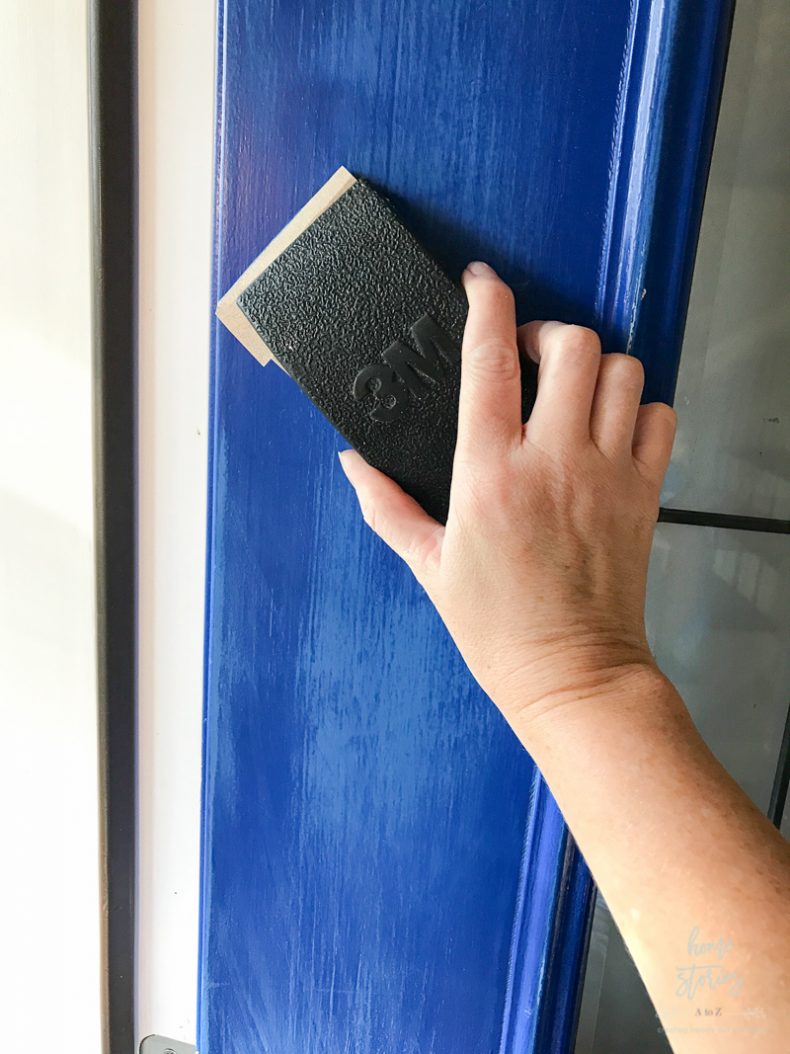
Step 1: Clean and sand your doors.
The prep work of painting just plain stinks. It’s not the fun part and it’s always tempting to skip corners and get right to the painting. I encourage you to be patient with the prep! If there is one thing I’ve learned time and time again over the years in painting all the things, it is that your prep work will determine the look and longevity of your end product. If your doors are previously painted with a glossy finish, they will need to be sanded.
Sanding has a bad rap but it really isn’t a big deal. Use a medium grit sandpaper and sanding block and just rough up the surface of the door. Clean the door thoroughly with TSP
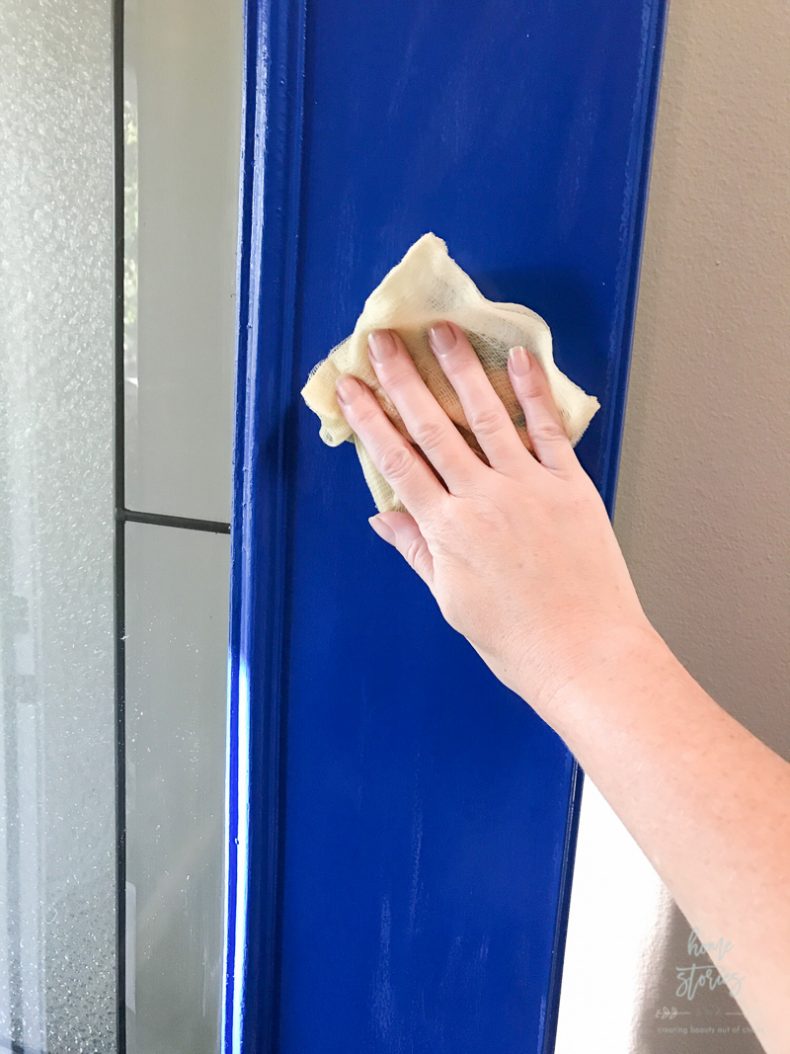
Step 2: Remove dust particles by using a tack cloth.
Next, use a tack cloth to remove all traces of dust. If dust, grease, or dirt are still on your door when you paint it, it can keep the paint from bonding, drying, and curing properly.
Step 3: Tape off the glass and hardware on your door.
Many will tell you to remove the door from its hinges before painting. I have painted doors on their hinges and off and have never found removal of the door necessary. Your door will need to remain ajar for several hours so keep that in mind before you begin this project. Use painter’s tape to tape off any areas you don’t want painted.
Step 4: Prime and paint your door.
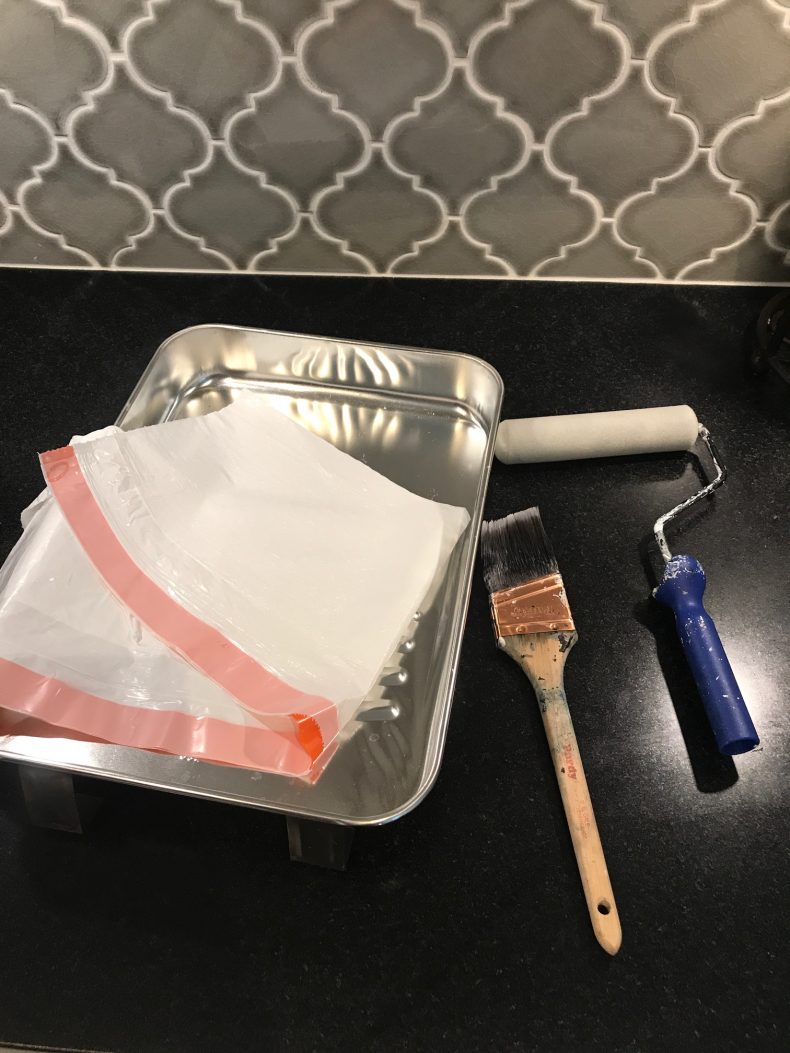
I like to use the following supplies when I paint doors or furniture:
- Metal paint tray
- Plastic garbage bag to cover tray (Makes for easy cleanup.)
- Foam paint roller
- Purdy angled paint brush
- Exterior paint and primer in one. (I used HGTV Home Sherwin Williams Weathershield Eggshell Finish in Tricorn Black.)


I recommend priming your door first, but since I was using a rich black paint I decided to skip this step and test the fates with a paint and primer in one. I honestly haven’t had the greatest luck in the past with paint plus primers and prefer to prime first. Be sure to use an EXTERIOR paint for exterior doors. It does matter and the paints are different. Exterior paints are designed to flex more in the heat and cold so that don’t chip and flake with weather. Most people recommend a semi-gloss or gloss finish for exterior doors. They clean-up easier and resist dirt. I personally prefer a low-sheen look so used an Eggshell finish.
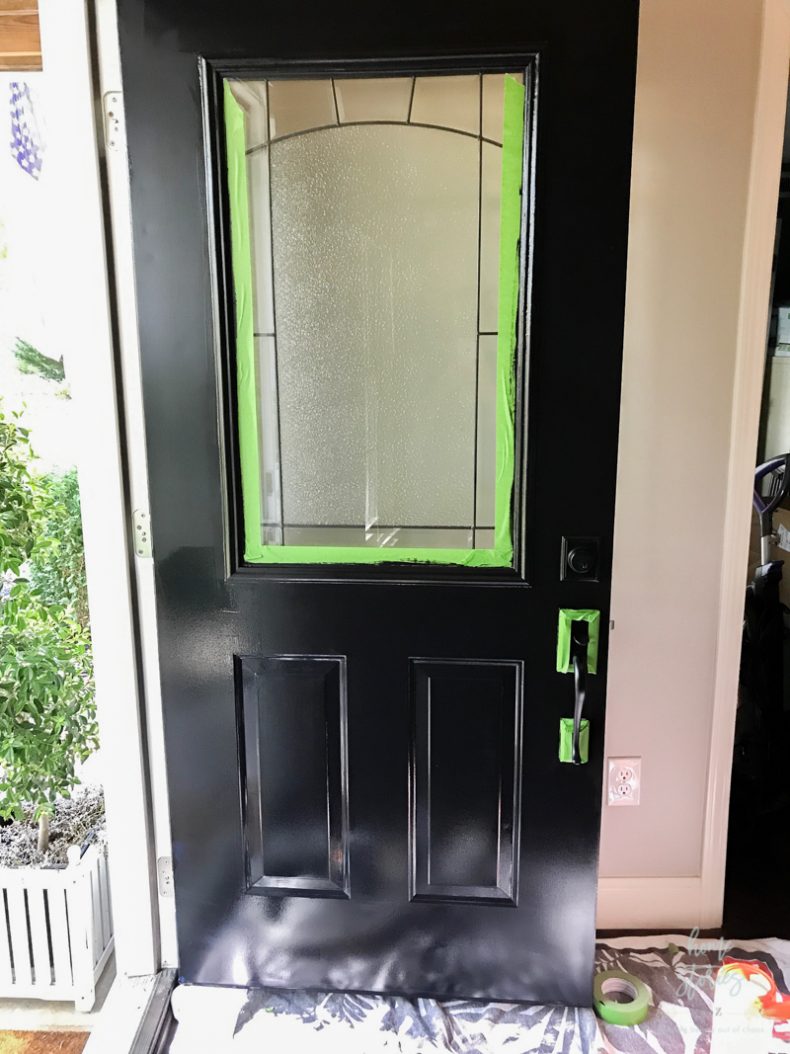
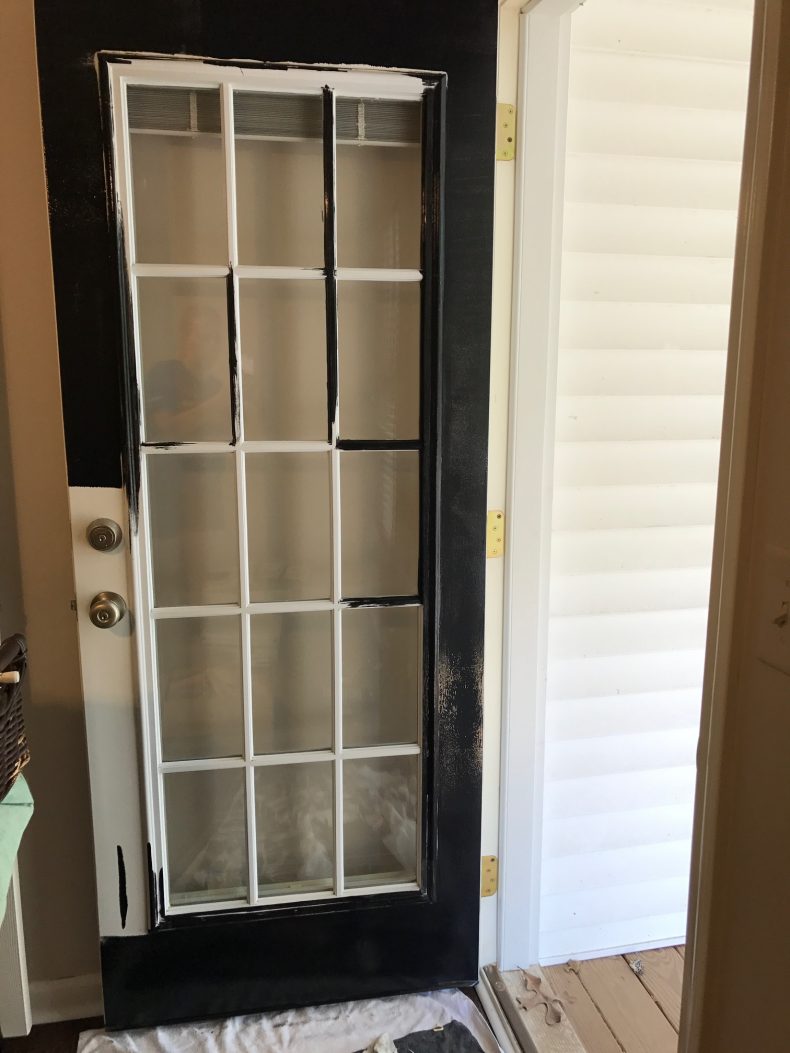
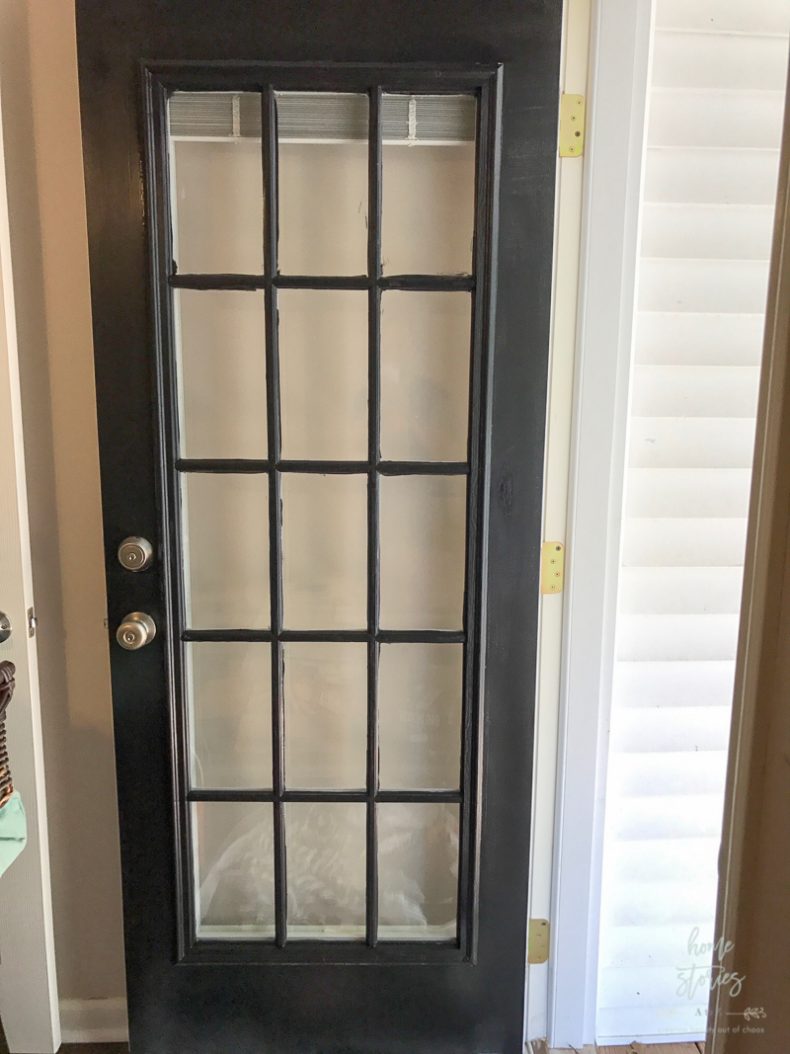
To begin painting the door, it’s wise to start with your paint brush and paint all of the trim and areas that will not be reached by your roller. Next, roll on your paint and allow your first coat to dry. Your door will need two coats of paint for best results. Below you can see what the door looks like with the first coat on.
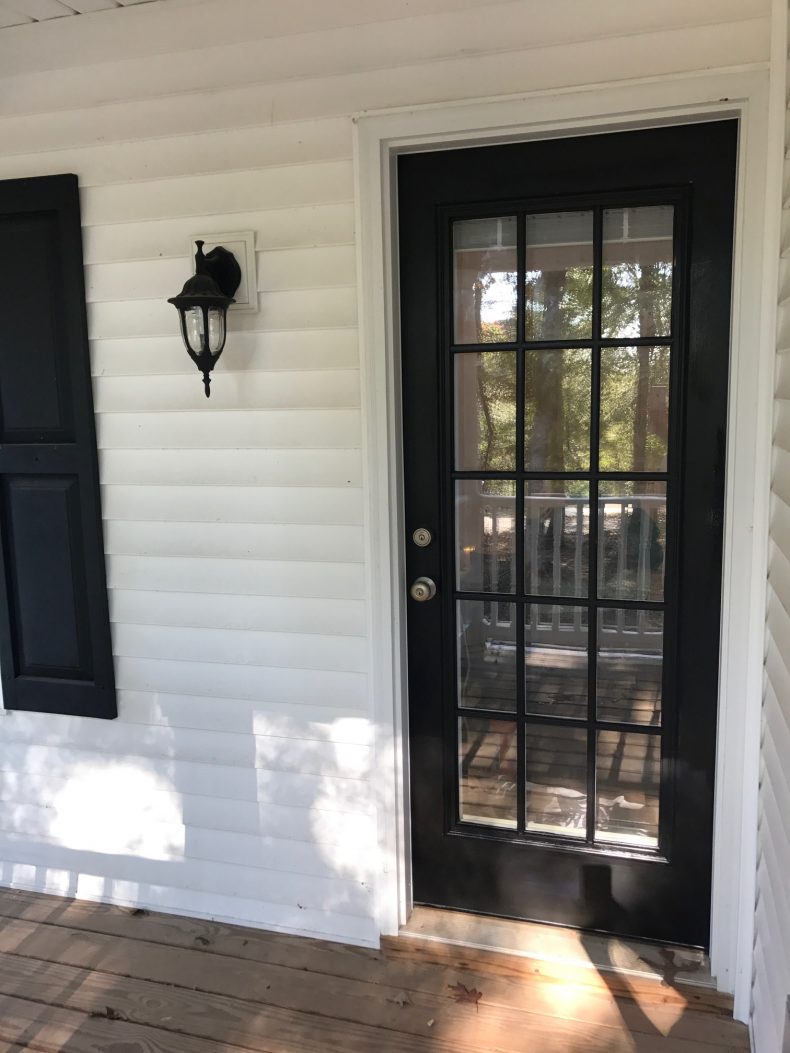
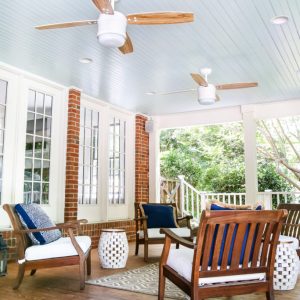
I also painted the exterior door on our second floor balcony.
Instead of laboriously taping off all of the window panes, I just did my best not to paint on the glass and then once dry (don’t attempt while it’s still wet) I used a razor blade to remove the mistakes.
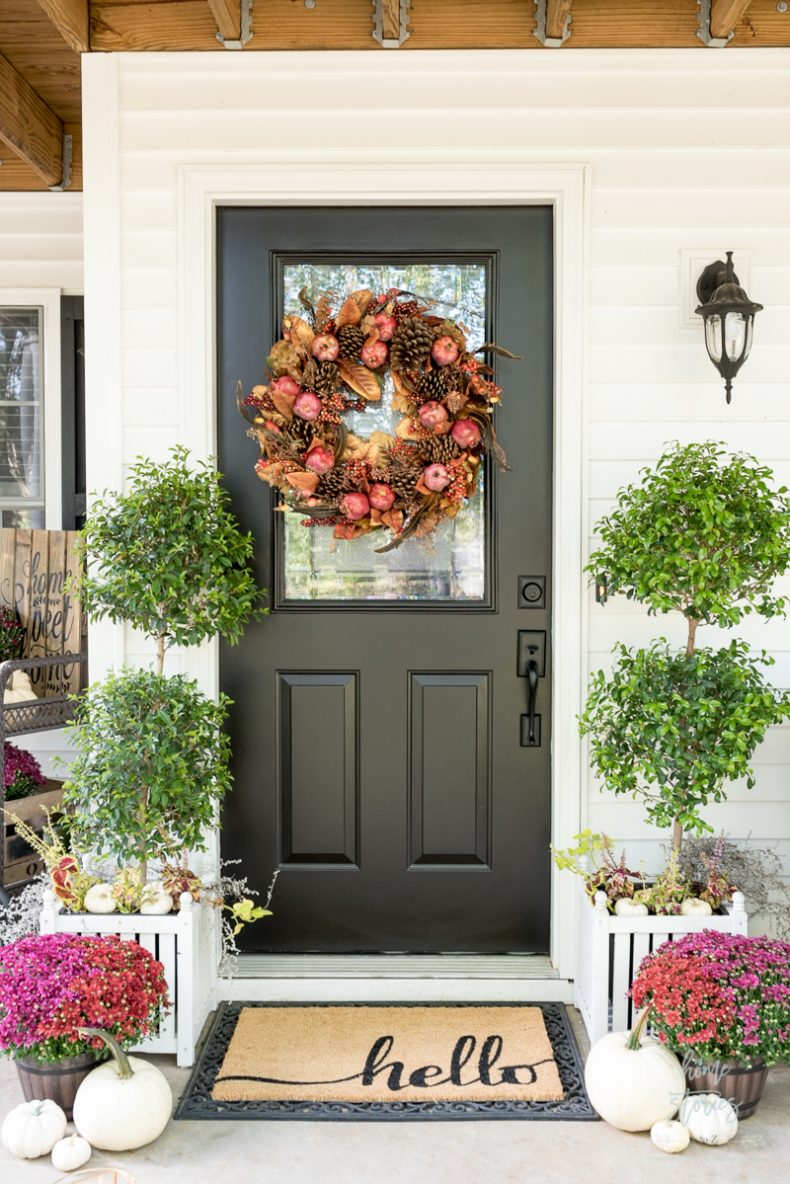
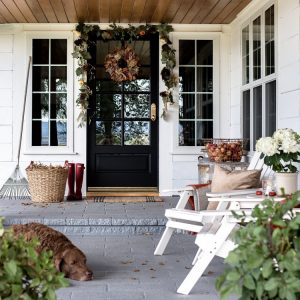
Here it is all cleaned up and looking cute!
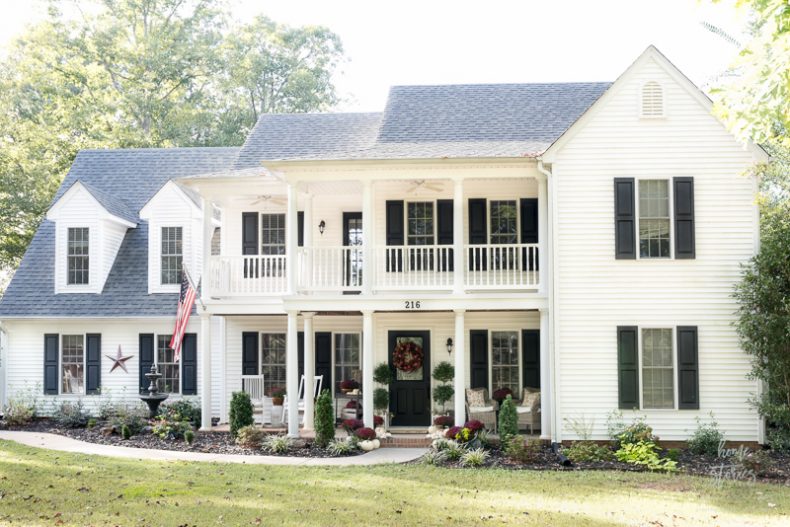
Our home was cute to begin with, but a few small changes has me loving it from the street view even more! Feel free to pin this post for later.

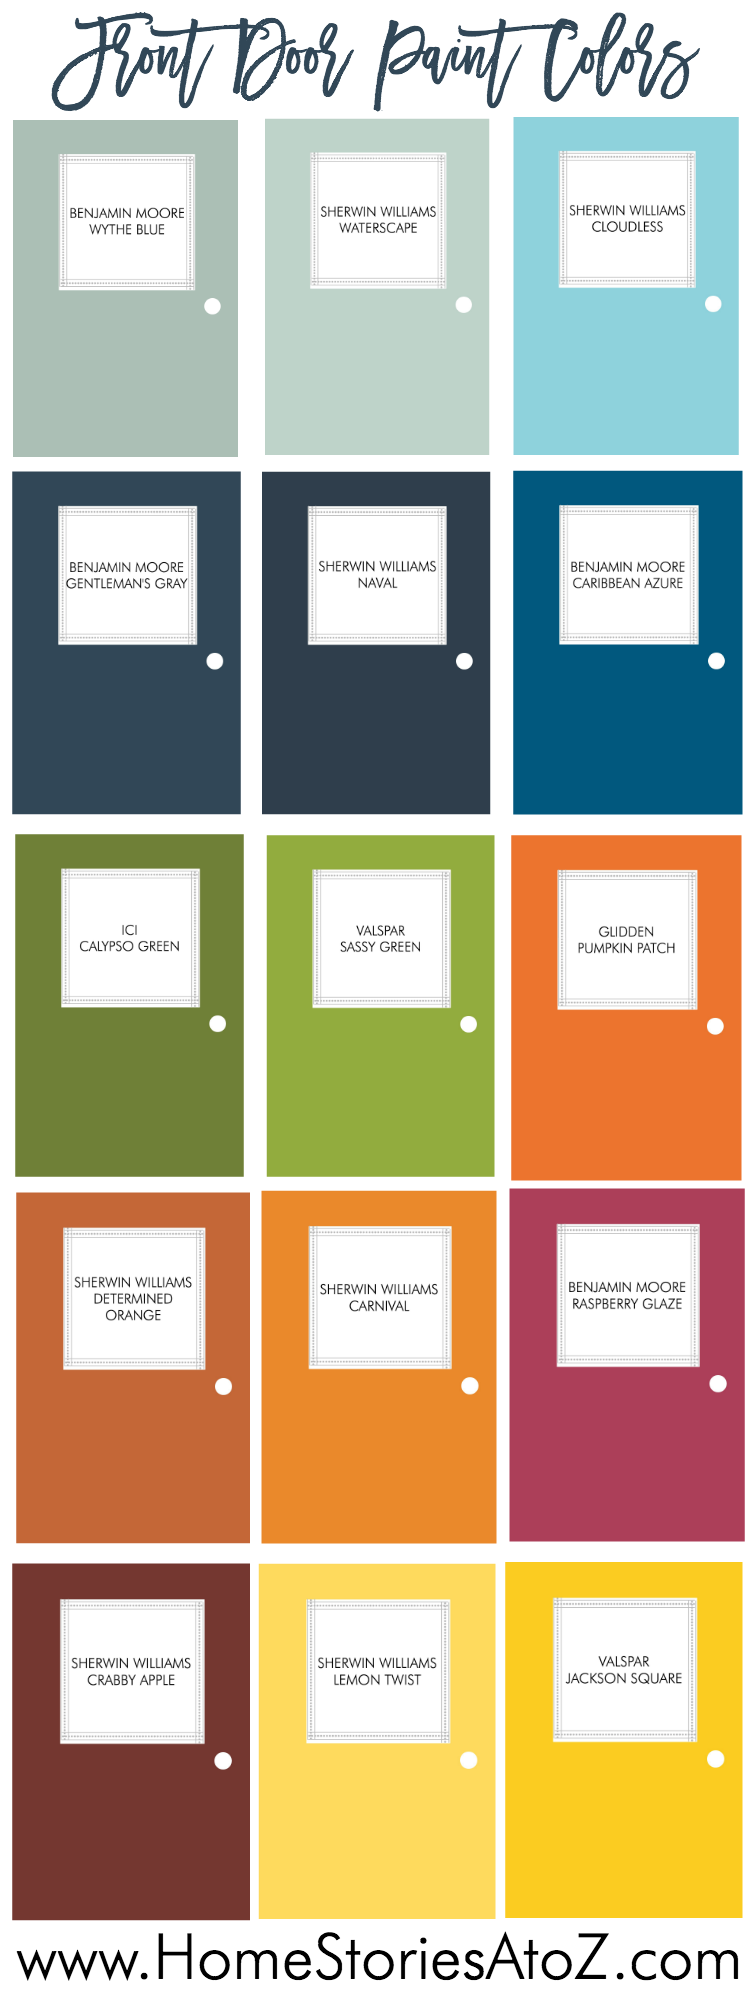
Wanting some color on your door besides traditional black and white? Check out this post:
27 Best Front Door Paint Color Ideas


It’s crazy how much a fresh coat of paint can do for the appearance of just about anything haha.
I agree that electric blue isn’t the choice for everyone, but good on you for trying to stick with it before deciding to paint over it. I’m a big fan of black, white, and grey, so I think your colour choice is spot on 😉 And you’ve done a great job with the painting! The end result looks awesome.
Had you already painted all of the window shutters? Or where they already that colour?
Painting a stained wooden door, is prep essentially the same? I’ve been wanting to do this for some time. Do I keep the interior of the door stained? How about the door jamb? Thanks for your insights.
Yes, you can paint a stained door; however, I would definitely use a primer first. I like to use Zinnser Bin primer (the red can) on anything stained because it’s shellac based and prevents bleed through. Painting or keeping the interior side of the door stained is simply a matter of preference–as is the door jamb. I painted the jamb black.
very nice!!
Nice!!!