
When I worked as an elementary school counselor, I would go to extreme lengths to avoid having to write on the chalkboard. Fellow teachers would tease me over my chalkboard-phobia. You see, I have terrible handwriting. I probably need occupational therapy for the way I grip my writing implement, and for the life of me I can’t spell under pressure or write in a straight line. So it is extremely amusing that I am giving a tutorial on how to make a chalkboard. But as I was walking through Walmart today, I passed these guys priced at $1.50 and felt inspired. So here we go: Mini Chalkboards 101.
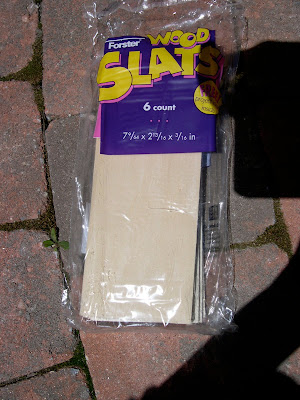
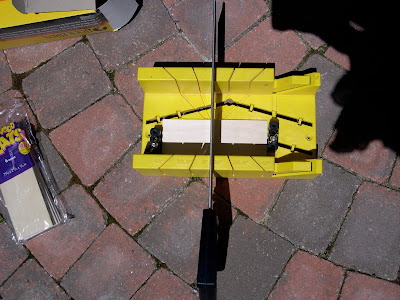
This baby pictured below is called a mitre saw. We happened to have one in the basement. If you don’t have one, get one. They are handy little things and aren’t very expensive. (However, don’t tell my husband that I know how to saw or drill or I’ll NEVER be able to get him to help me again!) I took the wood slats and cut them in half. I didn’t measure–that’s another one of my handicaps–but they turned out even in spite of it.
Next, take your primer and spray. This part is fun. You get a little dizzy off the fumes which for some may be considered fun as well. For me, it means a killer headache so do this outside if you can.
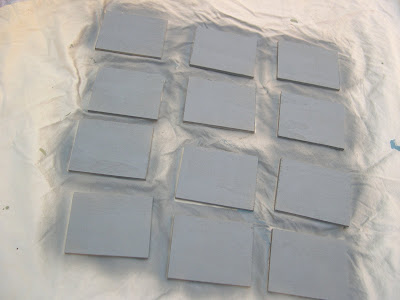
Let your primer thoroughly dry and then spray on two coats of chalkboard paint. My can said I didn’t have to wait between coats…so I didn’t.

You could be done at this point, but I thought the minis needed a little somethin’- somethin’. So out came my glue-gun and some dollar store twine. I just glued it around for a border.

For some of my chalkboards, I glued bbq skewers to the back and to others I glued some more twine to use as tie-backs.

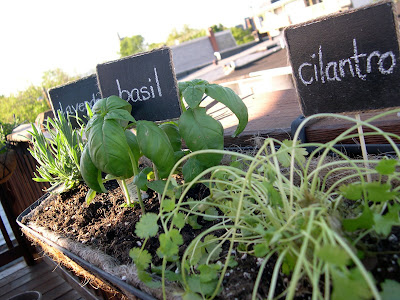
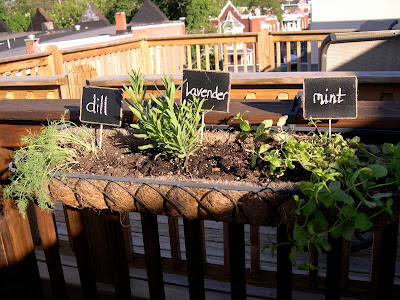
And here are the chalkboards below playing the role of cute herb marker. Does anyone see something wrong here? Yes, the “mint” is actually cilantro. This is why someone as blond as me needs to mark her herbs. Wow. Glad I caught that because some guest of mine would have had a pretty gross tasting glass of iced tea!

Okay, got it straightened out for this shot.
Hello cute signs! Dill, you’re looking so sad already. Please don’t die on me; I just planted you.
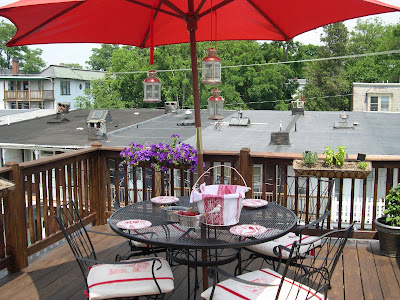
This has nothing to do with the tutorial, but I thought you might enjoy seeing a picture of my roof deck.
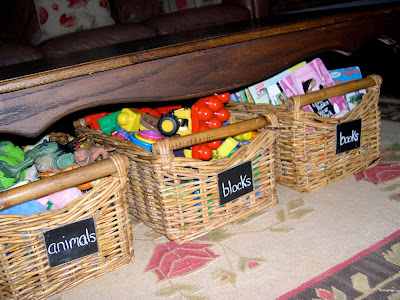
With the rest of the tags, I labeled some toy baskets that will probably continue to be a jumbled mess in spite of their cute signs. A mommy can try though can’t she?
Now, just think of how cute your little chalkboard signs will look with your neat-girly-I’m-totally-jealous-of-you handwriting. If you decide to do this project, let me know and show me your results!
Share this:
Want my decorating tips weekly? Sign up for my newsletter.

Your information will never be shared or sold to a 3rd party.

Great idea!! I've added it to my offical to-do list for the garden, pantry, and clothes closet – thanks for sharing 🙂
Dude these are so stinking cute. Love the site, you are officially bookmarked. 😀
Glad Tina intorduced us, keep it up!
That is really cute. I would be impressed with myself if I just planted the plants much less gave them a designer label. Your nesting instinct is on super-turbo at all times, huh? I think you need to apply for your own show at HGTV. I would watch you.
Love them! I made them one year for my garden, but the monster sized squirrels in Philly made off with them… maybe I’ll have to do it again…
These are the cutest things ever! Even I could attempt to make these.
I have a question for you! I have some picture frames (wooden) that I would like to spray paint white. How easy is that? Do I need to prepare the frames first or just go ahead and spray! I think that this needs to be a feature of the blog…. Ask Nestifying Beth who to do a craft project!
Cute honey! Nice work! The secret is out but I will still drill and saw for you if you need me too. Love you! See you soon!