
Learn how we made a custom two-sided DIY faux wood beam, perfect for open concept rooms with varying ceiling heights! Use this tutorial as inspiration for creating your own custom, two-sided beam.
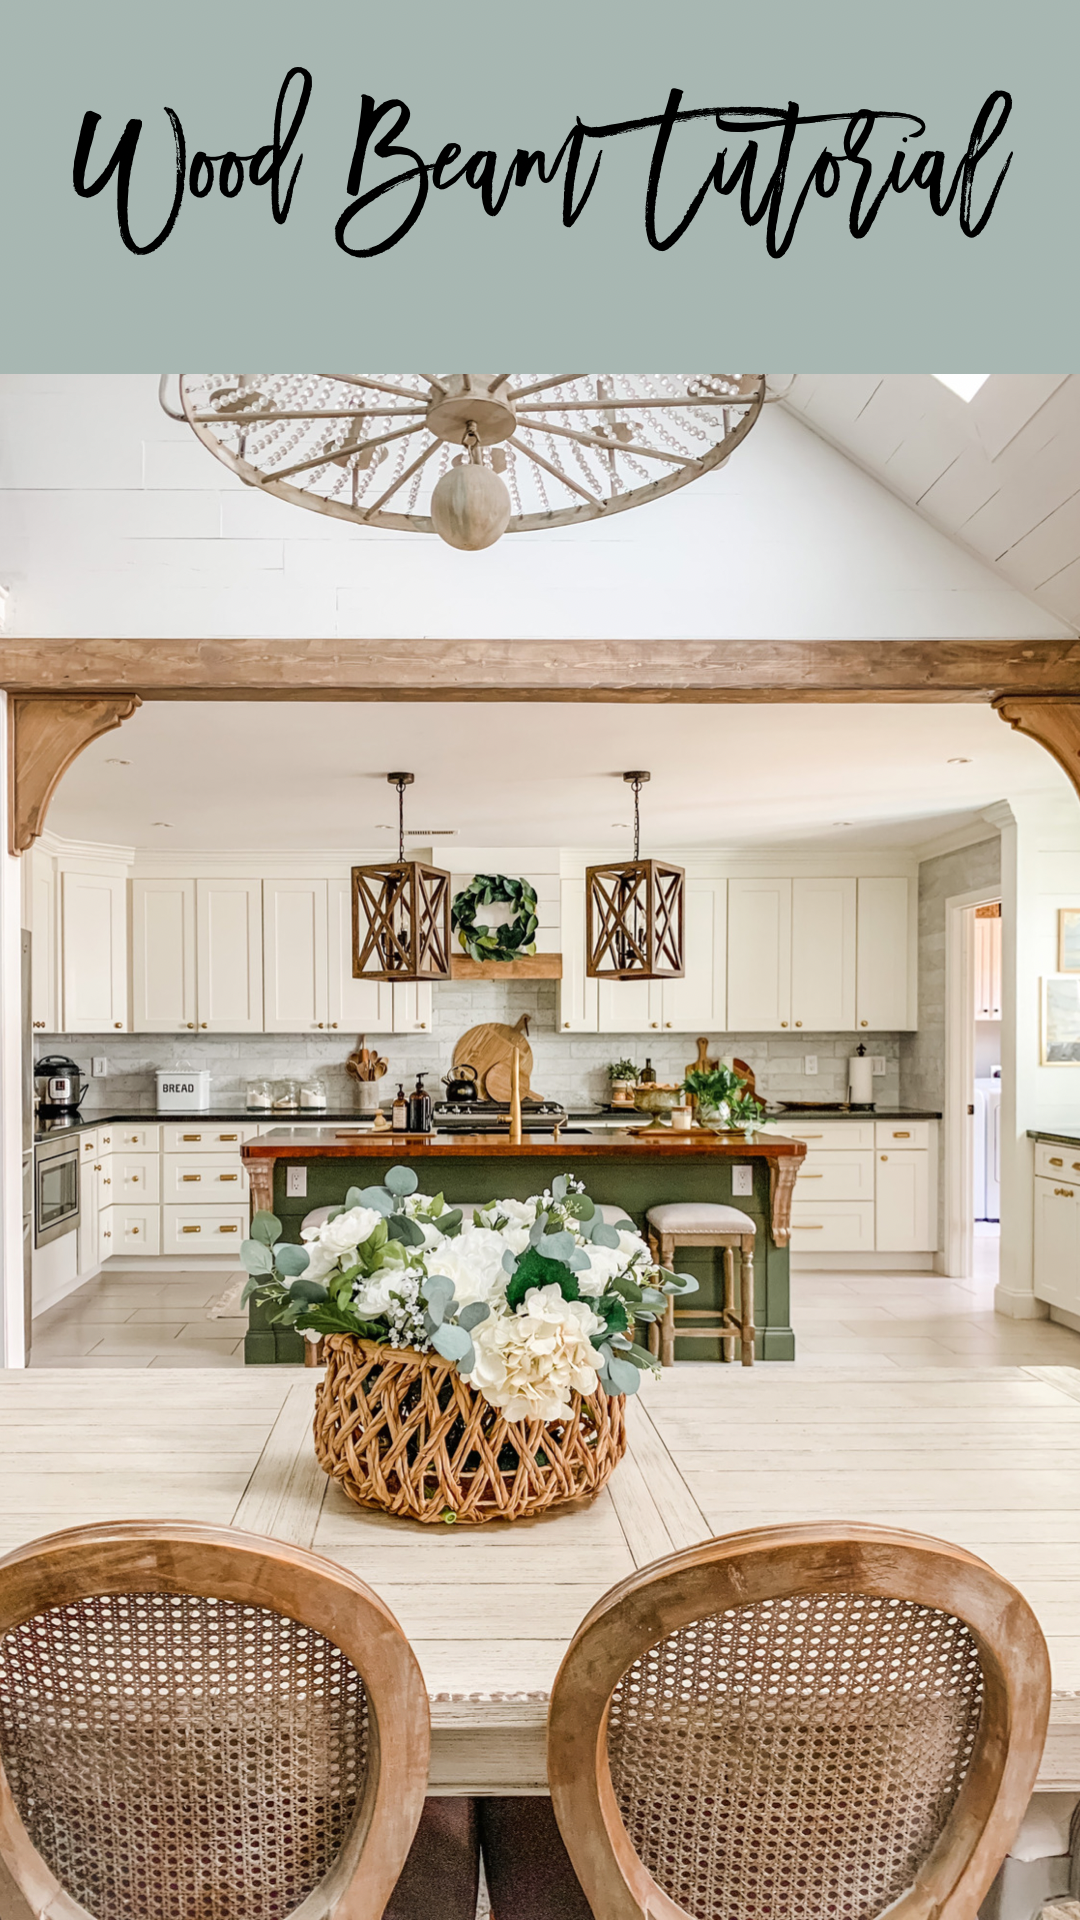
The Kitchen Design Process
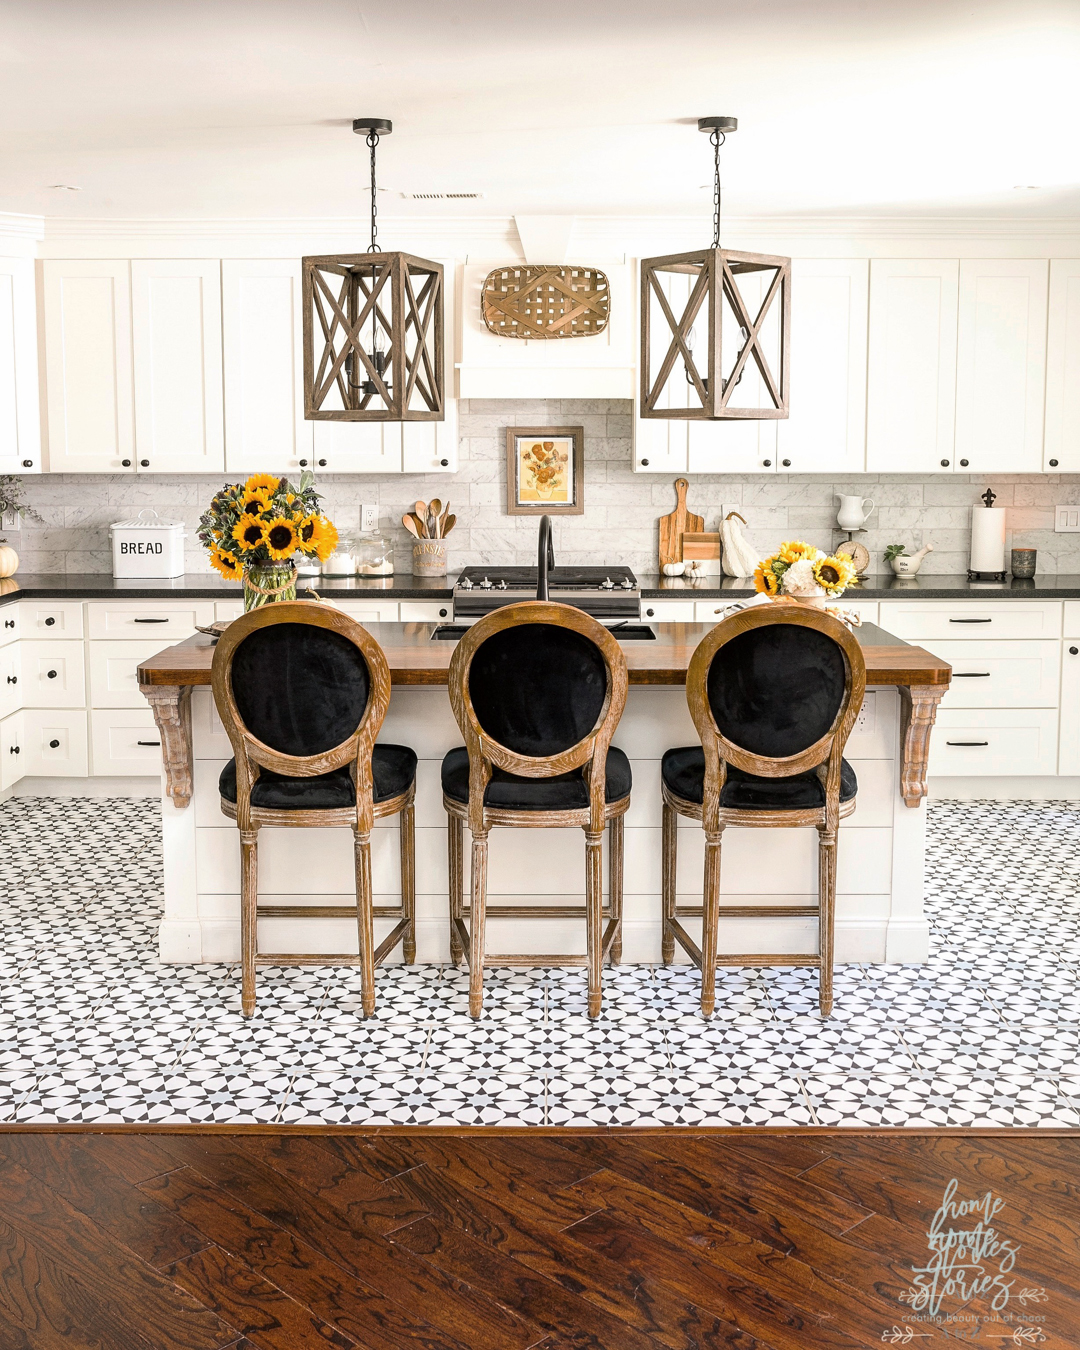
I have made numerous changes to our kitchen during quarantine this year including: changing the hardware color and faucet to gold, painting the kitchen island greige and then green, adding new barstools, building a new kitchen hood, adding lights above the beverage station, changing out the peel and stick tiles, and most recently–adding a DIY kitchen beam!
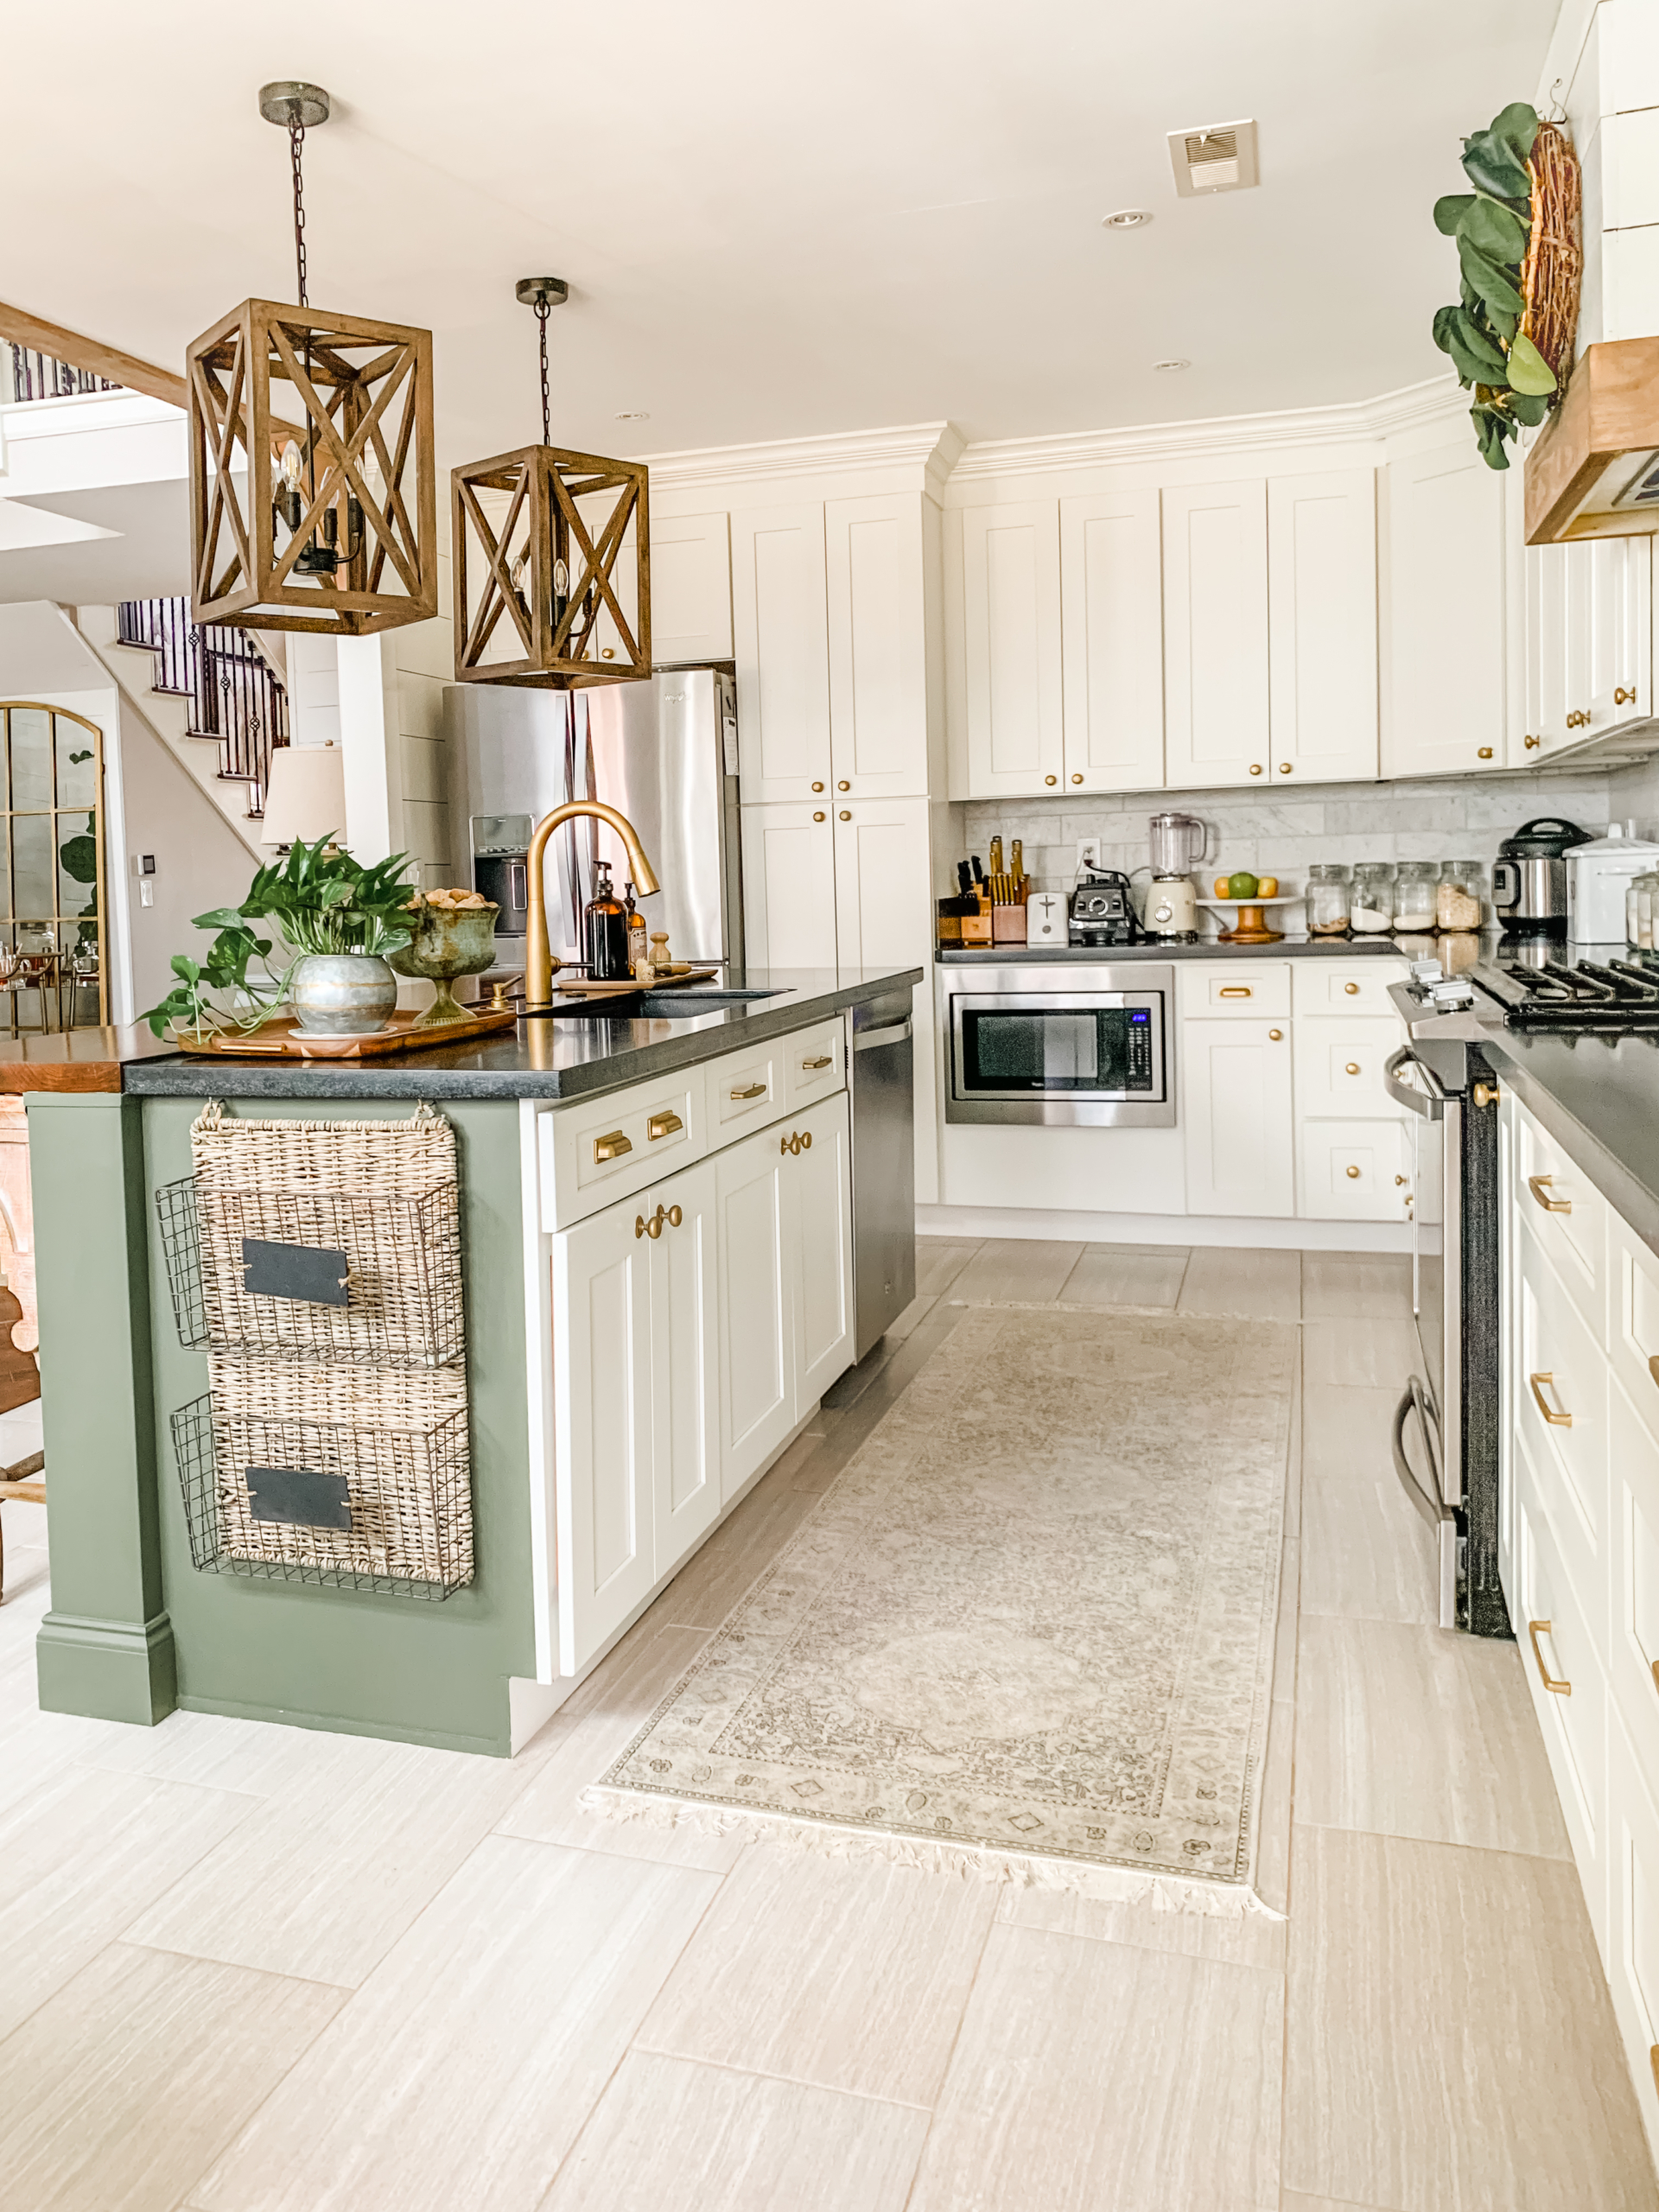
When I look at the below “before” picture of my kitchen, I absolutely LOVE it. And when I look at the “after” picture, again, I absolutely LOVE it! I often make affordable changes to a space when I tire of a look, or just crave a different aesthetic. The peel and stick floor tiles that I used to cover our original tile were bold, beautiful, and fun, but very loud and busy. I always knew it would be a temporary look for the kitchen. This year with so much more time spent at home, I needed to quiet this space and make it work better with the original flooring and open concept floor plan which meant reducing the black and changing the color palette.
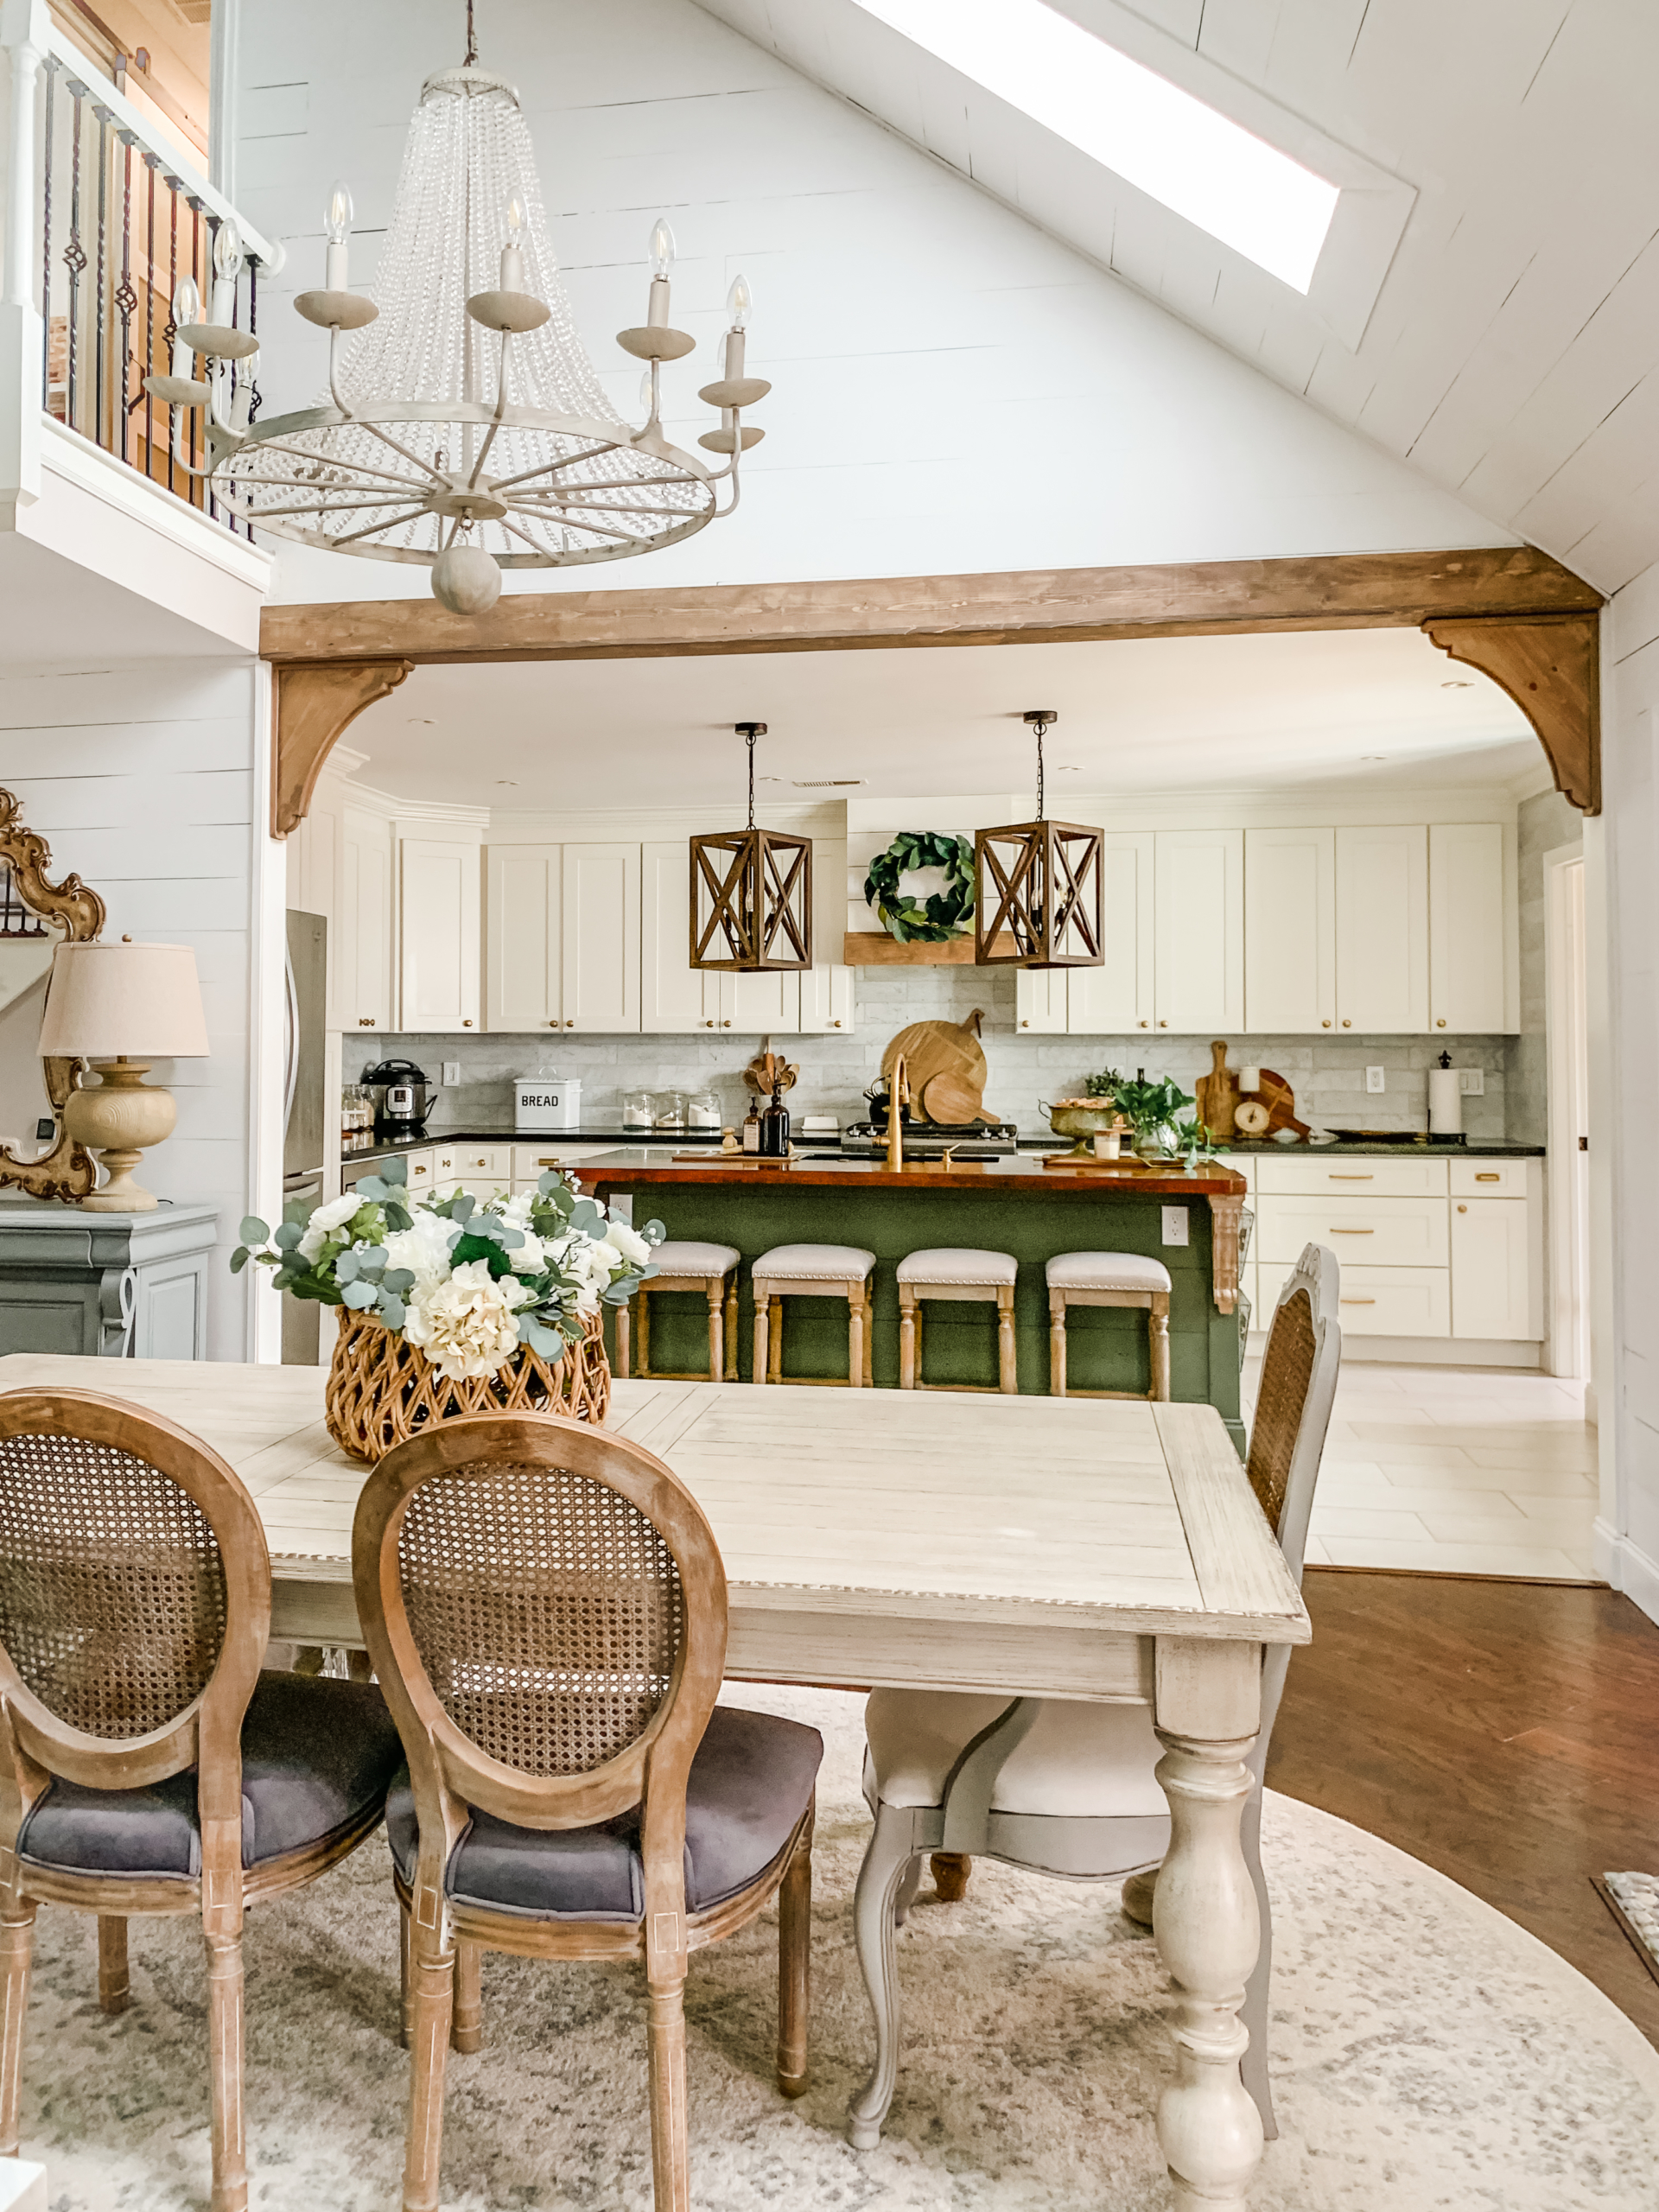
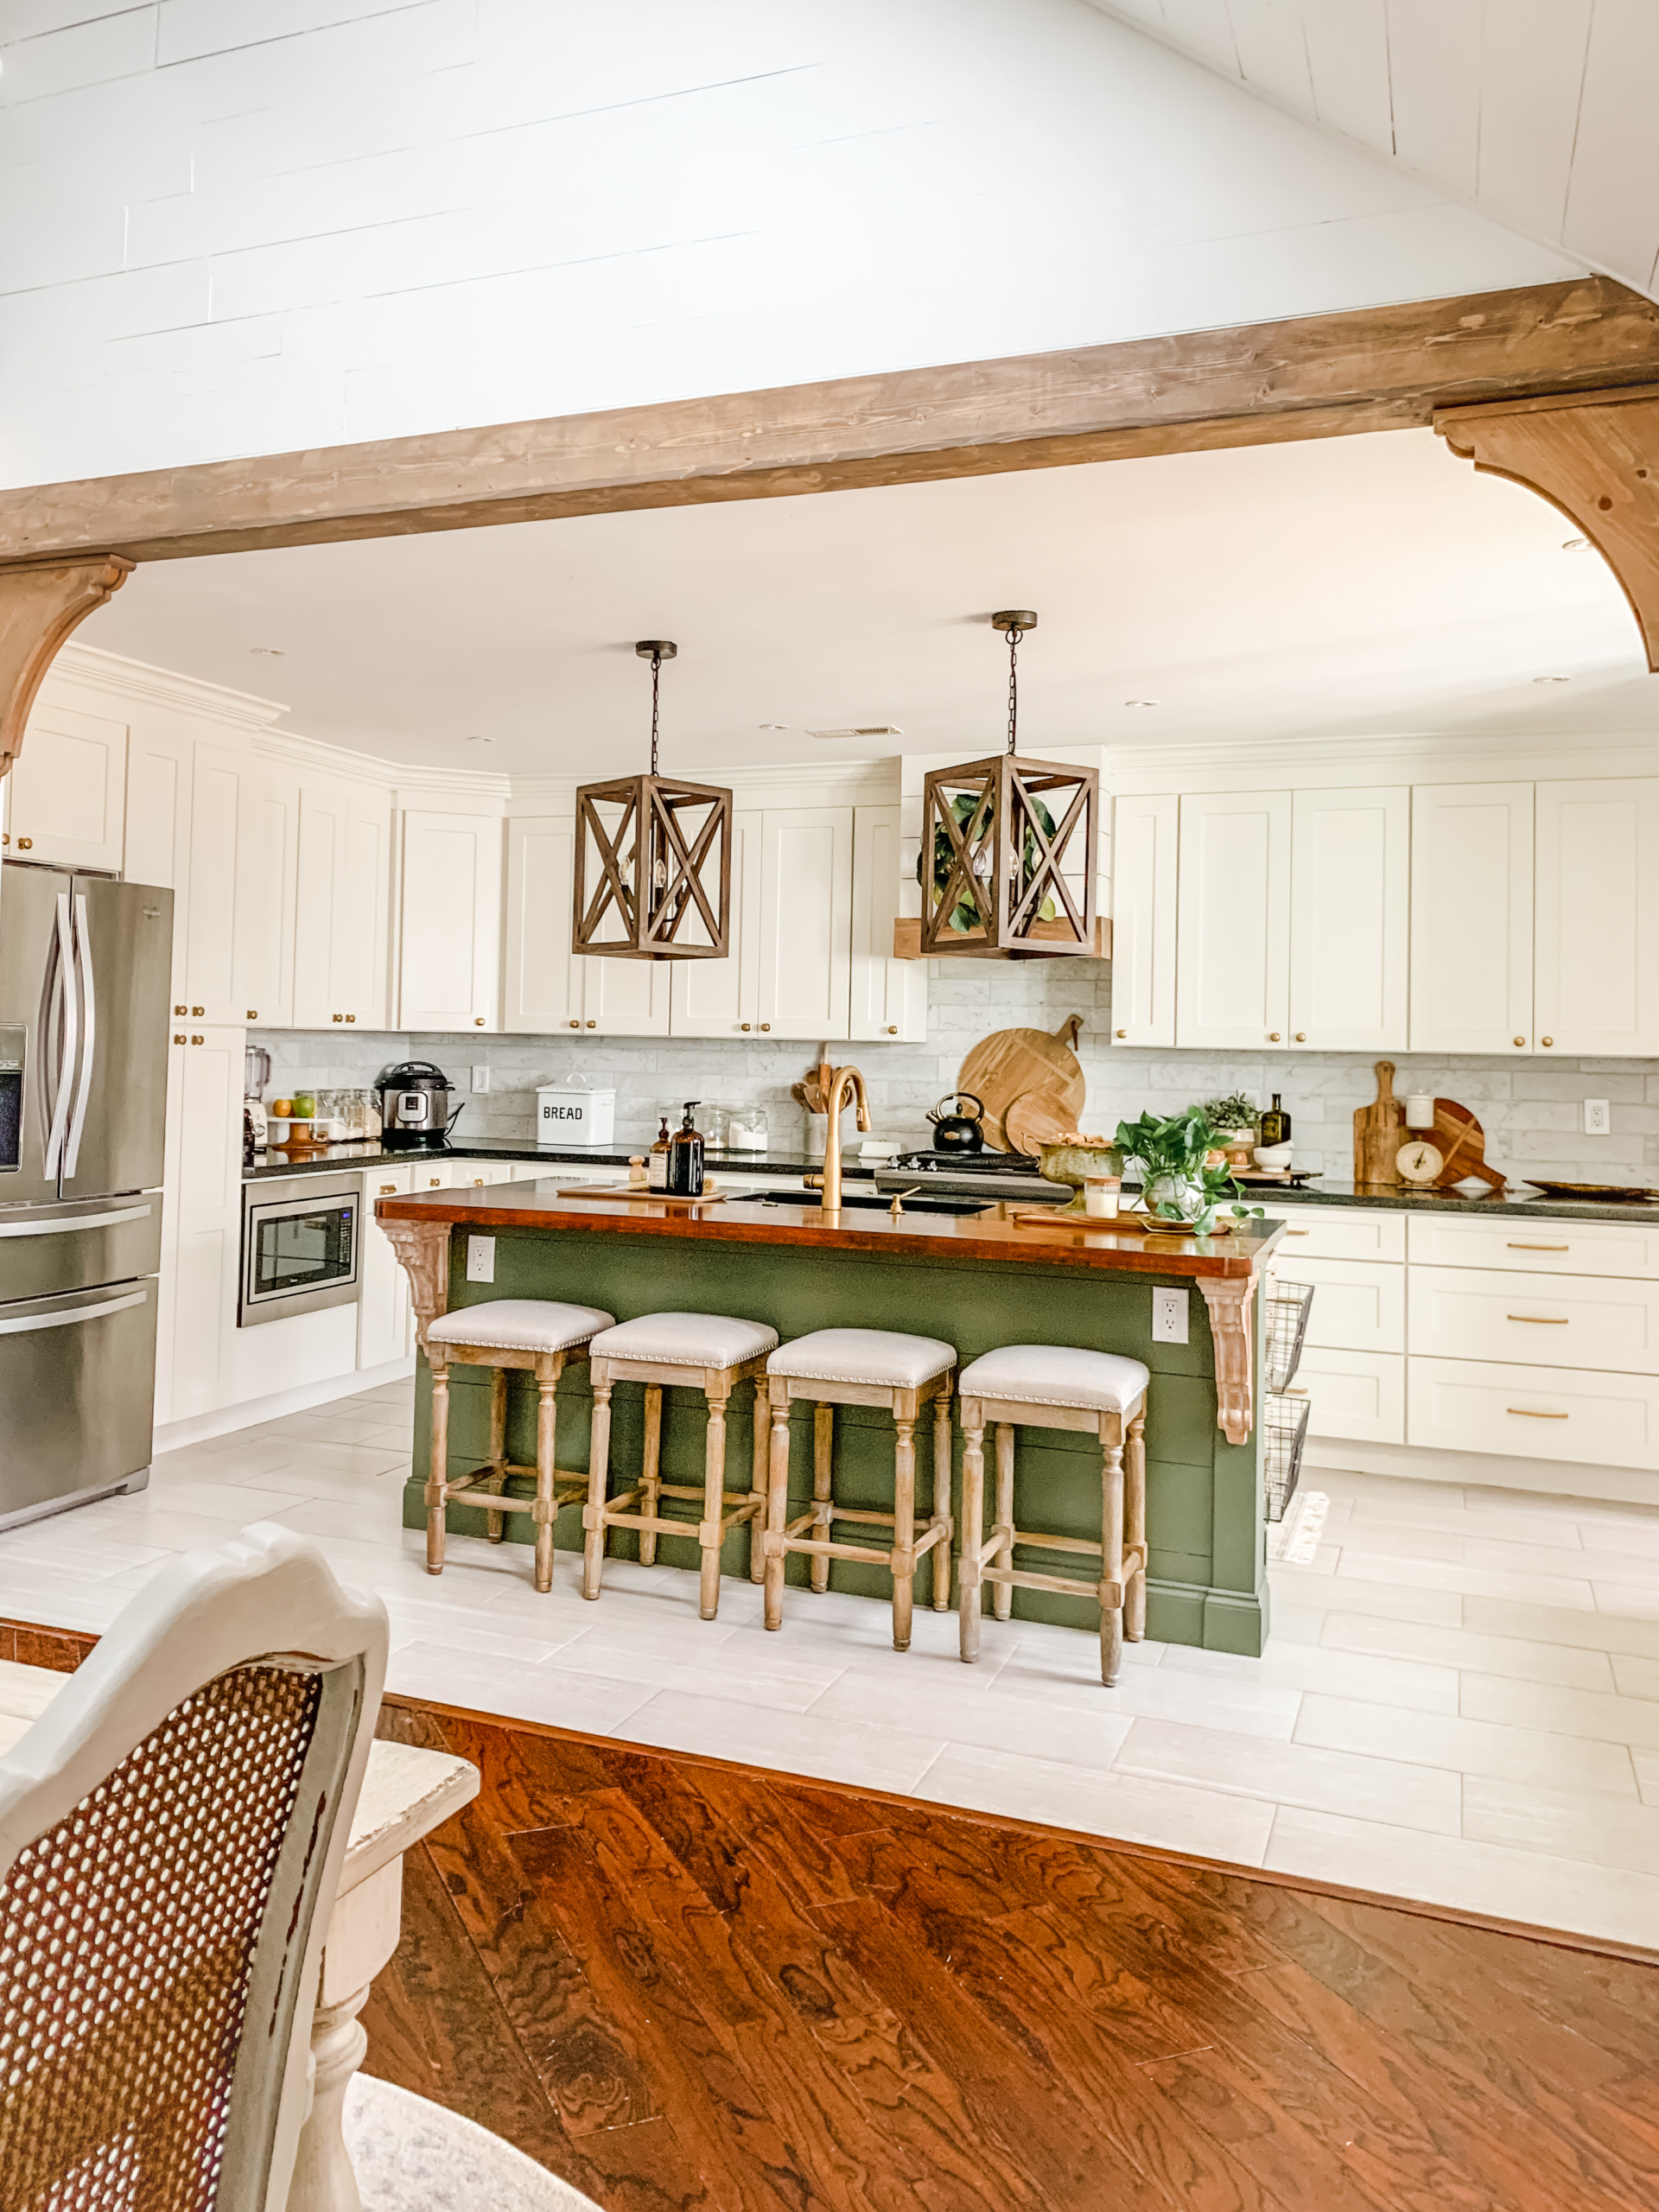
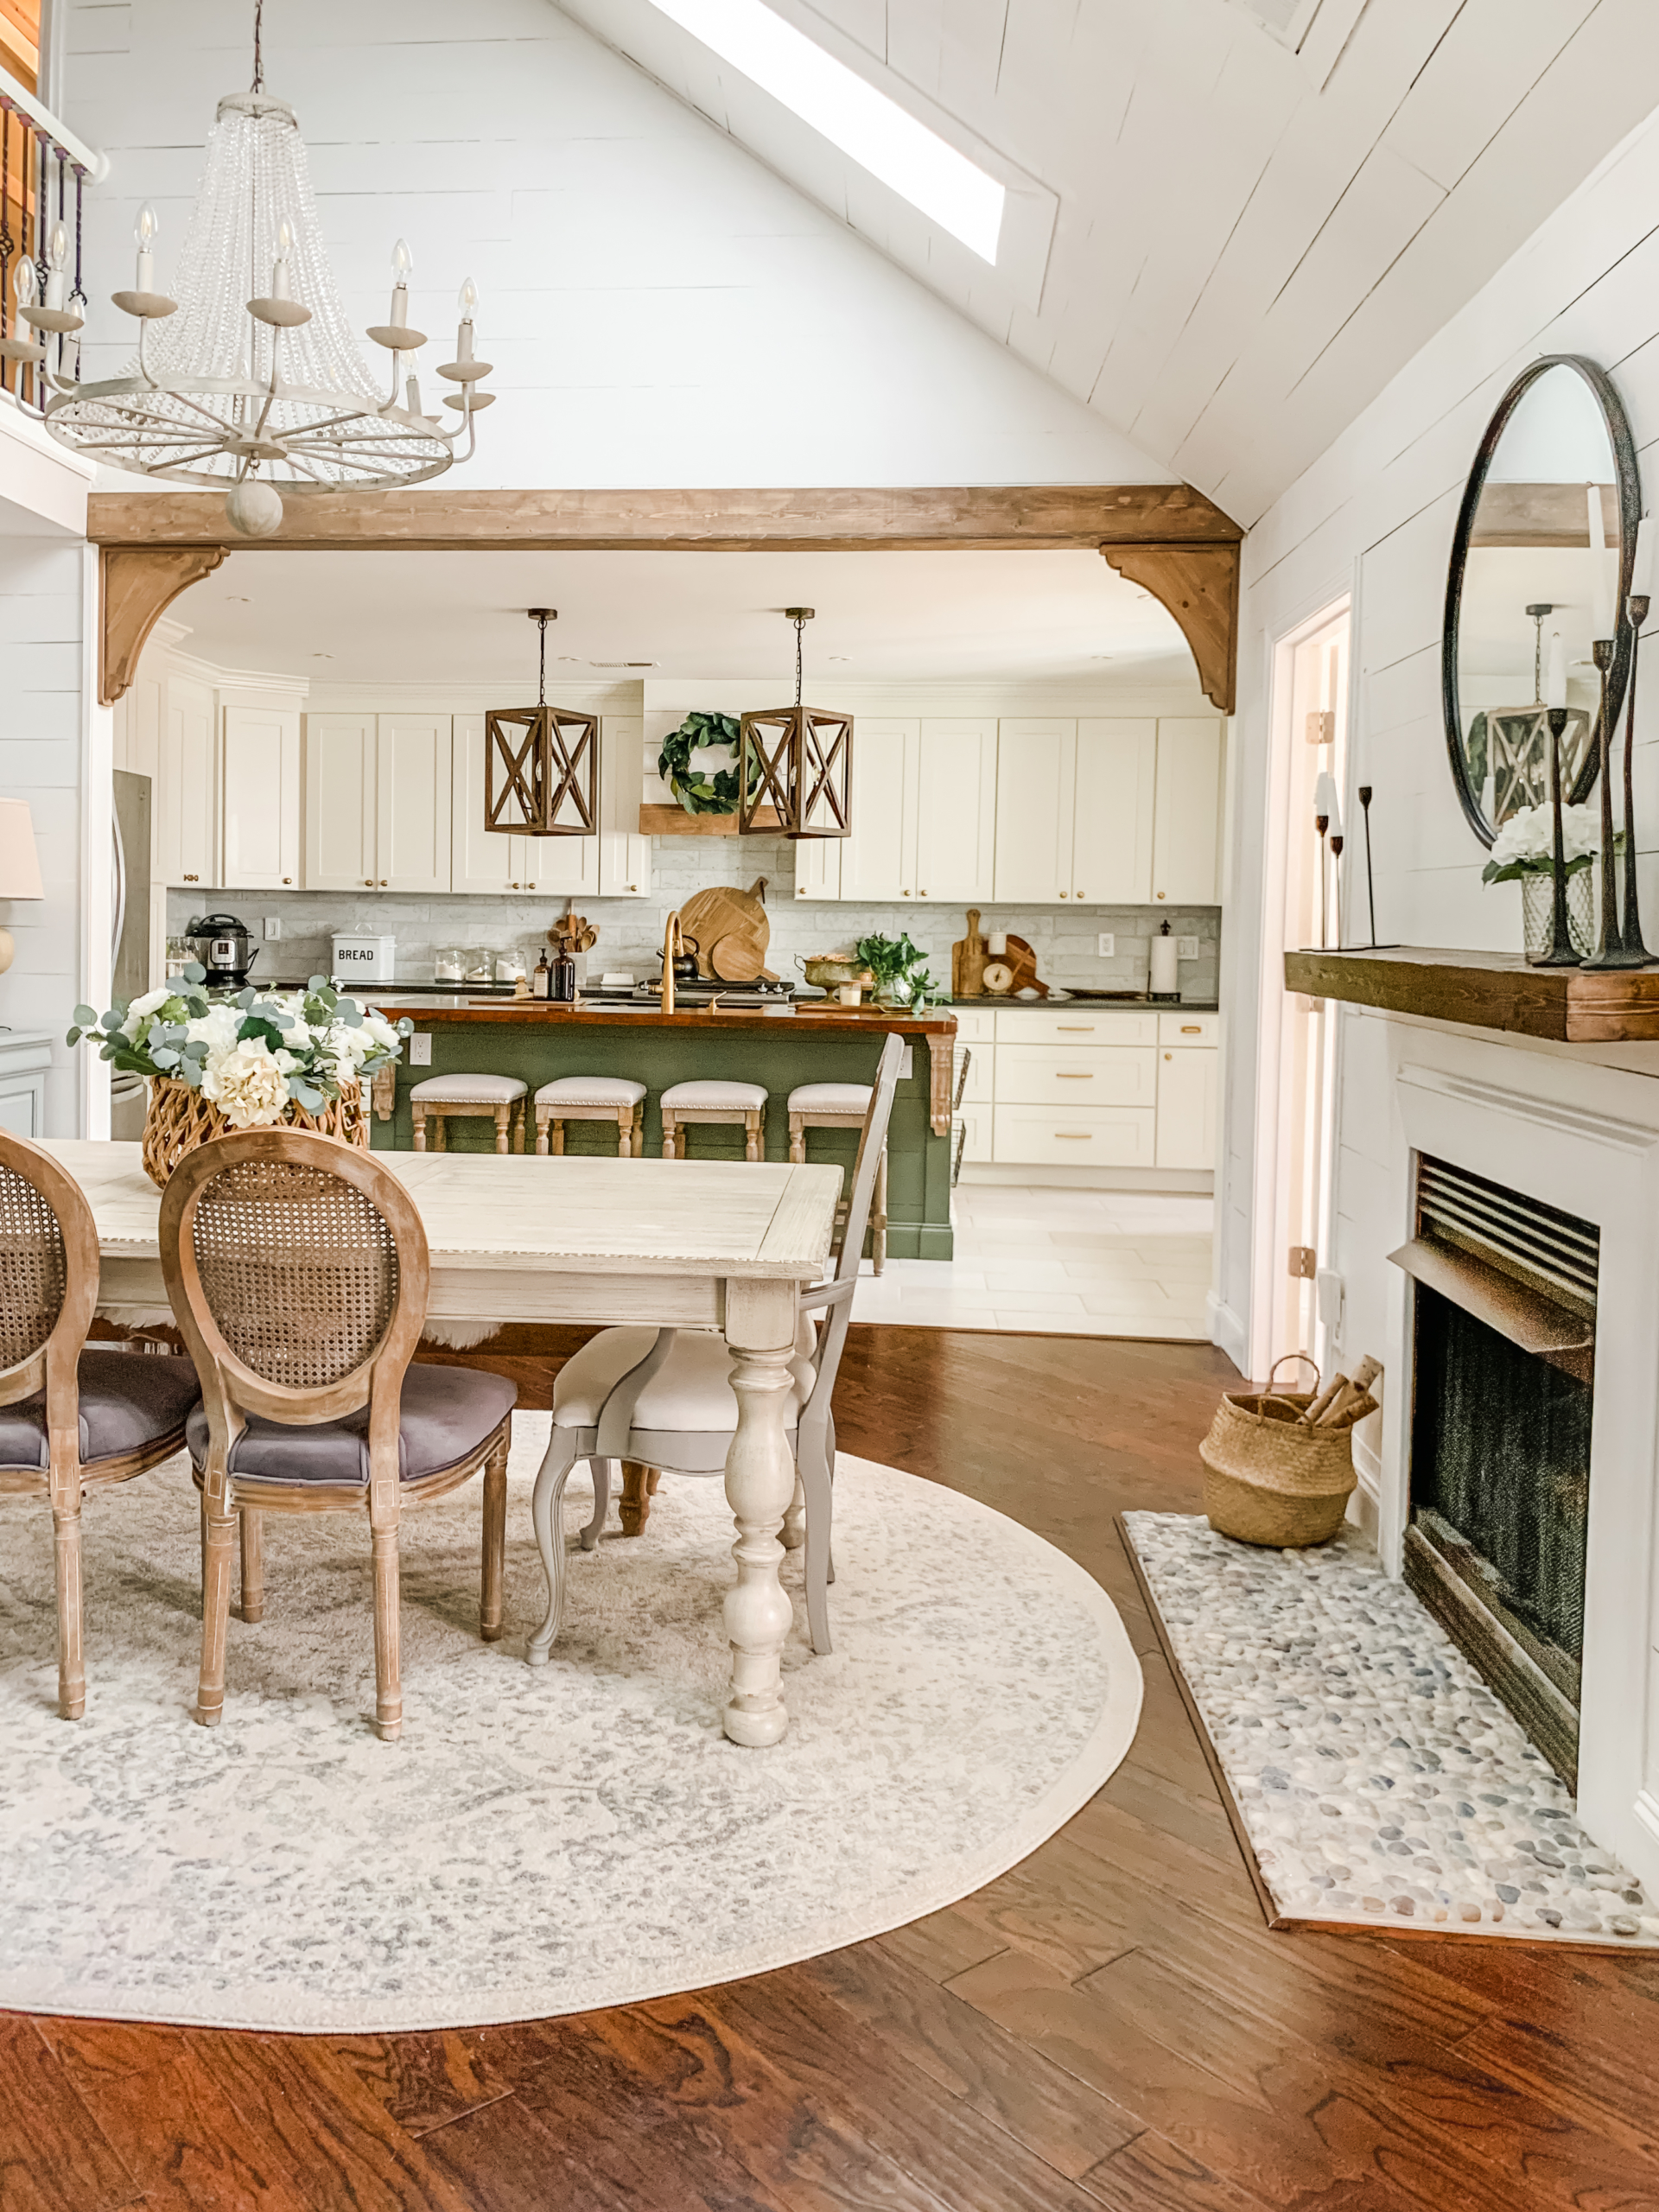
I also recently switched our living room with our dining room, and we are all loving the change! This awkward “great room” in our home has 18 foot ceilings that butt up to the kitchen. I knew that a wood beam placed between the two rooms would “ground” the kitchen and set it apart from the great room. The corbels were purchased on Etsy, originally for our DIY Kitchen Shiplap Hood with Wood Trim. However, once I finished the hood, I decided I liked the simpler look without the corbels and decided to repurpose them elsewhere. It was a happy mistake!
Now that you’re all caught up on my kitchen design process, let’s get to this beam tutorial!
DIY Faux Wood Beam Room Divider Tutorial
Affiliate Linked Supplies Used:
- Dremel
(to cut away pre-existing crown molding)
- 2 1 x 6 x 12 pine boards from Lowe’s
- Dewalt Saw
- Ryobi AirStrike Nail Gun
- Liquid Nails
- Sandpaper
, lint free cloth
- Minwax Wood Conditioner
Minwax Special Walnut Stain
- Minwax Classic Gray Stain
- Dowel pins
(used to attach corbels to wall)


Step 1: Measure the length of your wall and determine the desired width of your beam.
Most DIY beam tutorials are created using three wood planks nailed into 2×4’s placed on the ceiling. I wanted the illusion of a pre-existing beam level with the ceiling, not dropped, so I instead opted for a two-sided wood beam. The opening to our kitchen is just shy of 12 feet wide so I knew I needed 12 foot boards. The width of the beam is a matter of personal preference and availability. Our shiplap planks in our living room are 6 inches wide which is how I determined the desired width of our beam. A wider plank was going to cause more complicated structural issues with our pre-existing molding, so I decided to go with two 1 x 6 x 12 pine boards from Lowe’s and cut them to size. We had crown molding wrapped around the front of the opening which we removed with a dremel.
Step 2: Cut your beams to size, nail together, and then stain.
I chose a simple butt joint for the beams instead of a pocket screw joint and used my Ryobi AirStrike Nail Gun to connect the boards together. It really couldn’t be any simpler! Just measure twice, cut your boards to size (once!), and nail them together.


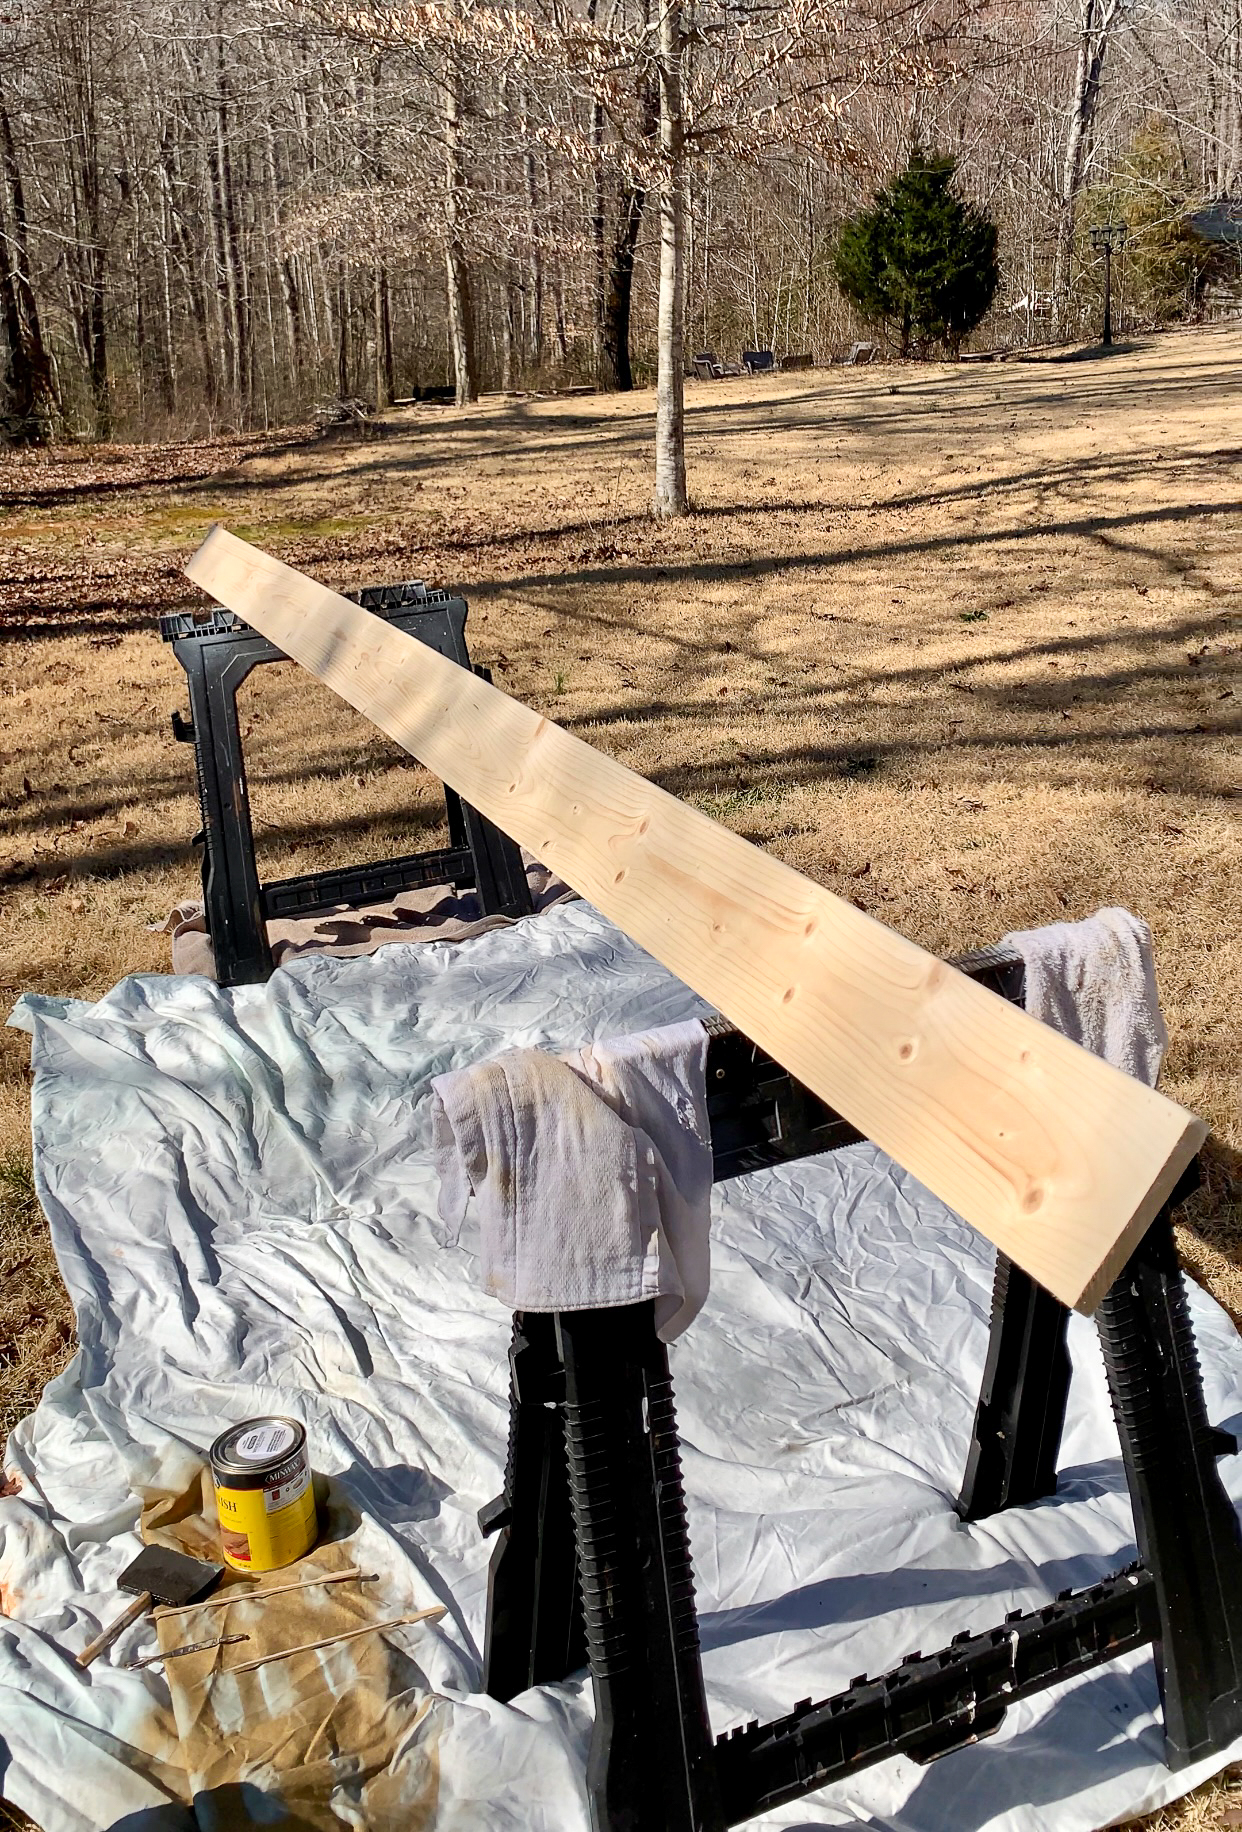
Stain your boards and corbels. To see my full staining process, press play on the video below!
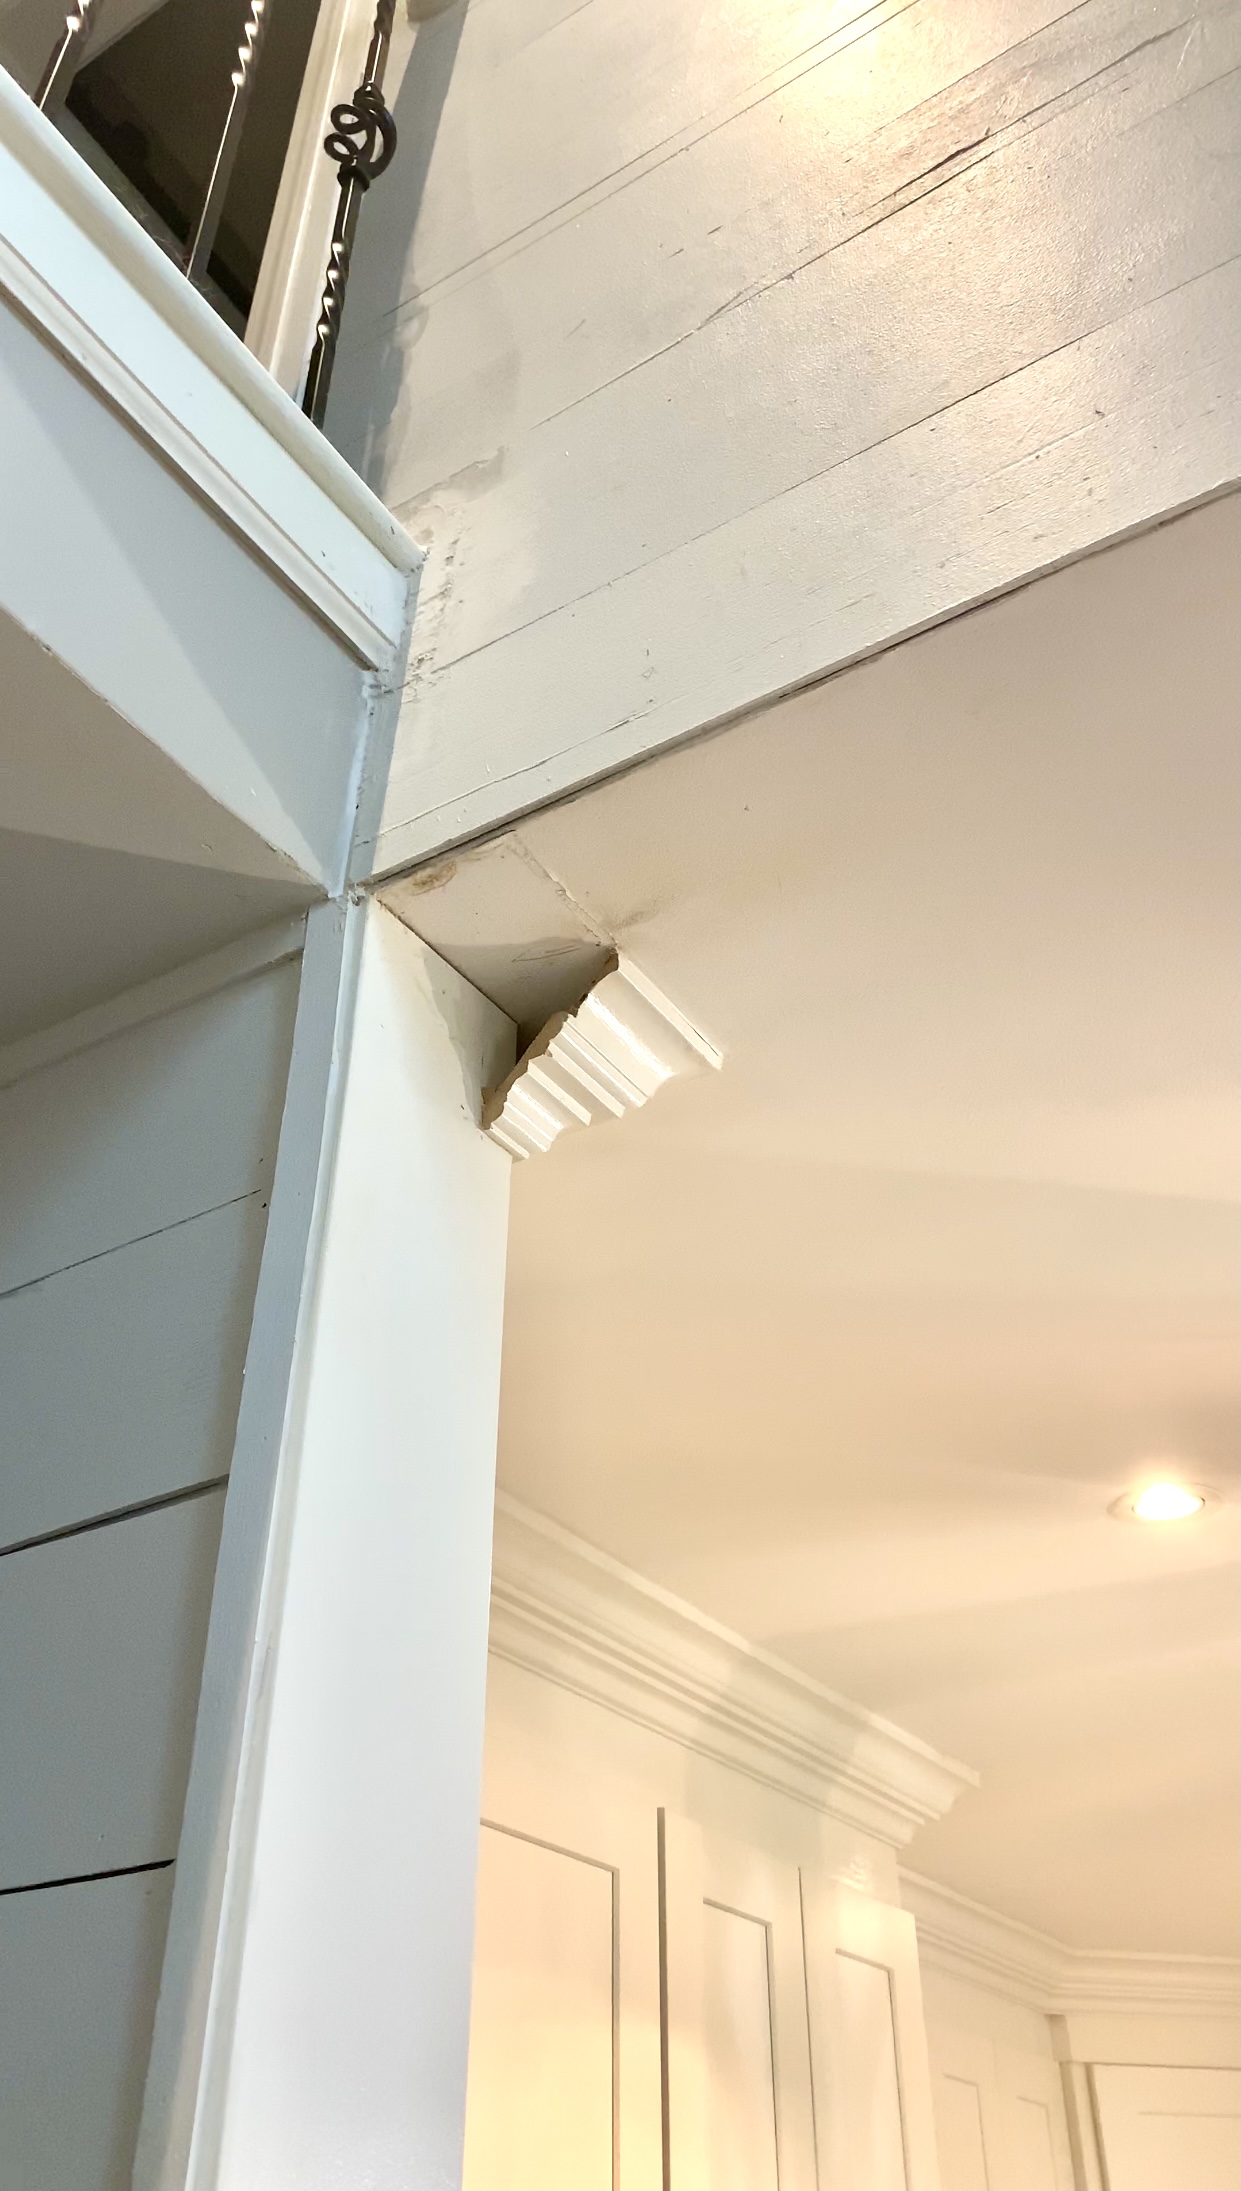
Step 3: Hang your beam and corbels.
We were fortunate to have surrounding wood to attach our beam and corbels. Typically, I am struggling to find a stud in the drywall, but since the ceiling joist support runs the length of this opening, we were able to easily attach the beam using the AirStrike Nail Gun. The corbels were a bit trickier to hang. The pre-existing hardware to attach the corbels to the wall with a screw seemed a bit insufficient for the weight of the corbels, so we opted to create dowel pin joints in each corbel by drilling holes and wood gluing dowel pins into the backs of each corbel. We then drilled corresponding holes into the wall and Matt hammered each into place.

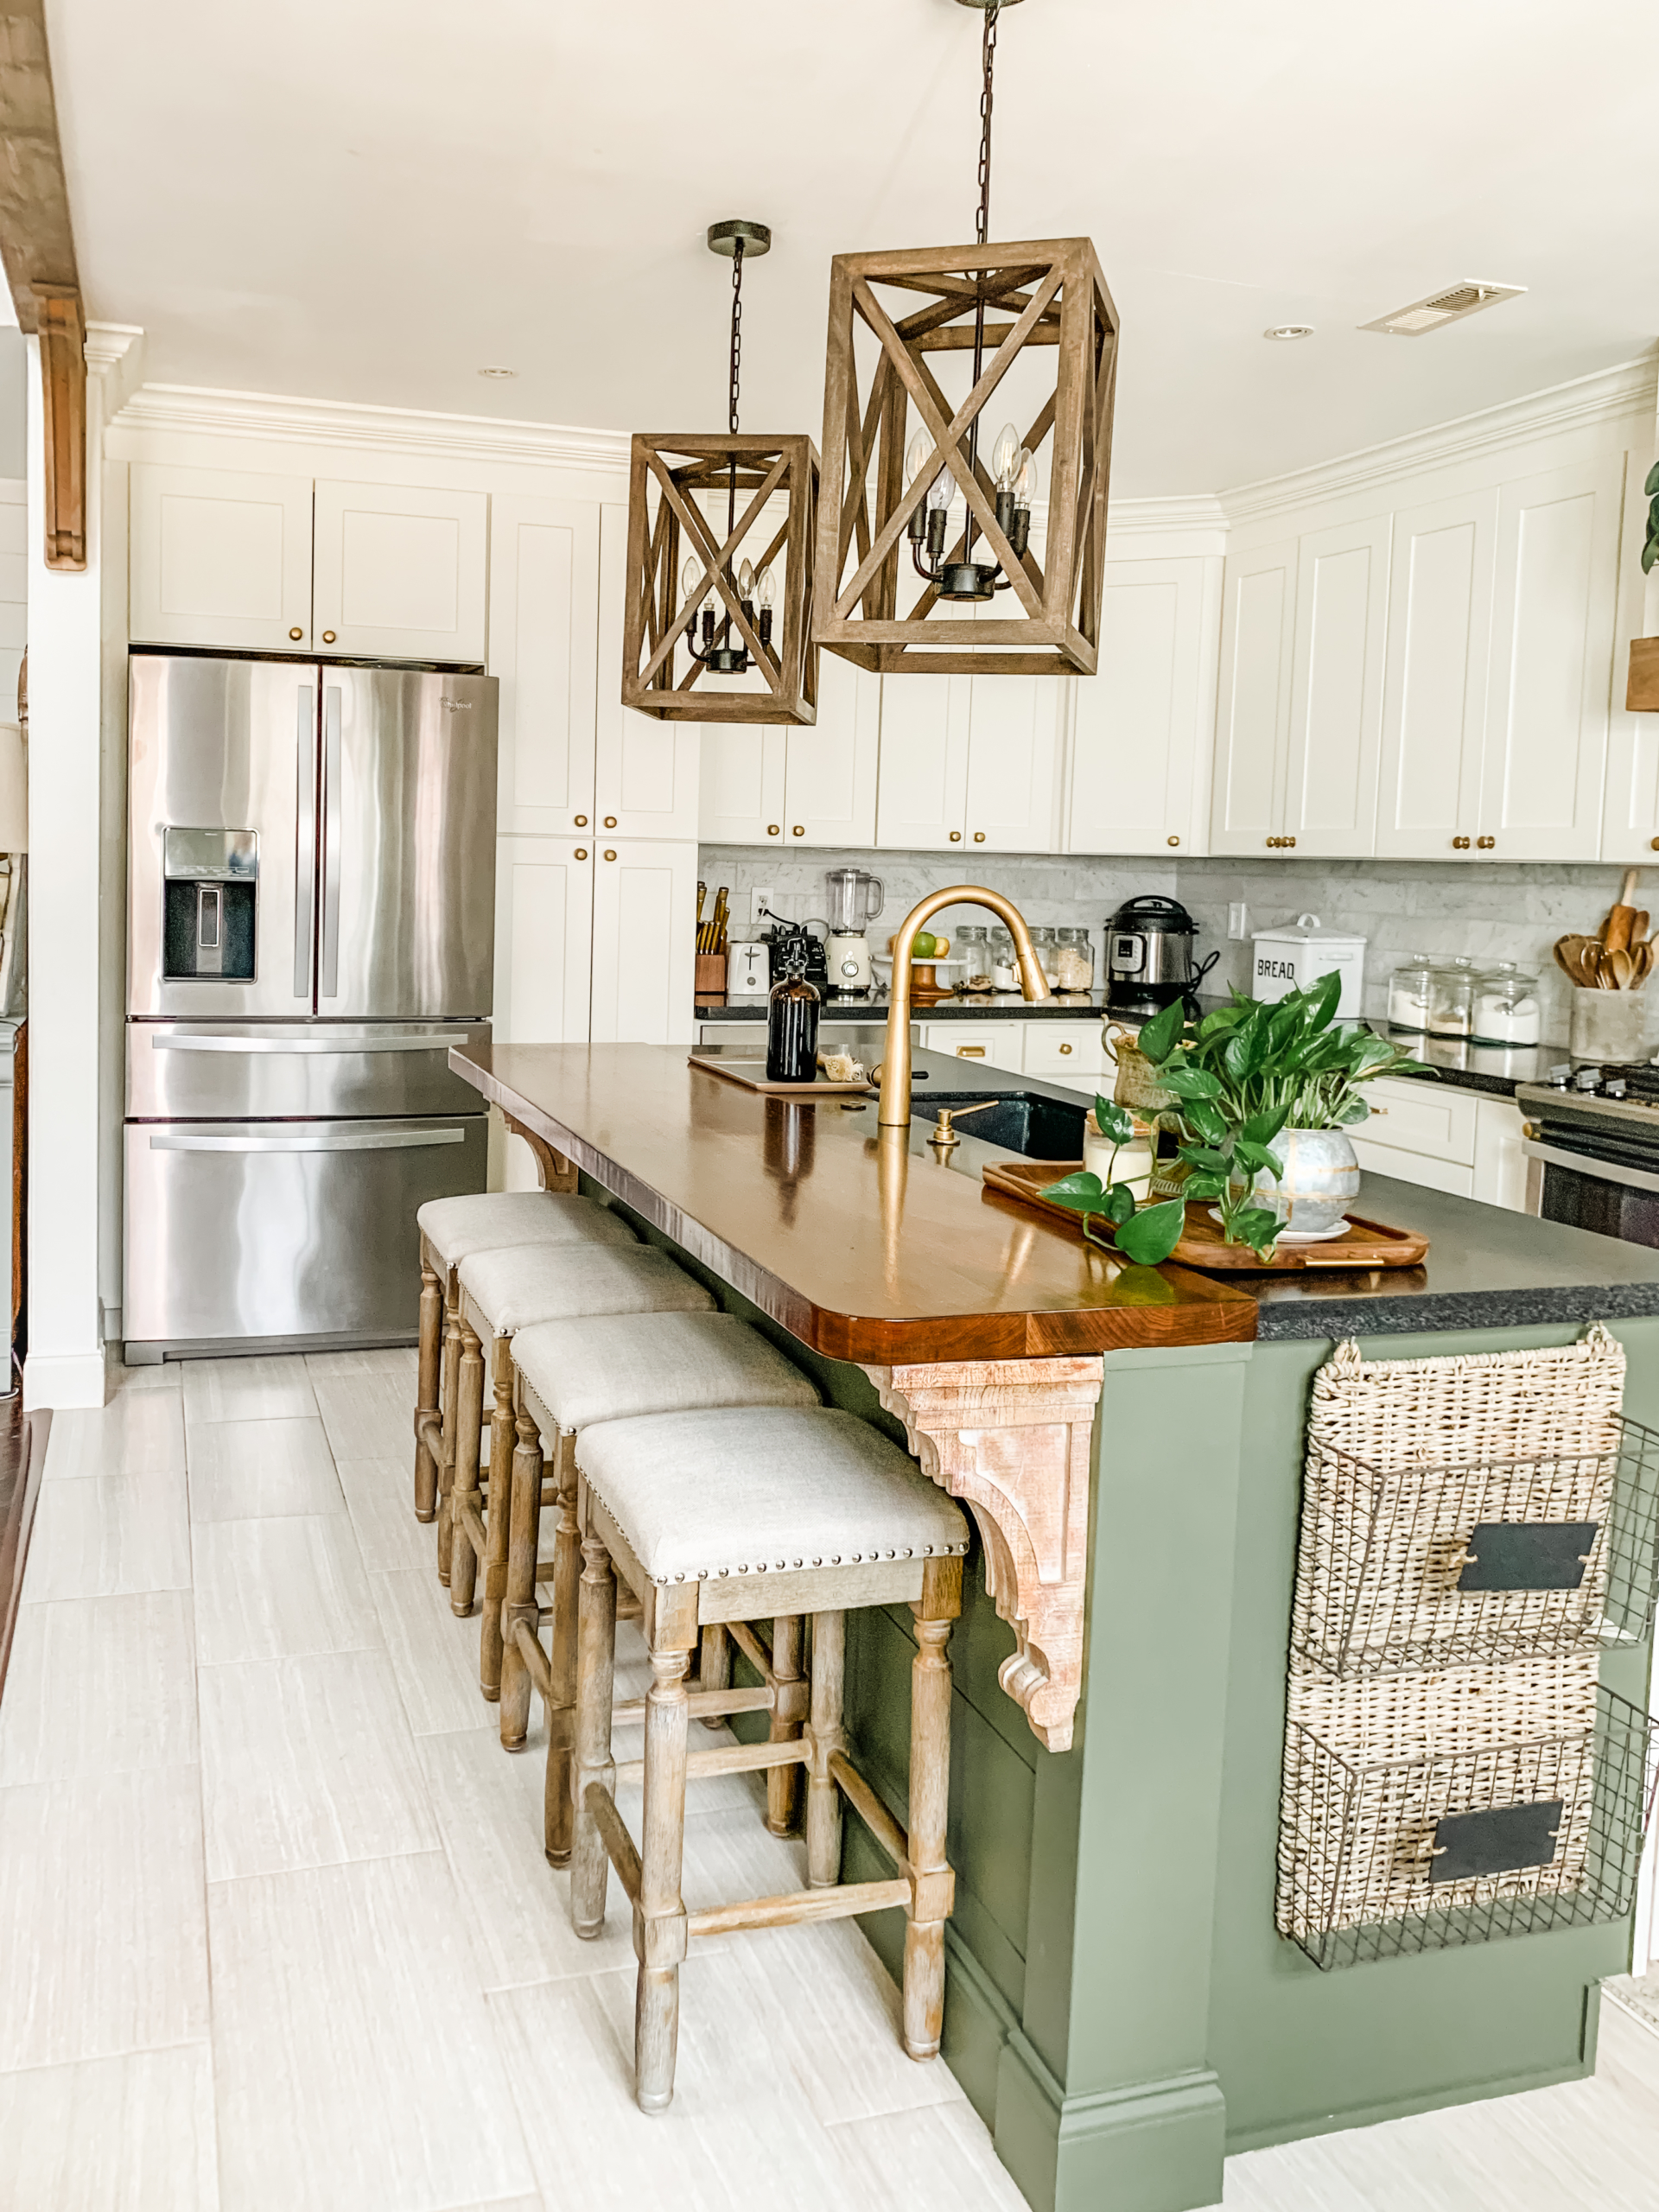
I absolutely LOVE the end result! The beam looks like it has always been there and coordinates so well with the wood finishes in our home.
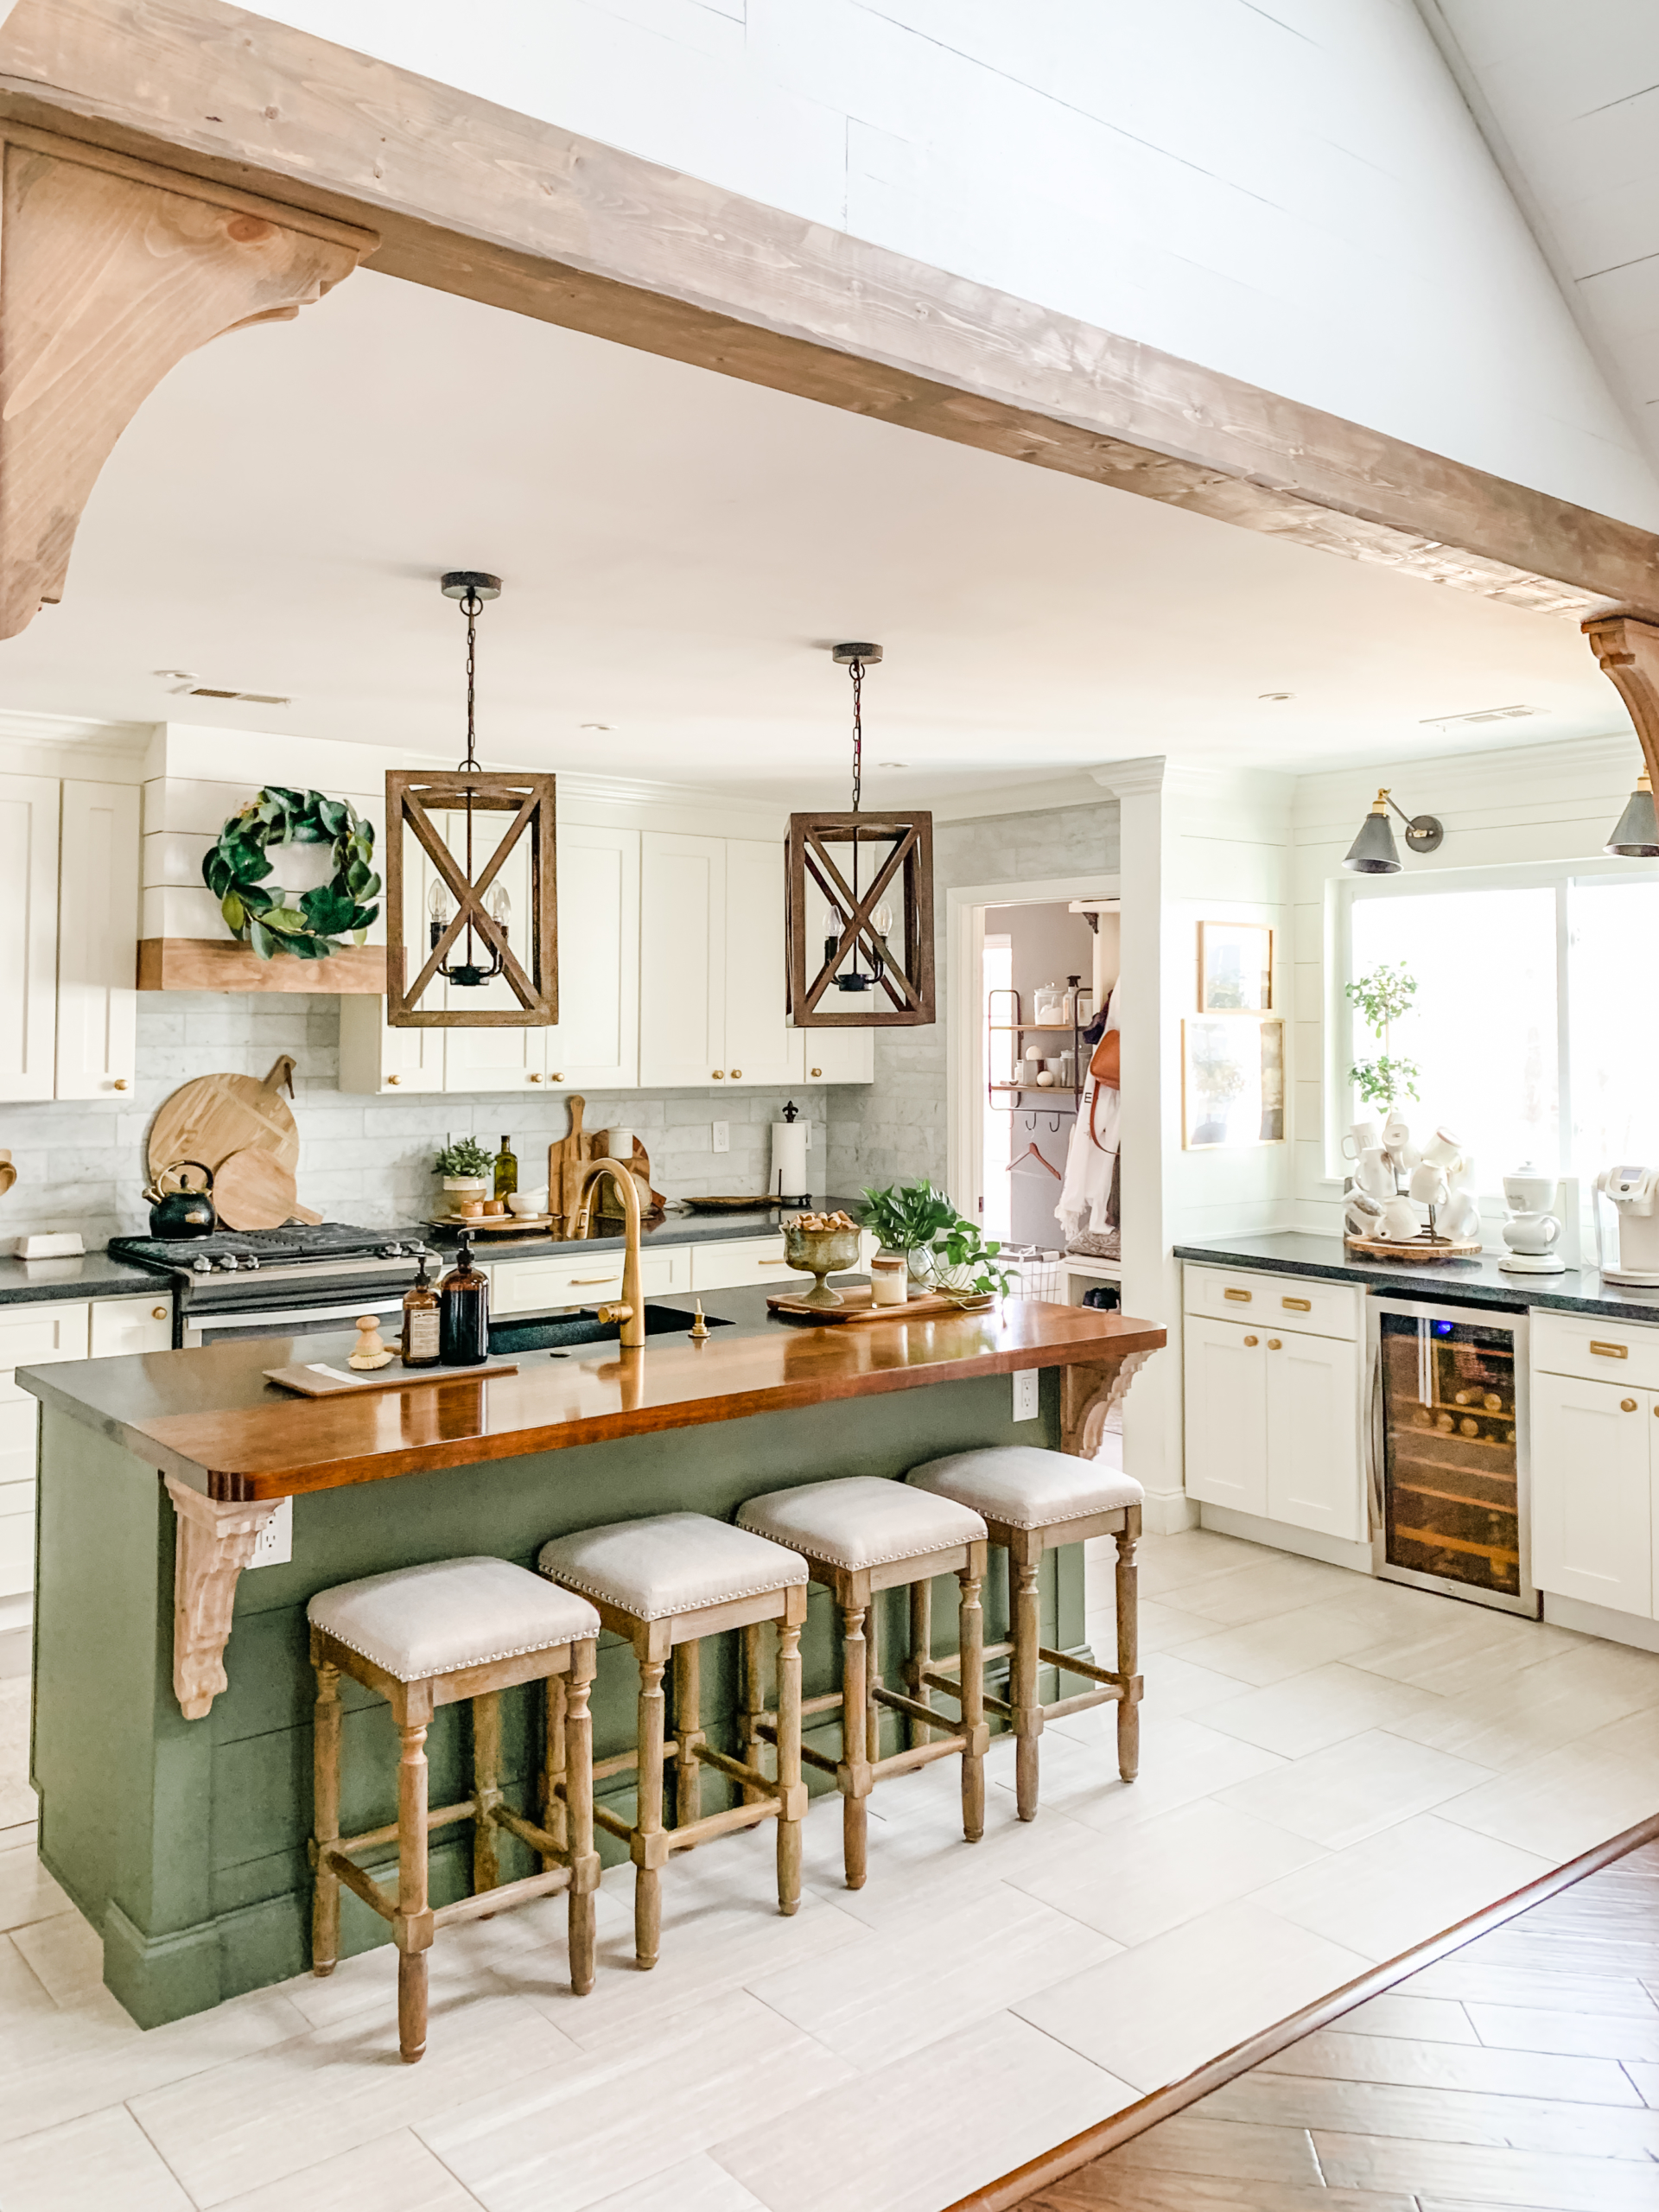
The Finished Look
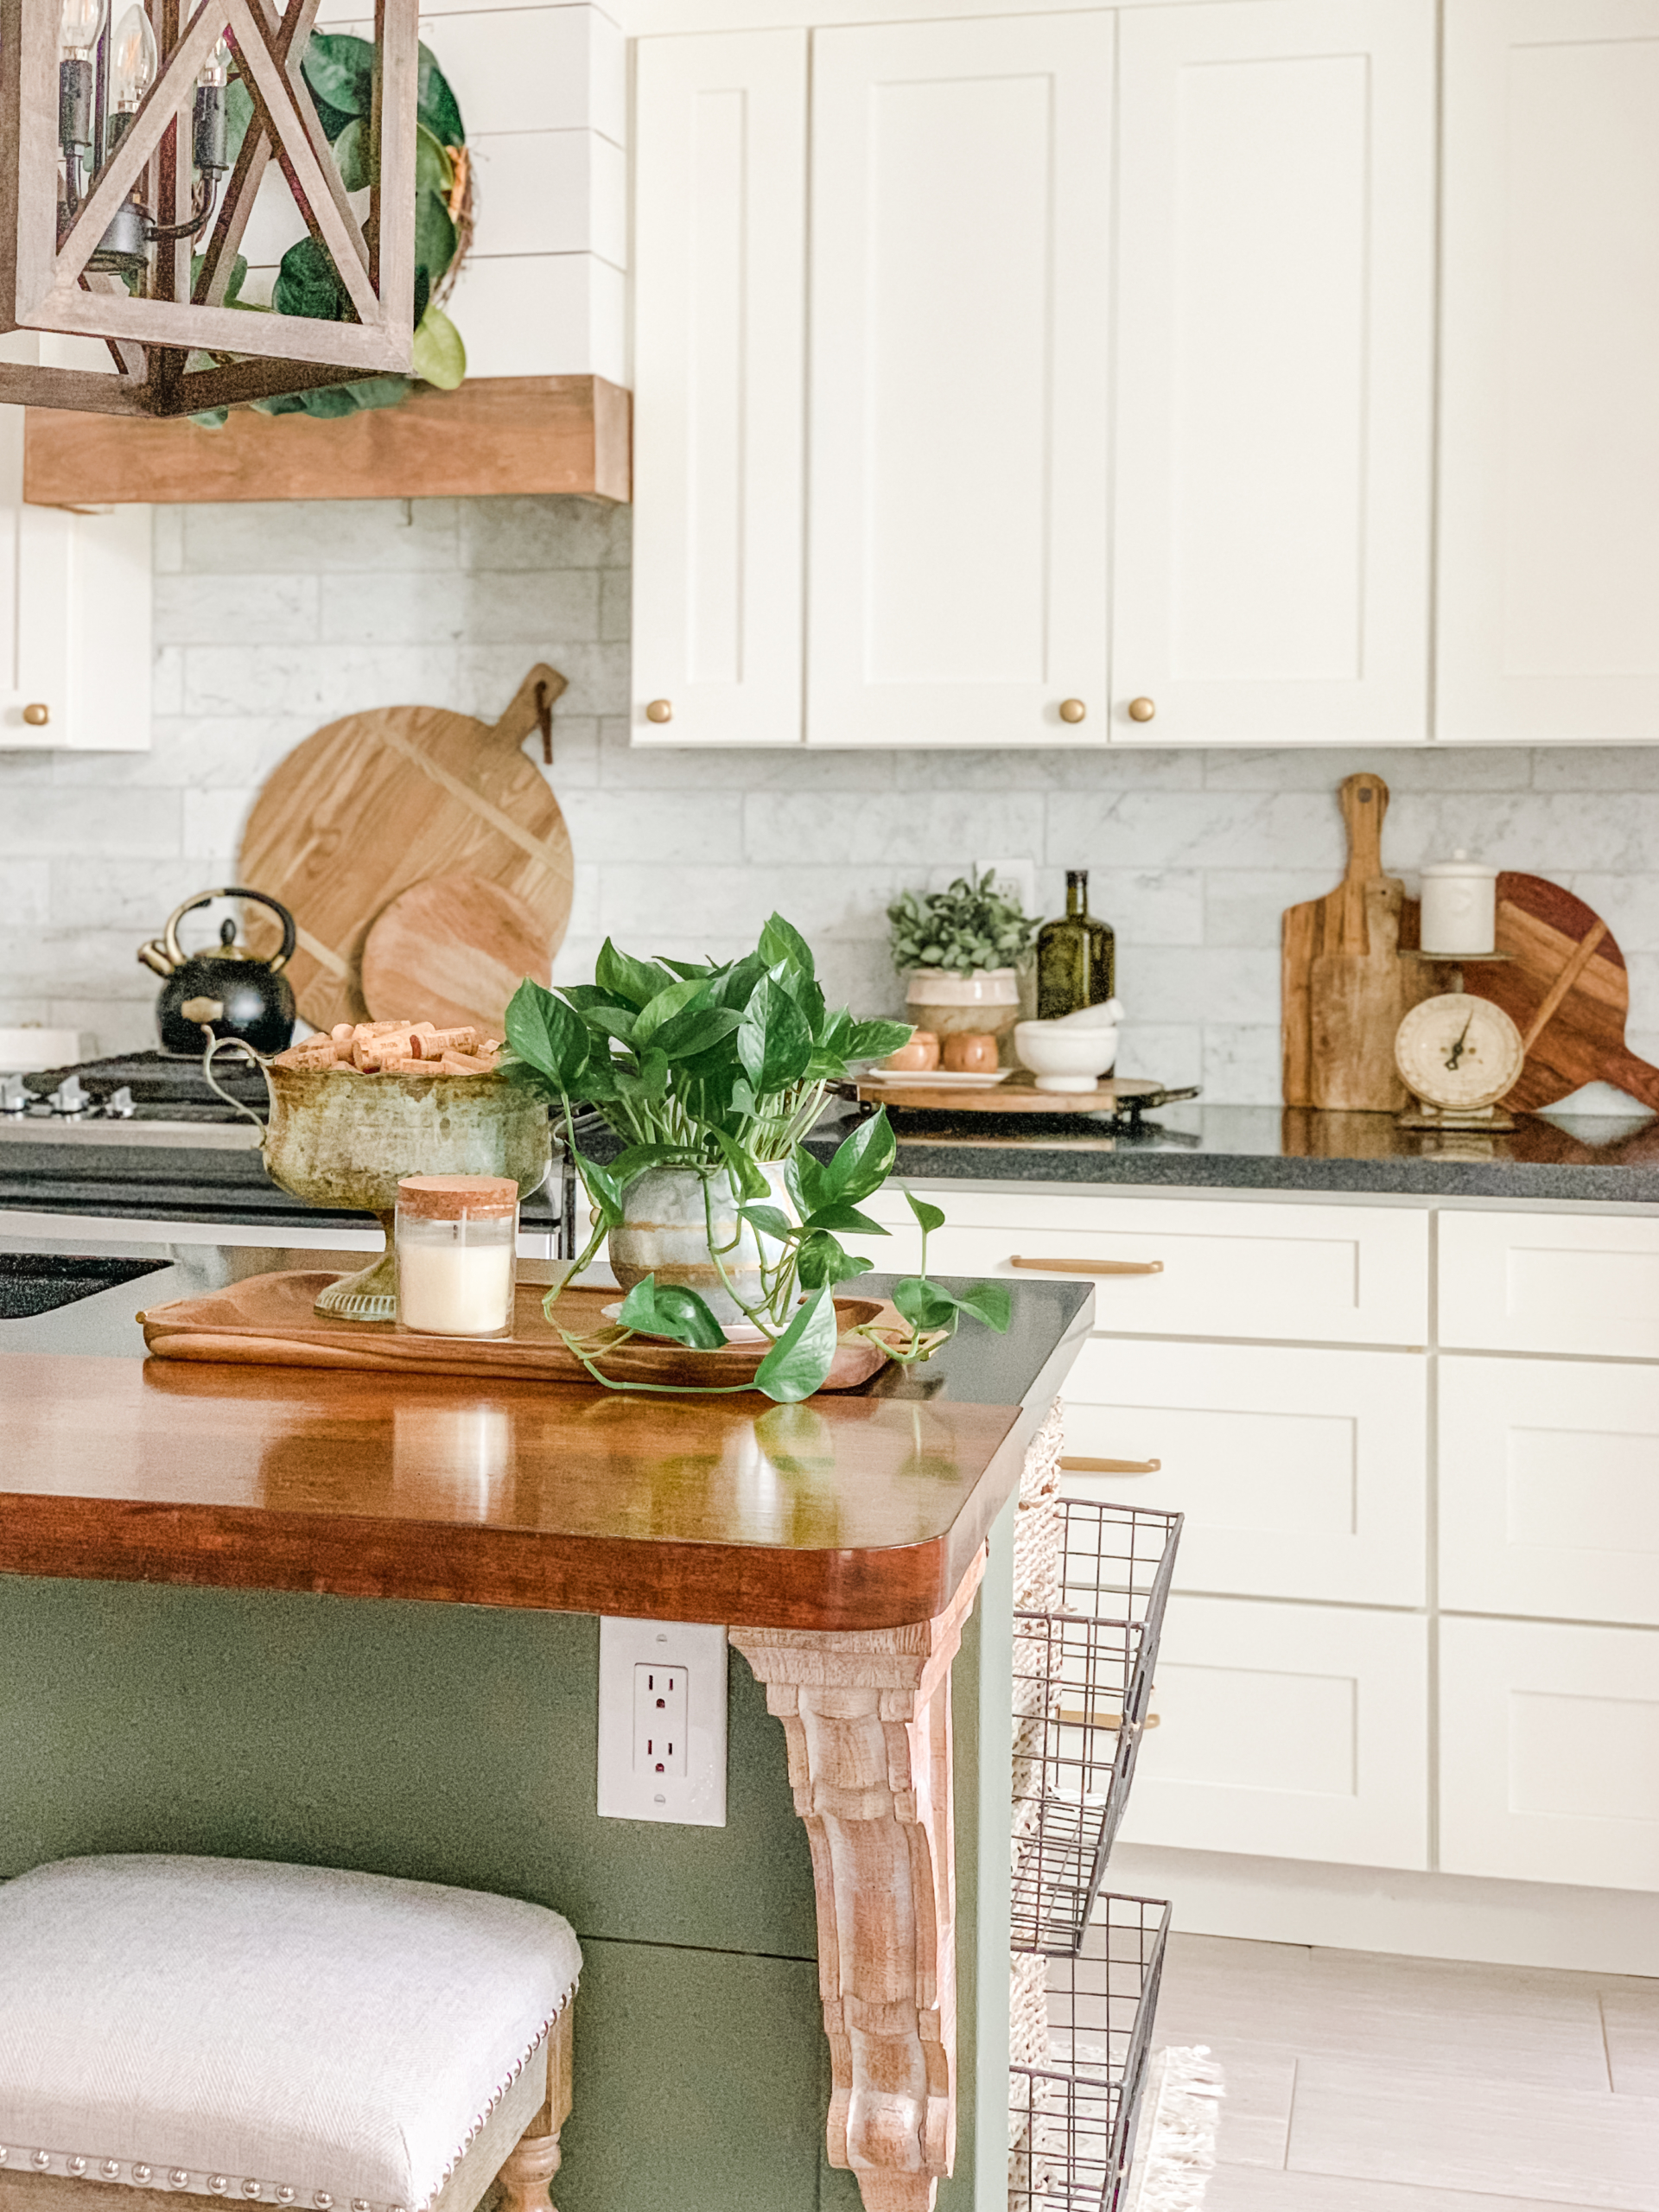
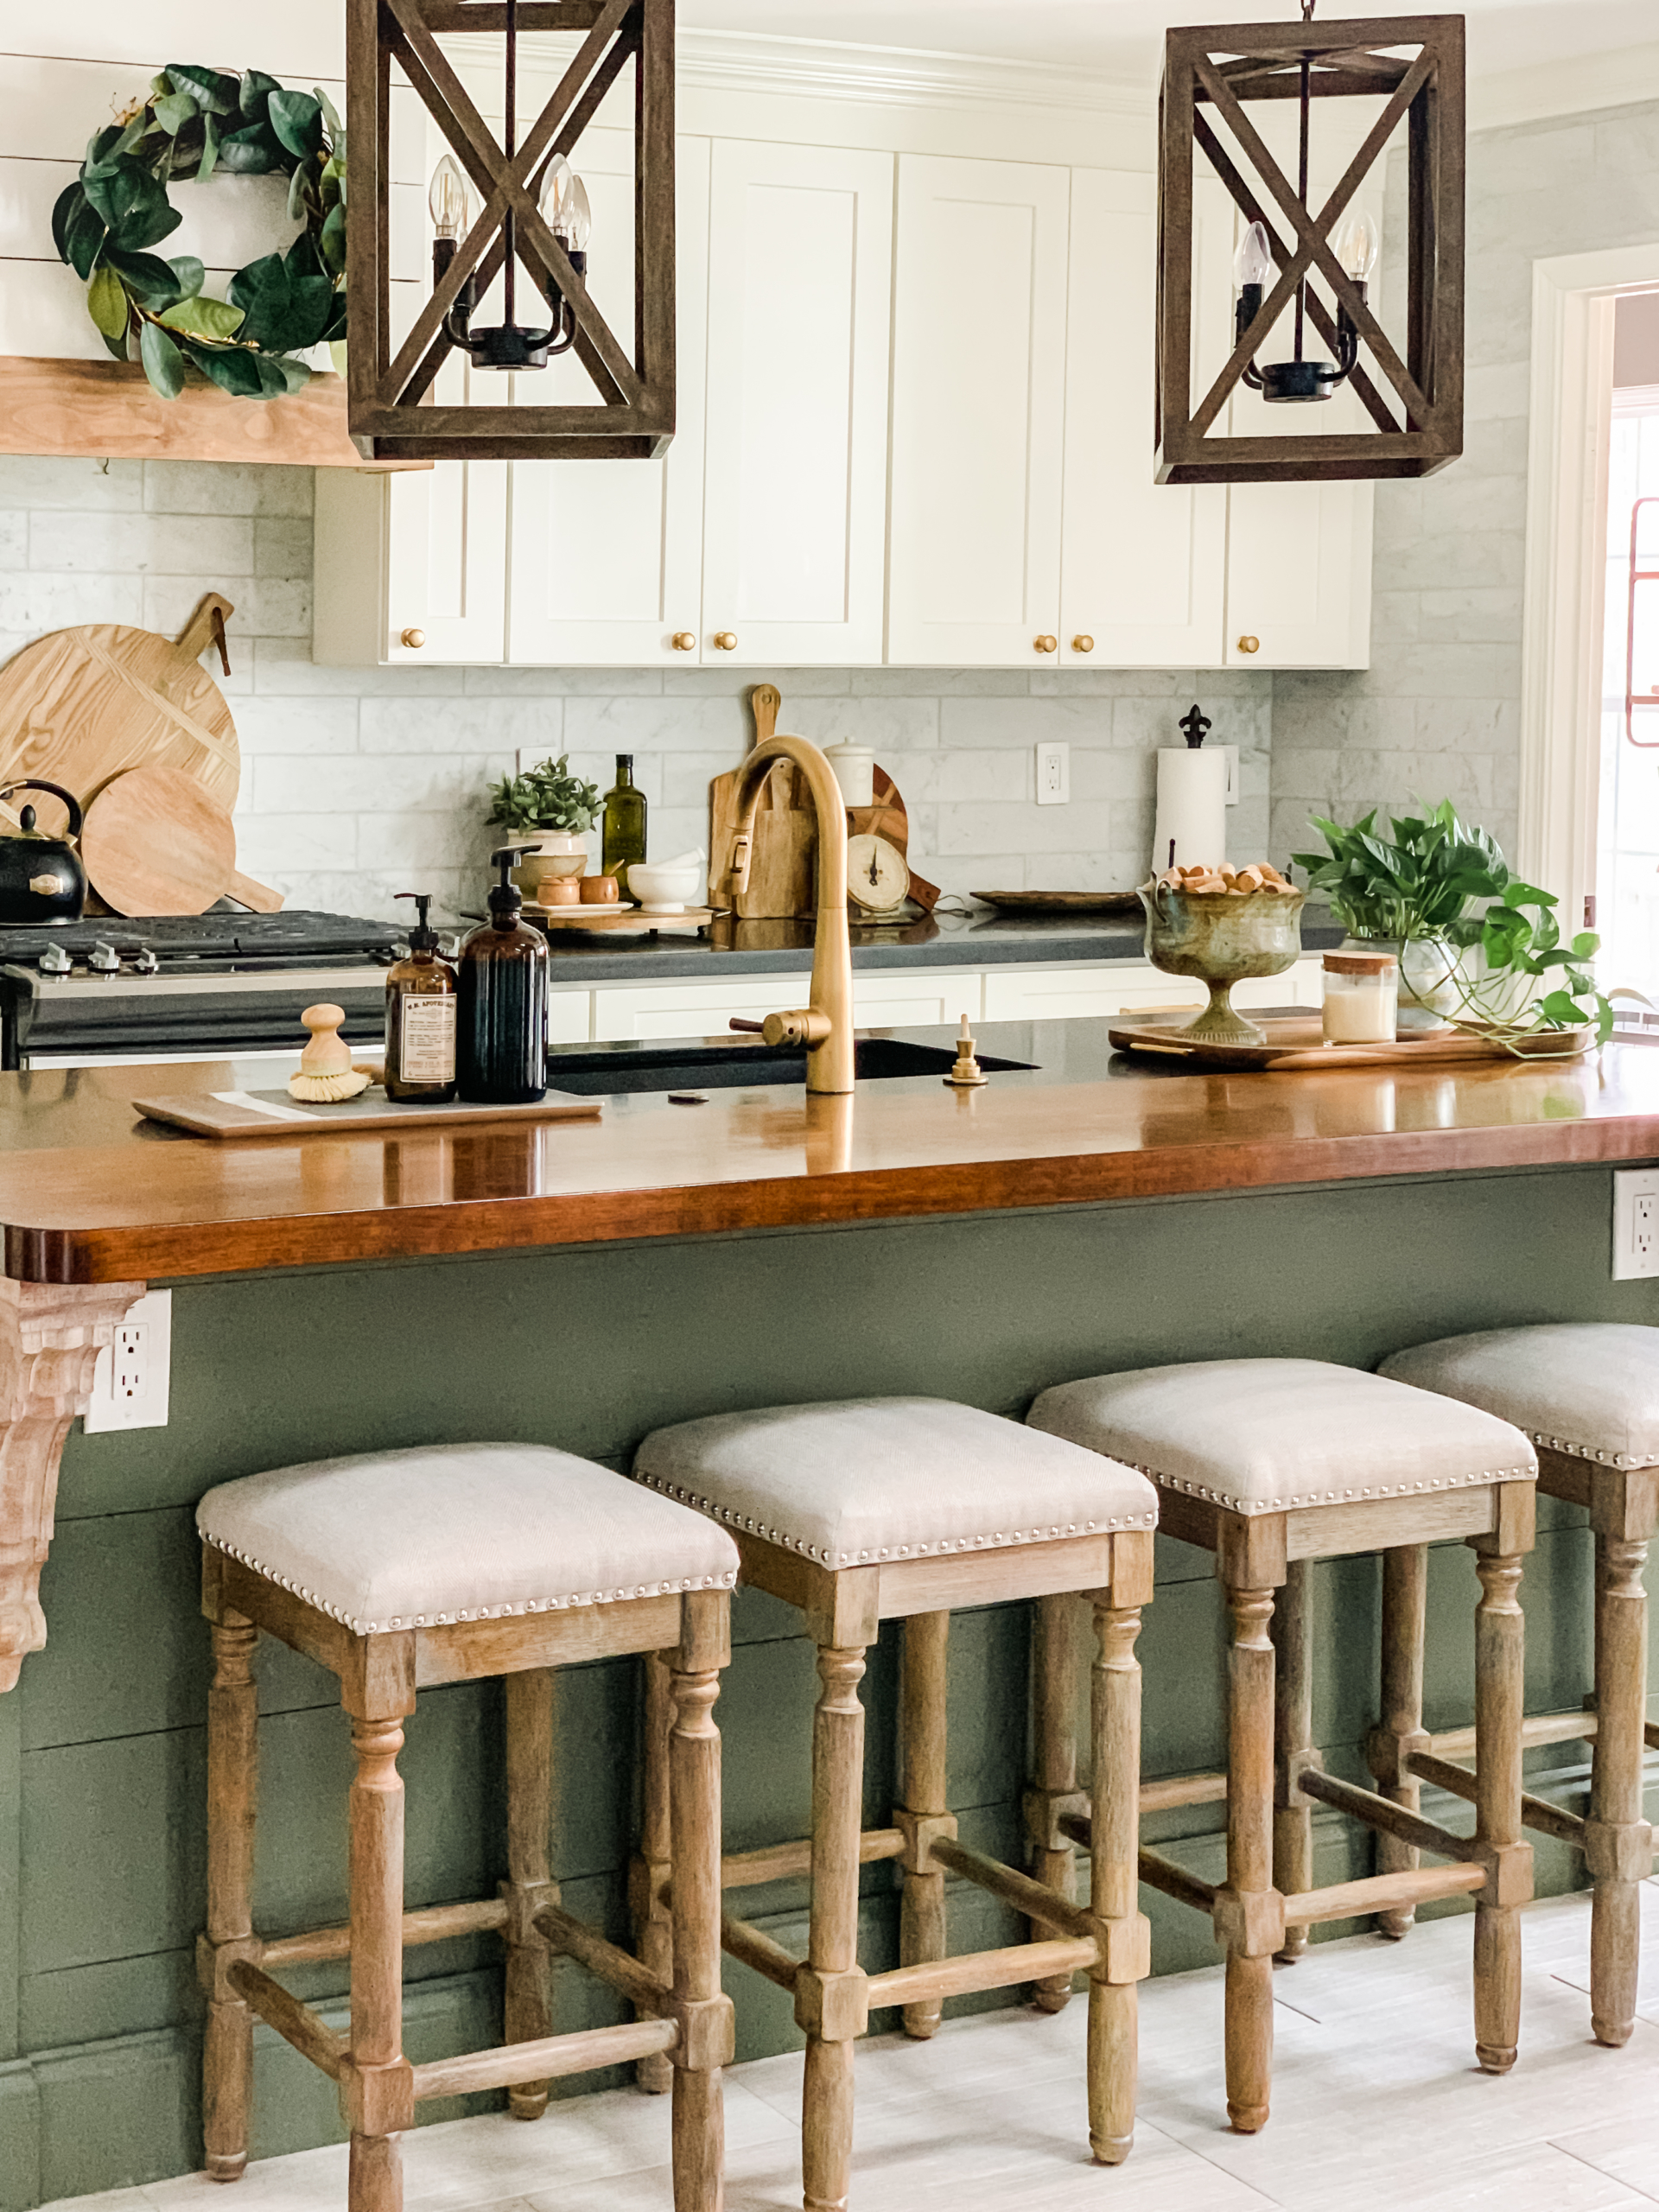
It’s amazing what a difference some stained wood on the wall can make! Here are a few more pictures of the beam and of my clean kitchen–because let’s face it, a clean kitchen needs to be documented!
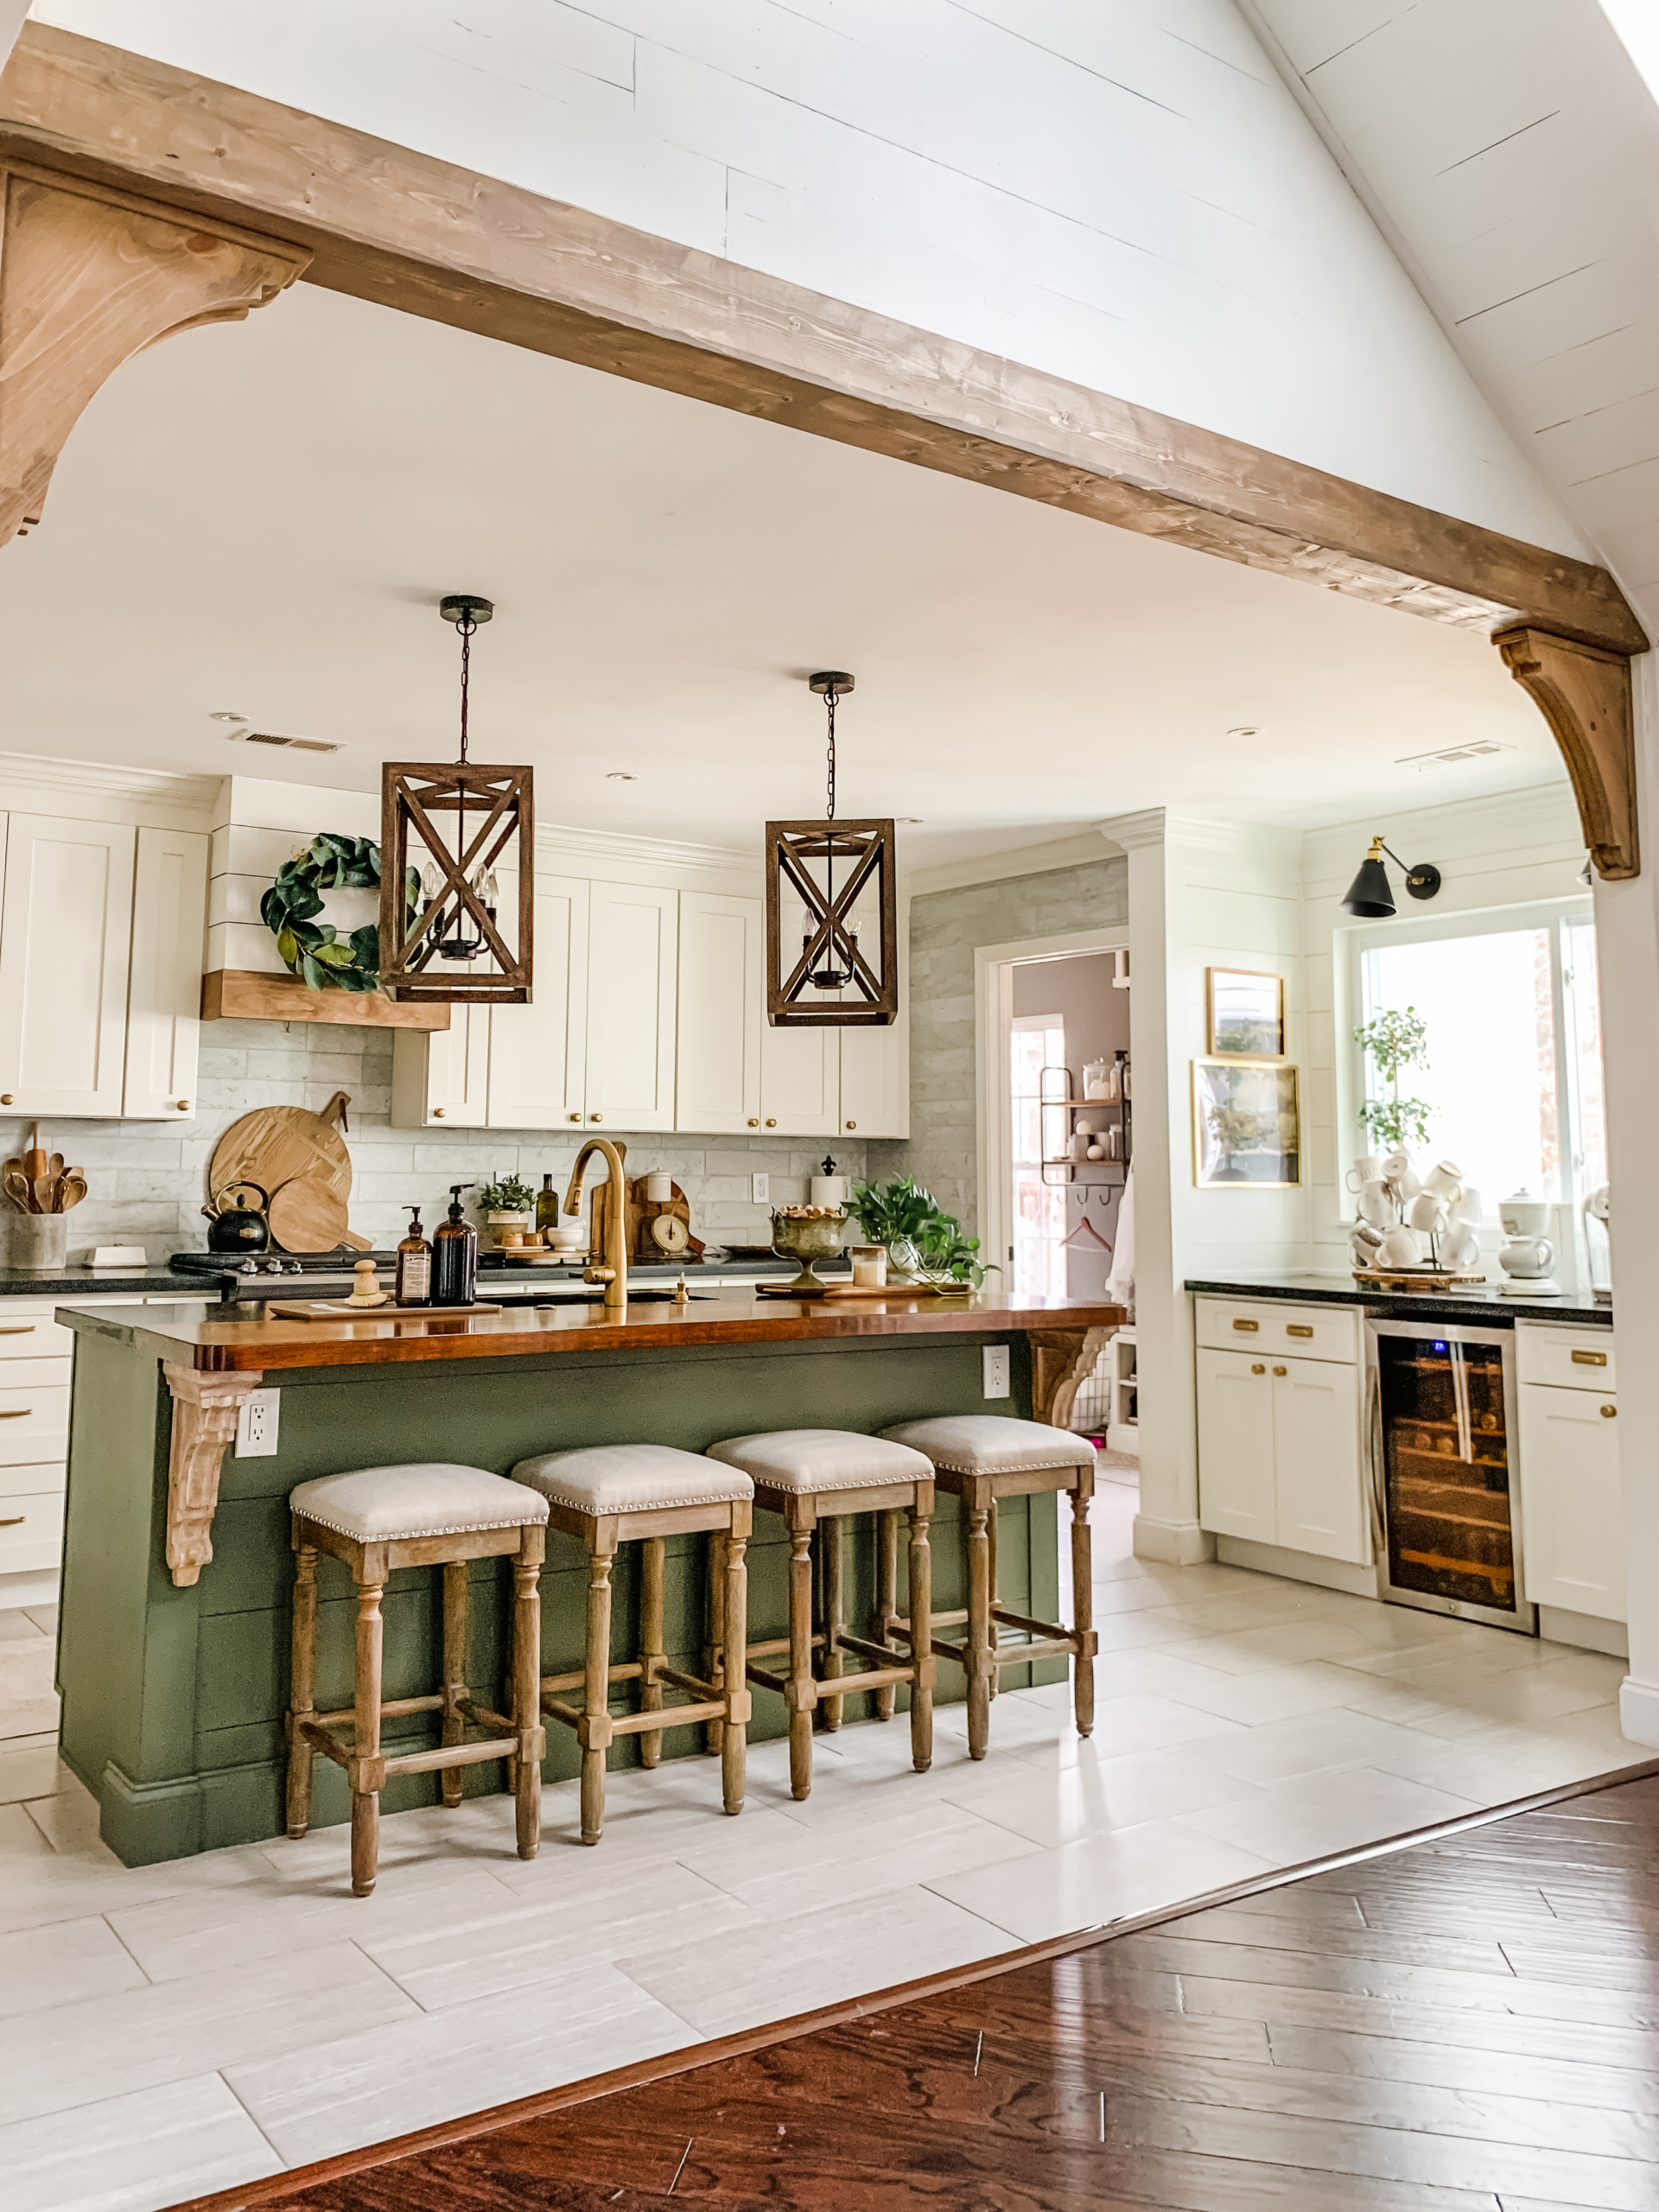
I added the corbels from Hobby Lobby under the bar a few years ago and still love them. You can find sources to all of my kitchen accessories here: Tips for Creating a Cozy Kitchen: How to Style Your Kitchen.


Thanks so much for stopping by today! Please feel free to pin the pictures in this post to save for future inspiration.


This is absolutely GORGEOUS!!! I love how this is not only a statement maker, yet it blends so perfectly with all of the other wood accents. Thanks so much for sharing this tutorial:)
The wood beam looks stunning. I am in awe of the projects you tackle! So enjoy all of your posts Diane!
Thanks so much for stopping by the blog and taking the time to leave a comment!