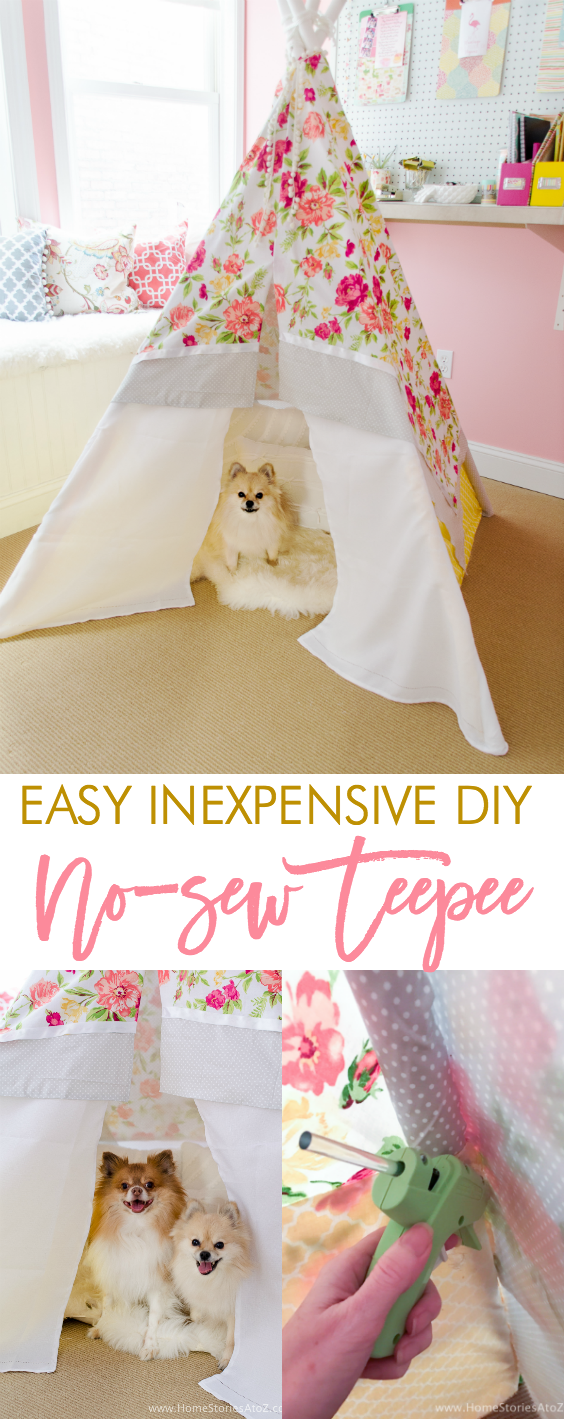
Learn how to create a DIY Teepee No Sew with this step-by-step tutorial. Easy and inexpensive with a total cost of around $30-$40. All you need is PVC pipe, hot glue, rope, and fabric.
Post contains affiliate links. Find my full disclosure policy here.
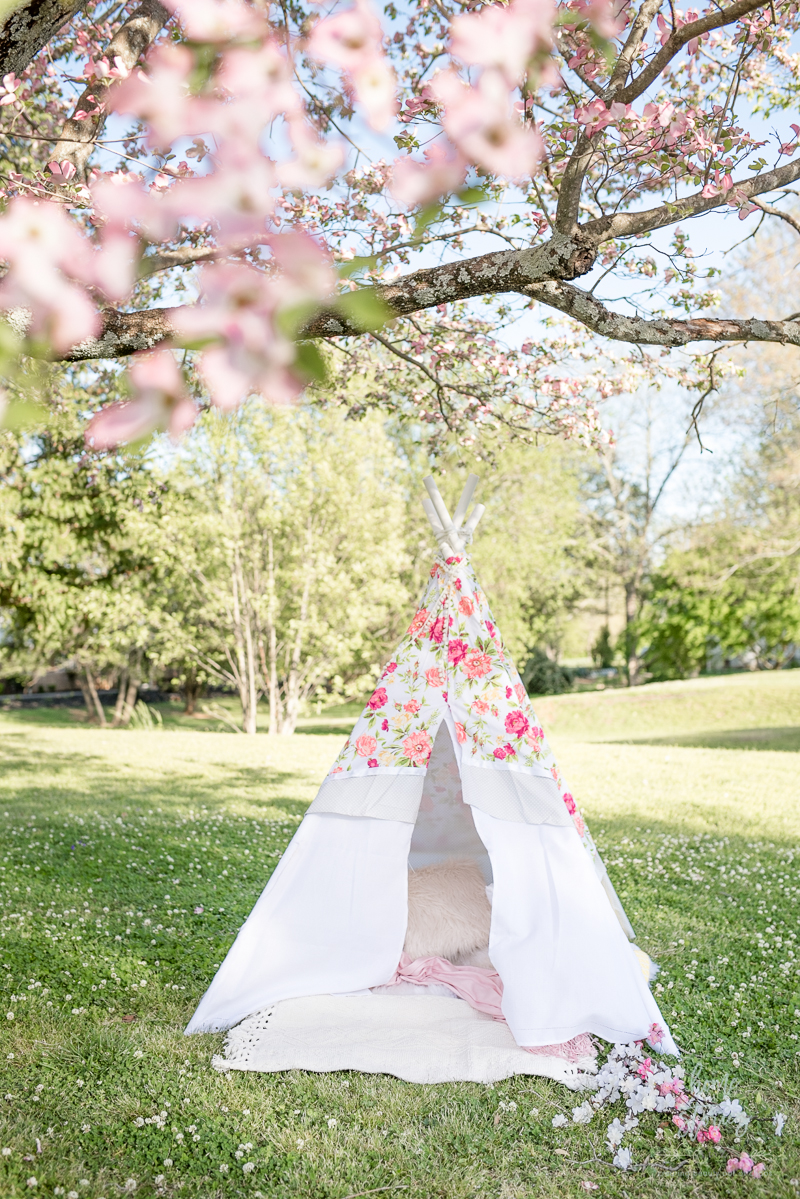
DIY Teepee No Sew Tutorial
As a brand ambassador for Waverly Inspirations at Walmart, each month I am sent a fun box of fabrics with the challenge to create something unique! Some months I am given a theme to follow and others are designated as “designer’s choice”. I’ve been wanting to find an excuse to create a DIY no sew teepee for some time now (for myself 😜—don’t judge me!) and felt inspired by this month’s beautiful collection of fabrics.

Over the years I’ve read numerous no sew teepee tutorials on blogs (Julie Blanner and The Handmade Home have two very clever ones), but I needed to create mine a bit differently from the ones I had seen. My teepee uses PVC pipe instead of dowel rods to make it less expensive and lighter weight. (If the teepee falls over with little kids or dogs inside, I don’t want heavy dowel rods hitting them.) My method also uses several fabrics with a “shawl draping method” instead of a “wrap and weave” method. This just saves a ton of time while still giving you the custom look of several fabrics! Bottom-line here is that I didn’t invent the no sew teepee and you have several options on the interwebs of how to go about making your own! I hope you find my way helpful in the mix. 🙂
DIY Teepee No Sew Materials Needed:
- 6 yards of Waverly Inspirations Fabric found at Walmart
 . (The Waverly fabrics I used run around $3-6/yd.) I used four fabrics each cut to two yards in length.
 - Waverly Inspirations Ribbon (optional)
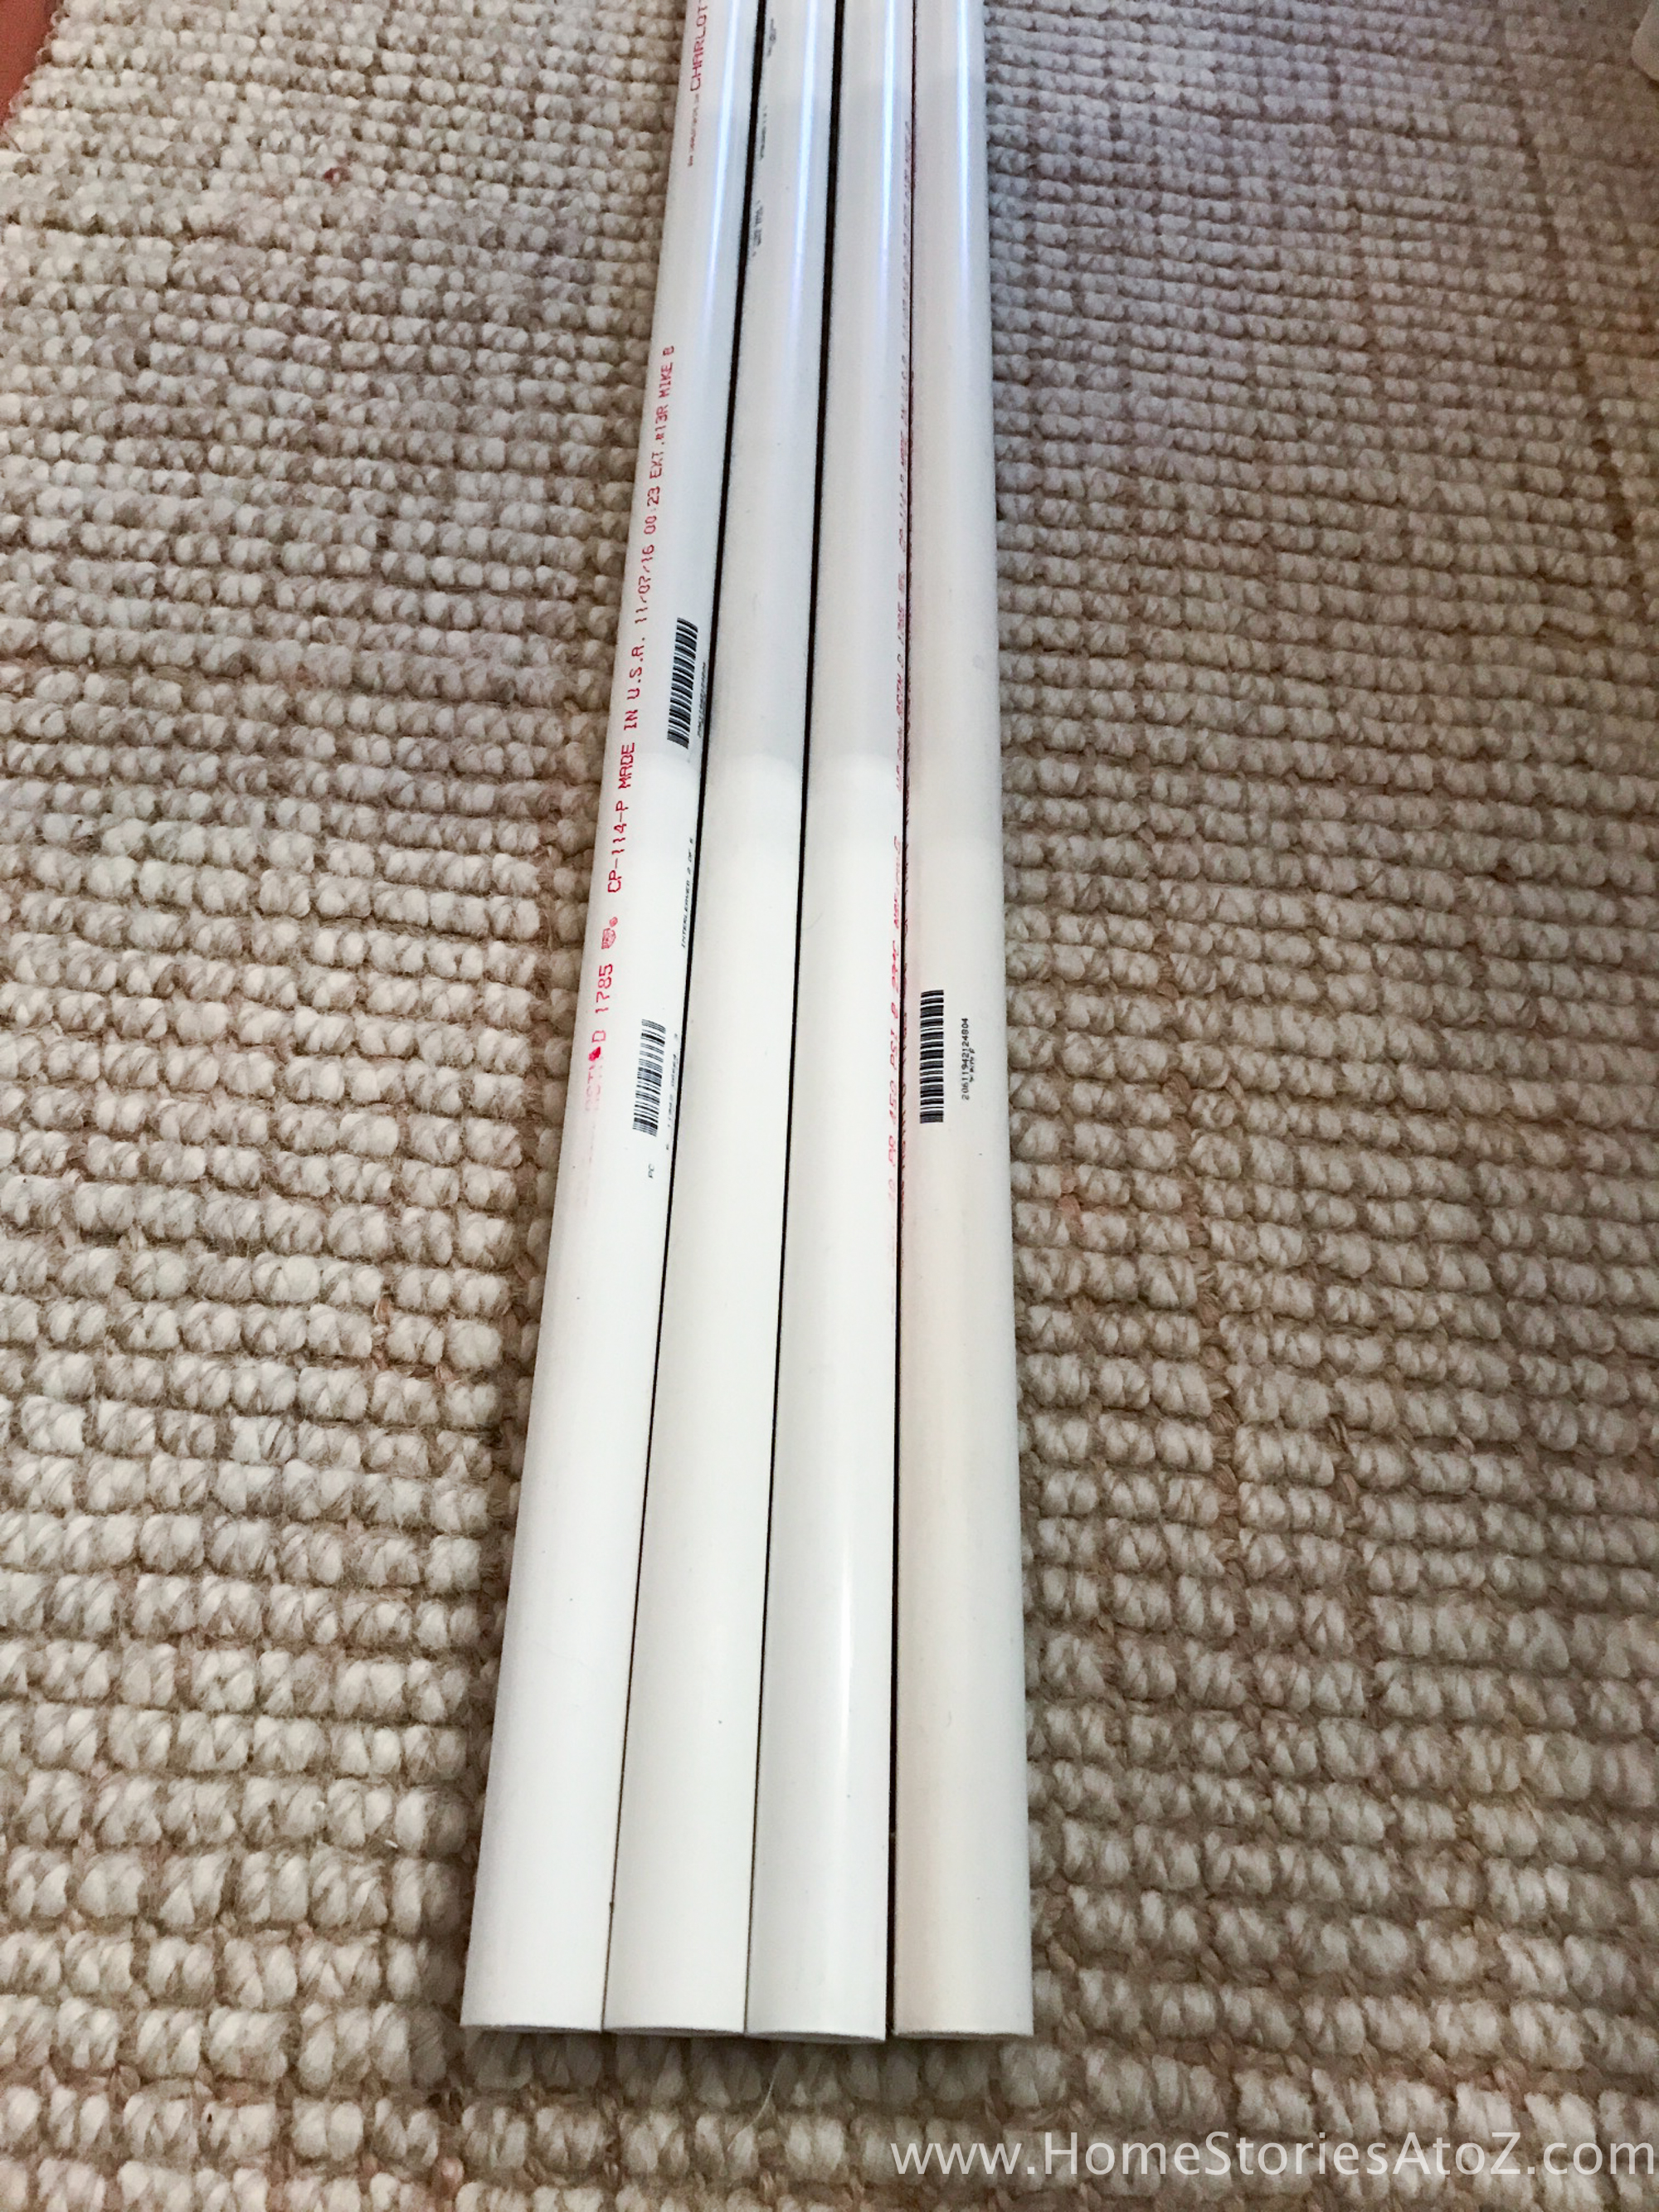
- 4 1″x 6′ PVC pipes (I purchased four 1″x 10′ pipes and cut them down to 6′. If you are making this for small children you can shorten the teepee height to 5′ and use only two 10′ PVC pipes to save money.)
- Nylon rope
(I used 3/8″ rope.)
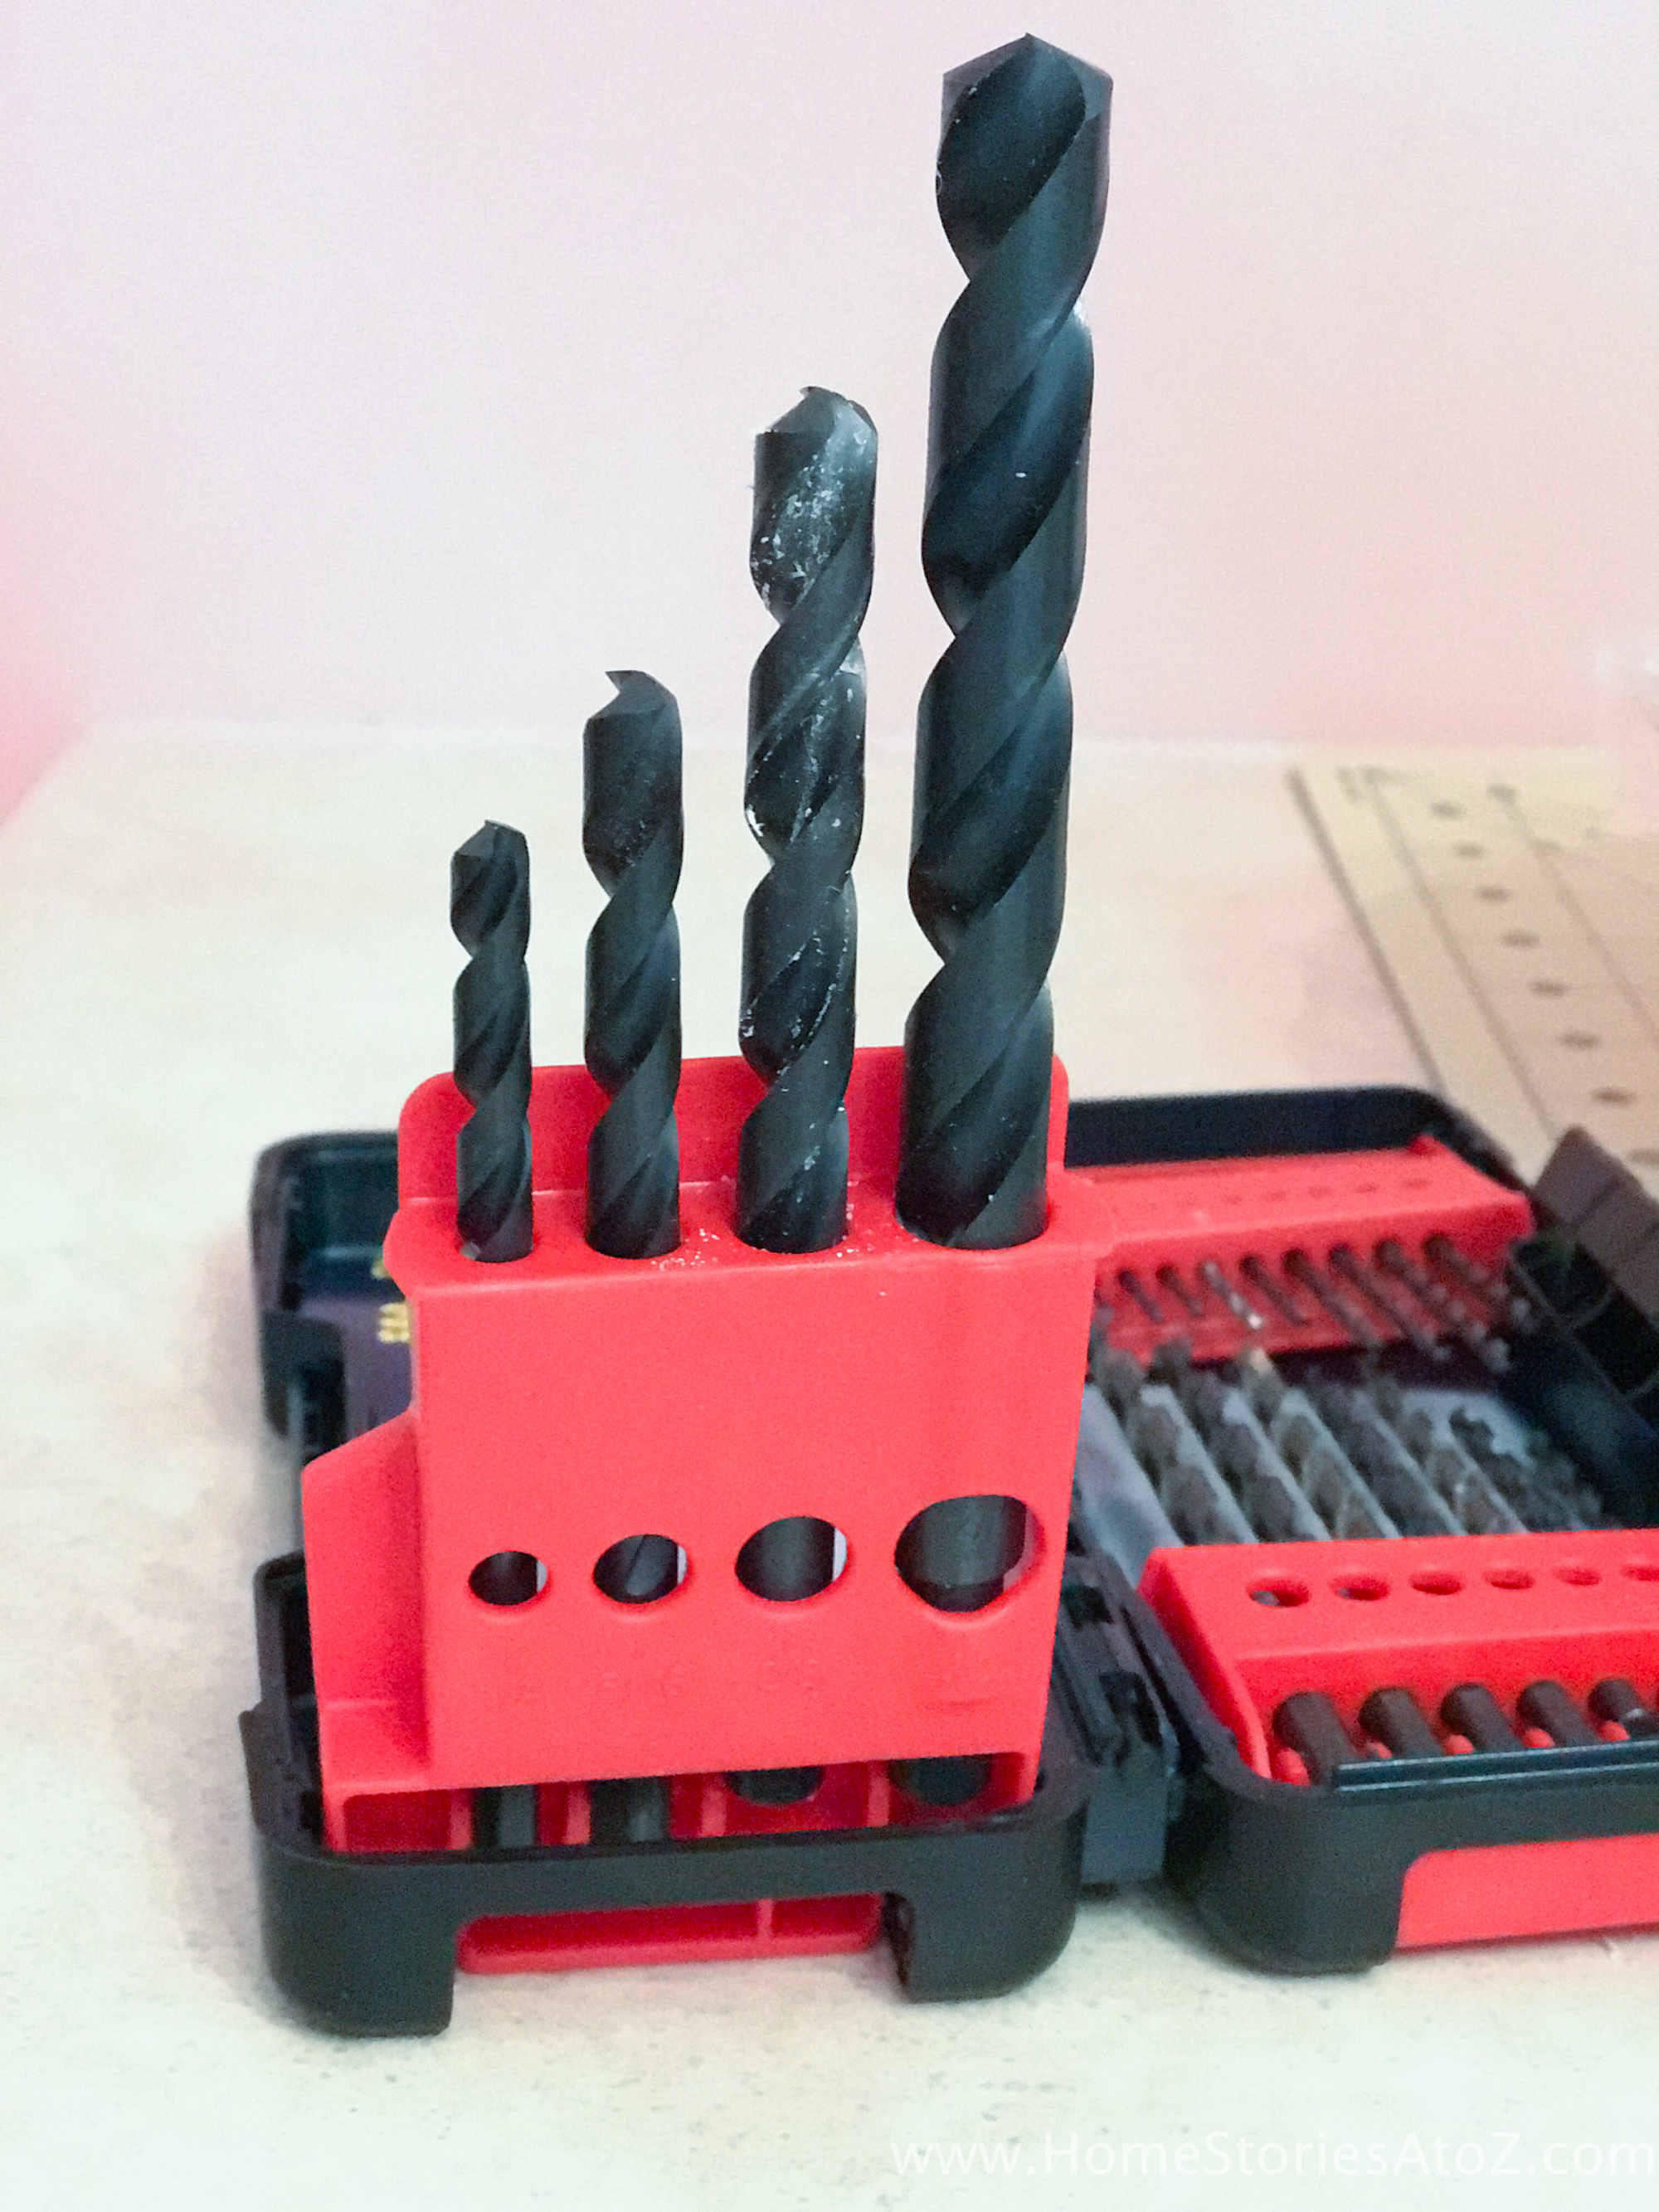
- Drill and bits
- Binder clips
- Hot glue and glue gun


DIY Teepee No Sew Step 1: Drill holes in pipe.
Cut your four PVC pipes to the desired length. I cut mine down from 10′ to 6′.
Measure about 6 inches down on each pipe and drill a hole through each one. I used a 3/8 inch drill bit which was about the same size of my nylon rope.
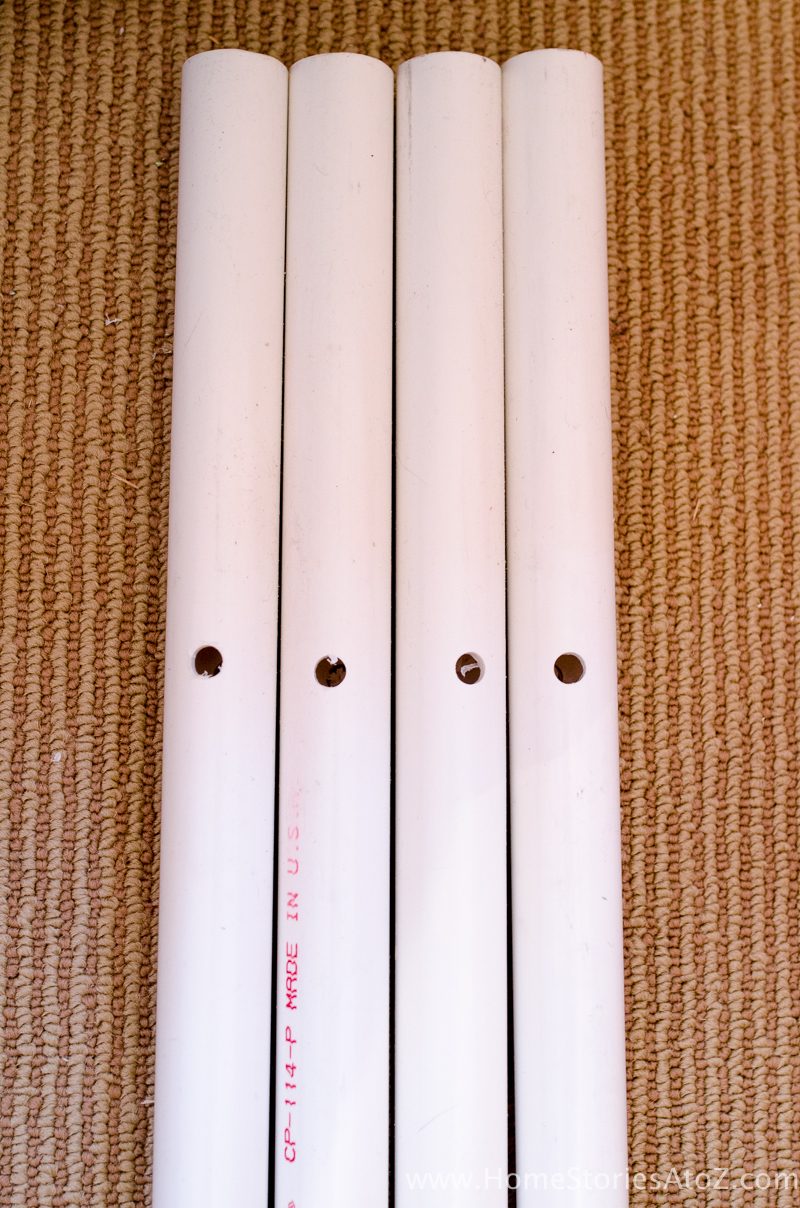
TIP: To remove print from PVC pipes use acetone-based nail polish remover and/or light sandpaper.
DIY Teepee No Sew Step 2: Create teepee base.
Create an “X” with two of your PVC pipes, line up the holes, and run the rope through the holes. I taped off the end of my rope with washi tape
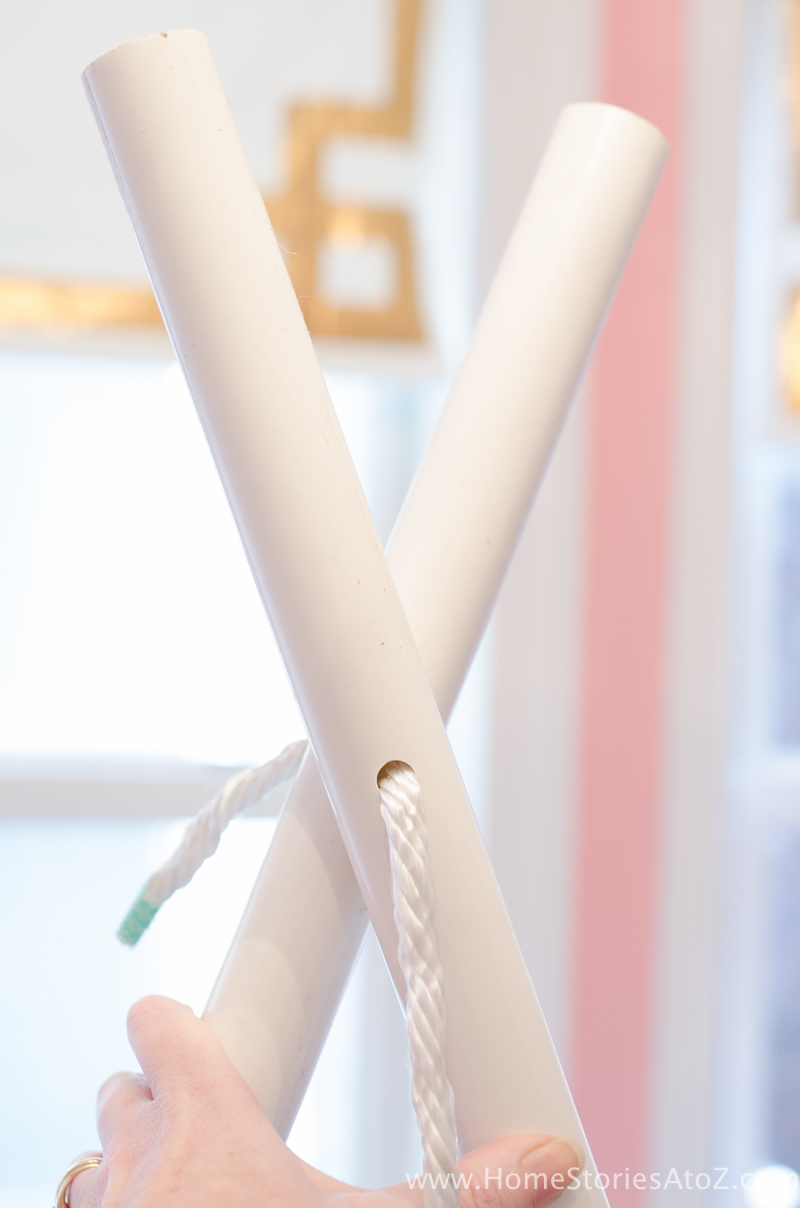
Tie a knot near the taped end to secure the rope and then wrap the rope in a figure 8 pattern around the pipes as pictured below. Keep the end of the rope taut as you wrap.

Add your third and fourth pipe to either side of you “X” and thread the rope through the holes.
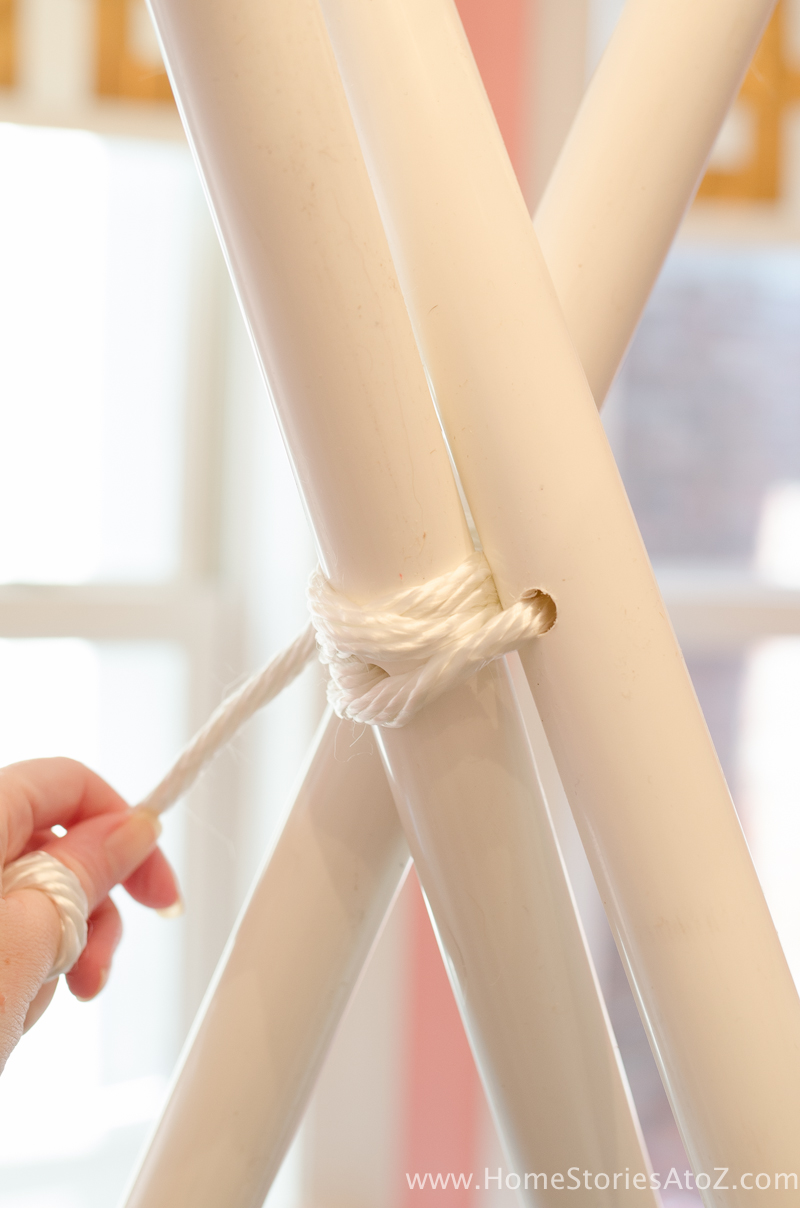
Wrap and knot the rope until the structure is secure and in a tent shape. The structure will fold up.

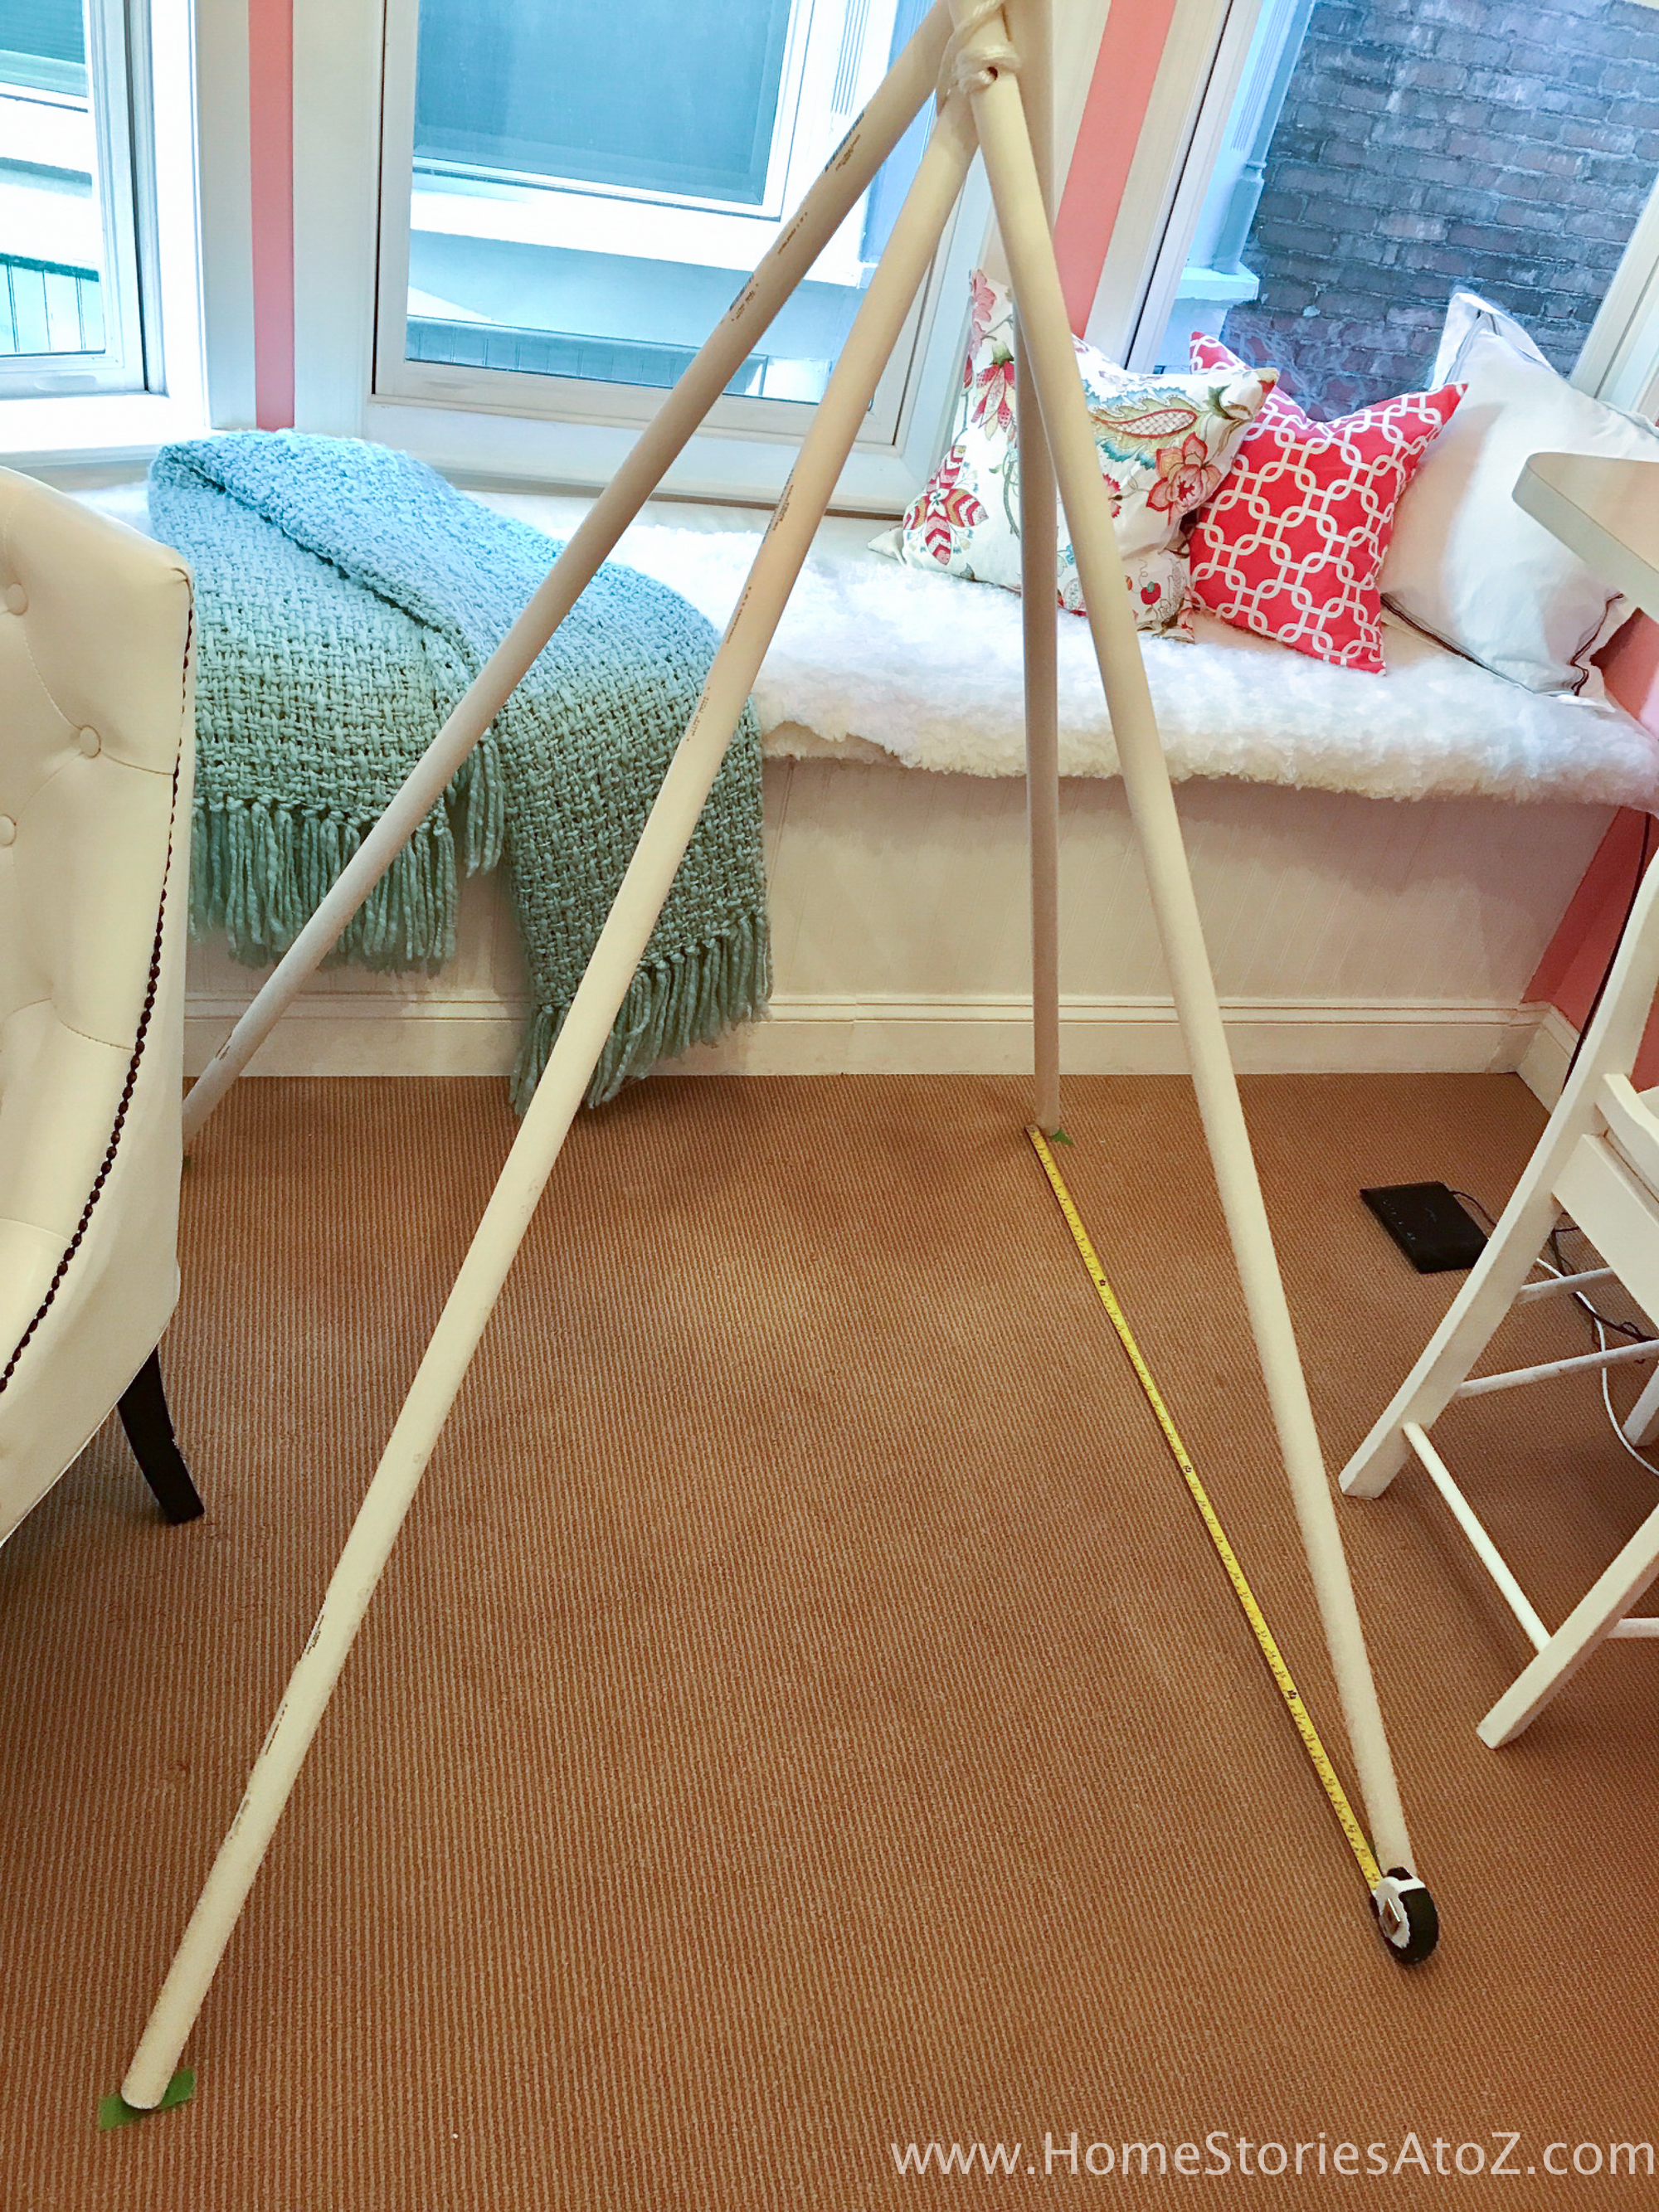
DIY Teepee No Sew Step 3: Determine size of teepee base.
Using a measuring tape, decide how wide you would like your teepee base. Take note of the width of your fabric and the room size when deciding this step! I chose 43″. Create an even square with the base of your teepee and mark the floor with painter’s tape underneath where each pole should remain. As you work, you will inevitably bump your teepee and the marked floor will help you put it back in place without having to measure again. Also, creating your teepee on a rug or on carpet will be much easier than on wood or tile!
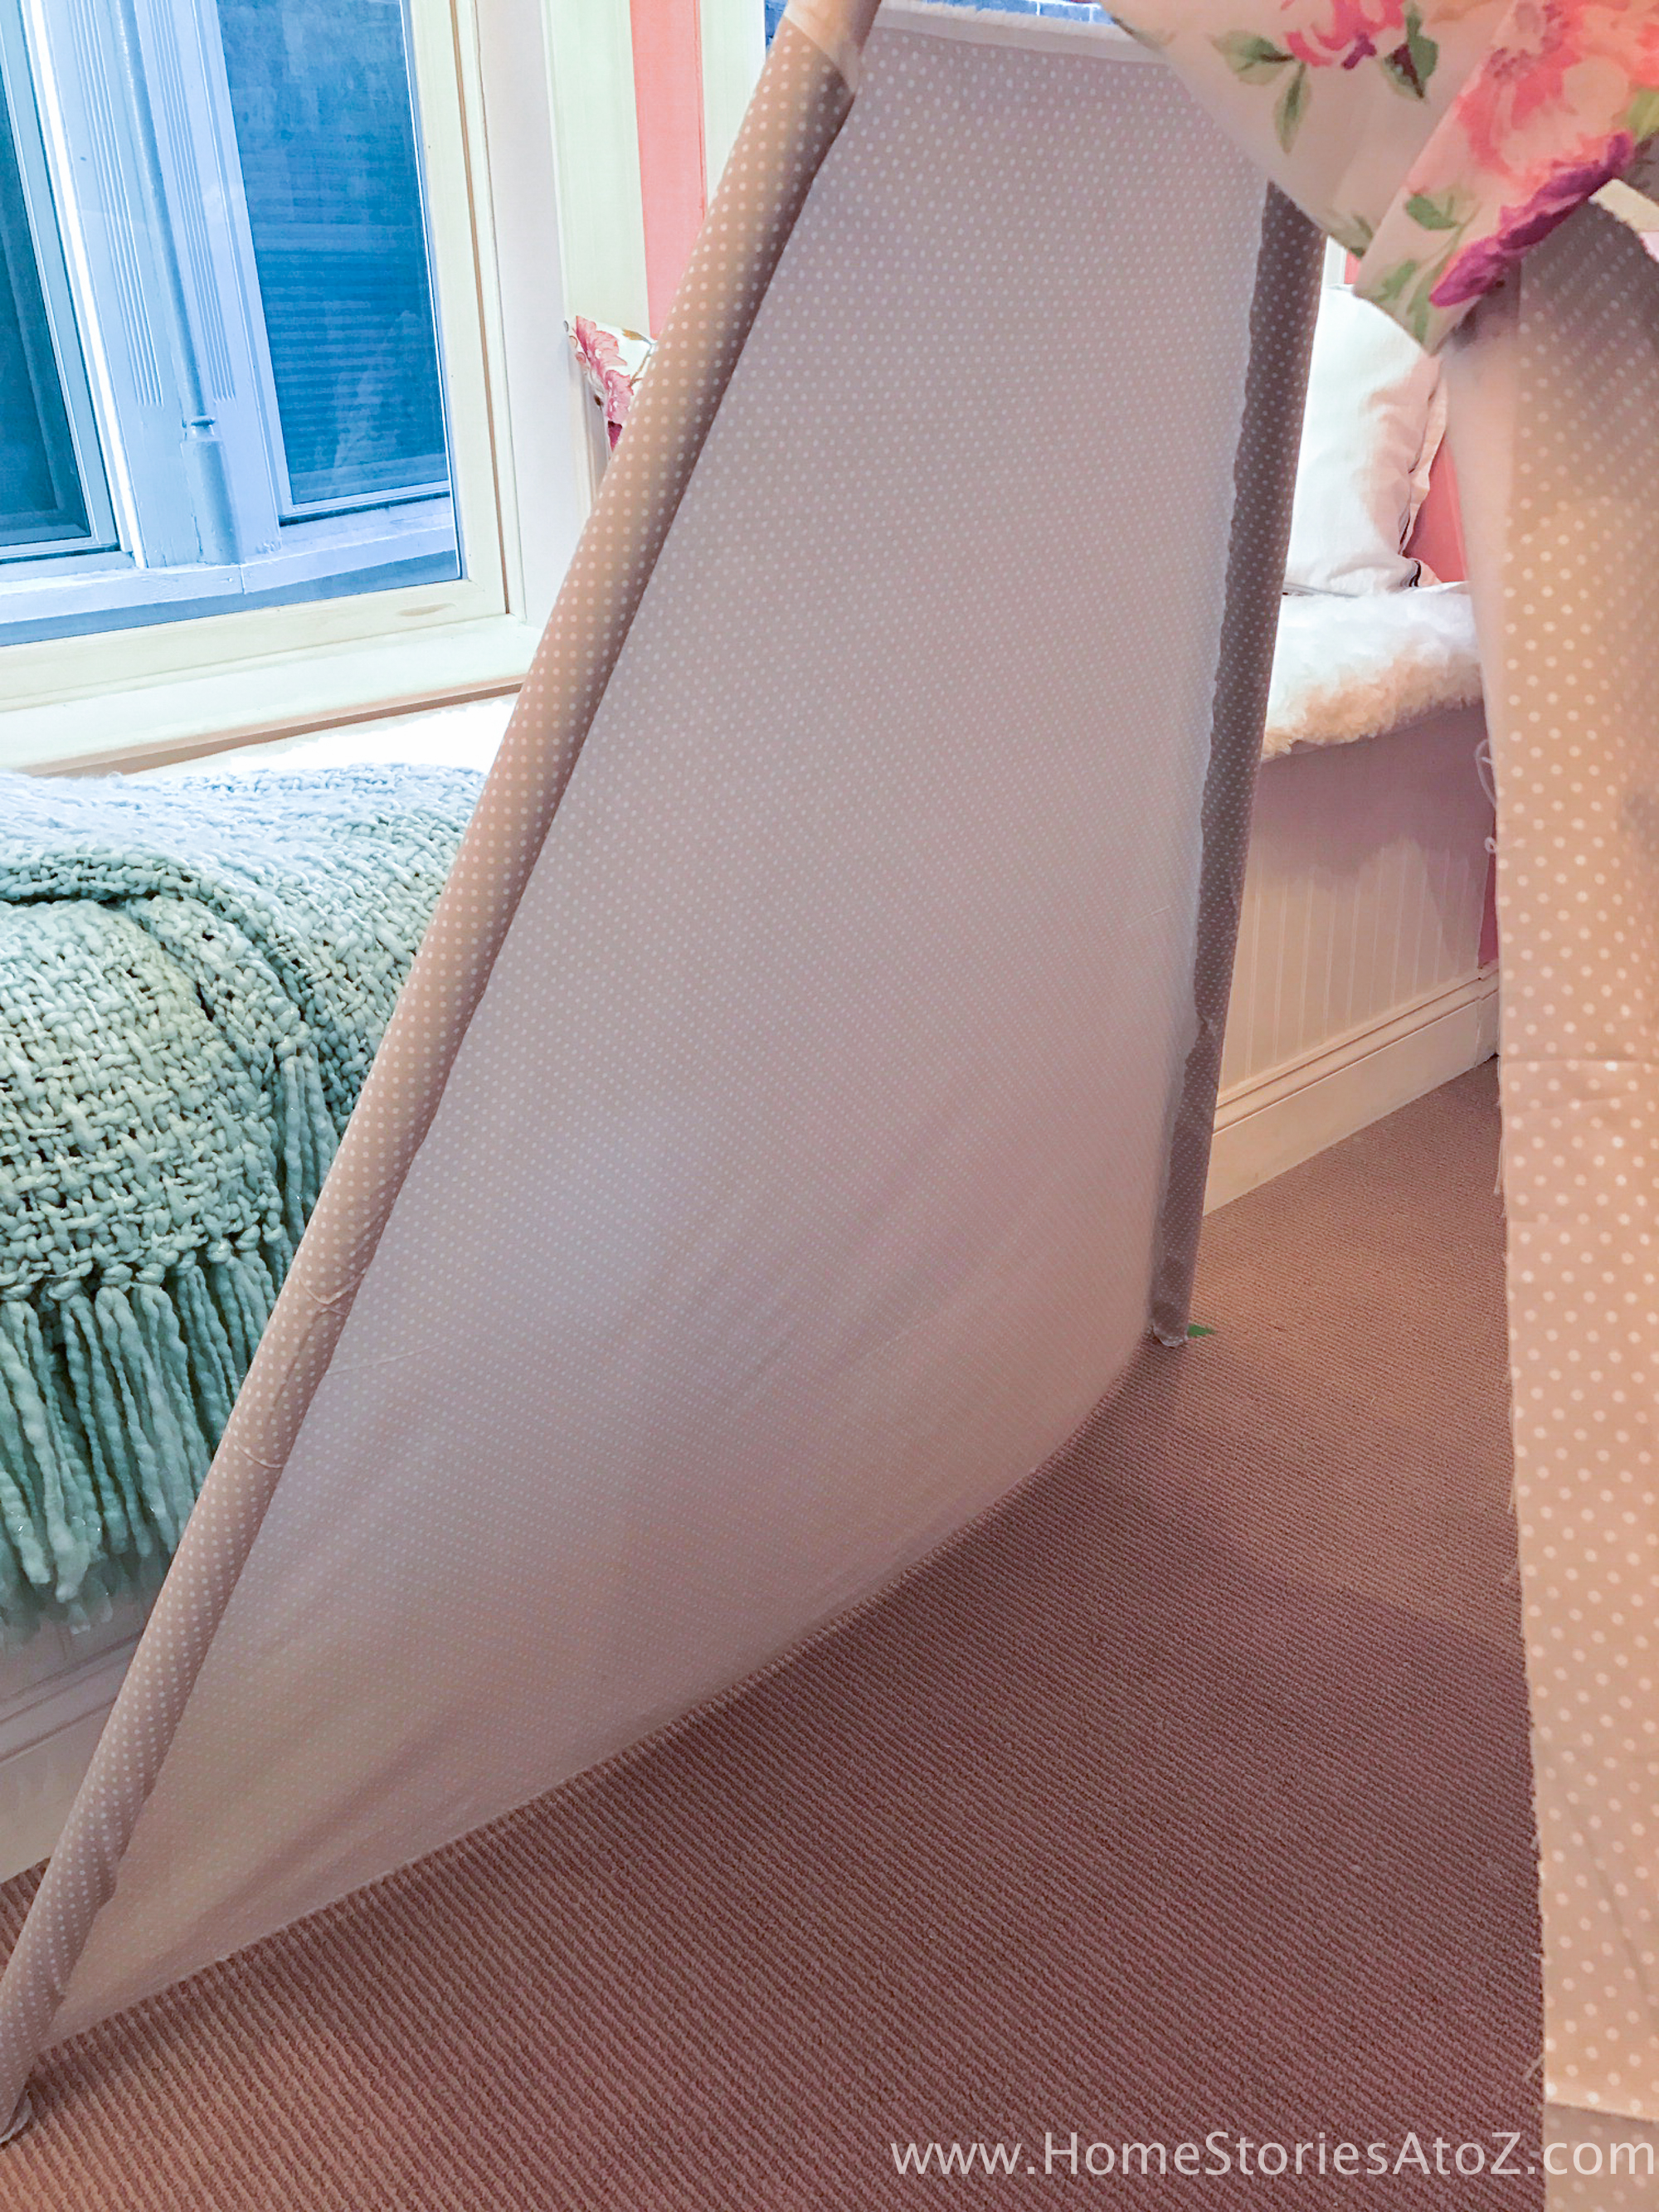
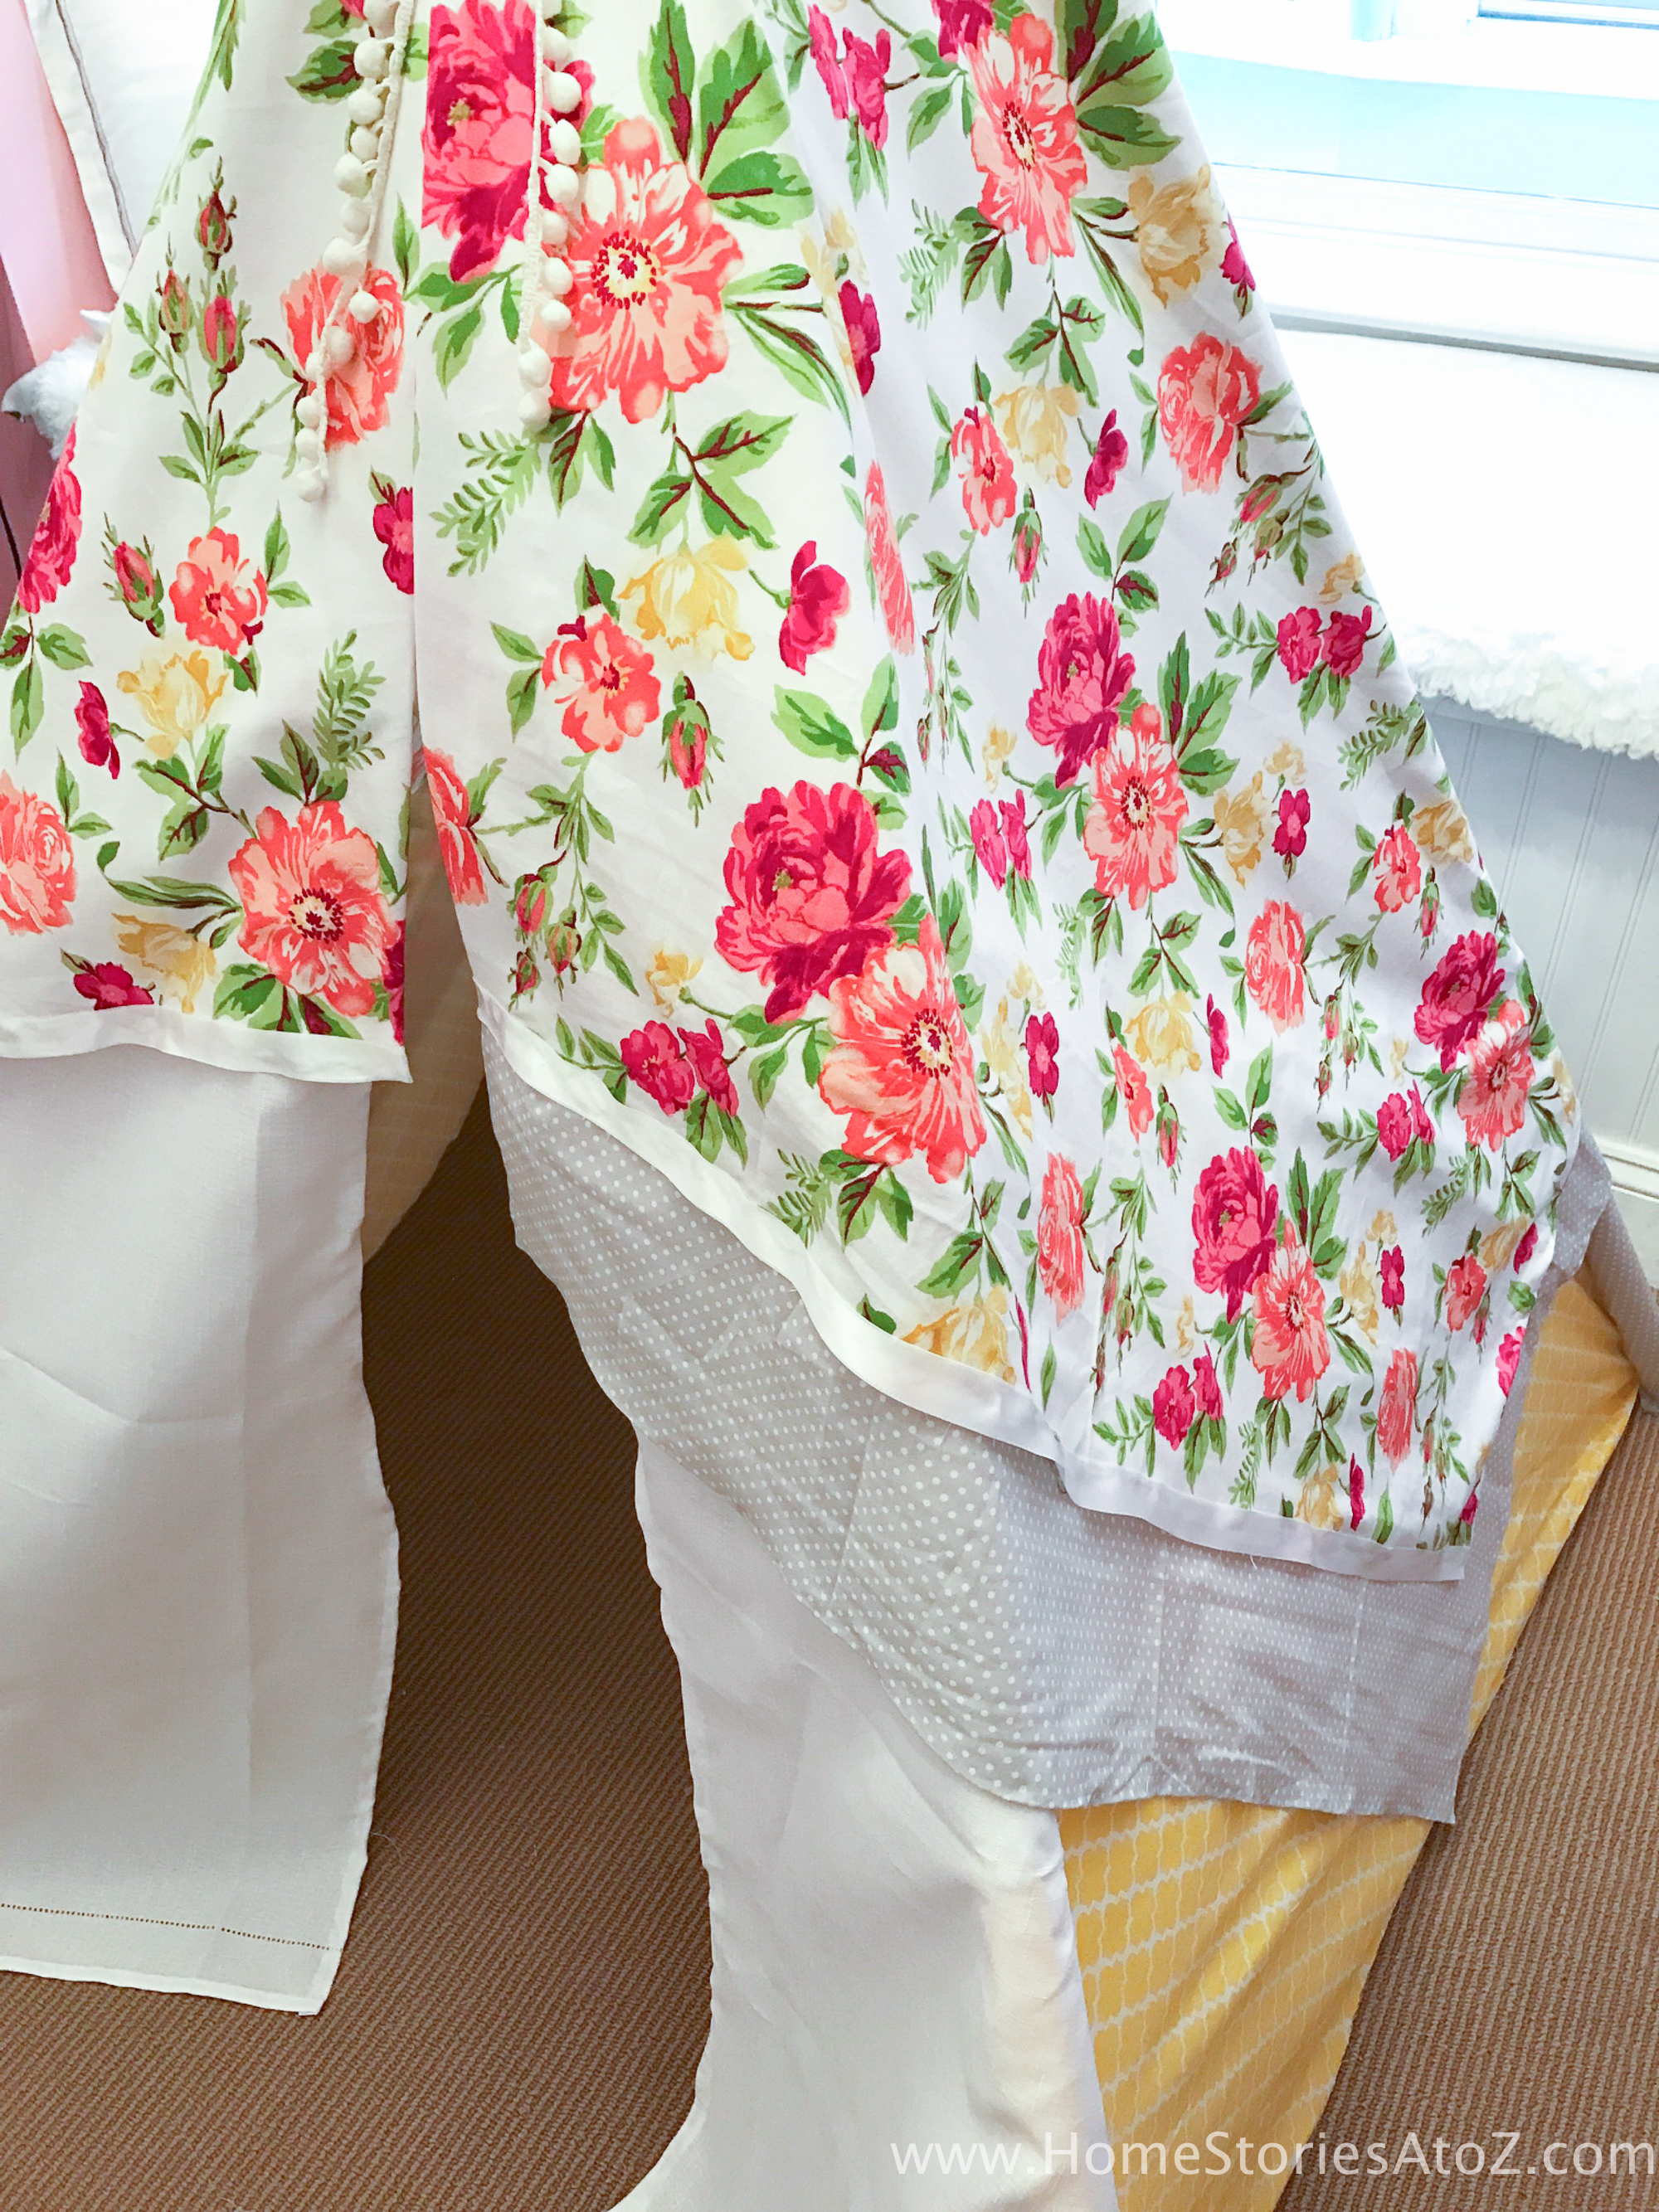
DIY Teepee No Sew Step 4: Drape top piece of fabric like a shawl over teepee and secure with clip.
You might notice that the fabrics I’m working with are wrinkled. Obviously you should iron all of your fabric before beginning this project; however, our iron crashed to the floor and broke as I was reaching for it. It must have intuited how much I hate ironing! 😉 Not wanting to make another trip to the store, I instead made due at the very end with Downy wrinkle release 
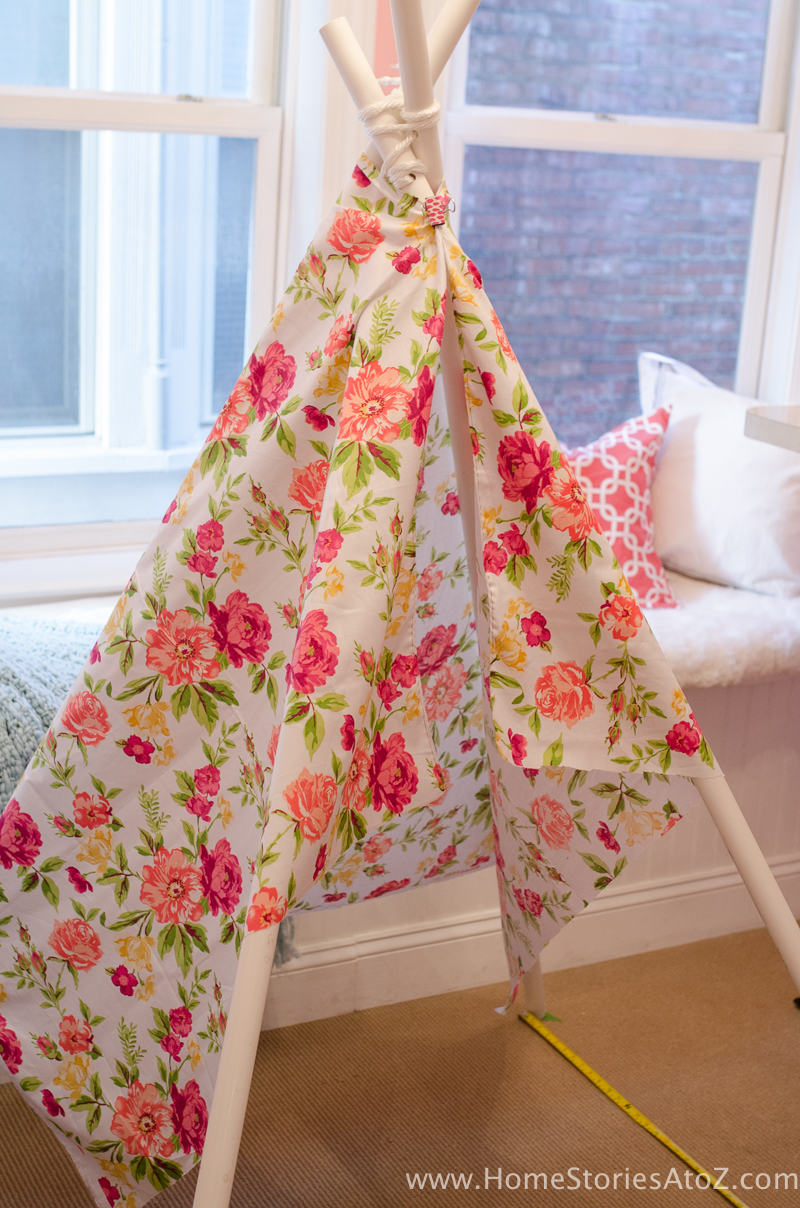
Wrap your “star of the show fabric” around your teepee like a shawl and secure it with a clip. This piece of fabric will determine the placement of all of your other fabrics so be sure to secure it evenly. I will refer to this piece as the “teepee shawl” in the rest of the post.

DIY Teepee No Sew Step 5: Create front panel for teepee.
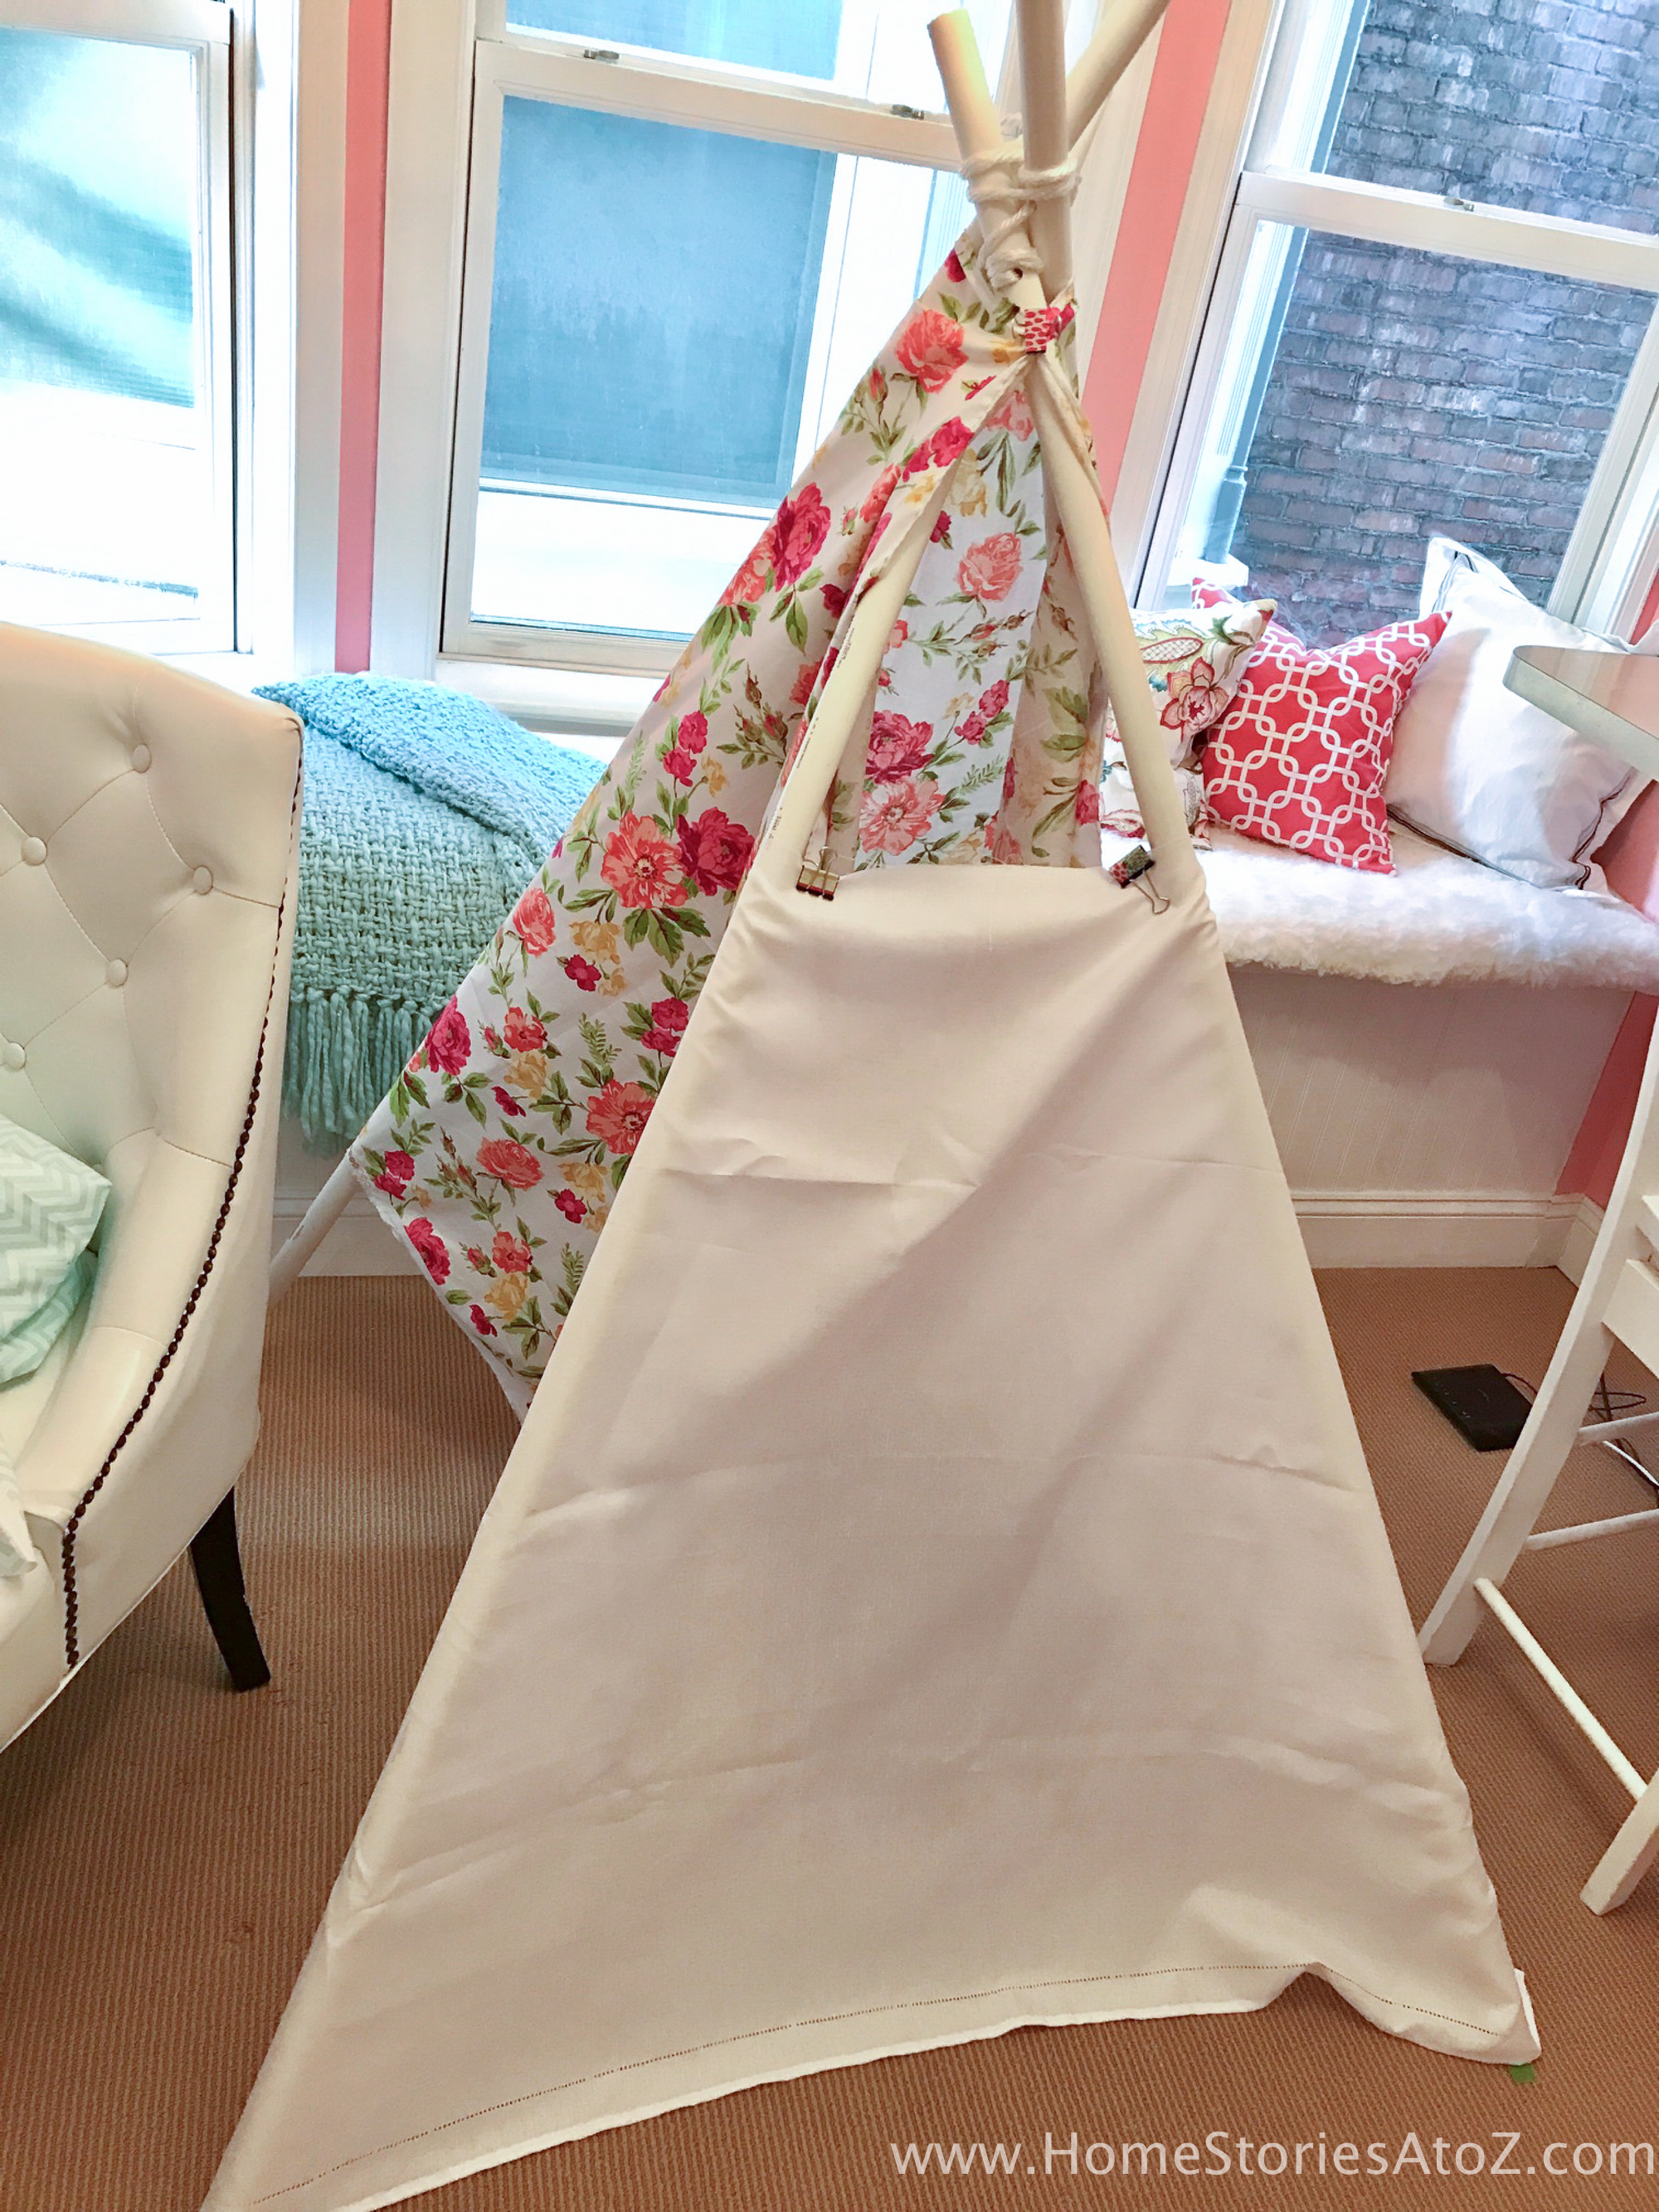
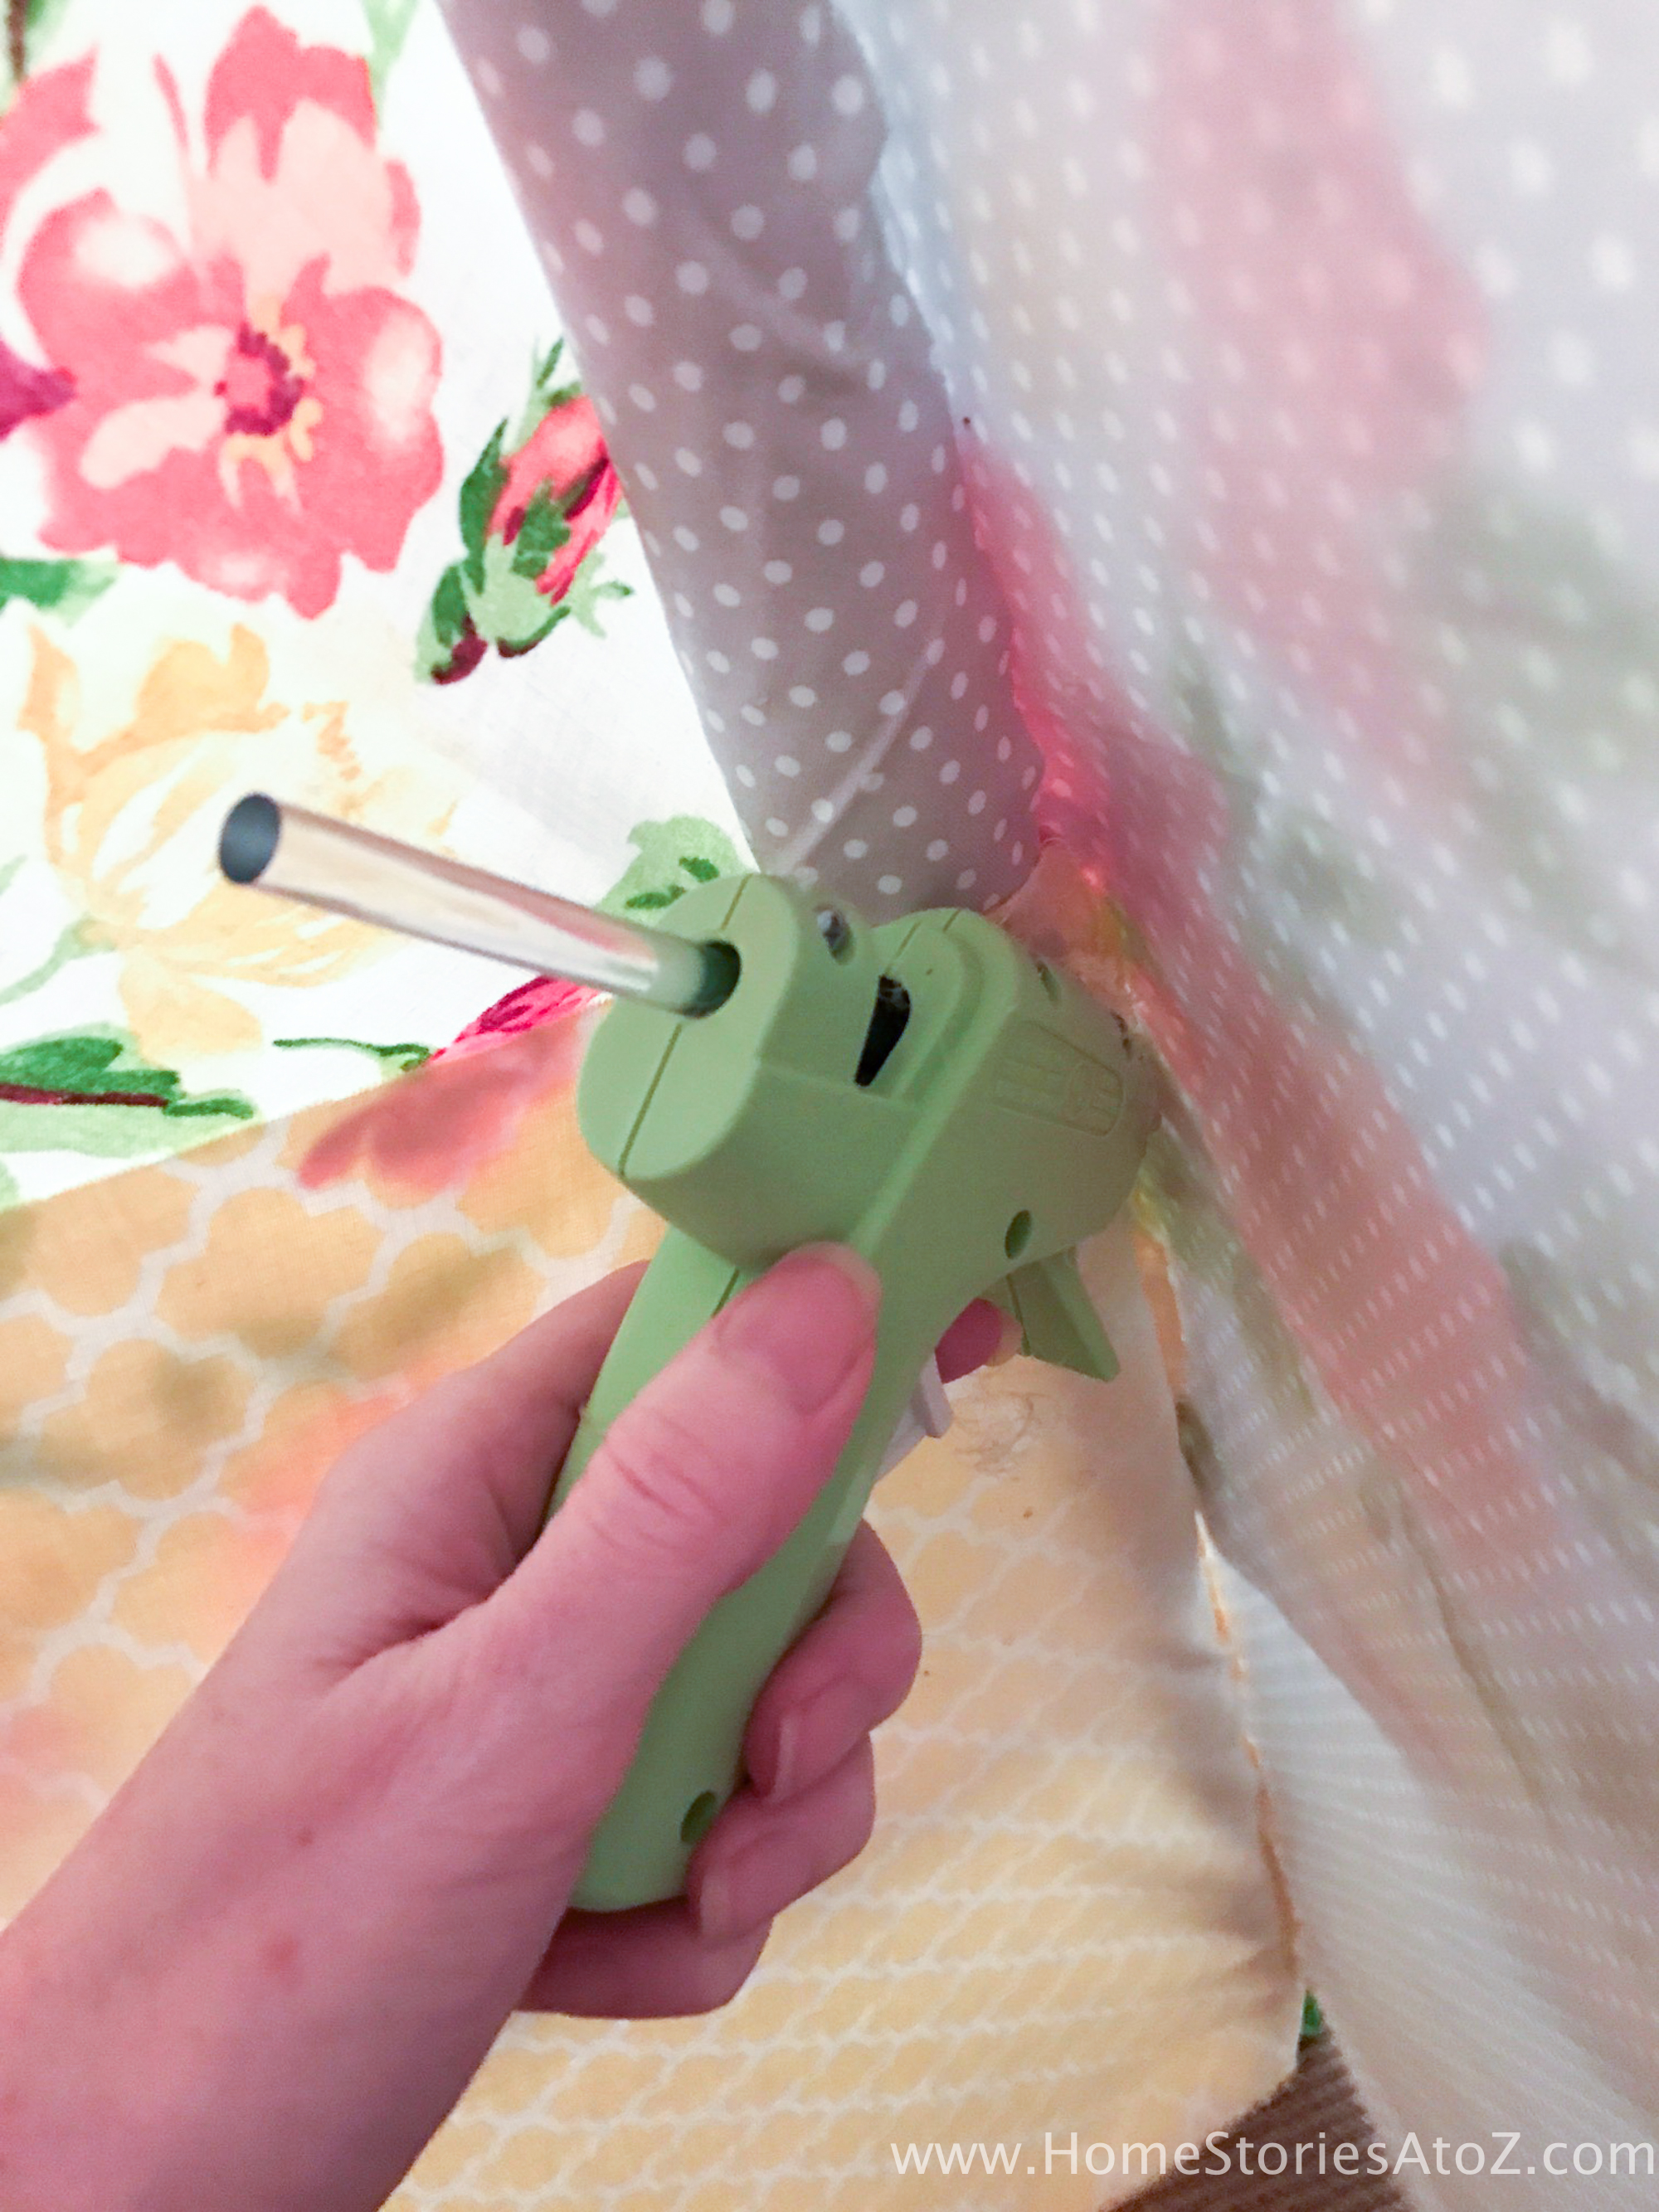
Wrap your front piece of fabric around the front of the teepee and secure it with clips. Cut the excess of fabric near the poles and cut a slit up the middle.
Using a hot glue gun, secure the fabric around the poles and “hem” the slit. To hem with hot glue, simply fold the fabric over and run a small bead of glue in the crease and press to secure.
DIY Teepee No Sew Step 6: Create back panel for teepee.
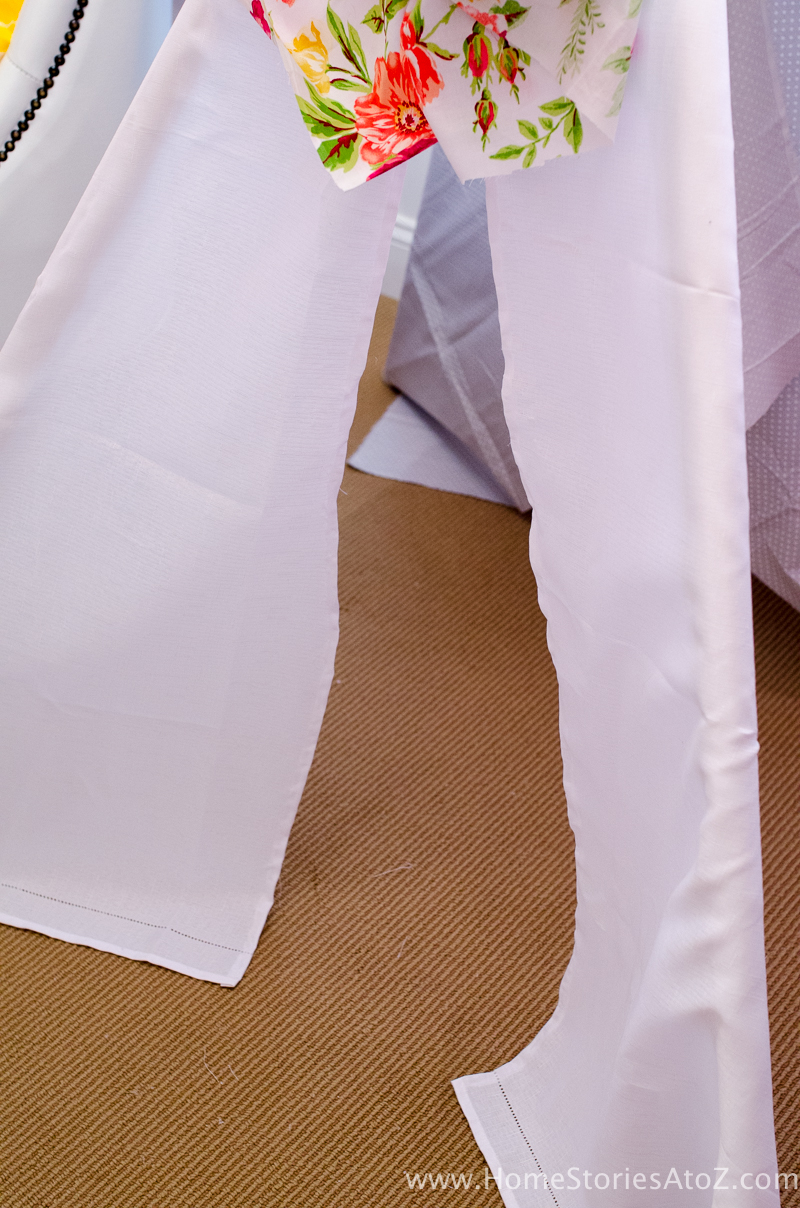
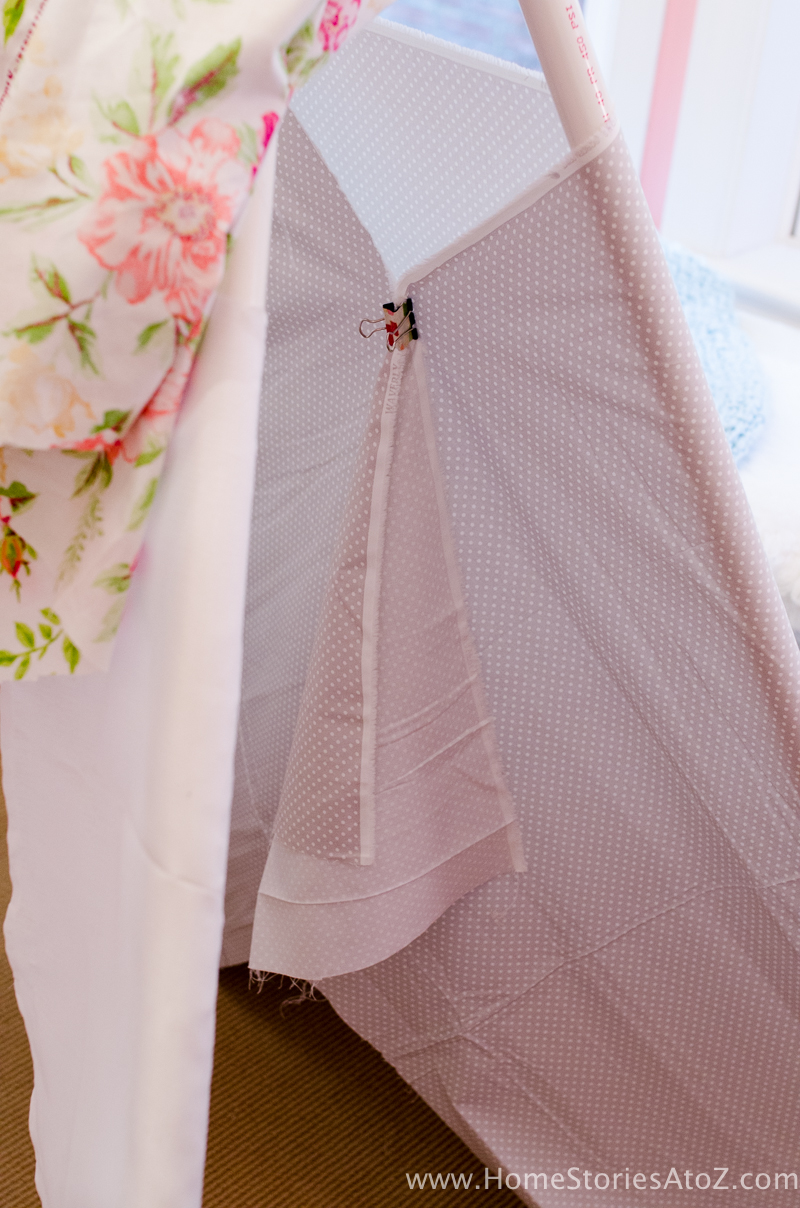
Repeat the same steps (minus the slit) on the back of your teepee. Wrap the fabric around the teepee, secure with a clip, cut to size near poles, and secure fabric to poles. Save the triangle-shaped scraps of fabric! You will use these later on.
DIY Teepee No Sew Step 7: Trim front with ribbon. (optional)
Instead of hemming the teepee shawl, I added a bit of Waverly Inspirations Ribbon![]() to give it a more finished look. This is your teepee so feel free to go crazy embellishing it and make it your own!
to give it a more finished look. This is your teepee so feel free to go crazy embellishing it and make it your own!

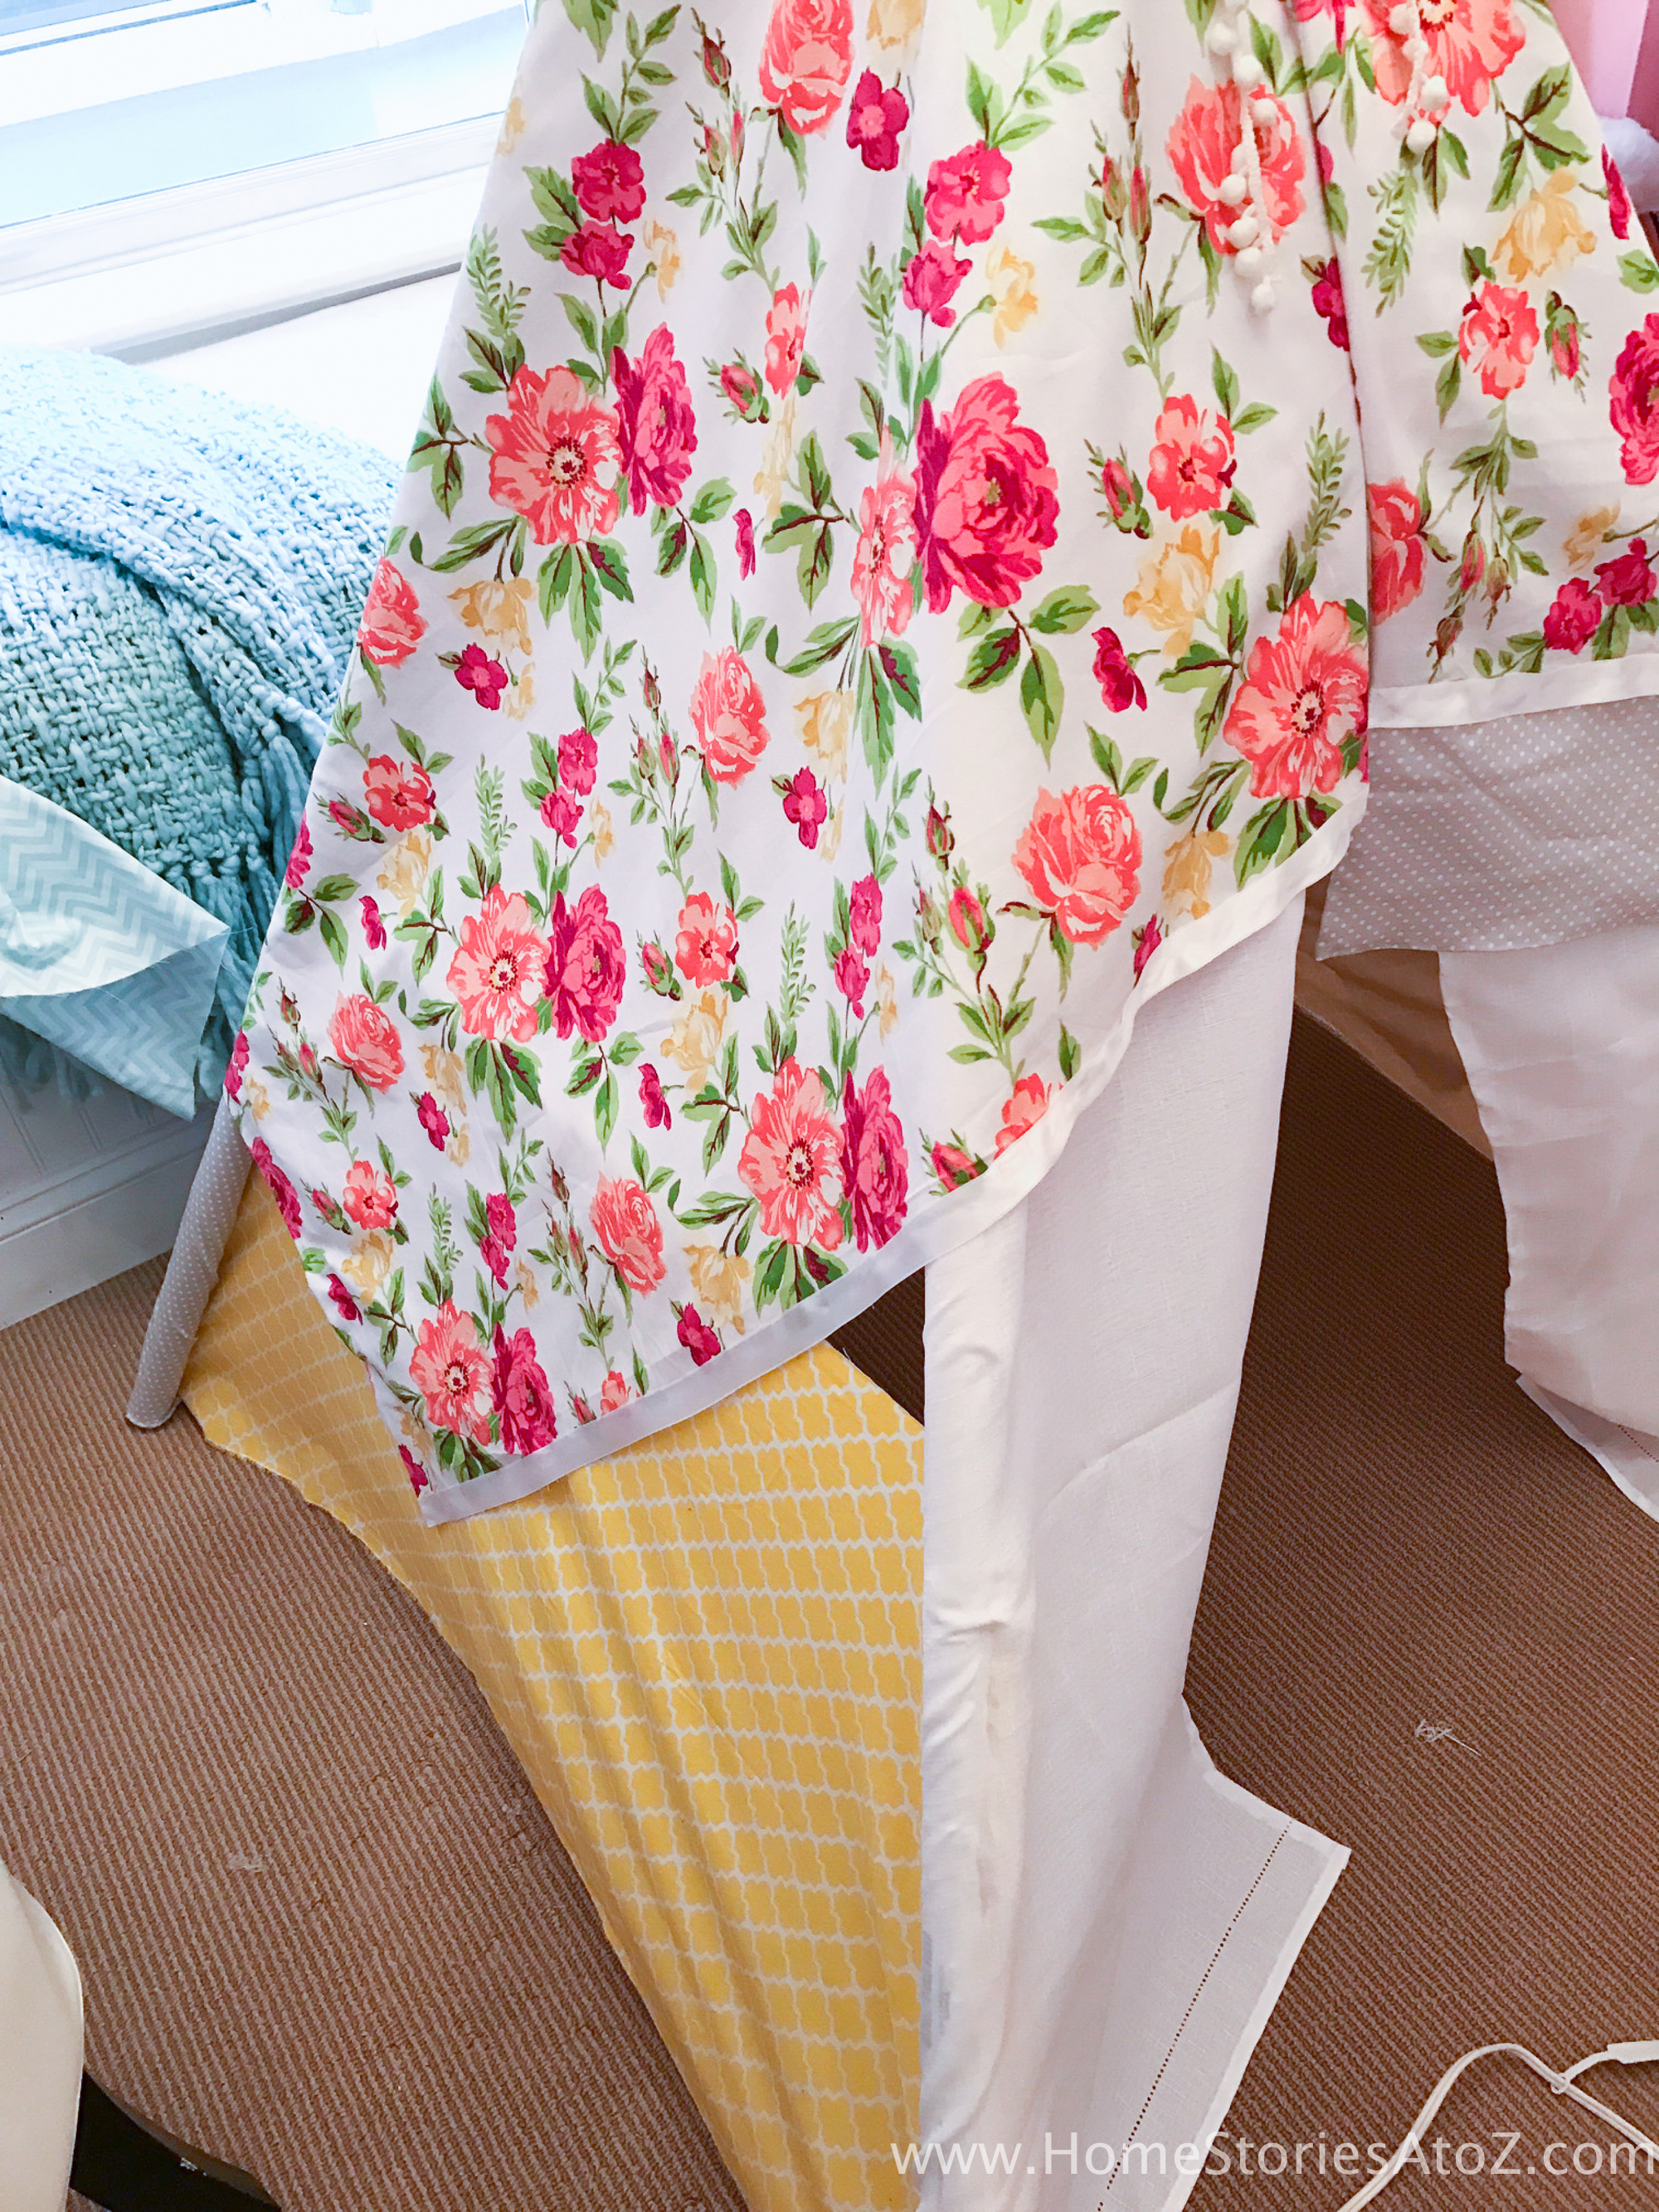
DIY Teepee No Sew Step 8: Cut side panel fabric in half and secure to sides.
I wanted the sides of my teepee to mirror each other, so I cut my final piece of fabric in half and secured it to each side with hot glue. It’s okay that it doesn’t cover as much of the teepee. You will solve this problem in the next step.
Don’t worry about that little gap! We will fix it in the next step.
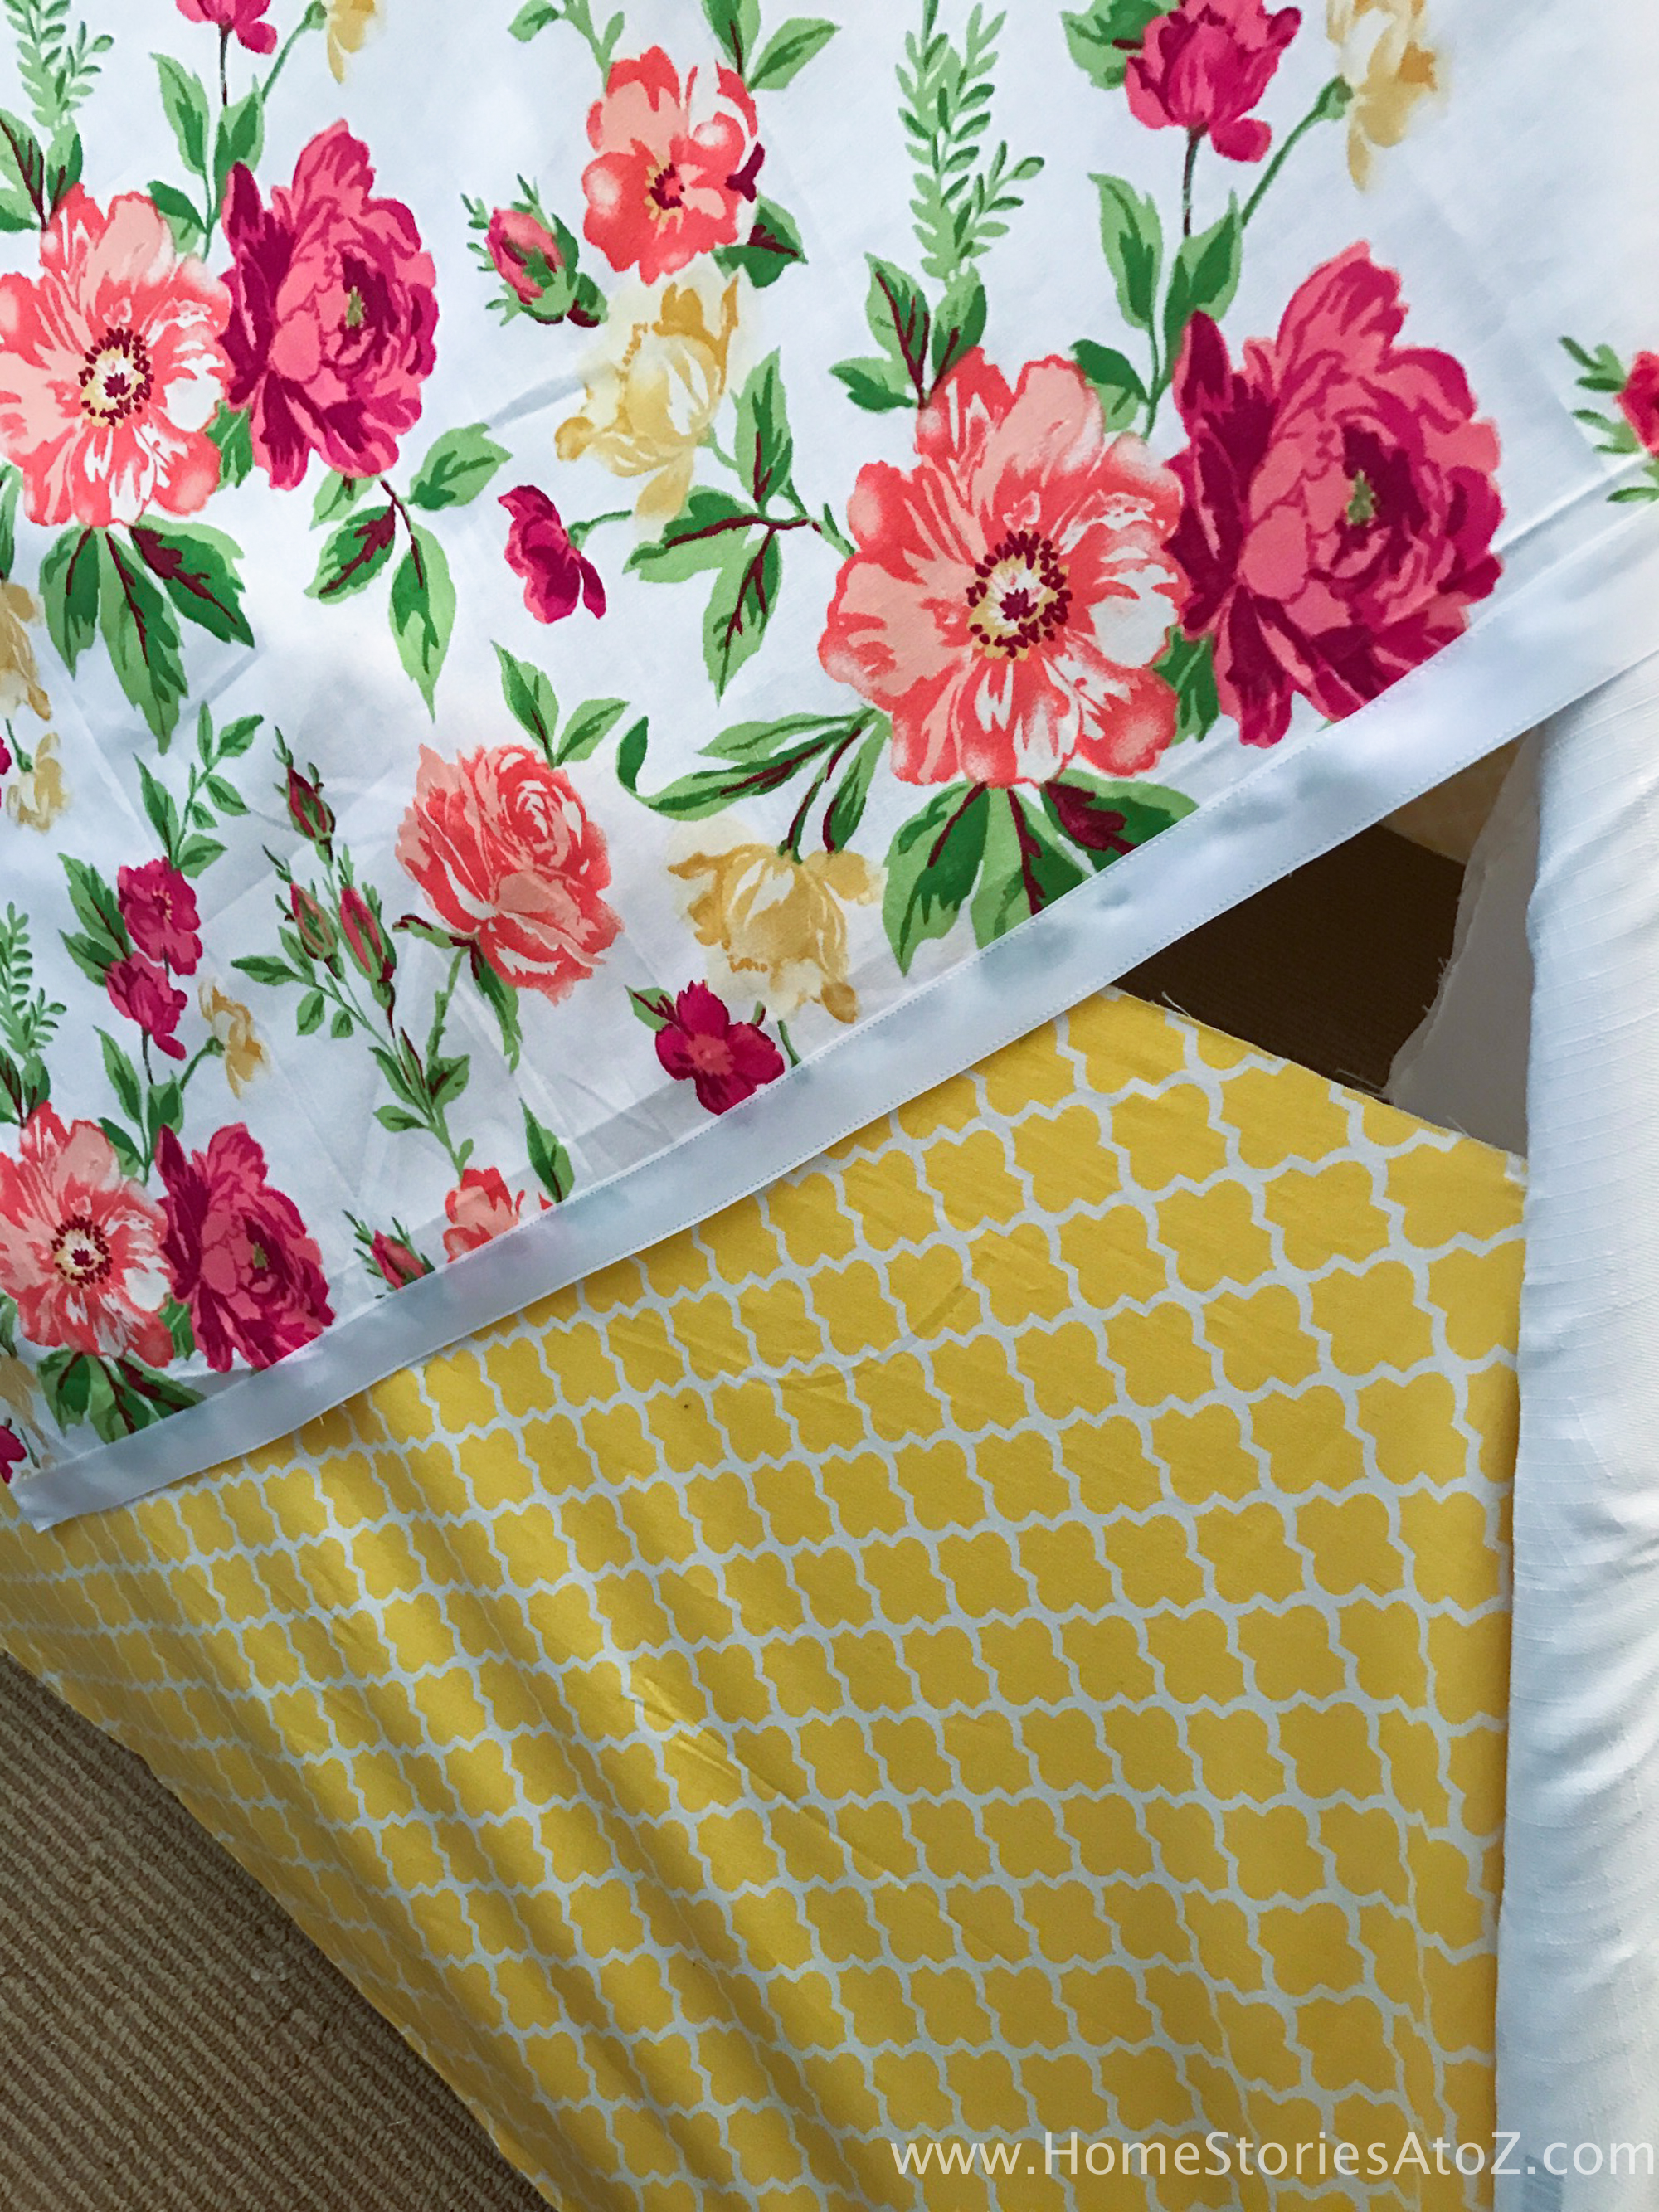
DIY Teepee No Sew Step 9: Glue triangle scrap pieces from back panel to bottom of teepee shawl.
To cover the gaps on the sides of the teepee you need to extend the length of your teepee shawl. Glue-gun hem all of the sides of the triangles and glue them to the bottom of your teepee shawl.
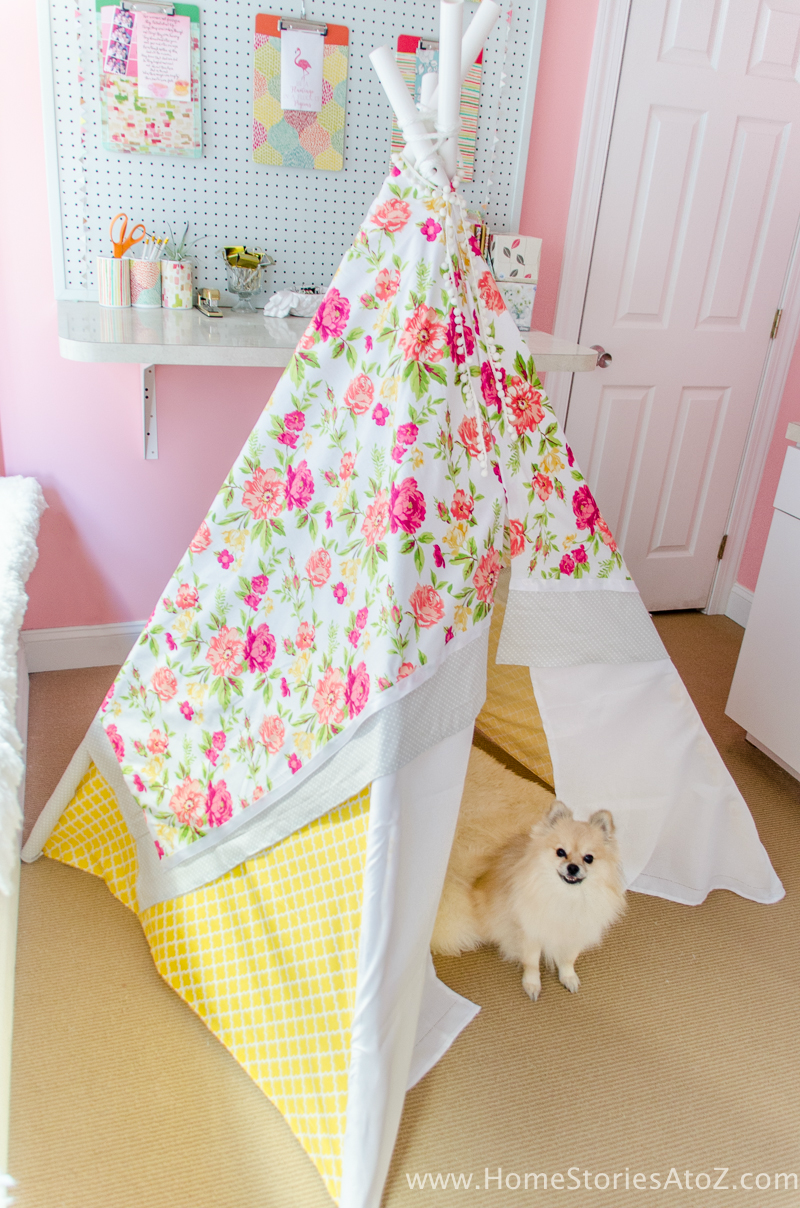
DIY Teepee No Sew Step 10: Remove clip and glue top of teepee shawl.
You are done! Secure that shawl in place and enjoy!
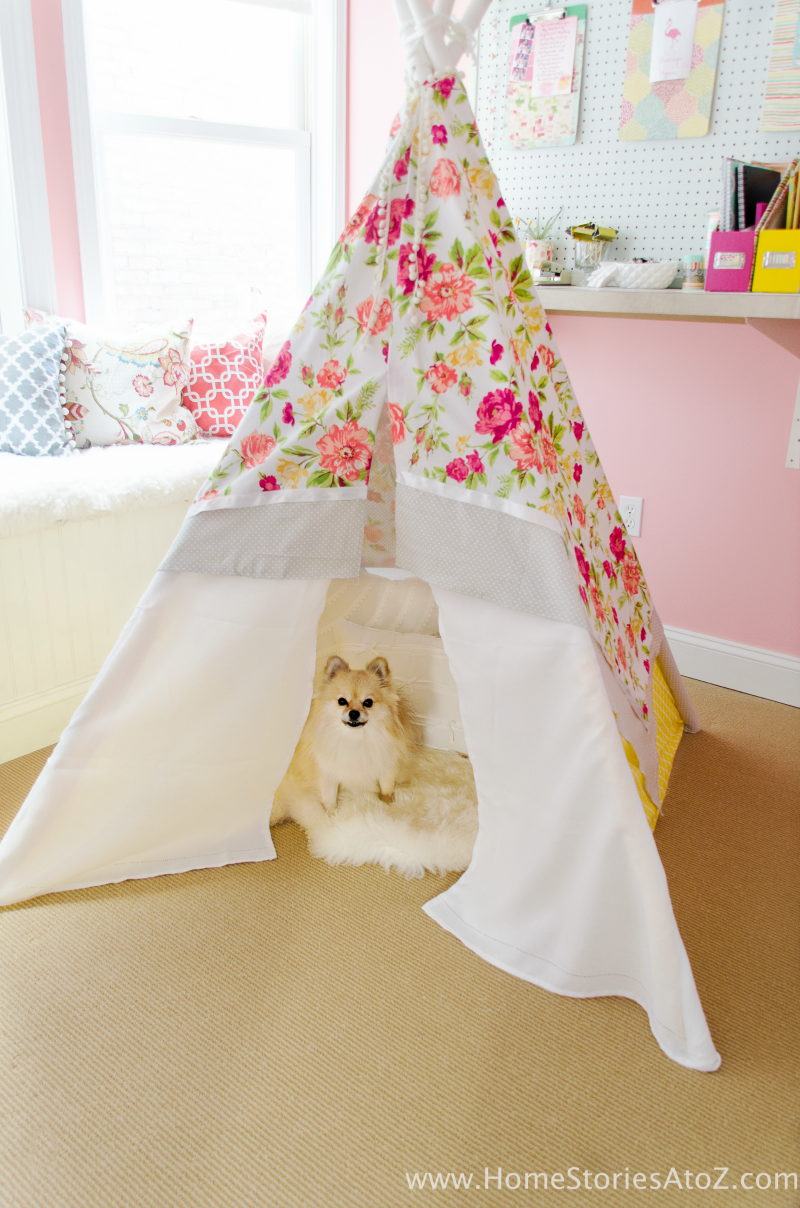
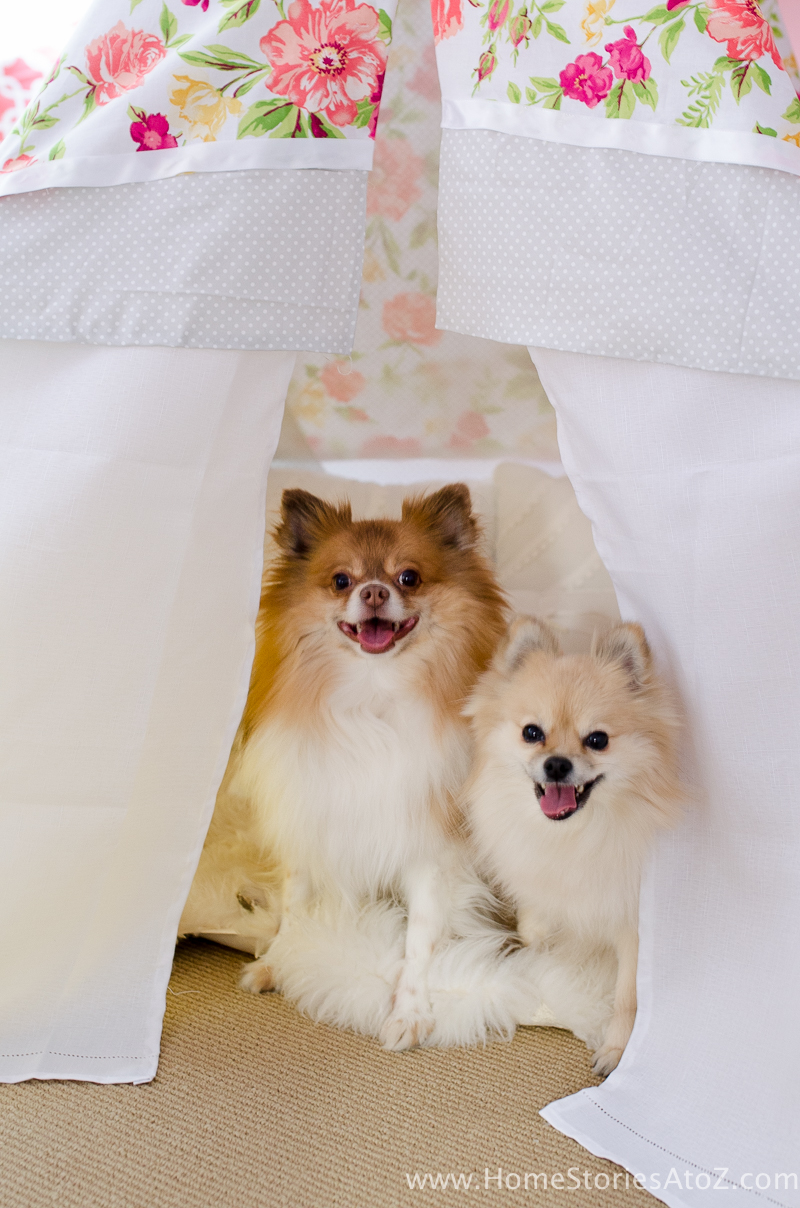
I crawled inside my teepee and texted some friends. I had forgotten how nice it is to feel secure and cozy in a little fort! My Pomeranians seemed to like it as well. 😄 My boys asked if they could play in it, but I think this might be Mommy’s Teepee. I might have to build them a separate one!
Ha! How cute are they?
Thanks for stopping by friends! 😘 If you’re looking for more fun and easy ways to work with fabric, check out my other fabric-related posts below!


Oh my gosh Beth, your pomeranians are SO CUTE, we have a new one….our 3rd Pom!
~Be Sweet
Christina at SWEETHAUTE
How did you glue the fabric around the poles?
I just wrapped the fabric around the pole and held it in place with clips, then folded the fabric back and quickly placed hot glue on the pole and secured the fabric in place. You do have to work quickly.
I love this! Actually what I love the most is your personality shines through. So much fun to read your posts. I can only hope and aspire to be like you with my own blog.
What a sweet comment to receive! Thanks Melissa. 🙂