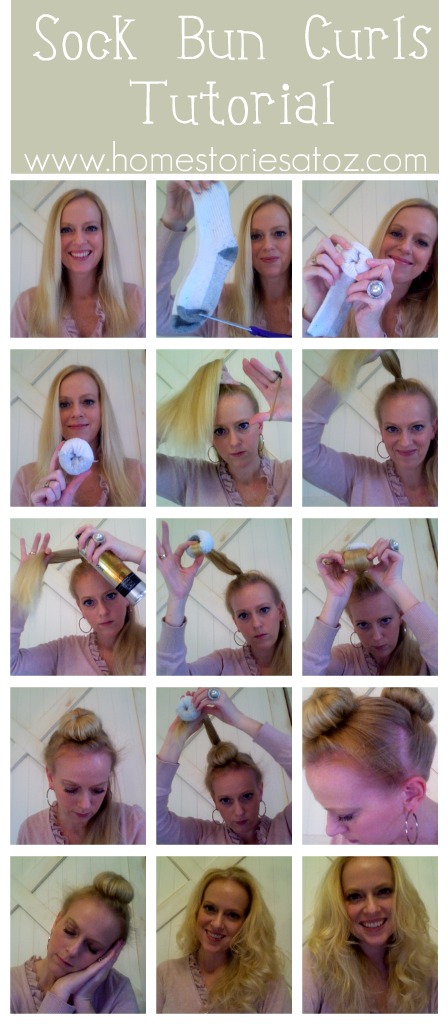
Back in early October, I shared with you my love of using the sock bun curling method! Since that time I have received numerous emails and comments asking for more information on how to get your sock bun curls to look good. So for today’s fashion and beauty Friday post I thought I’d do a full tutorial! (Please forgive the grainy pictures. I was using my Mac camera for this post.)
Sock Bun Curls Tutorial
1. Start with clean fresh hair. It works best if your hair is still a bit damp after blowing dry; however, if your hair is too damp it won’t dry overnight and your curls won’t be pretty. I usually dry my hair until it’s just barely damp at my roots and underneath.
2. Cut the toe off of two socks. Many have asked whether or not the type of sock makes a difference. Yes, it does. I use a pair of my son’s athletic socks because the elastic is good and they are smaller which works well for my very fine hair. If you use an old sock with stretched out elastic, your curls will be looser. A tighter, smaller sock will lead to tighter curls. I have also found that using TWO sock buns gives me a more evenly curled look.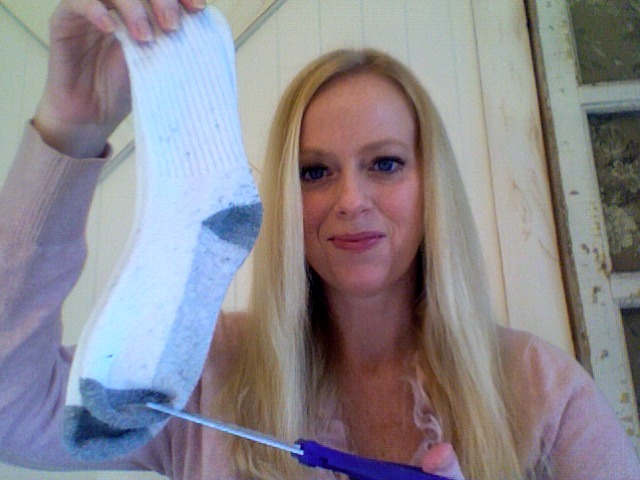
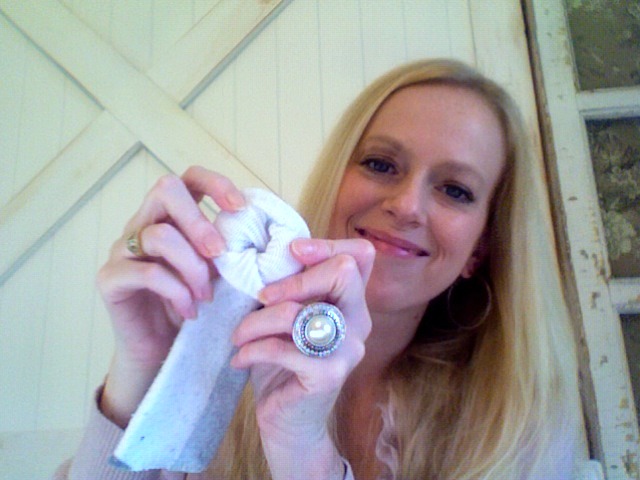
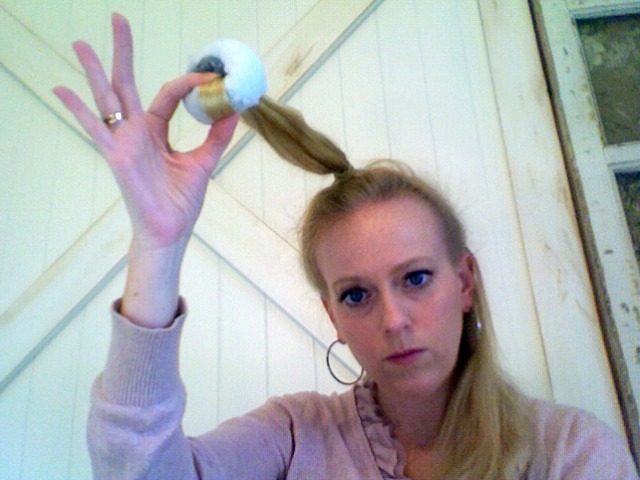
3. Roll the “sleeve” of the sock down towards the open toe. Just keep rolling a nice neat smooth sock donut.
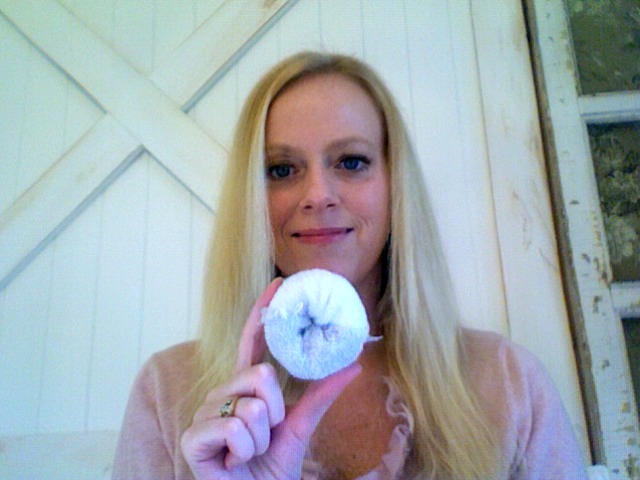
4. When you’re done rolling your sock will look like a donut. Mmmmmmm….donuts.
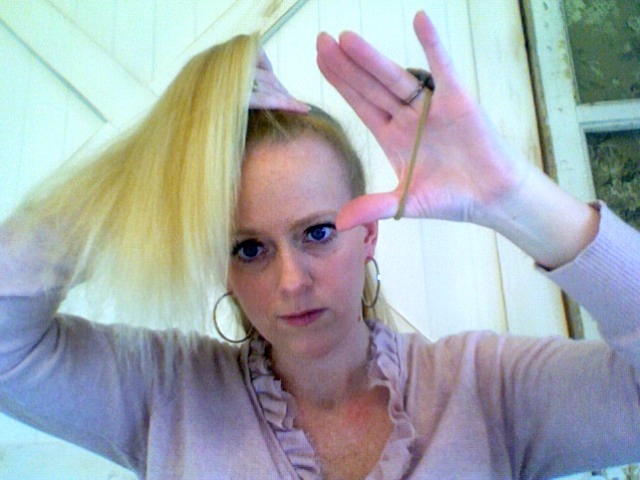
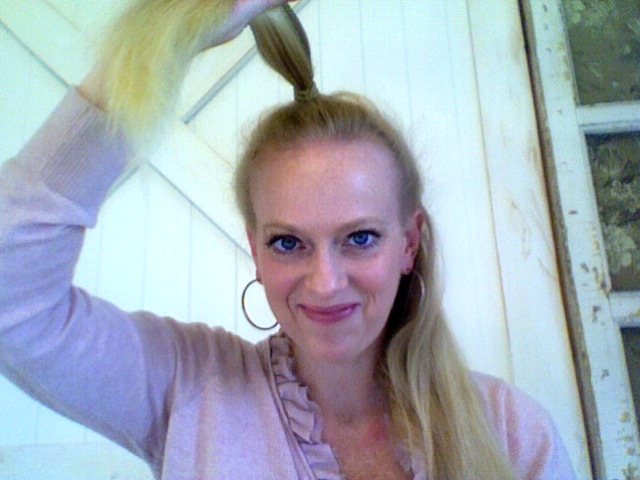
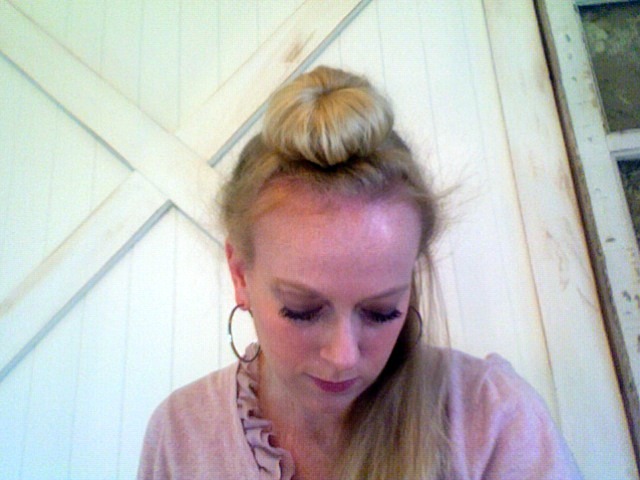
5. Pull the sides and top of your hair into a ponytail on the top (crown) of your head.
6. To avoid a ponytail dent, be sure not to wrap the elastic too many times around your hair. I make the ponytail loose enough that I could wrap it at least another time or so.
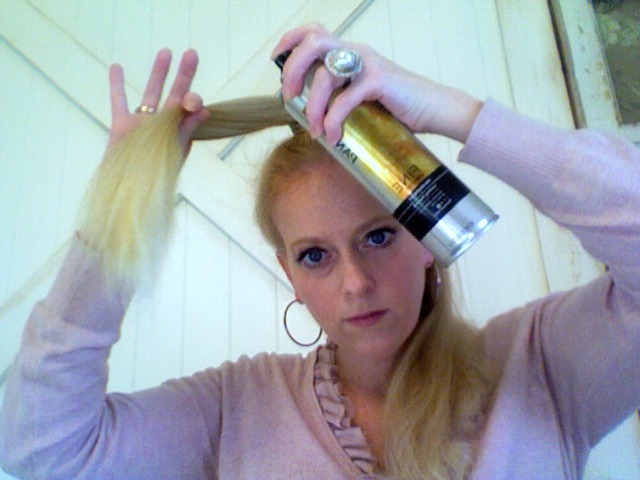
7. Use a hair styling aid before rolling it into a sock bun. You could use a styling aid before you dry your hair, but I prefer to just spritz a little hairspray on my ponytail before rolling. I spritz, brush it through evenly, and then place the ends through the sock.
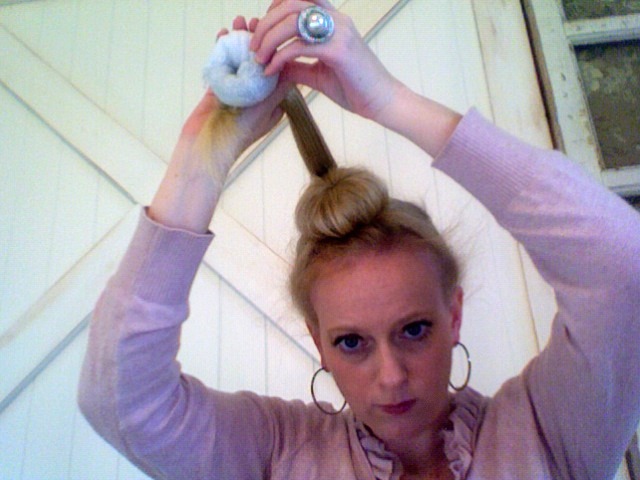
8. Place the ends of your hair through the sock donut hole and “curl” the ends over.
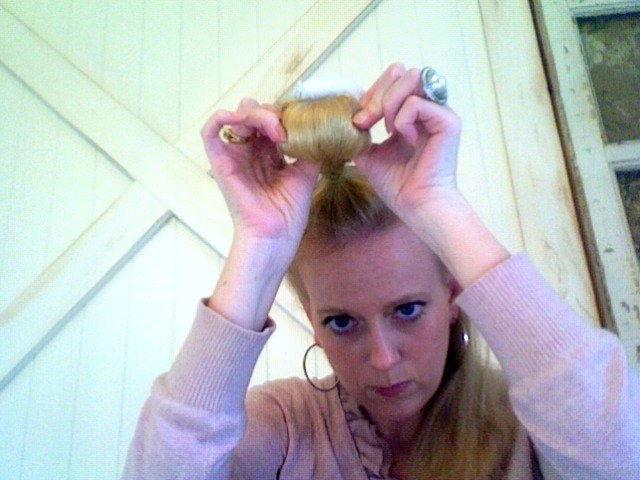
9. Roll and tuck your hair down and around the sock. Pull the sides of your hair over to cover the entire sock and just keep tucking and rolling the sock and your hair until all of your hair is securely rolled around the sock.
It will look like this when you are finished. I don’t bother securing it with a pin. The sock keeps it in place just fine.
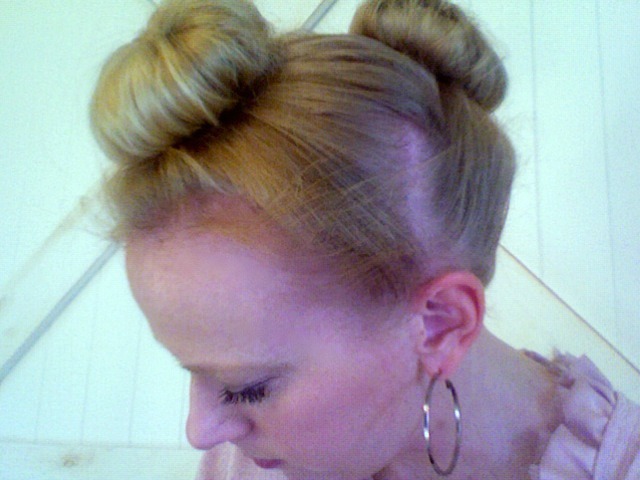
10. Repeat steps 5-9 to create your second sock bun at the base of your head.
Here is what my hair looks like when I’m finished. I sleep on my sides so these don’t bother me too much while I sleep.
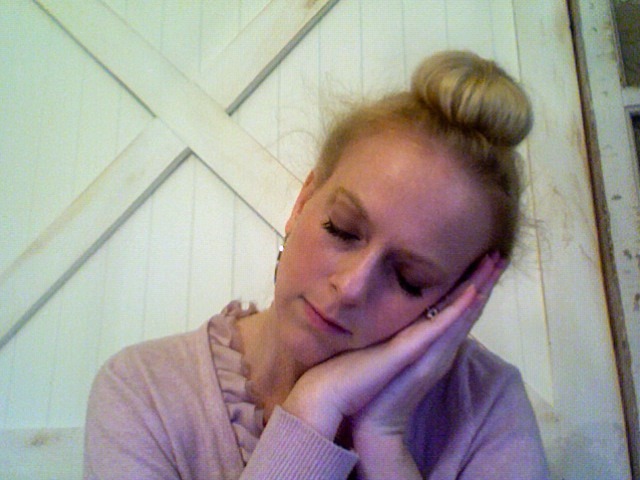
11. Go to bed and sleep on your sock buns, or keep your suck buns in for at least five hours for best results.
12. In the morning, remove you socks and ponytails and use your fingers to comb through your curls and style.
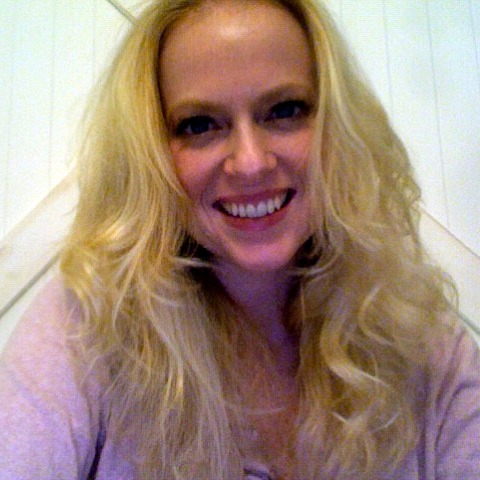
Enjoy your beautiful heat free curls and nearly ZERO time in the bathroom in the morning!
Here is the pinnable version of the tutorial for you! Please pin!
Linked up to Jen’s Weekend Wrap-up Party.





you.are.too.cute!!! Sharing
Aw, thanks Valarie! I appreciate it. 🙂
I am such an ignoramus with my hair – I’m not sure what you mean by ‘roll and tuck? If you poke the end of the ponytail through, do you then slide the donut down to the bottom and loop it through? Thanks 🙂
When you create your donut sock, practice just turning it in on itself. You will find that you can create a “rolling motion” with the sock that is easier to experience (or show in video which is what I should have done) than to explain in a picture or words. The sock isn’t locked like a wreath. It moves. You hold your ponytail straight in the air, place your hair through the center of the “donut hole”, and then literally roll the sock in on itself. Your hair will begin to wrap itself around the donut. You help it along by moving your hair where you want it on the sock as you roll. Practice a few times, and I’m sure you’ll have it.
whenever I have tried this i always get a crease in my hair from the ponytail and it makes it look awful, how do you fix that?
I try to make sure that I don’t make the elastic too tight. Or, I just omit using a hair elastic and roll the sock down.
This is great! Does this work on wet hair? (:
I was going crazy trying to figure how to roll it too! I felt so dumb. Then I realized I was trying to make it more complicated than it was- so I searched Youtube and found this video. Fast forward to 1:40 to get to the rolling view.
http://www.youtube.com/watch?v=Ku6nK9-bQ58&feature=related
Thanks for the tutorial! I can’t figure out how to roll my hair into the sock bun though… can you offer more advice? Thanks again.
I must be mental b/c I can’t figure out how to roll it. Maybe my hair is just too short. 🙁
I’ve been wanting to know how to do this and this is my very first RSS feed from you … how fortuitous! Thanks for sharing 🙂 Smiles, Lesli
I love this idea! I think I will try it one of these days. Thanks! I love the pic of you “sleeping”. haha!
Thanks for sharing this! My hair is now to the middle of my back, but really fine, so I’ve been wondering about a styling method that won’t be too harsh on the hair. Can’t wait to try it. Thanks, Beth!
You are too cute! Love it!
Great tutorial! When I’m finally settled, I’m def going to try. Pinned it so I can find it easily!
OK Beth….I tried this whole bun sock thingy. First of all, I ‘m glad I can’t post pictures of the fiasco! After many attempts I have my hair rolled, but it ain’t pretty. And I’m not smiling like you. When I came downstairs my dogs even looked at me weird. I’m thankful the frat boys aren’t home tonight because I’m sure they’d have something to say. We’ll see how it looks in the morning….it could not look any worse!
Would this work with my mid length wavy/frizzy hair?
Great tutorial!! Thanks for sharing Beth!
Ha! Love this, Beth!
Of course, I think the sock bun itself is kind of cute! : )
Beth your’e adorable! I’d like to see how this works on ethnic hair . . . I’ll have to try this!
This is so great. I have heard about these a ton, but never tried them. And I have hair that looks a lot like yours so hopefully it works just as well 🙂 Thanks so much!
I’ve been growing my hair out and have one longer layer left, in hopes of this working for my hair…its sort of wavy/frizzy on its own…hoping this works…I’ll let ya know tomorrow
Nice facebook share button at the top. That is a nice little gadget and I like the “pin it” picture at the end . Hair came out great also, I’ll give it try 🙂
I love your fashion posts! I’m growing my hair out and can’t wait to try this someday! 🙂
That is gorgeous and looks super easy. I am blessed to have naturally curly hair, but my daughters is strait so this may come in handy. Also I am thinking if I ever want to dress up like Princess Leia that this would be a pretty simple way to do it. Only with the two buns above the ears of course.
Thanks for this! I have seen this tip and even tried it before but because my hair has some layers I could never get all my hair to roll nicely into one bun! I’m going to try your way and use two! Happy Friday!
I saw your tut back in October and shared it with my daughter. My hair is too short to try it. Her hair looked beautiful!
I want to try this, but I think my hair is too short. I also have long layers.
Do you think it would work for me?
Hey Trace, I think it would work. Try it on a day when you’ll just be working around the house as a test run. Sometimes you have to do it a few times to see which method works best for you. My hair was “sock bunned” each day at Relevant. It’s such an easy way to style your hair on the fly.
My hair is shorter but I’m gonna try with about 3 or 4+ smaller ones and see how that turns out. I’ll let you know. 🙂
Very cool…I’ve heard of this, but never seen the tutorial.
I did the one on my hair and it worked great. Thanks so much for sharing 🙂
Yes, just the one on top of the head works too but I’ve found that I have greater success every time with two.
I have a question, will my hair still look good even if I wait for more than 5hours?
Everyone’s hair responds differently so it’s a matter of experimenting to see what works best for you.