
Hiring a photographer is the best way to ensure a quality capture of yourself, but sometimes you want a do-it-yourself option! Here are some quick tips on how to take your own self-portraits with a DSLR camera.
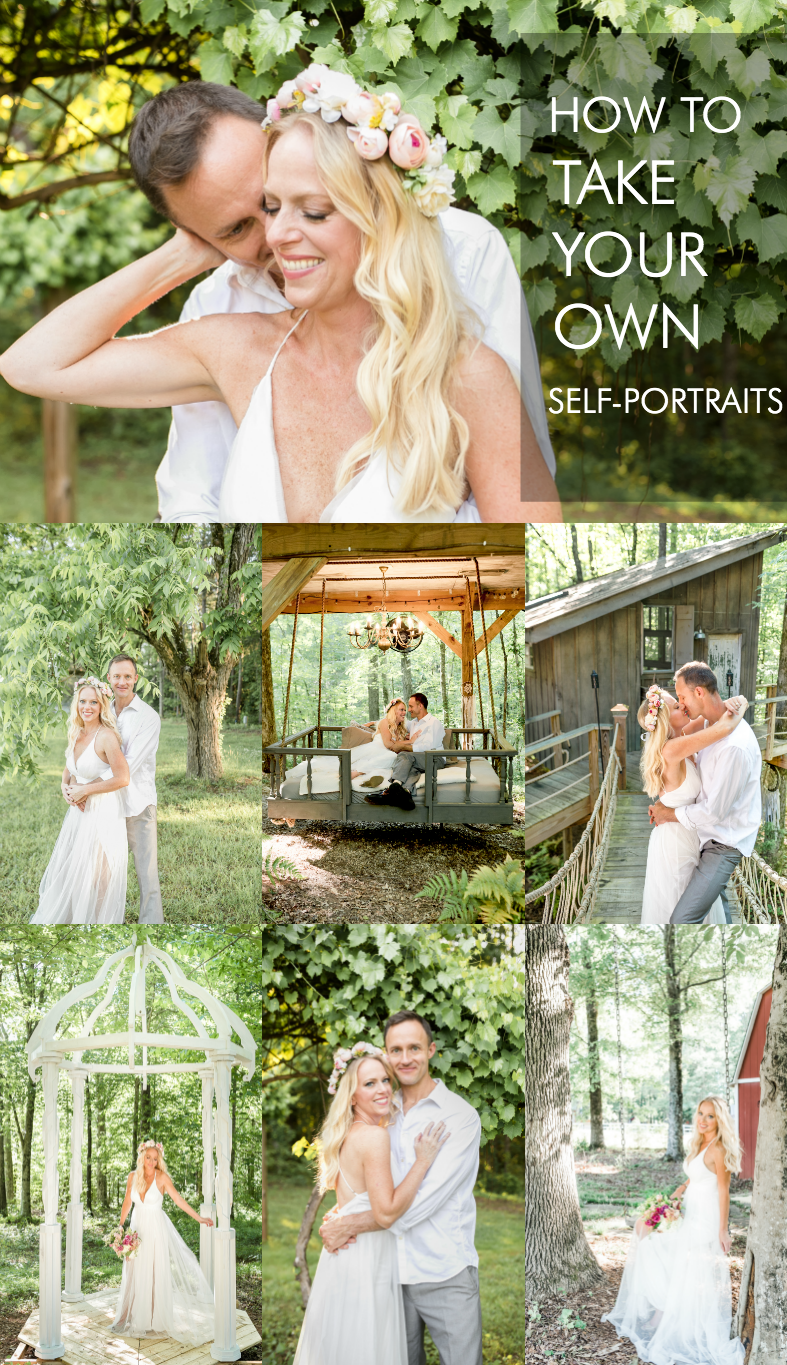
Matt and I just celebrated our 20th wedding anniversary! We originally planned to celebrate with a much-anticipated trip to Europe; however, unexpected expenses and life circumstances popped up (as they so often do) and altered those plans. I’m not going to lie. I was disappointed. To soften the blow, Matt surprised me with a beautiful and unique anniversary gift! He designed, carved, and built a beautiful gazebo in the woods for me that is truly fit for a bride. Although the gazebo wasn’t quite finished on the day of our anniversary, I wanted to take some pictures to commemorate the moment. I didn’t have time to hire a photographer so decided to take the photos myself. I thought I’d share my process in case you too want to take family or self-portraits!
Tip 1: Invest in the right gear to obtain the photos you want!
You can capture amazing photos these days with your camera phone, but nothing beats the pictures I take with my DSLR. I currently shoot with a Nikon d810, but you do not have to have the fanciest of cameras to obtain beautiful photos! The lens I used for all of these pictures is my Sigma 35mm 1.4. It is my favorite lens, and it rarely leaves my camera body! Other great portrait lenses to consider are the 50mm or an 85mm lens. The 50mm Nikon lens is the most affordable and does a beautiful job at creating bokeh around your subject. For self-portraits, I also recommend investing in a good tripod, remote, and reflector. The remote is optional but will make the entire process easier. You can also employ the “timer and run” method which is what I did for all of the shots of Matt and I together!
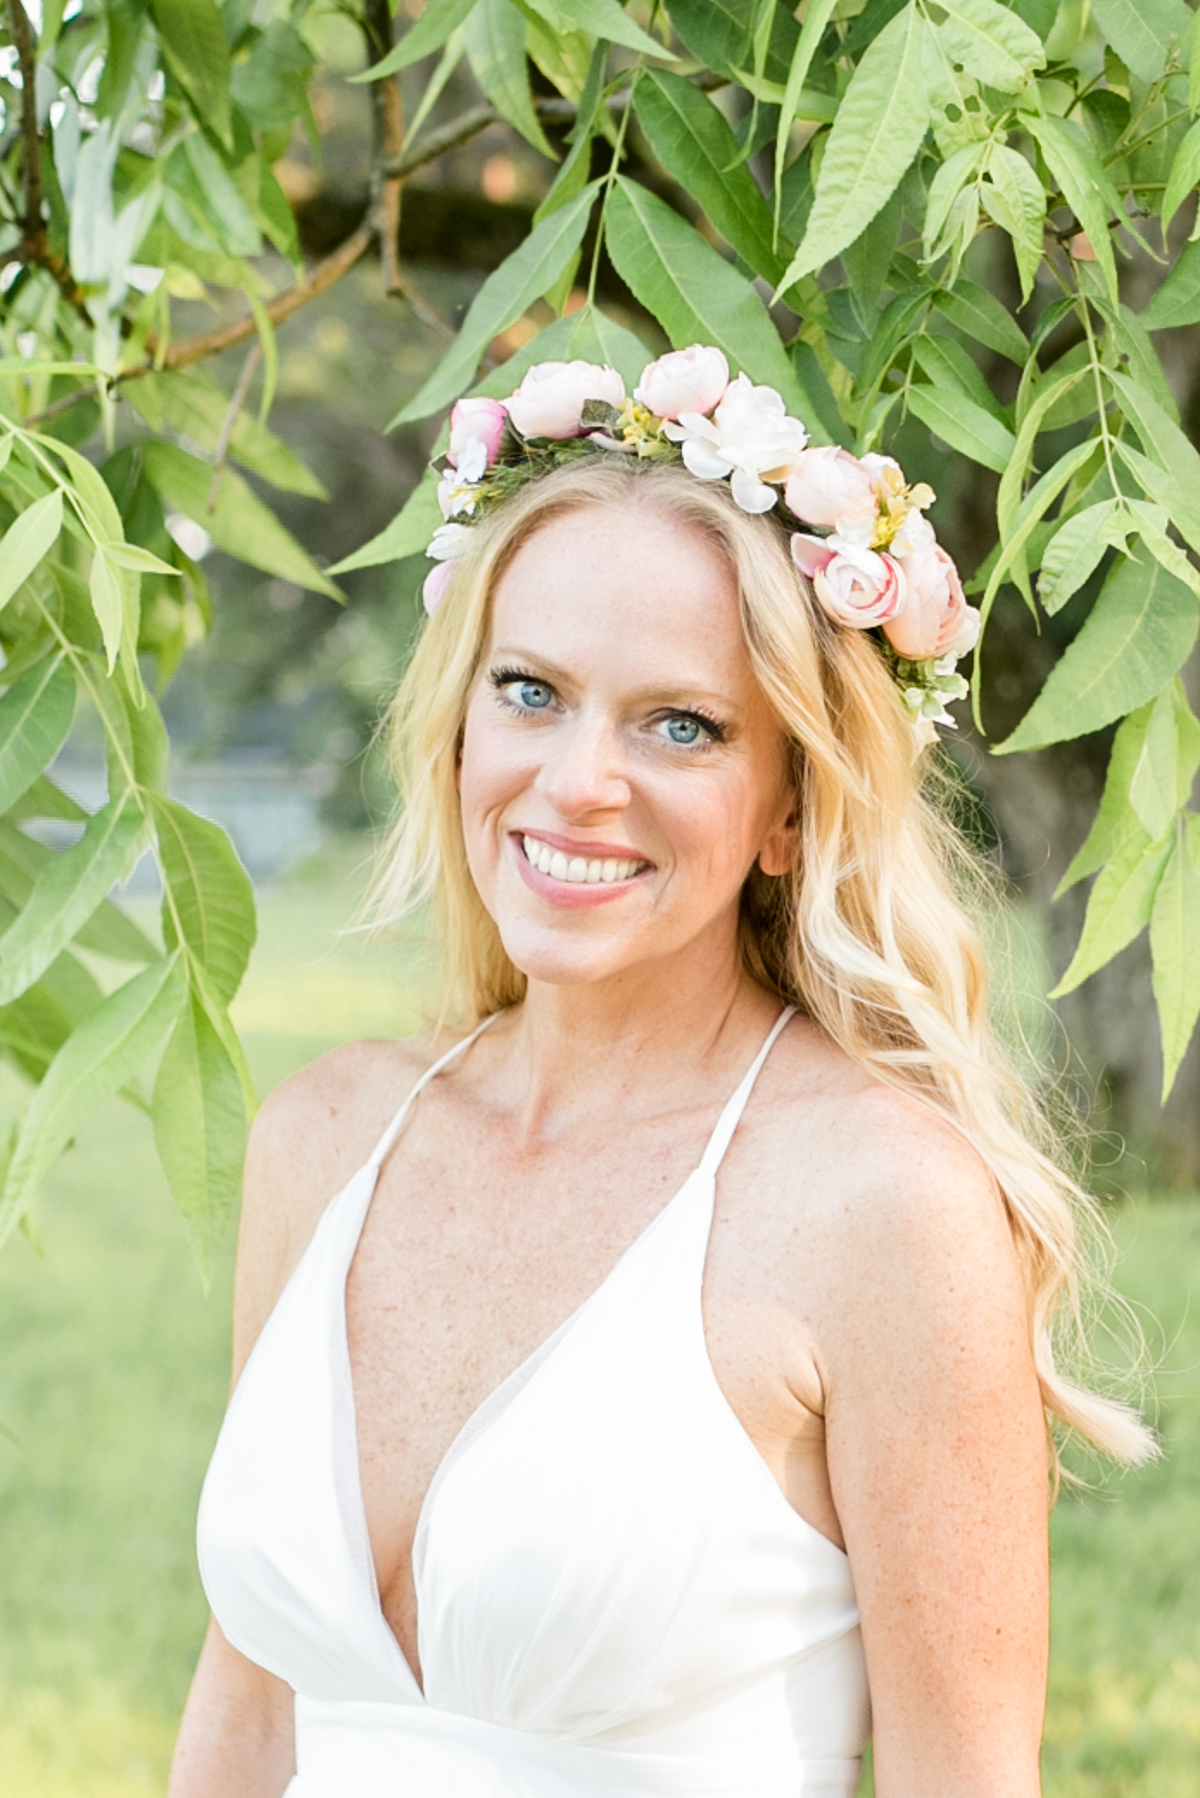
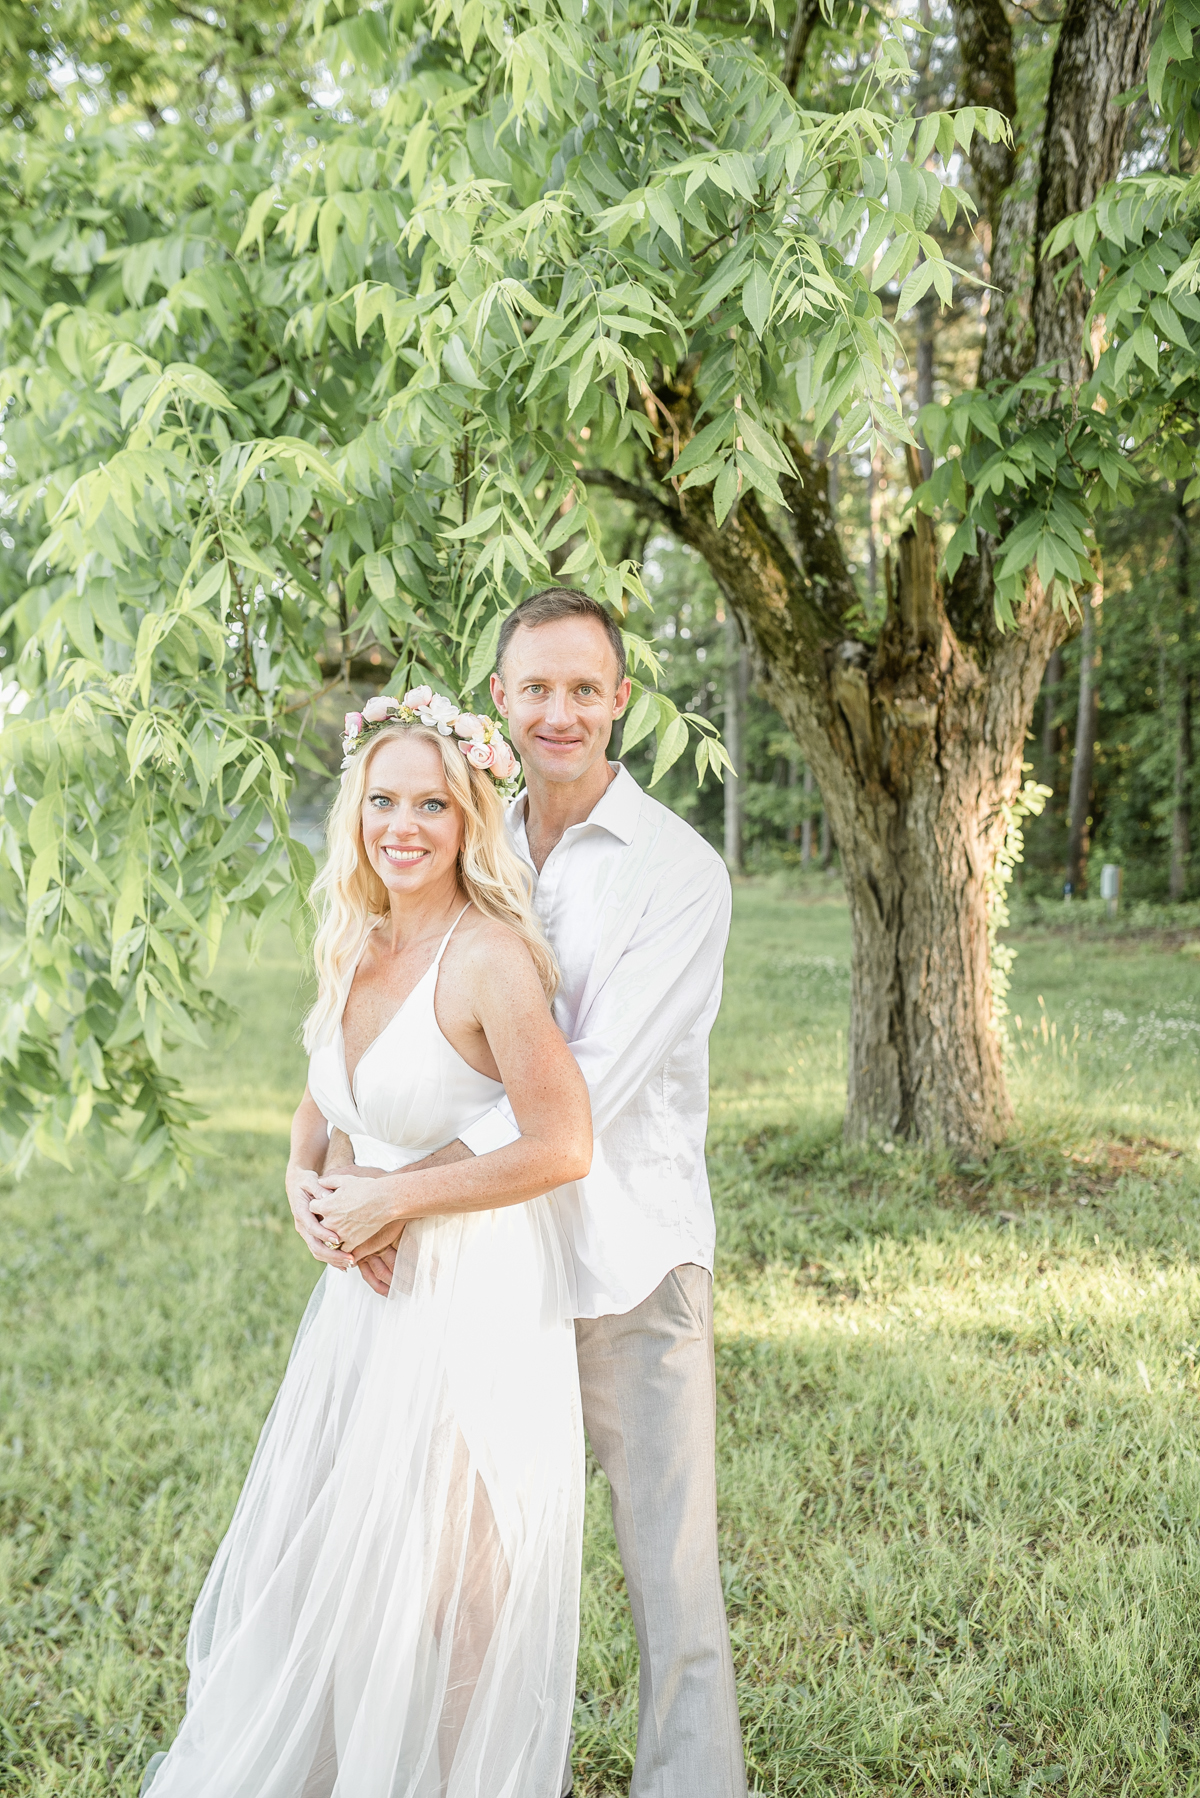
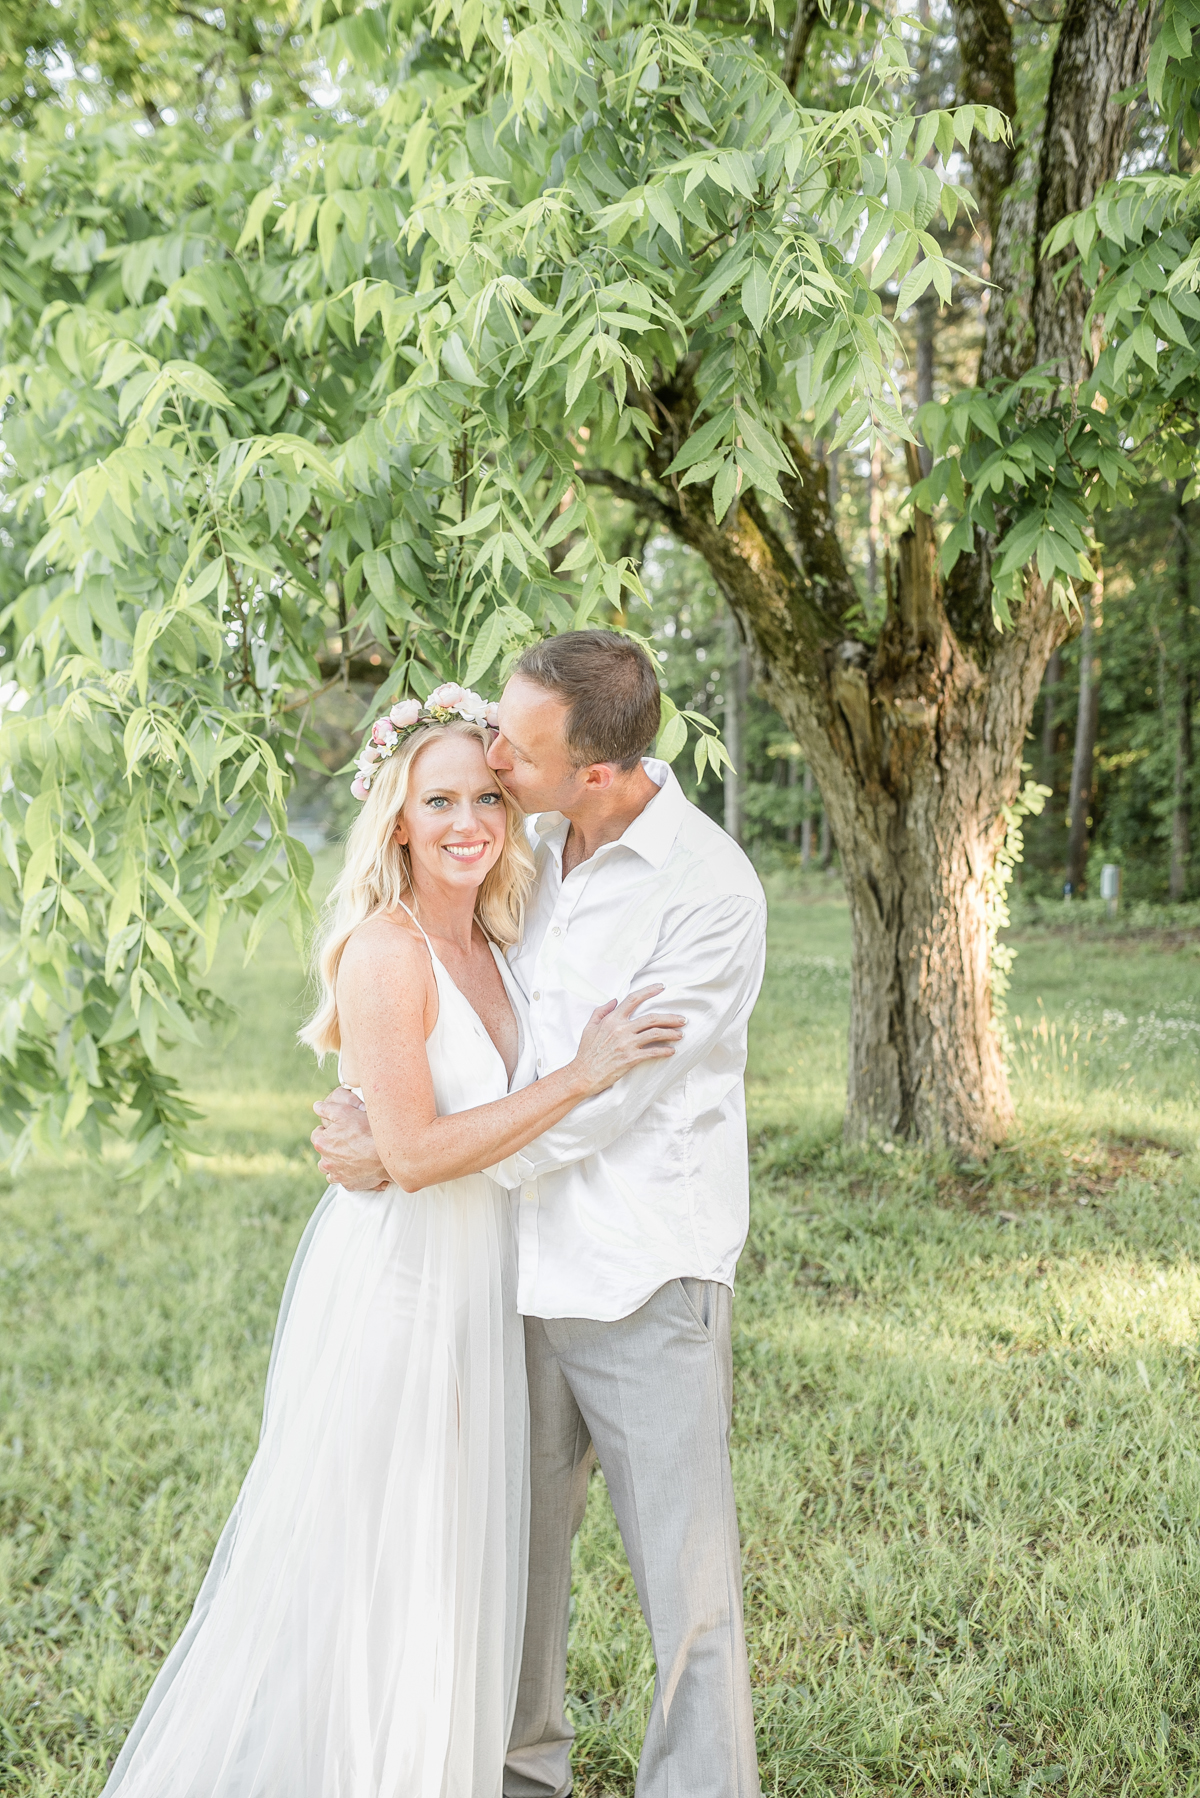
Here are a few photos which demonstrate the magic of using a reflector! The reason I look a bit golden and glowy in these two pictures is because I propped my reflector up on a tree and used the golden side to reflect light back onto my face. I took these pictures during “golden hour” which is the hour before sunset. The light is behind me, illuminating my hair, but my face looked dark. Using a reflector in front of you is a brilliant way to brighten and lighten your face.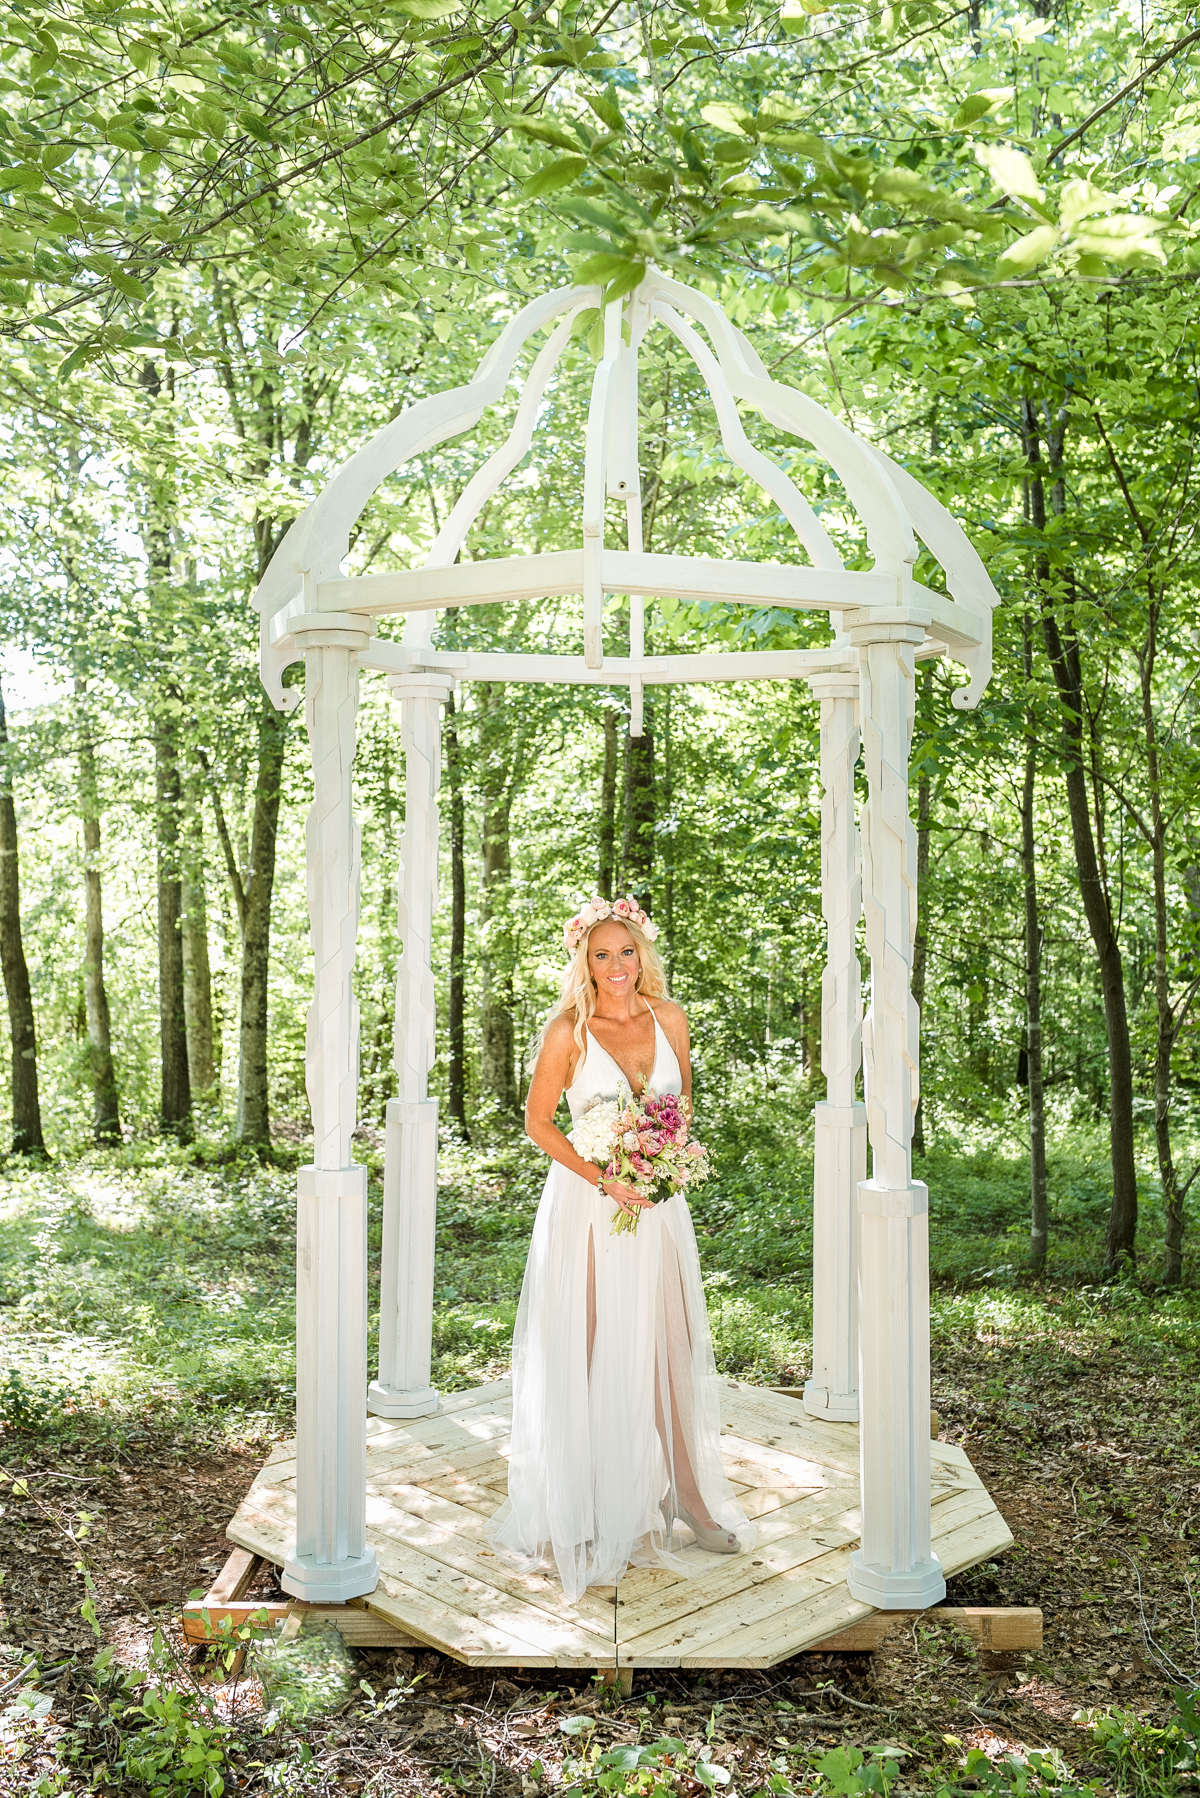
Self-portrait Gear List
- DSLR Camera
- Fixed portrait lens (35mm, 50mm, 0r 85mm)
- Tripod
- Remote (optional)
- Reflector

Tip 2: If possible, enlist a helper.
I know, I know. This is a post on how to take your own self-portraits, and I’m suggesting that you to get help! But seriously, if you are able to enlist someone (ANYONE) who can press the shutter button, or hold a reflector for you, then take advantage of it! It can be a family friend, neighbor, or even an older child. They do not have to have previous camera knowledge to help. You will be doing all of the hard work here on setting up the camera and framing the shot. But having someone who can focus on you and press the shutter will save you time. If you don’t have help, no worries. Only a few of the photos in this post had a human other than myself helping to capture them!
Tip 3: Set-up your tripod and adjust your camera settings.
I shoot most of my portraits at apertures between 2.8-4.0. I like to have a blurry background (bokeh) and sharp subjects and find that between these fstops works best for me. Feel free to use the settings that work best for you! 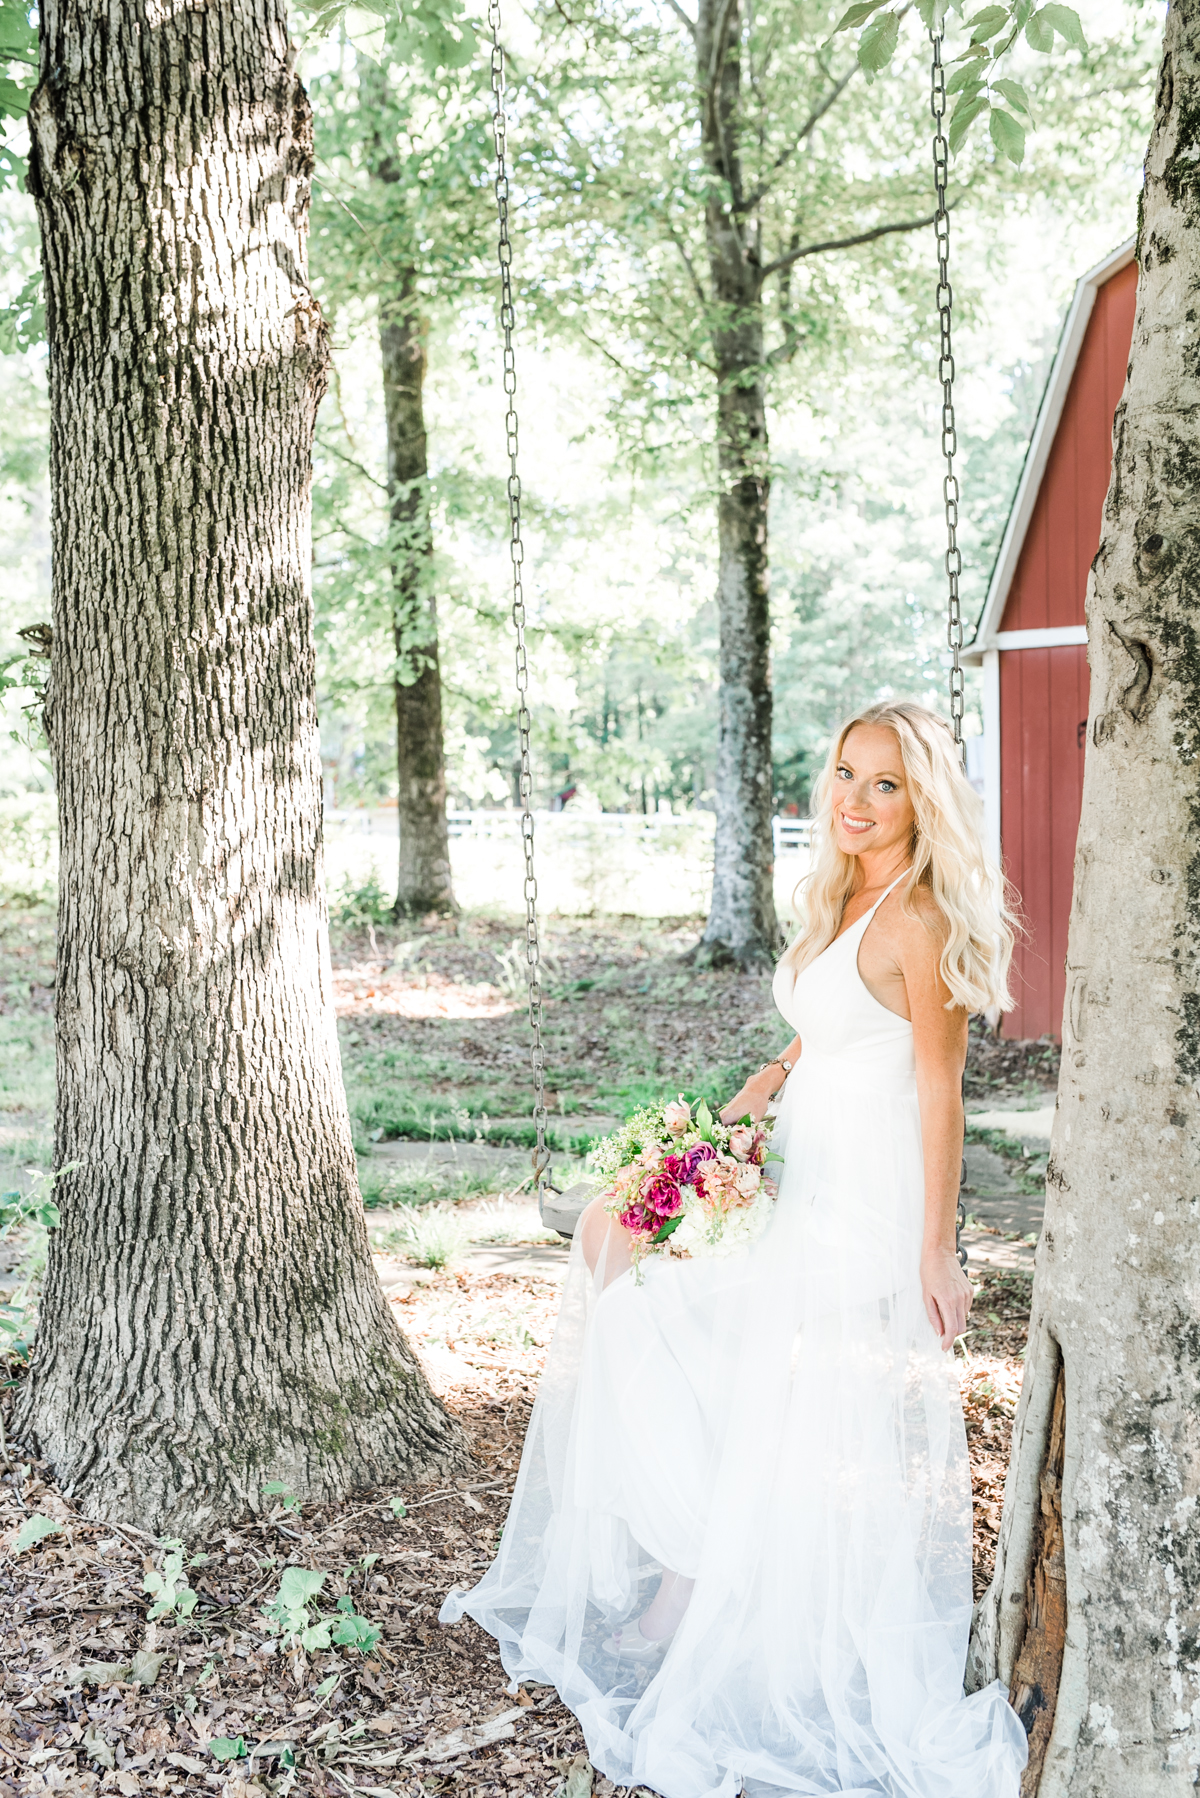
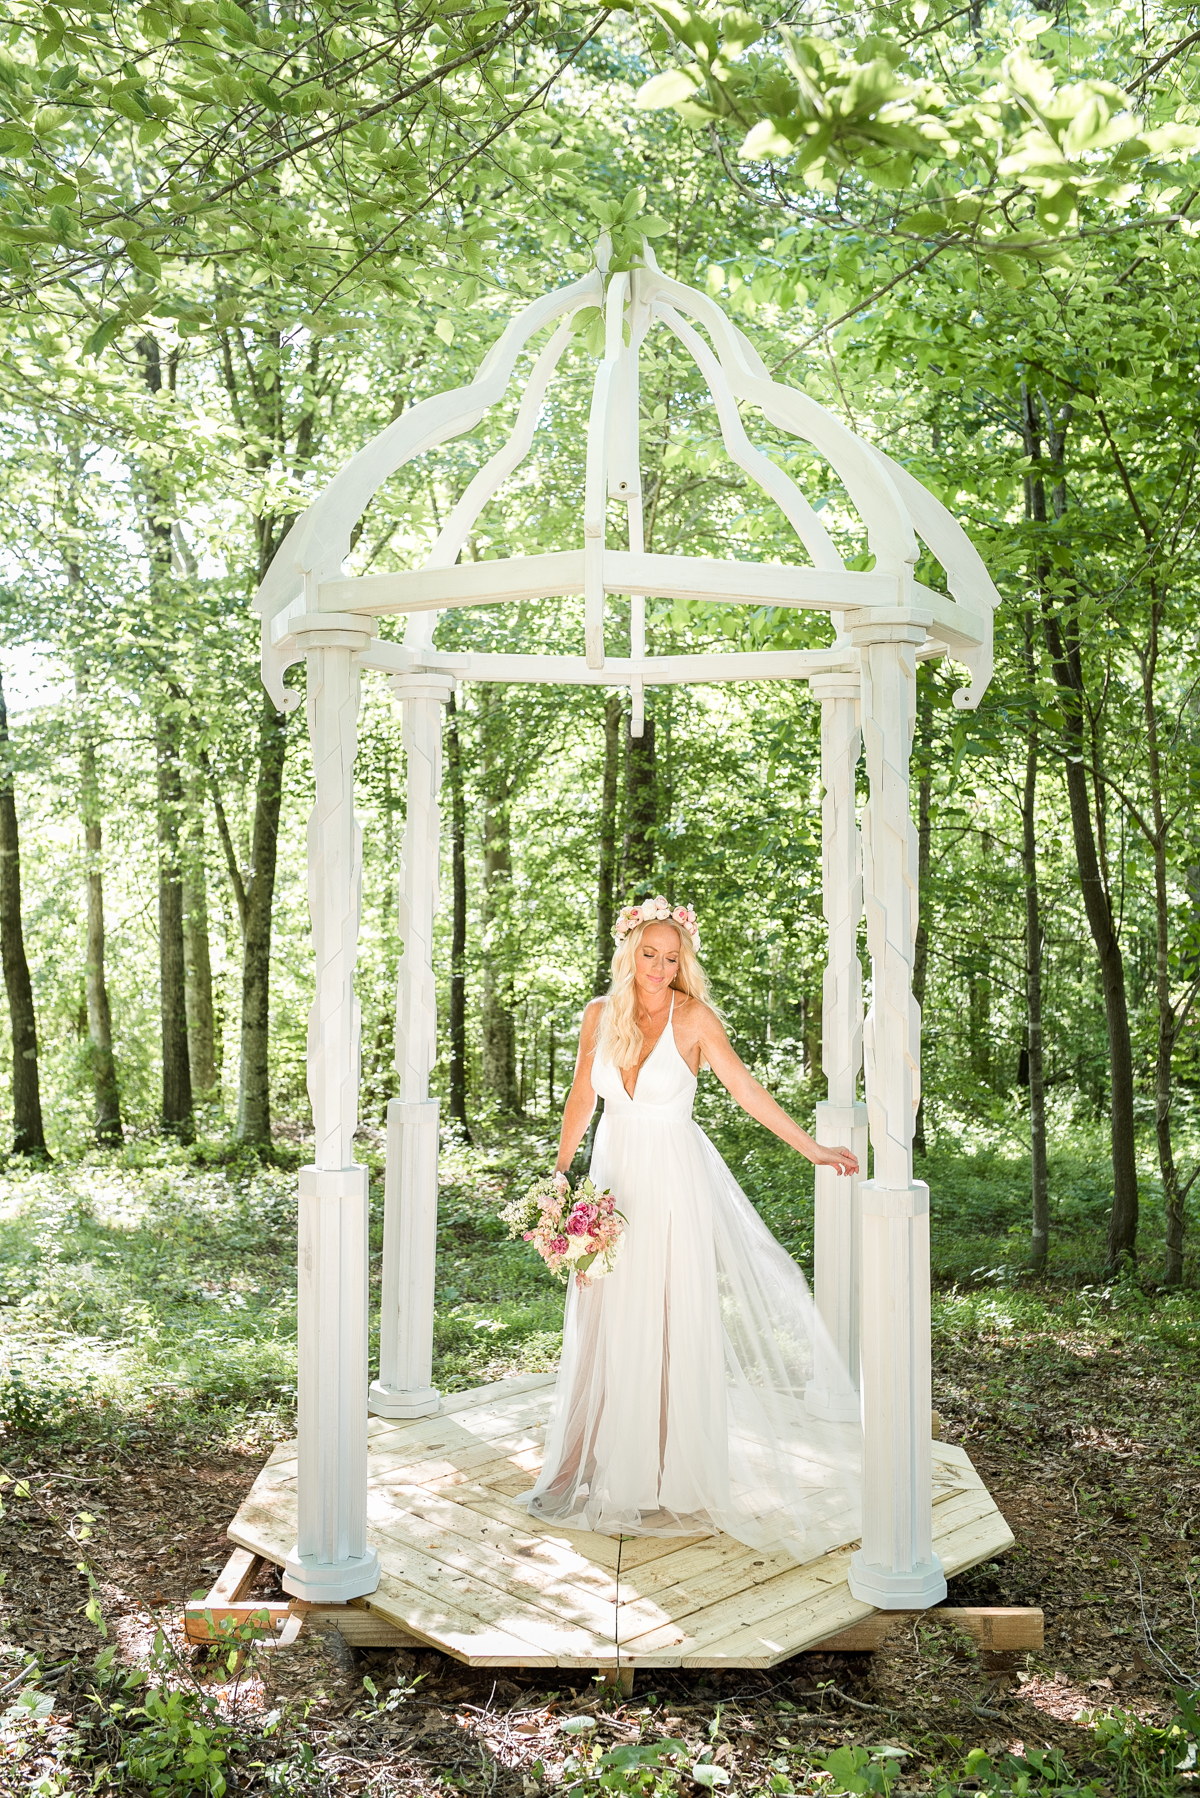
Tip 4: Use a stand-in object for yourself to focus on.
For the pictures of just myself, I had my son sit or stand where I would be standing and I took a test shot and adjusted my camera setting accordingly. Then I switched places with my son and had him push the shutter to take the picture of me. If you don’t have a person to help, you can use a stuffed animal, pool noodle, or body pillow as a stand in for yourself to focus on. You may also need to increase your aperture to bring more of the picture into focus and better ensure crisp focus.
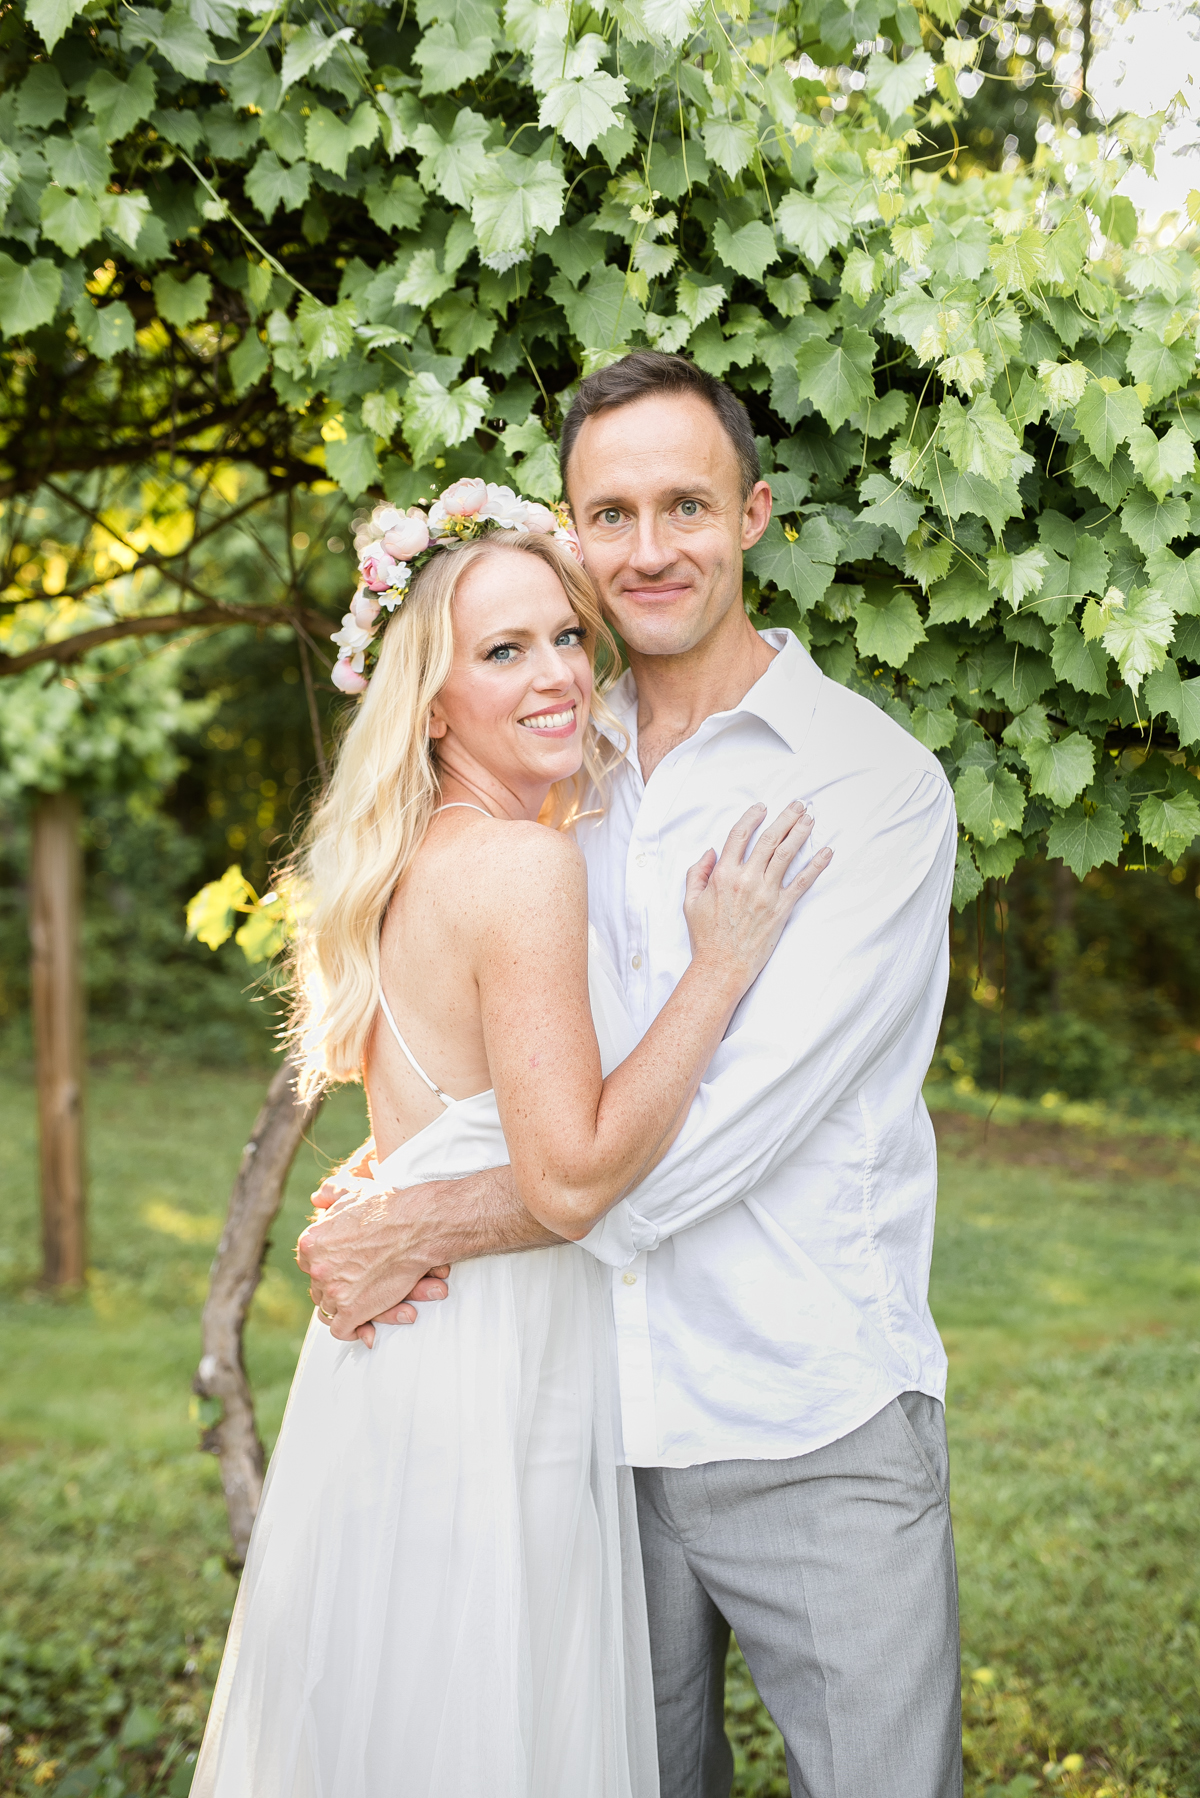
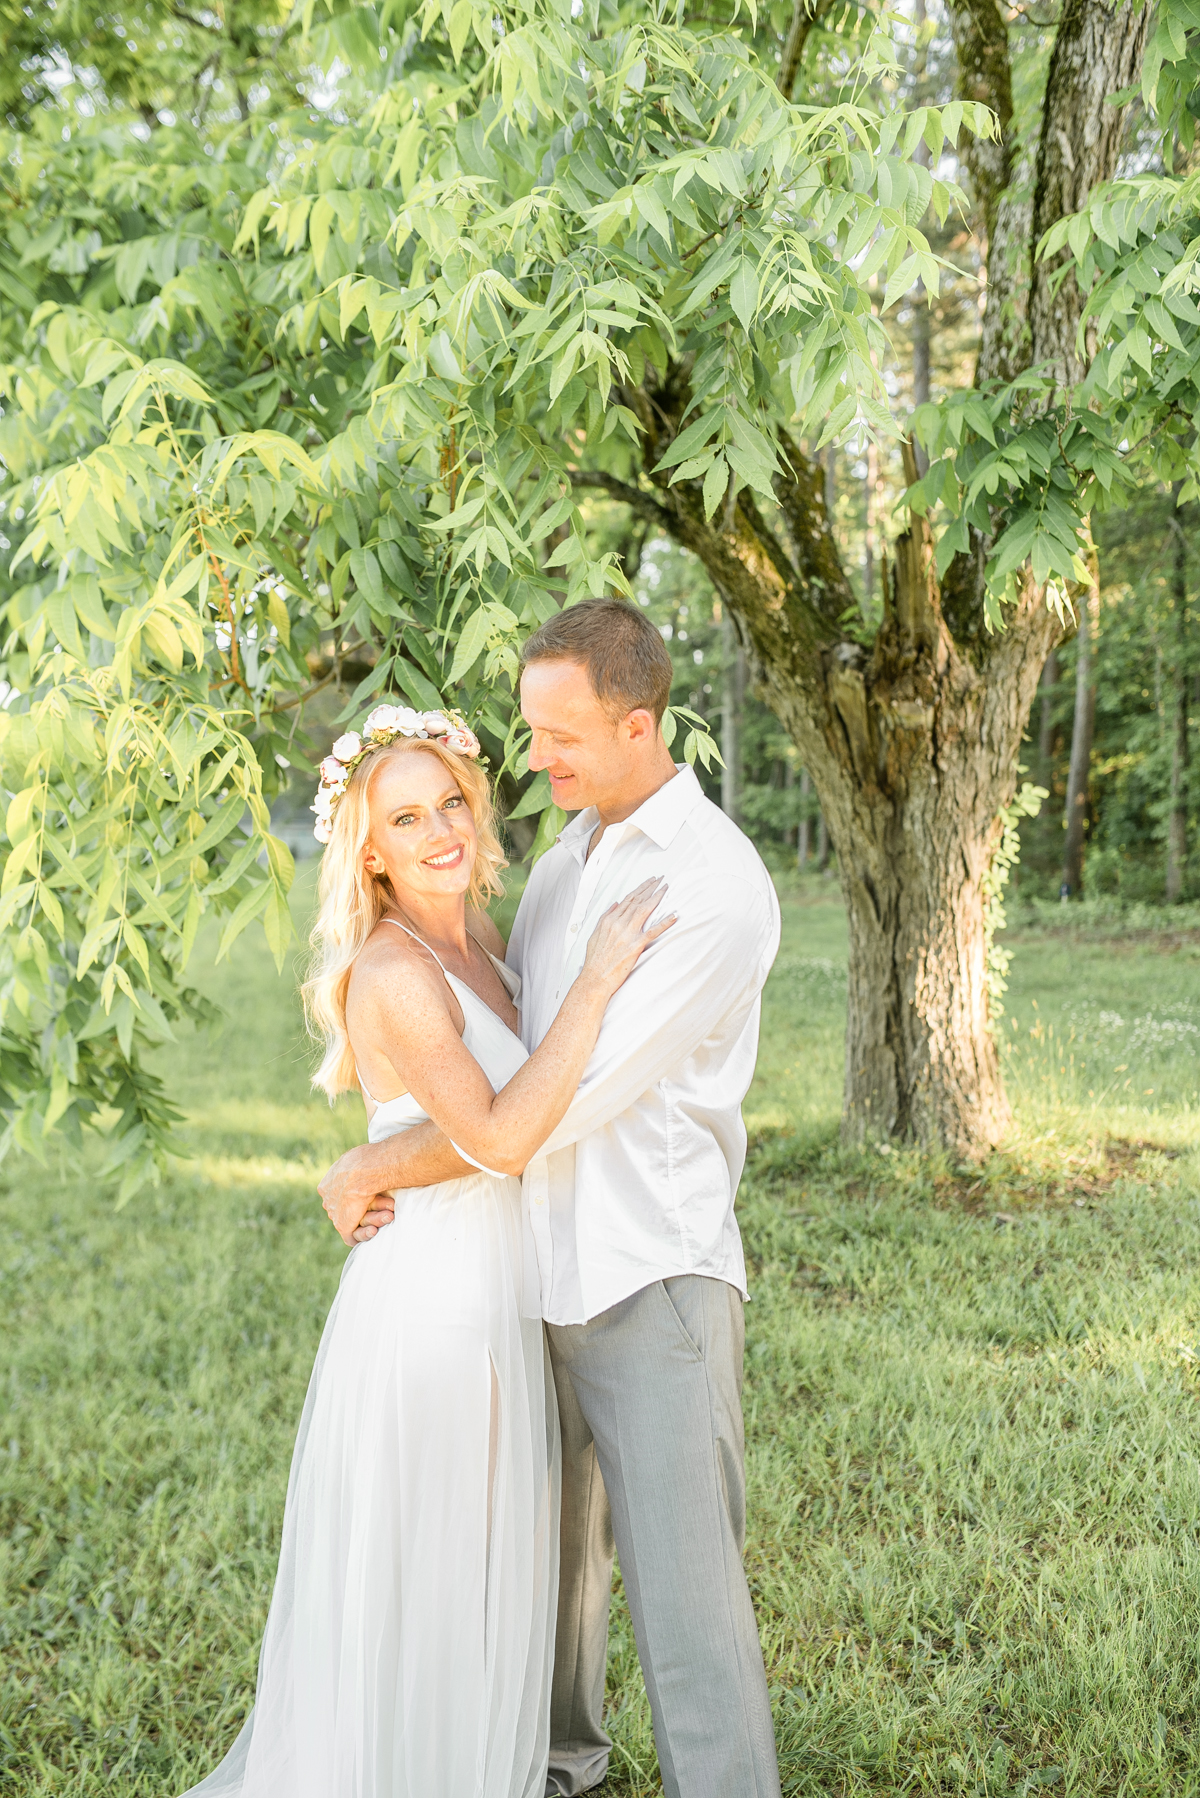
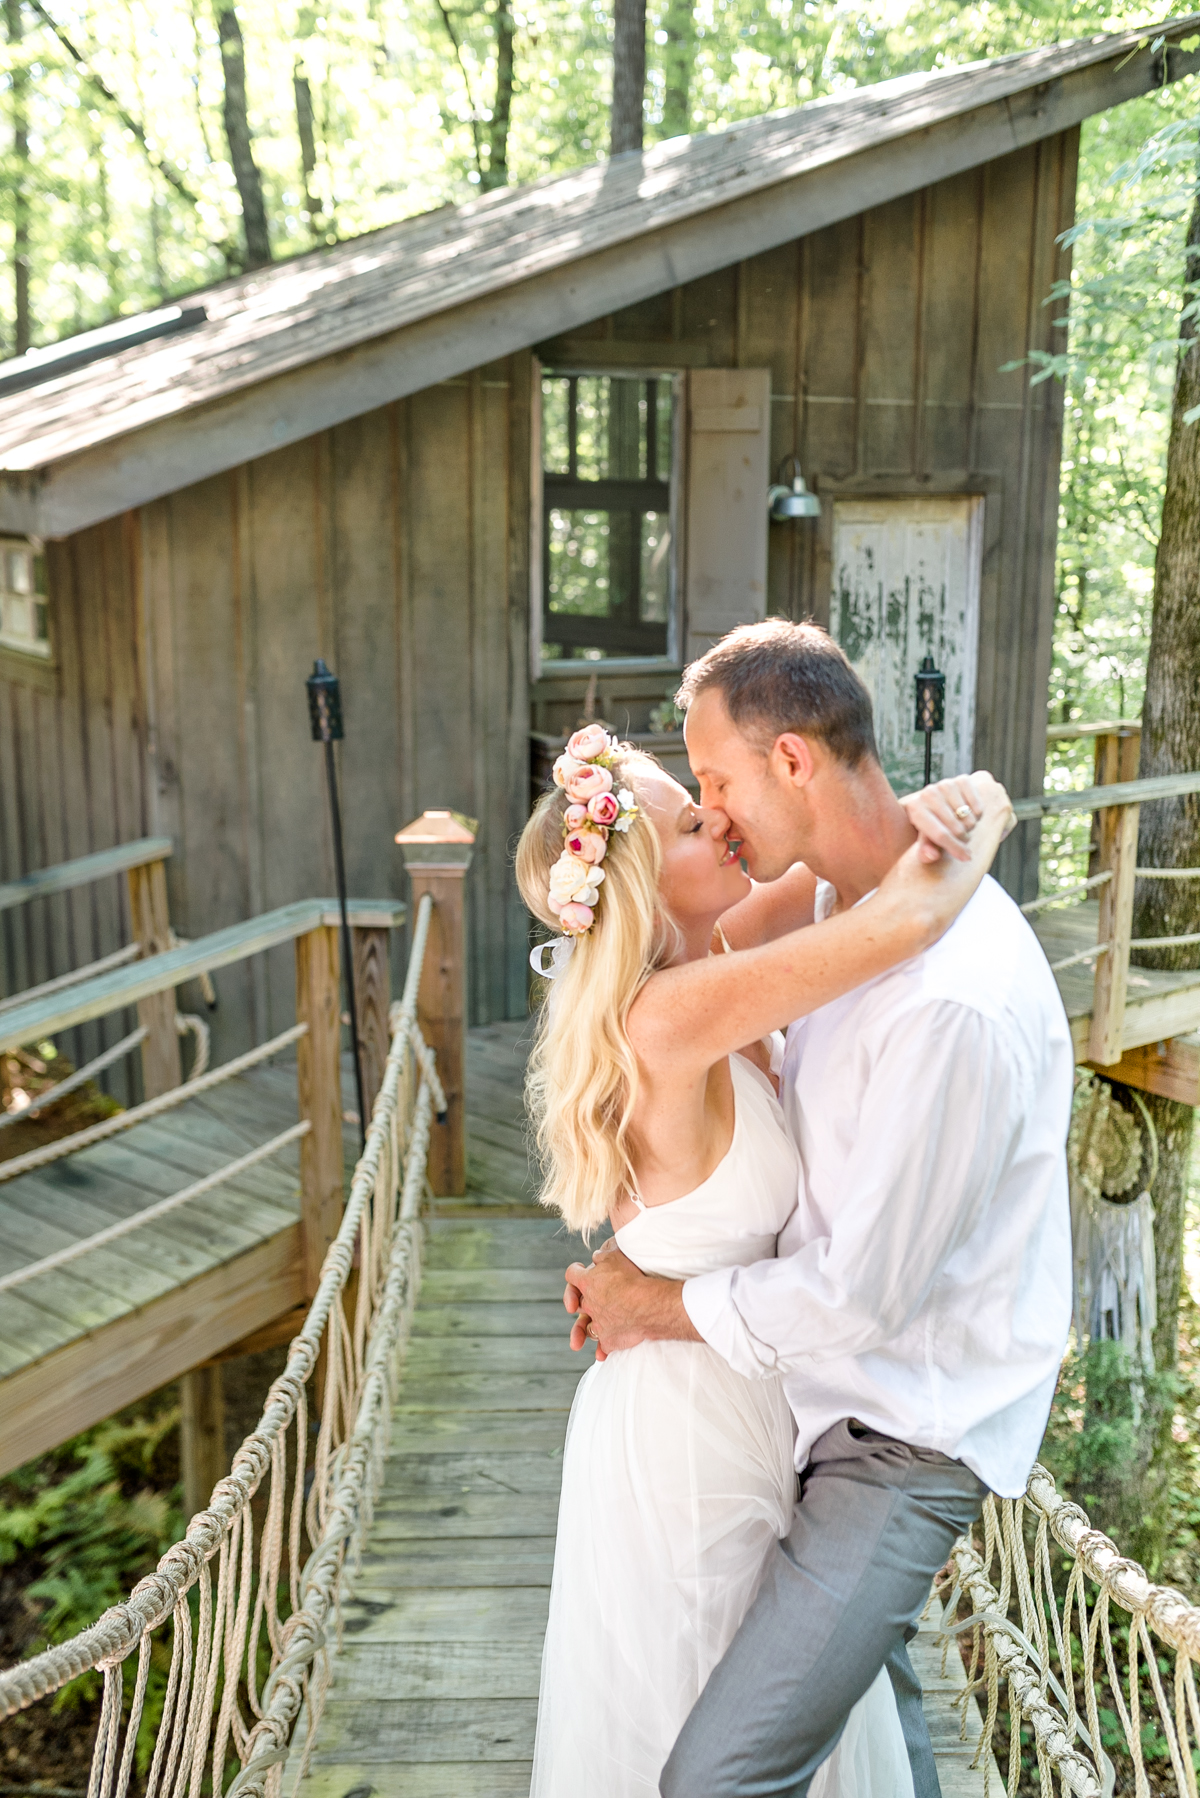
When both of us were in the frame, I focused on Matt and then set the timer and ran into the shot. I tried to remain as even with him as possible in the photos so that we would both be in focus. It didn’t always work. In the picture below you can see that the camera focused sharply on the leaves behind me but not on my face. I still LOVE this photo though and am happy to have it! It doesn’t always have to be perfect to be precious.
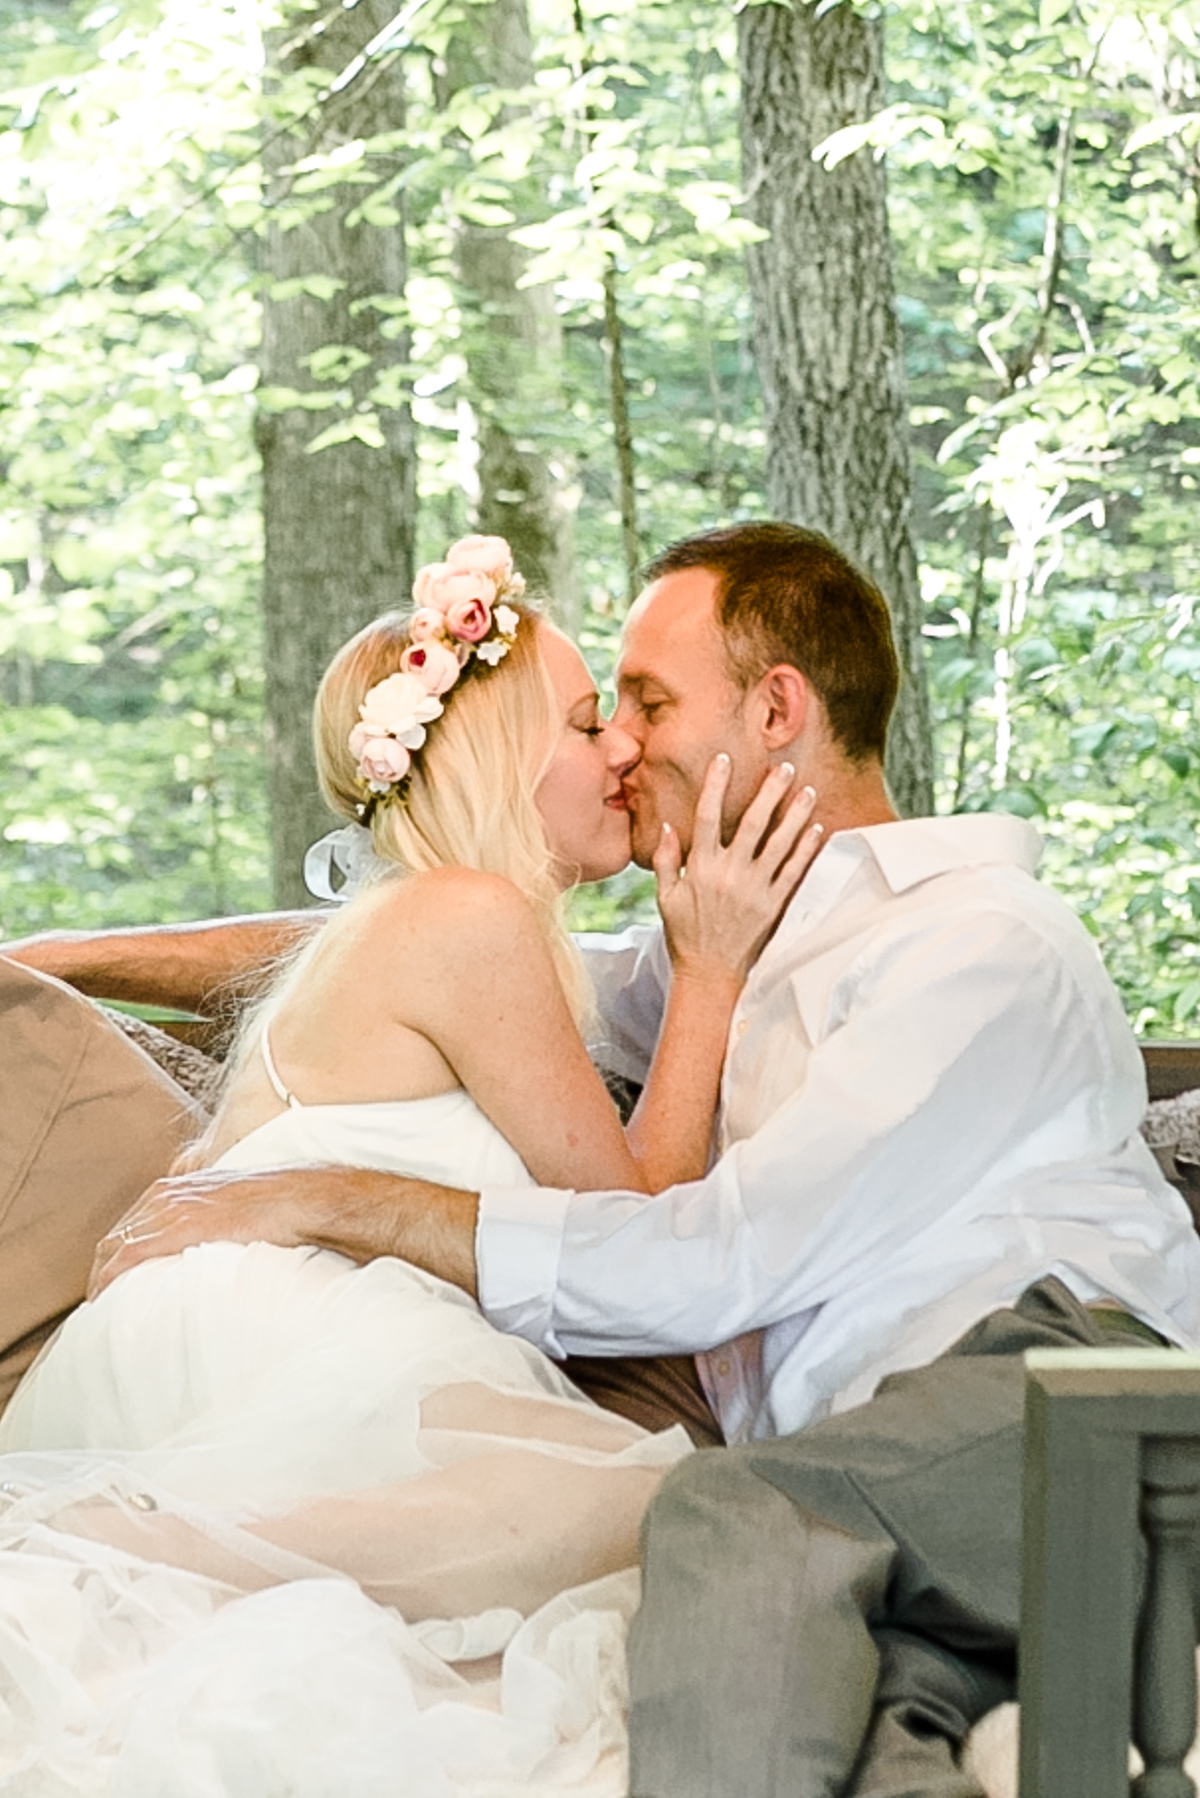
Tip 5: Set an interval timer.
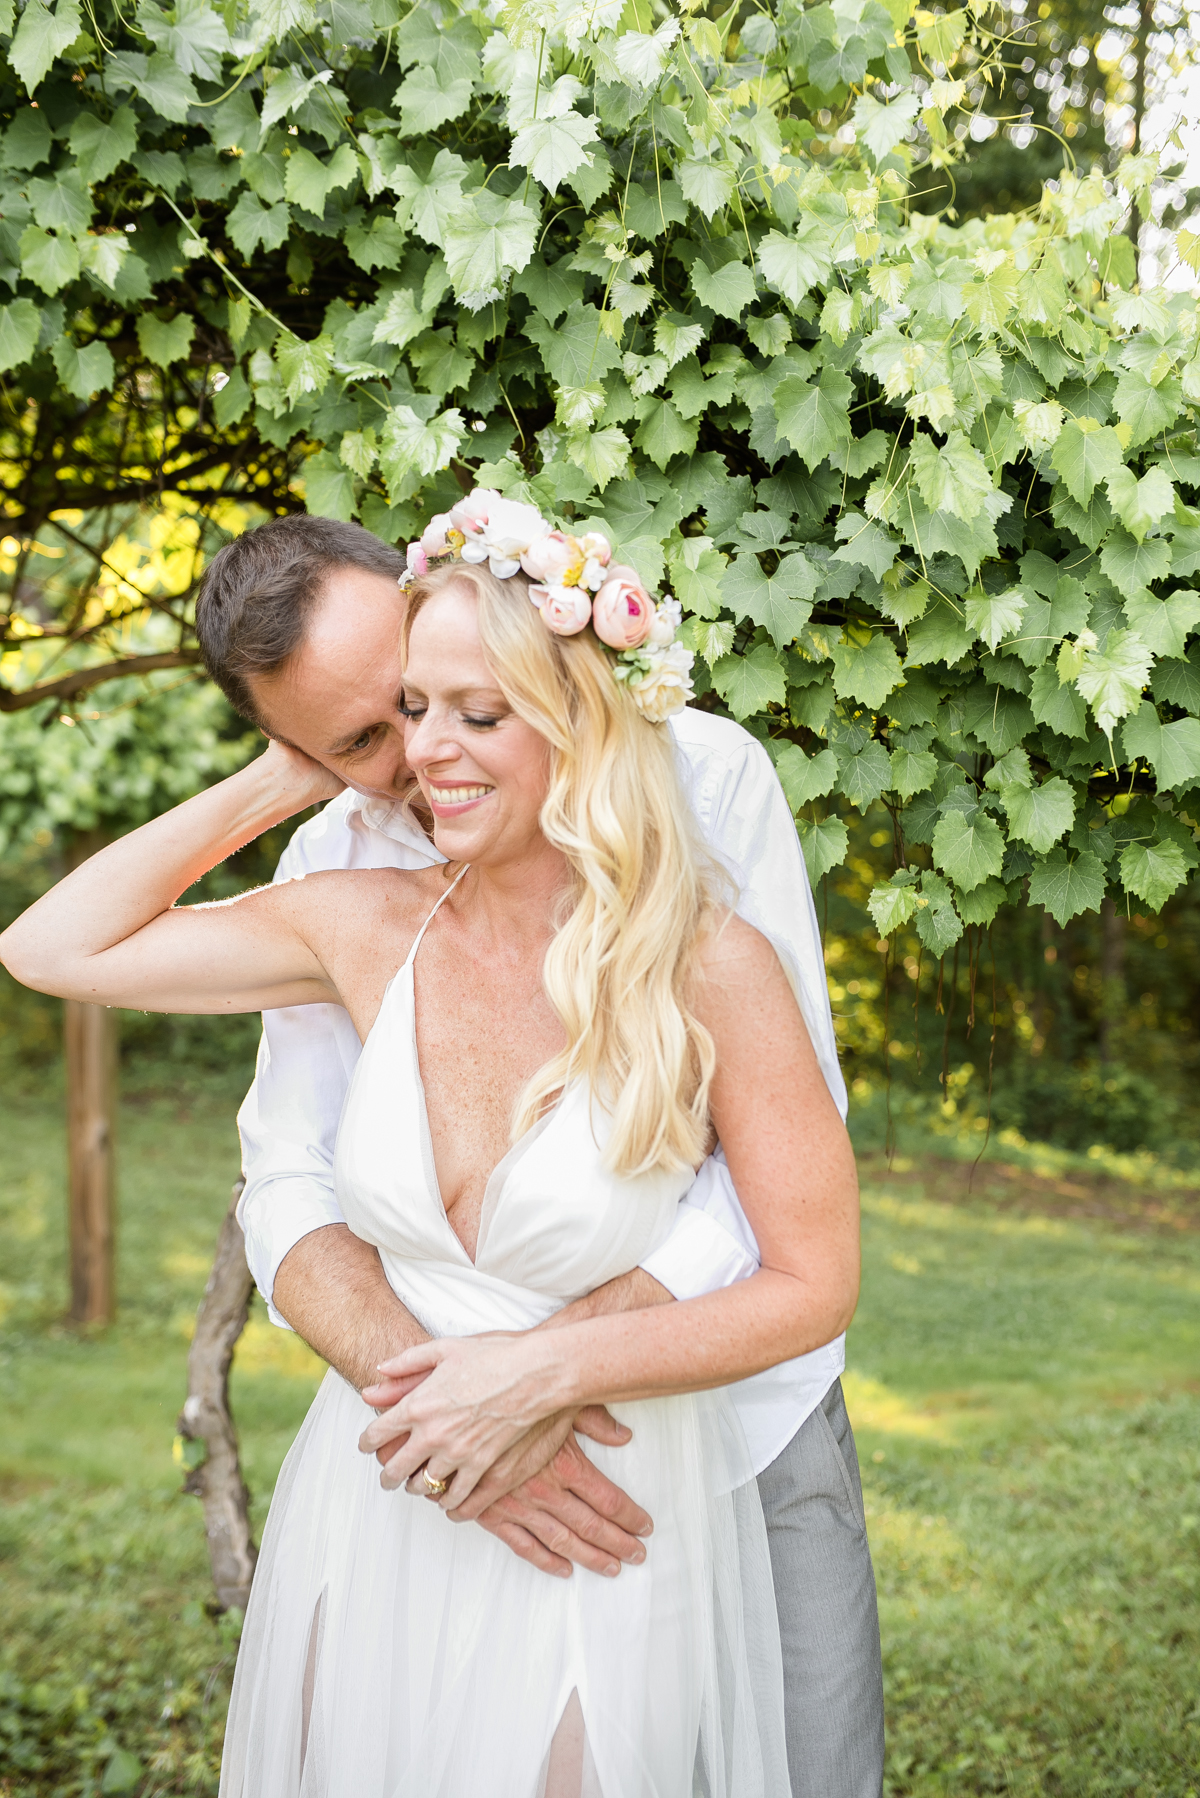
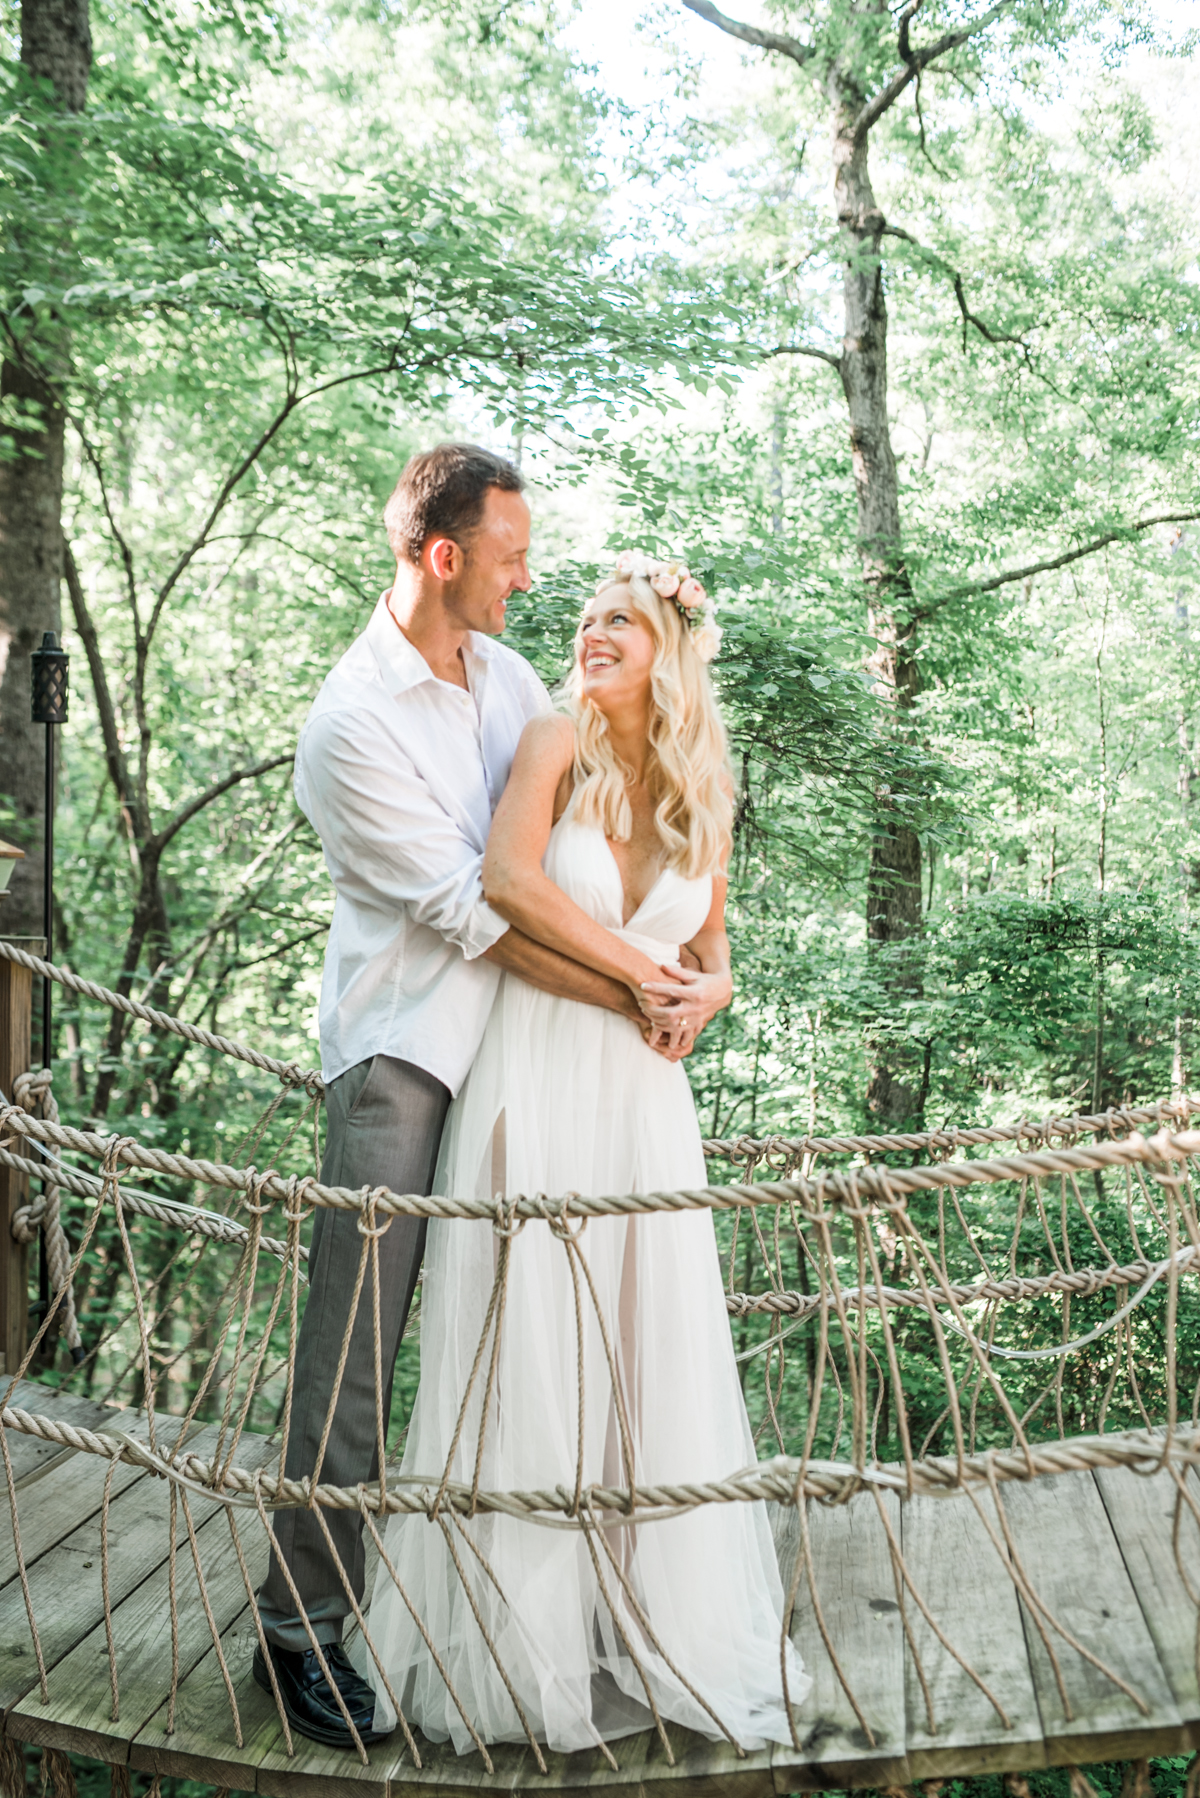
If you don’t have a remote, set your timer to shoot with a few second delay between shots. This will allow you to reposition yourself quickly and capture several photos at once with various poses. Check your camera manual for instructions on how to set up your timer for your specific camera model. I like to set mine to shoot 10 seconds after I press the shutter and then take 5 pictures with a two second delay between shots. Below are a few pictures taken on an interval timer.
Tip 6: Have fun with it!
The best thing about taking your own pictures is that besides the investment in camera equipment, your session is completely free. You don’t have anyone watching you and besides chasing the light, you have all the time you need to get comfortable in front of the camera. Allow yourself to be playful and just have fun with your own session! If the photos don’t turn out exactly how you wanted, you can try again. There is no pressure here to get the perfect shot on the first try. Just do your best, enjoy the process, and embrace your work—imperfections and all.

Thanks for stopping by today to check out my post! I hope it was helpful. You can shop my dress here and my flower crown here

For more photography tips click on the following posts:
Snow Photography and My Camera Equipment


oh my gosh, you look beautiful! you both look beautiful even though it wasn’t a trip to europe (major bummer) you celebrated in such a special way. i love that these were done with your own camera and not a photographer, b/c i’m sure than enhanced the magic between you two.
b
beth, your photos are just beautiful. kuddos to matt for thinking of such a thoughtful gift for his ‘bride’ congrats!
Thank you so much Laura! It was such a thoughtful gift and I love it.