
Learn how to make a dried hydrangea wreath using this easy, step-by-step tutorial. Dried hydrangeas, a grapevine wreath, additional dried flowers, and some ribbon or fishing line are all that is needed.
How to Make a Dried Hydrangea Wreath
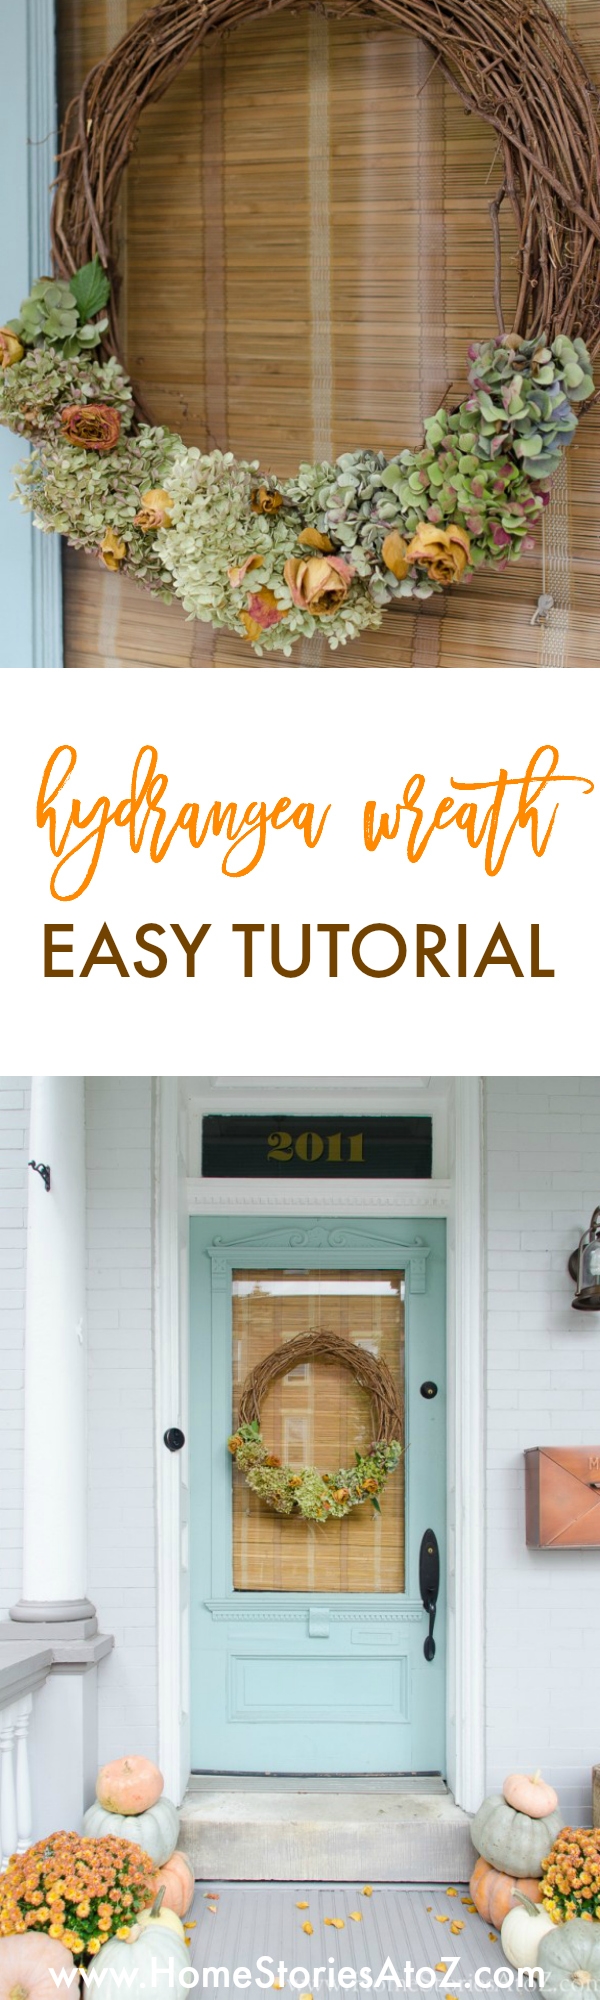
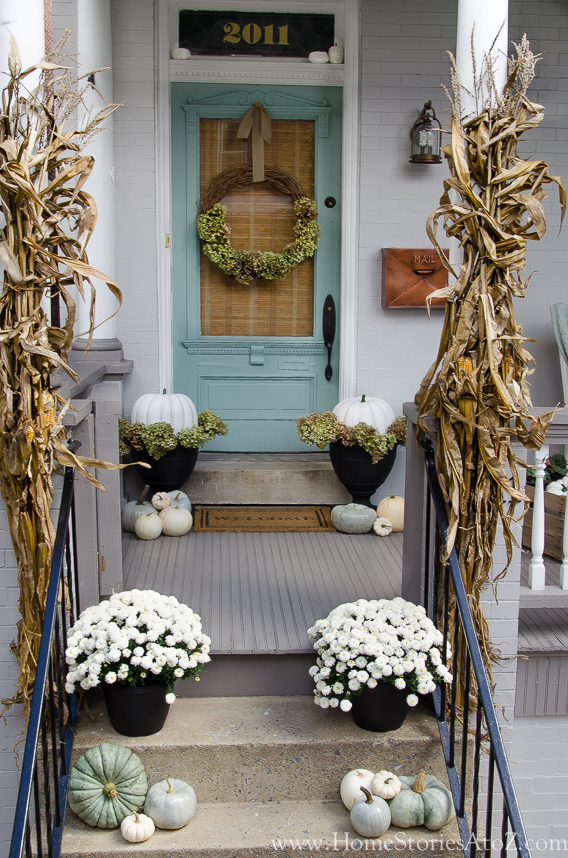
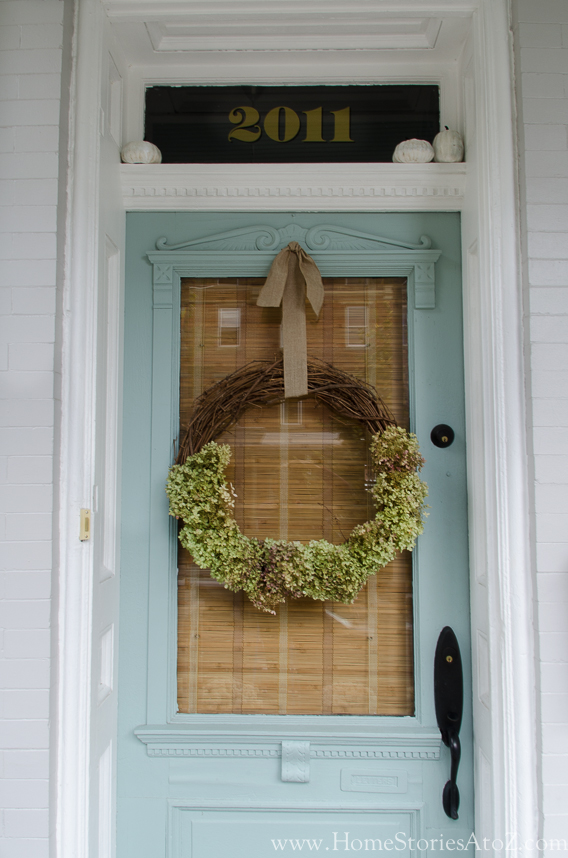
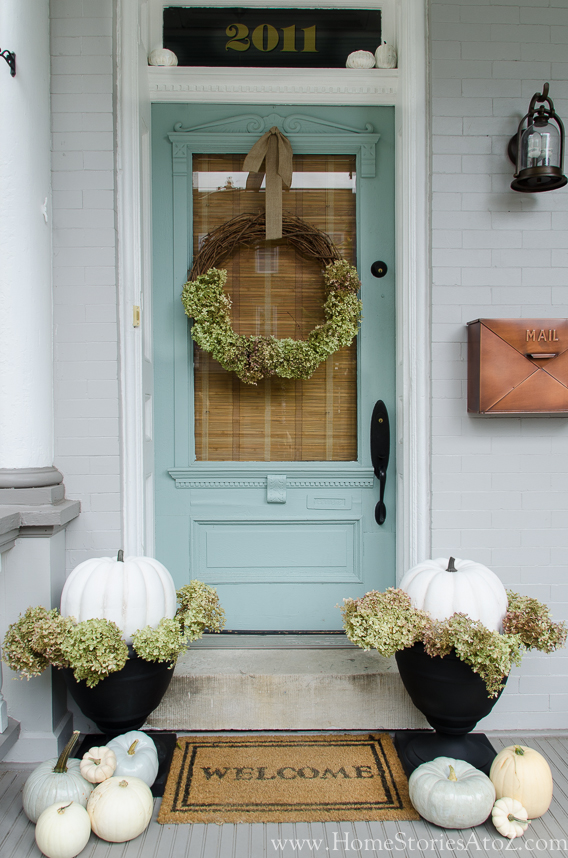
I love this simple, dried hydrangea wreath! It’s basic beauty will always be on-trend and classy no matter where you decide to place your wreath. If you’ve been following me for a few years (or more!), you’ll probably remember the famous blue door with the dried hydrangea wreath hanging on the glass pane during the autumn season. I used limelight hydrangeas in the wreath as well as underneath the pumpkins.
How to Dry Hydrangeas Using the Water Method
I’d love to show you how simple it is to make your own wreath! Hydrangeas that are cut at the end of the season and dried using the “water method” make for a beautiful wreath, although you can also use faux hydrangeas. All you need to do for drying hydrangeas using the water method is to place your end-of-the-season cut hydrangeas inside a vase with water as you’d ordinarily do with a cut flower. Do not change the water or add additional water to the vase. This method allows the hydrangeas to dry out naturally and also helps preserve some of that gorgeous hydrangea color that we all love.
Note: I have not had luck using store bought hydrangeas. Drying hydrangeas works best by cutting hydrangeas at the end of the season.
There are three steps to making a dried hydrangea wreath! So simple!
STEP ONE:
Gather your materials: grapevine wreath, any flowers that you’d like to use, and some ribbon for hanging the wreath.
STEP TWO:
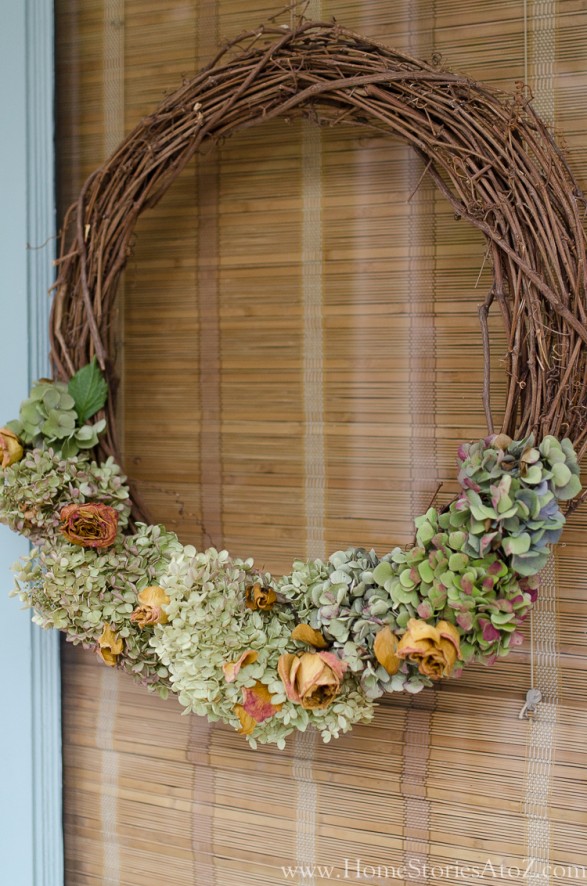
Arrange your hydrangeas, and poke the stems in the grapevine wreath. Some people use floral wire to secure the flowers, but I’ve never had to do this step as the hydrangeas have always stayed put just fine. One year I added in some dried peach roses, and they looked adorable with the muted color pumpkins that I used that year. You can dry roses using the same water method!
STEP THREE:
Hang your wreath. One year I used a wide, pretty ribbon, and one year I used fishing line. I think both options are pretty! Sometimes a ribbon will distract from the overall appearance of the door or your decor, and in that case, a clear line like fishing line is a better option. I’ll show you both ways to help you get a better picture for your own wreath design.

And that completes the tutorial! See, I told you it was simple! I’d love to see your creations once you’ve completed your wreath! Feel free to tag me on social media so I can see them, or send me a message on Instagram. Come find me here on Instagram @homestoriesatoz if you’re not already following me. I’d love to see you over there!
Here are some other easy fall crafts you might enjoy. Click on the links or pictures to be taken to the tutorial.
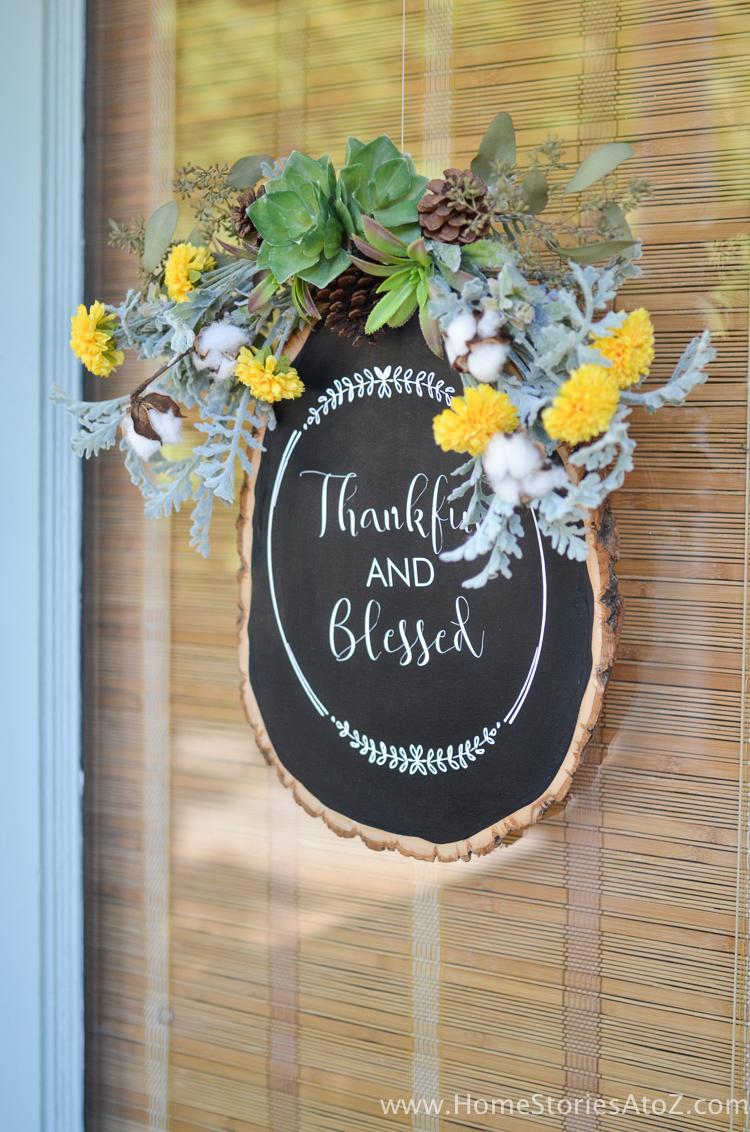
Fall Door Decor: How to Make a Chalkboard Wood Slice Craft
Yarn Wreath Tutorial {how to felt}
Shop for Wreaths


