Everyone likes to learn new things and if I can learn to do something so can you! Seriously. I possess no special talents when it comes to blogging. I’m just tenacious. So here are my most popular tutorials together in one post:
1. Tweetdeck Tutorial Some of you don’t understand the point of Twitter. Some of you are on Twitter, but are scared of this “TweetDeck” thing. I’m here for ya peeps. Be not afraid! Twitter is a fun social media tool and I highly recommend it, but even more than the basic Twitter, I recommend downloading TweetDeck and using it in the place of Twitter. There are other tools to view social media applications on, such as HooteSuite, but I’m teaching TweetDeck today, so let’s not complicate things!
Part One: CLICK ON THE FOUR ARROWS IN THE RIGHT HAND CORNER TO ENLARGE
Part Two:
2. How to Do Before/After Picture Rollovers
If you are familiar with the way things typically look on A2Z (and aren’t reading me on a reader), then you know that I recently gave my blog a much needed makeover! Two questions that keep coming my way are how did you do your rollovers on your navigation bar and where did you find your social networking buttons under your “find me” section?
First let me say, I am a complete novice when it comes to messing with html and really have no idea what I’m doing. I am, however, tenacious and good at using google search. Anything you could ever want to know about anything is just a search engine away!
Creating Rollovers:
Let’s say you want to show a before and after picture of your most recent project. To combine these two pictures into the same picture box you will need the magic code.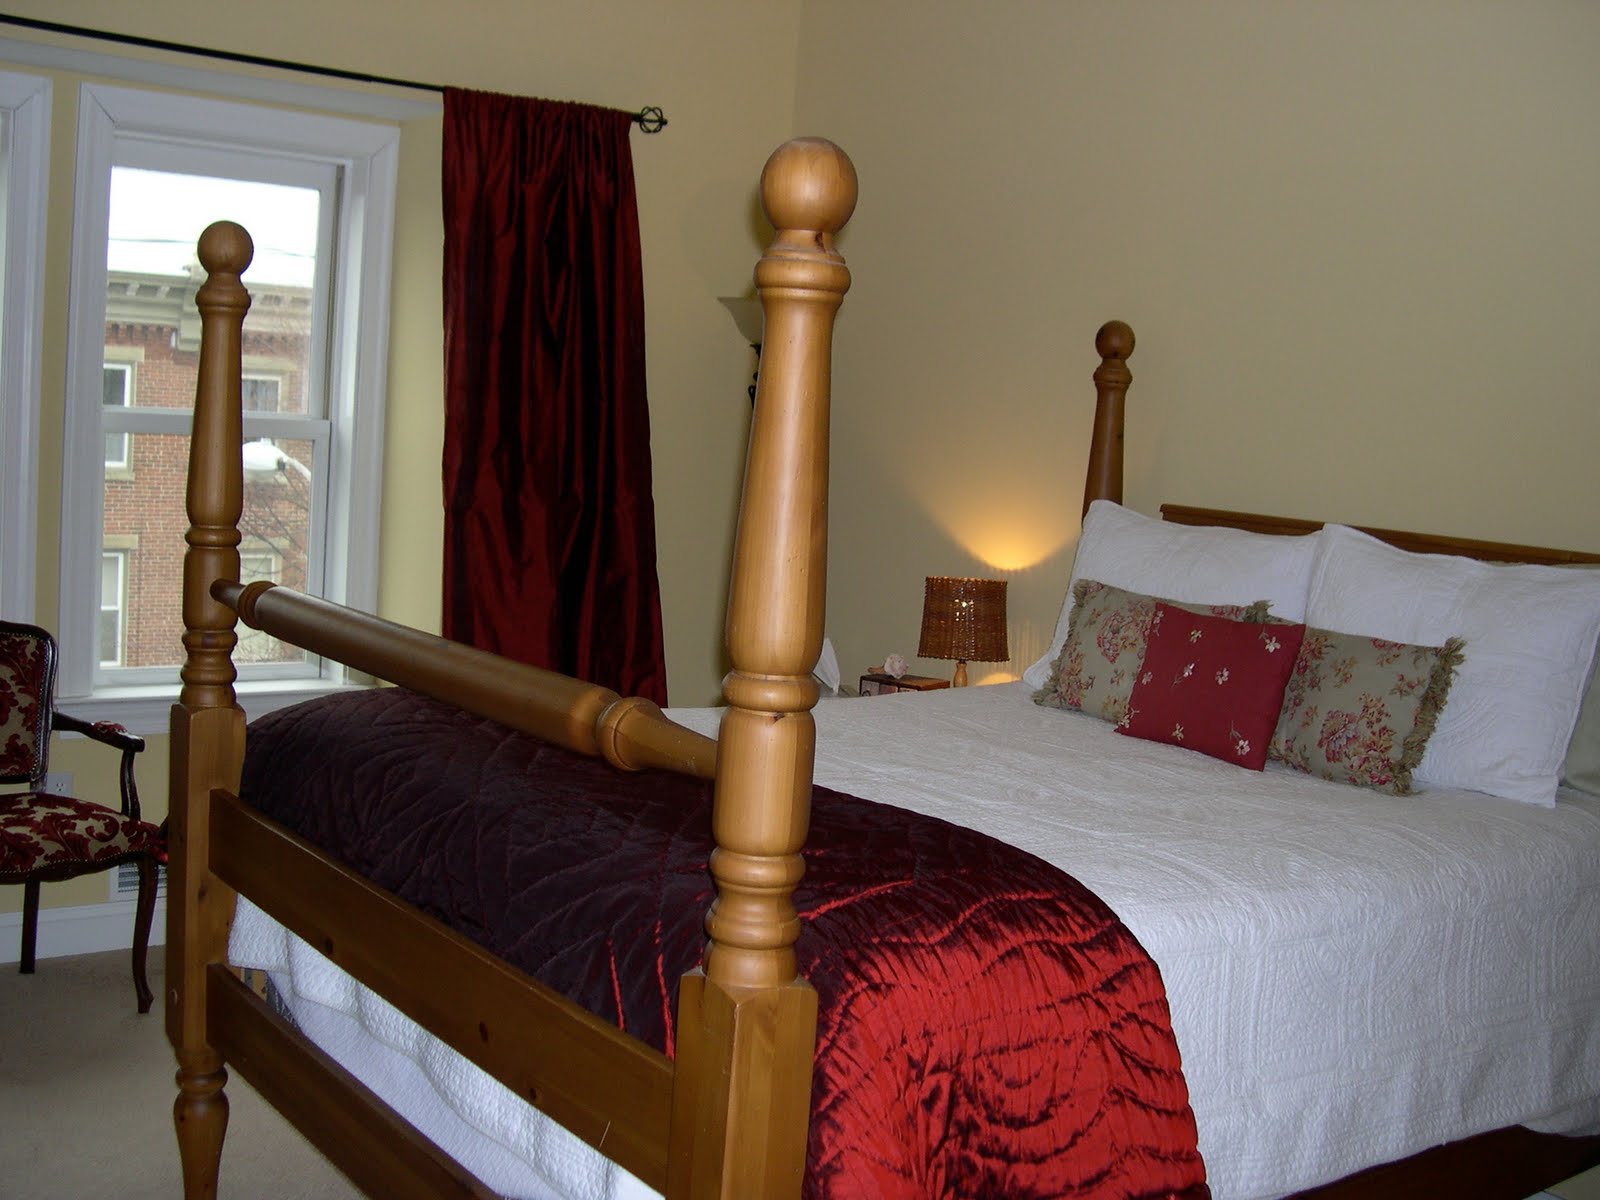

Once you plug-in the right picture codes into the above formula you will end up with this. (Move your mouse over the picture to see what my bedroom looked like before.)
Okay, so let’s break down this code for you….
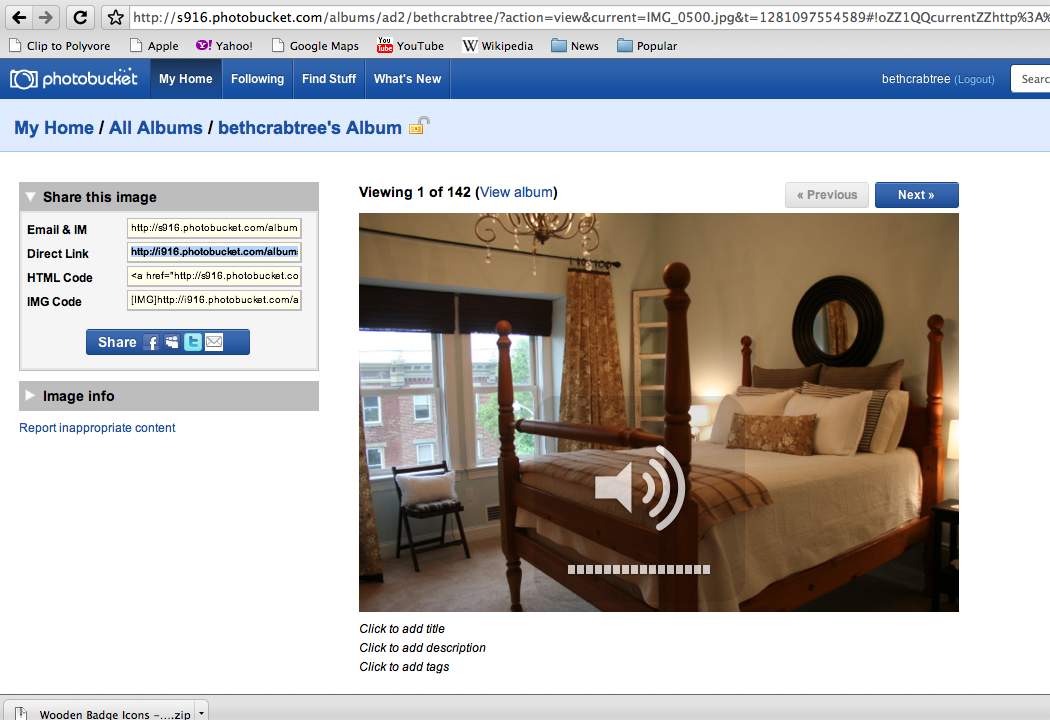
I never type in whole strings of code. I’ll screw it up somehow along the way and it won’t work. I always copy and paste the code into html and then just change the necessary info. The easiest way to get the http: code for your pictures is to upload them into Photobucket and grab the “Direct Link” code. You can see the I’ve hightlighted the code in blue in the pic below.
You can also find the code for your pictures by uploading them into your post and looking for the http code for you picture.
Steps:
1. Change the website you want the picture to go to if clicked on. Right after the a href you will see the link to my blog. Change this to your own link, post link, button link, etc.
2. Next you want to change the onmouseout http code to whatever pic you want showing on the screen before it’s scrolled over by the mouse. This code will be entered TWICE. Simply copy and paste in the http code for your picture after where it says onmouseout AND at the very end after the src.
3. The last thing you want to do is change the middle onmouseover http code to whatever pic you want showing when scrolled over.
If this tutorial made no sense, then here is a link to another tutorial that might make more sense!
How to Create Social Media Icons
I created the icons under the Find Me section using Scrapblog.com. However, there are many free icons ready for you to download and use! If you know how to create a link on a picture, then you will know how to link to your twitter, facebook, subscribe, flickr, etc., account. Click on this site, Blogger Tips & Tricks, and choose which icons you would like to use!
Let me know how it works out for you and happy Pimp Your Blog Day!
3. How to Create a Favicon
Have you ever wondered how in the world fellow bloggers get those cute little pictures to appear by their url? Well, most of them have paid the blog whisperer to do it for them! Someday when I grow up I hope to do the same, but for now my no-money-self designs her own blog with the help of graphics on Scrapblog.com.
You don’t have to speak geek in order to mess with your own blog. You don’t have to use a pre-made template, and most everything you could ever want to know is simply a google search away! Don’t be scared to mess with your design, margins, layout, sidebars, background, header, and favicon. It is easier than you think.
So today I am going to teach you how to make your own favicon. There are several ways to do this, but I am going to show you the easiest!
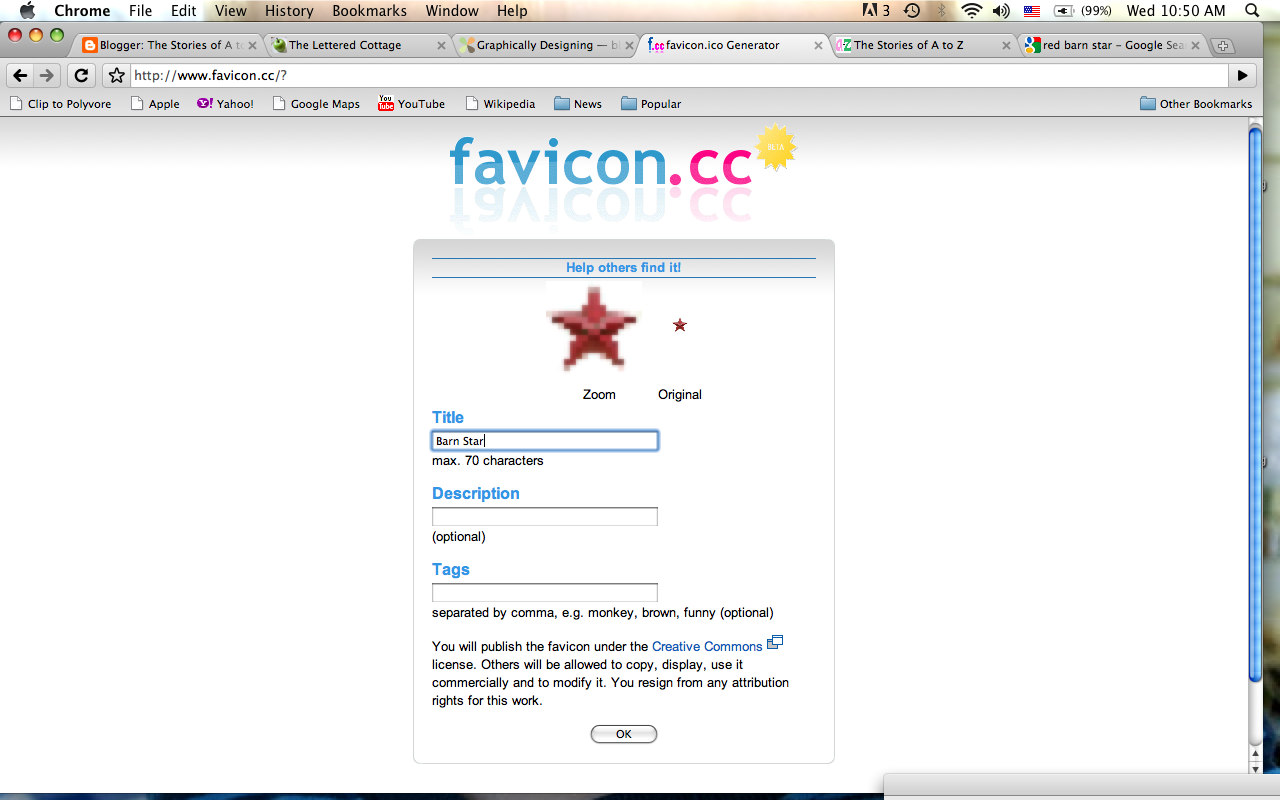
1. Click on the link favicon.ico. This site allows you to draw or upload a photo to use as your favicon.


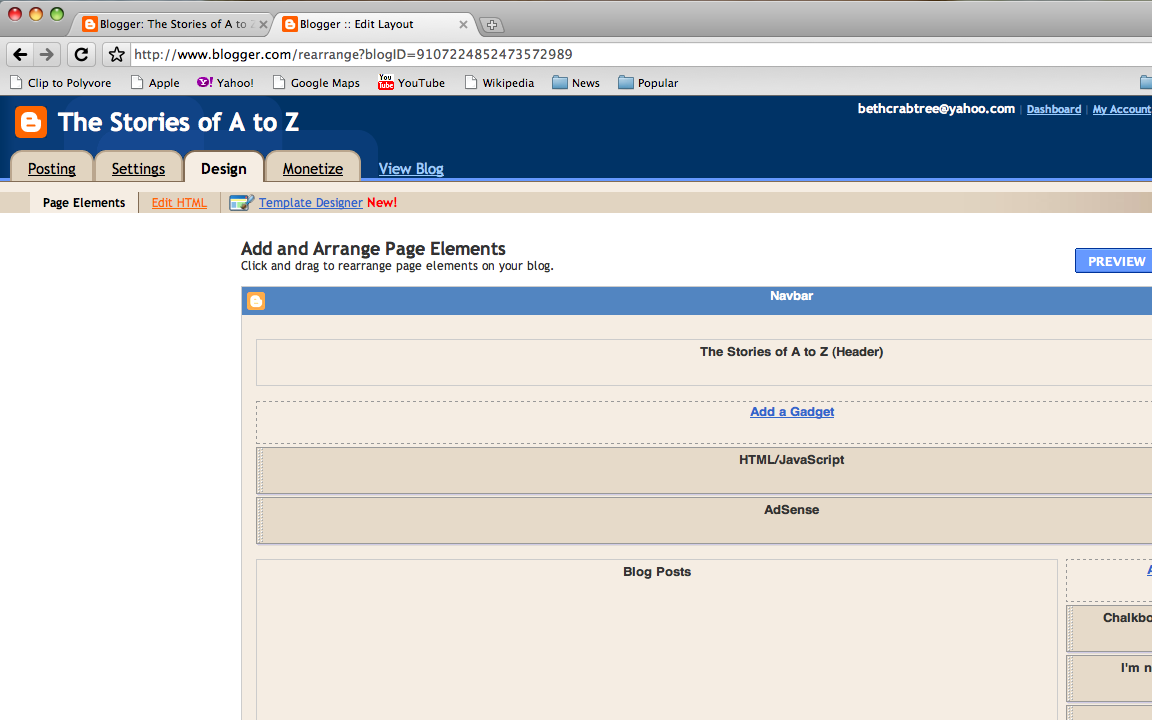
6. Go to your blog’s Dashboard and click on Design, and then click on the small tab that says “Edit HTML”.
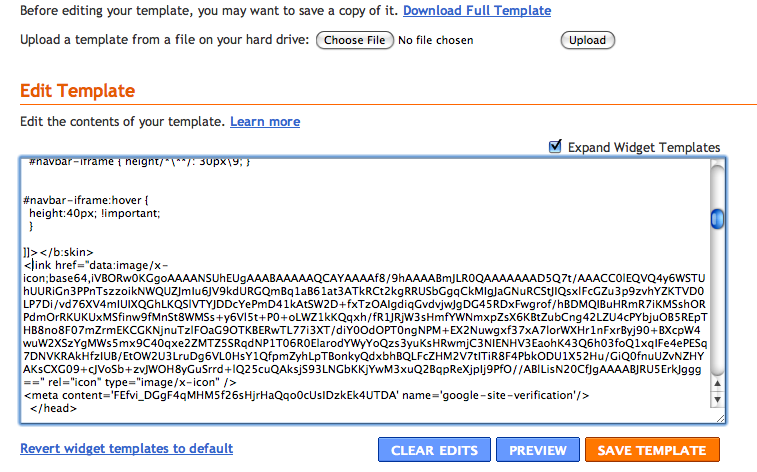
7. Now click on “Expand HTML”. You are now headed into the bowels of your blog. Ew, that’s gross. Try again… You are lifting the hood on your blog and you will have no fear! You can see below that I have “checked” the Expand Widget Templates box on the right and I’m ready to enter my code!

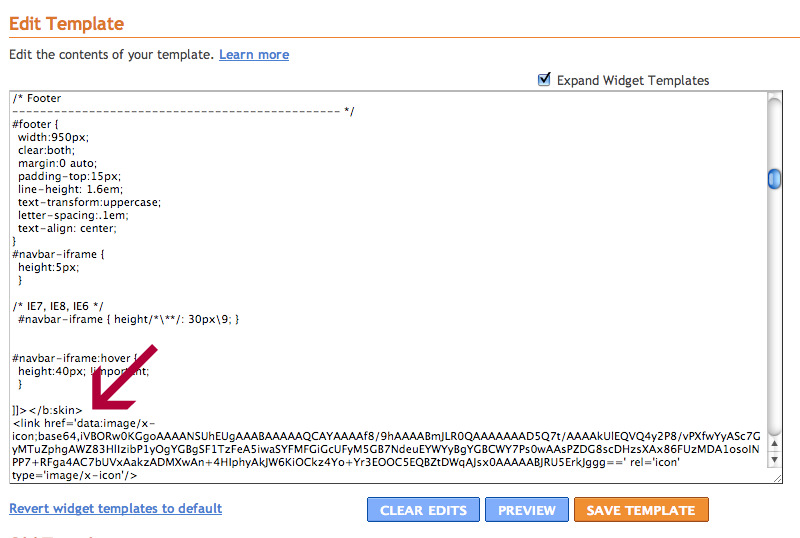
8. Scroll down until you see the word “Footer” and then start looking for b:skin and head . Enter that copied code after the word head. (For some reason my first “head” is missing here but it still works.)
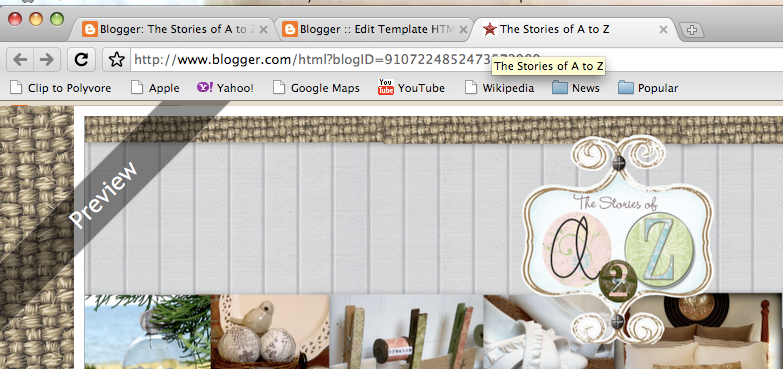
9. Now, do NOT hit save!!! Always PREVIEW your work first. If something goofy happened, just hit “Clear Edits” or just close your page out. No harm will have been done unless you saved your changes. So please remember to NOT save until you are sure you did it right! Below you can see that my code was entered correctly and my little red barn star is showing in my preview. If I am pleased, I can then click Save Template and I’m done!
***Edited (again) to add: Some browsers do not support favicons. If you go through all the motions and your little favi isn’t showing up, try using Google Chrome or Safari before giving up!***
There is a tiny learning curve to messing with HTML, and I am a major novice at it. But I have managed to create a decent design on my blog, make columns for my sponsors, generate buttons, and add a favicon all for FREE. I think if you can’t afford a designer right now, it is great to know that you can decorate your blog all by yourself.
4. Scrapblog Tutorial and Drop Cloth No Sew Pillows
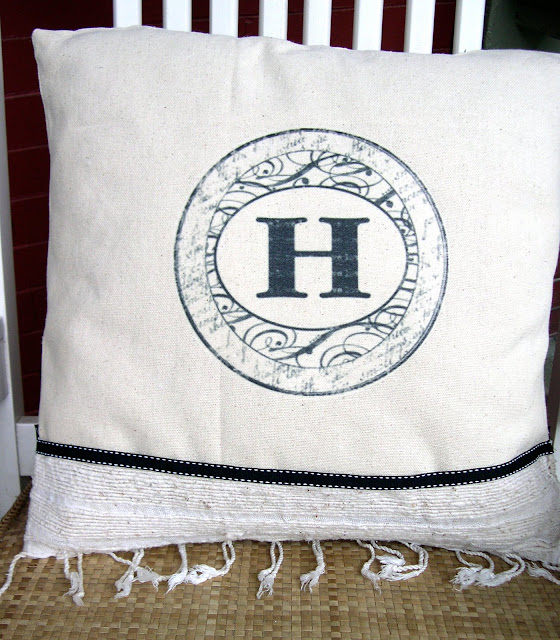
Back in June, I saw these pillows below in a Ballard Designs catalog and thought they were dreamy. They had a dreamy little price tag to go along with them, so I decided to make my own knock-off pillows on-the-cheap. You can see my original post about them here .  When I originally posted, I was feeling lazy and didn’t explain how I put together the graphics for the pillow. I will try to remedy that today! But first, let us admire my creations, shall we?

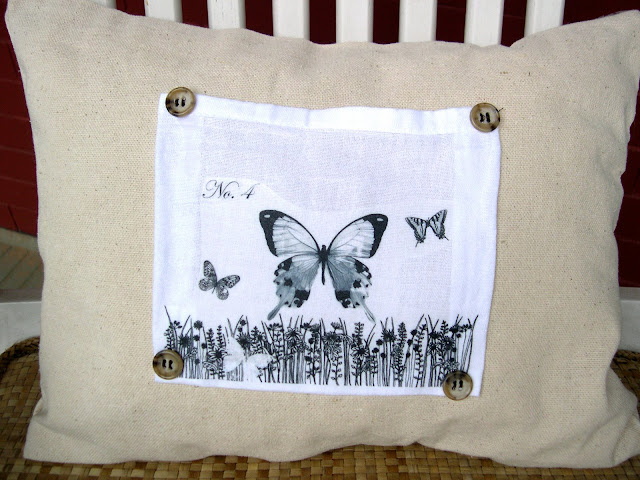
Back of pillow

Front of pillow
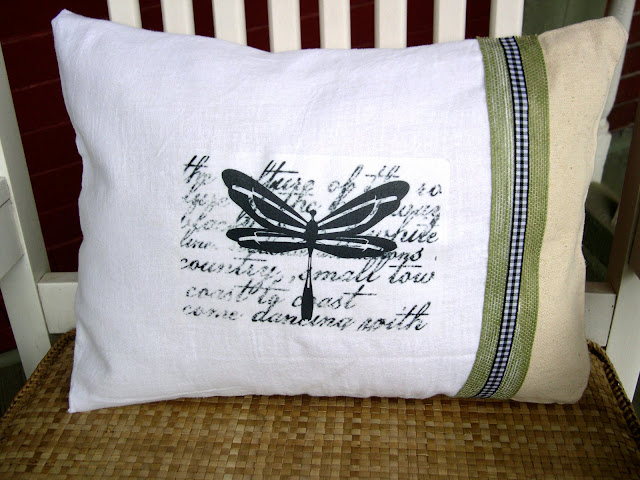
Back of pillow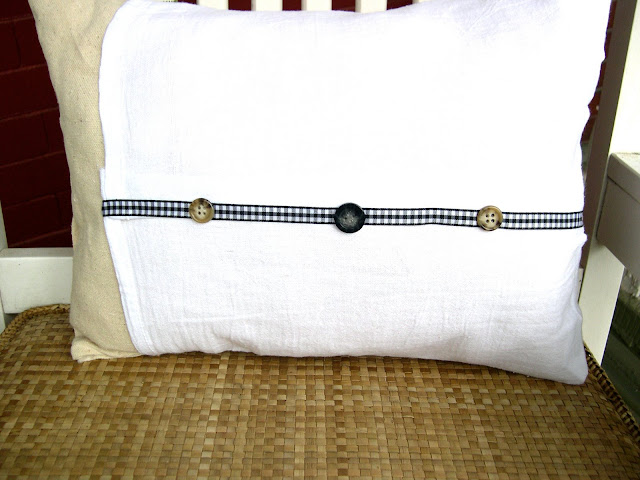


Pillow Construction Tutorial
- Drop cloth
- Tea towel (optional)
- Avery T-Shirt transfers ($7 at Walmart)
- Stitch Witchery (hem tape)
- Fabric glue
- Ribbon, buttons, fringe, bling (optional)
- Old pillow or pillow form
 Step 1: Iron the material to smooth out any wrinkles in the fabric. Canvas requires a lot of steam, so steam away and get a facial while you’re at it.
 Step 2: Measure the pillow that you want to cover and add about 2 inches in all directions. For example, if your pillow is 15×15 you will measure out an 19×19 inch square.
 Step 3: Once you have cut your two squares, place hem tape between the seams and iron away. Experience the facial once again!
 Step 4: While ironing on top of your counter, have your 2 yr old abscond your camera and take pictures of you.
 Step 5: Seal up three sides of your pillow with hem tape and turn it right side out. You are now ready to put on some bling! You can print out any image of your choice onto your transfer paper and iron it directly to your pillow. I like to use tea towels instead to add a little extra somethin’-somethin’.
  Step 6: Use fabric glue to glue on your iron-on, ribbon, and buttons. Of course you can sew this part by hand, but if you’re
 lazy short on time fabric glue works too! You’re almost done, so be sure to admire you’re work at this point…and your toes. Step 7: Tuck and fold the bottom edge of your pillow like a present and use fabric glue to secure. Look at how cute it is!
 Step 8: Worship the beauty of your handiwork with lots of praise, admiration, and paparazzi . This pillow is for my friend’s bedroom, but seeing how cute it looks on my own bed I’m now wishing that my last name began with W. Michaela requested that I leave the top open as a little pocket. Perhaps she and her husband can use it to exchange love notes.


These are just a few of the many tutorials I provided for you this year. I’ll have some more for you coming up in 2011! Happy New Year peeps!

Is that what that little thingie is called? Favicon? I am going to try this. Thank you!
I love all the tutorials! Thanks.
I am trying the little icon thingy:)
I love all the tutorials! Thanks.
I am trying the little icon thingy:)
Thank you – I love the favicons…check out what you taught me!
http://sprizzieideas.blogspot.com/2011/01/i-did-it.html
Wow! What an awesome resource you have given us! I think I might start with the transfer pillow. If I can figure out how to make one with my Silhouete!
Beth, My name is Deanna and I have re-found you and I am so thankful! You are Fantastic at tuts! and pls do not think differently. I cannot thank you enough for posting your your A2Z Most Popular Tutorials!!! I have learned so much from you today! I have started and stopped a blog from a couple of years ago, but if health holds out this year, I may truly start back with all the wonderful things I have gleened from you today. Thank you Beth for being so willing to share what you have learned thru your experiences: from linking and blog etiquette thru practical no-how and google searching. Also, thank you for sharing your sisters blogs as well. I look forward to sharing with you all, the gifts and talents that the Lord has shared with us all. May God richly bless you and all of your precious family and extended family in the coming year!!
Sincerely,
Deanna
dshouppe@gmail.com
Hi Beth, thanks for posting the tutorials and links! I'd always wondered how sites got those cute little icons by their web address…NOW…I even know what their called!! AND..I'd never heard of scrapblog.com …you can bet I'm going to be checking it out real soon! Hugs and Blessings! ~Cheryl
http://vintageserenity.blogspot.com/
Wow- this is a great set of tutorials! I've already bookmarked it for future reference- thanks for sharing all your knowledge.
-Jami
http://www.AnOregonCottage.com
Awesome! I love the dragonfly pillow!
This was really a great post with lots and lots of helpful information for a computer challenged person such as myself…thanks so much and HAPPY NEW YEAR!
Thank you so much for sharing! I have been wondering about how to do these things but didn't even know what they were called or how to find out! Another thing(s) to add to my 2011 to do list! Happy New Year!
Beth, I book marked your tutorials a while back and I've referred to them several times. I started my blog after reading yours! You make it all look so easy! Happy New Years!
Great Tips – Thank You for Sharing!!
OMIGOSH – I so needed these ideas… I am new to blogging and while I work in software – HTML is greek to me! 🙂 Since I am a new reader, I didn't read these the first time. I am booking marking this link so I can find them all – THANK YOU!
Thanks so much for sharing the blog tips! Mine is new & I'm still trying to make it functional & cute like so many great blog I see. I love your site! Have a Happy New Year!
~Mary
This pillows made my jaw drop. I can't sew, so this is perfect for me to try out. Thanks for the tutorial!!