


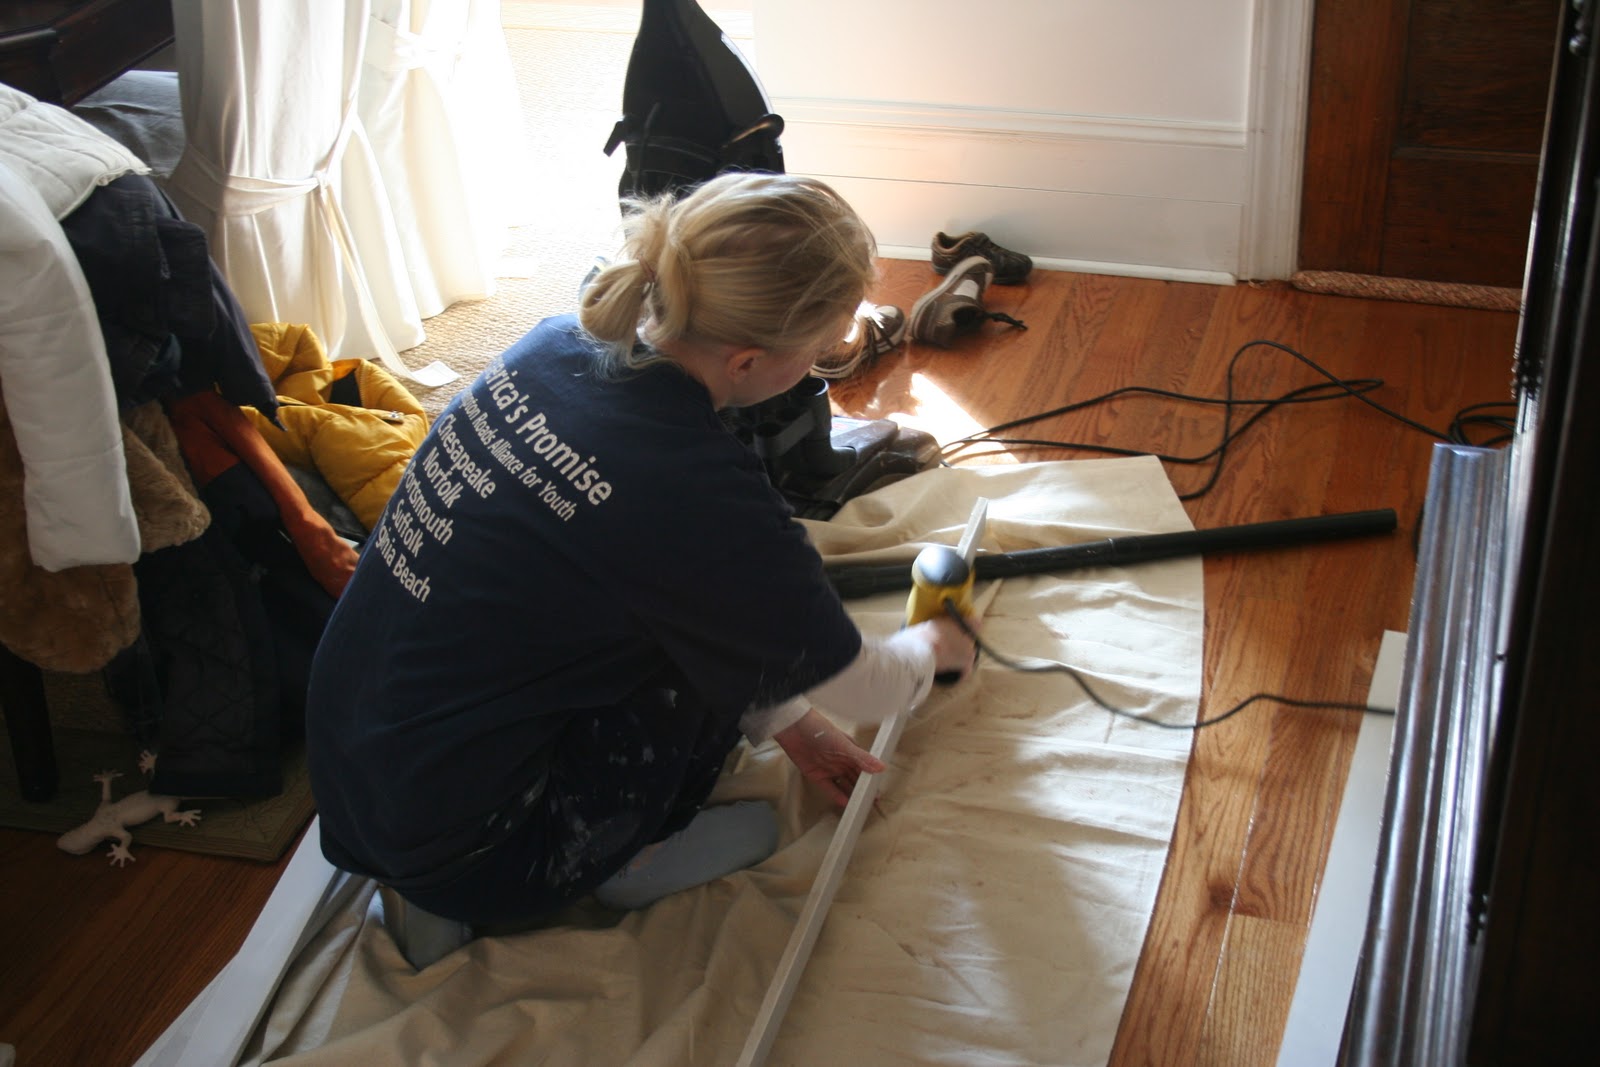
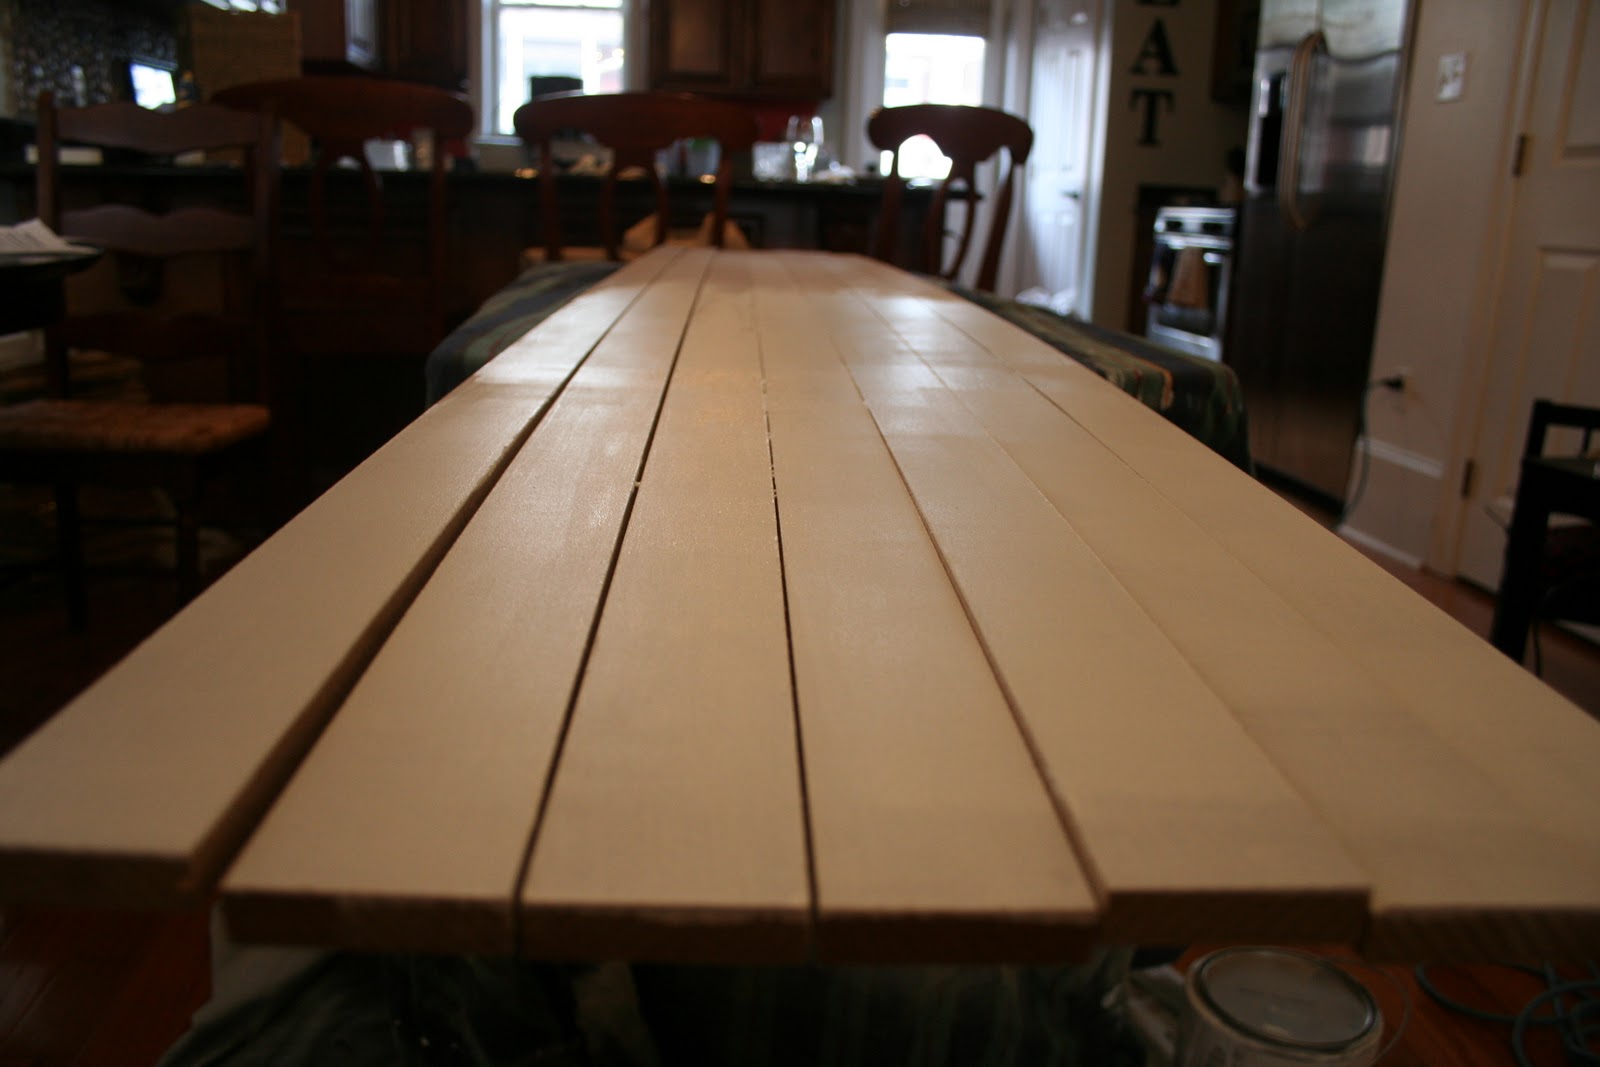
I got smarter as I went along and lined them all up to sand instead of working on each individually.
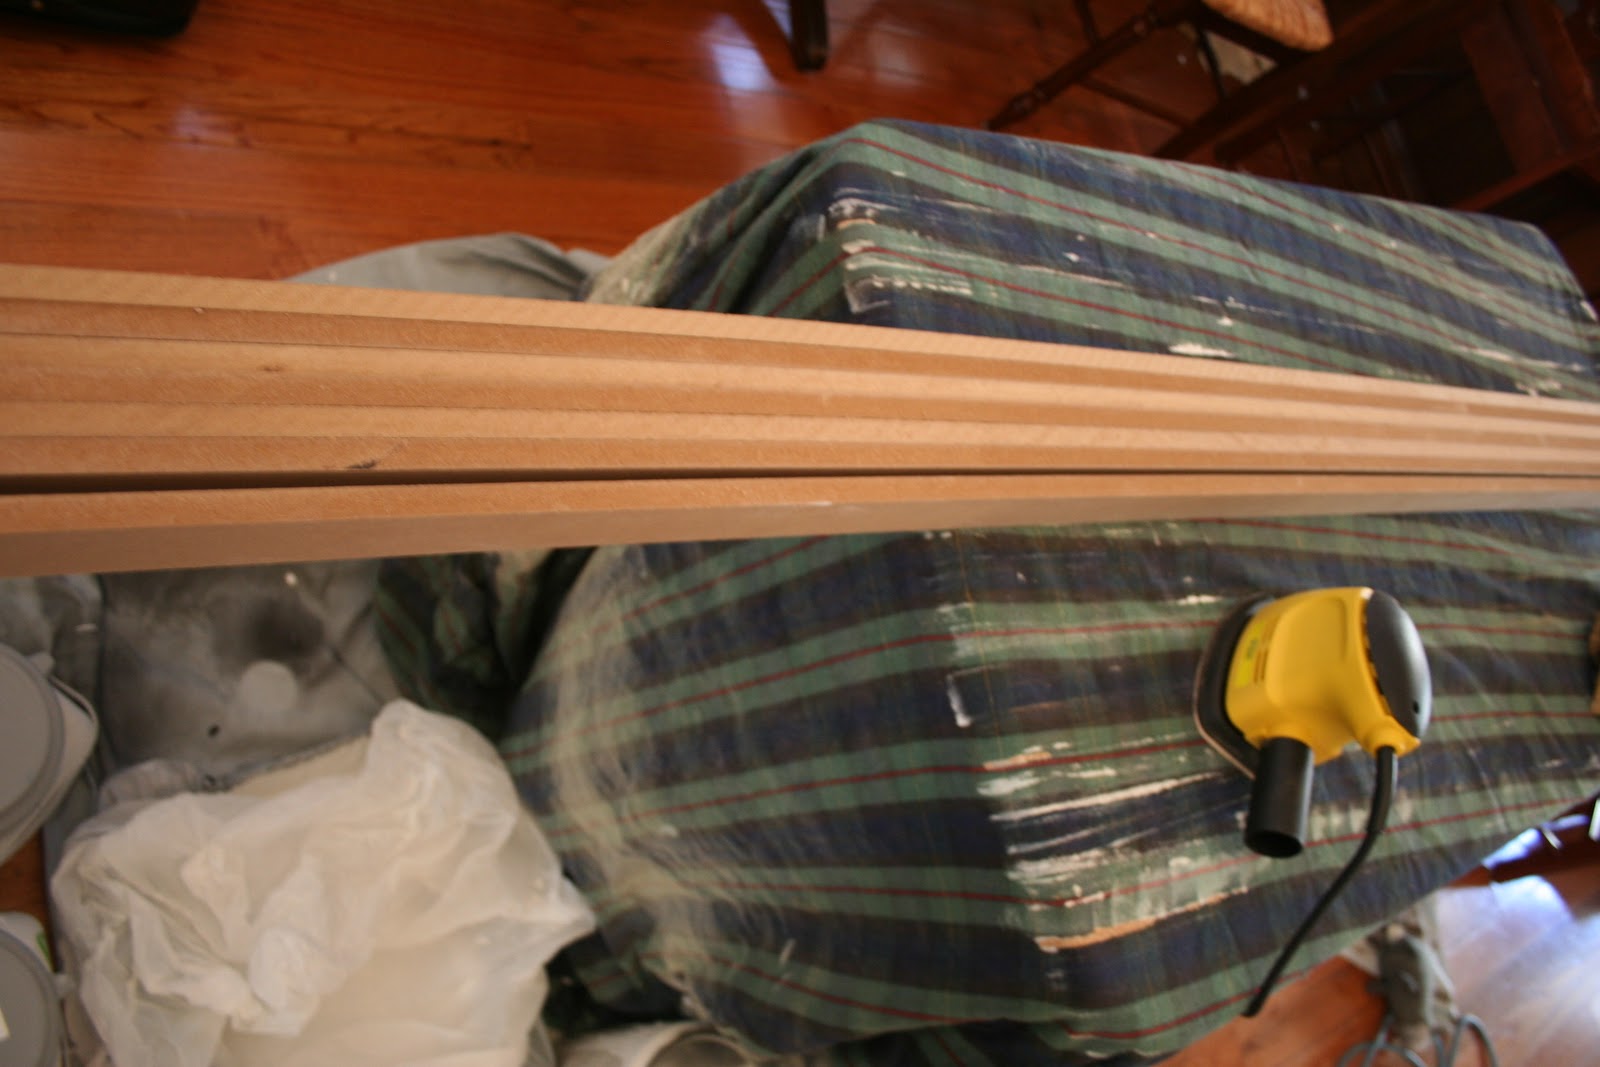
I also lined them up together to prime and then paint all the boards.
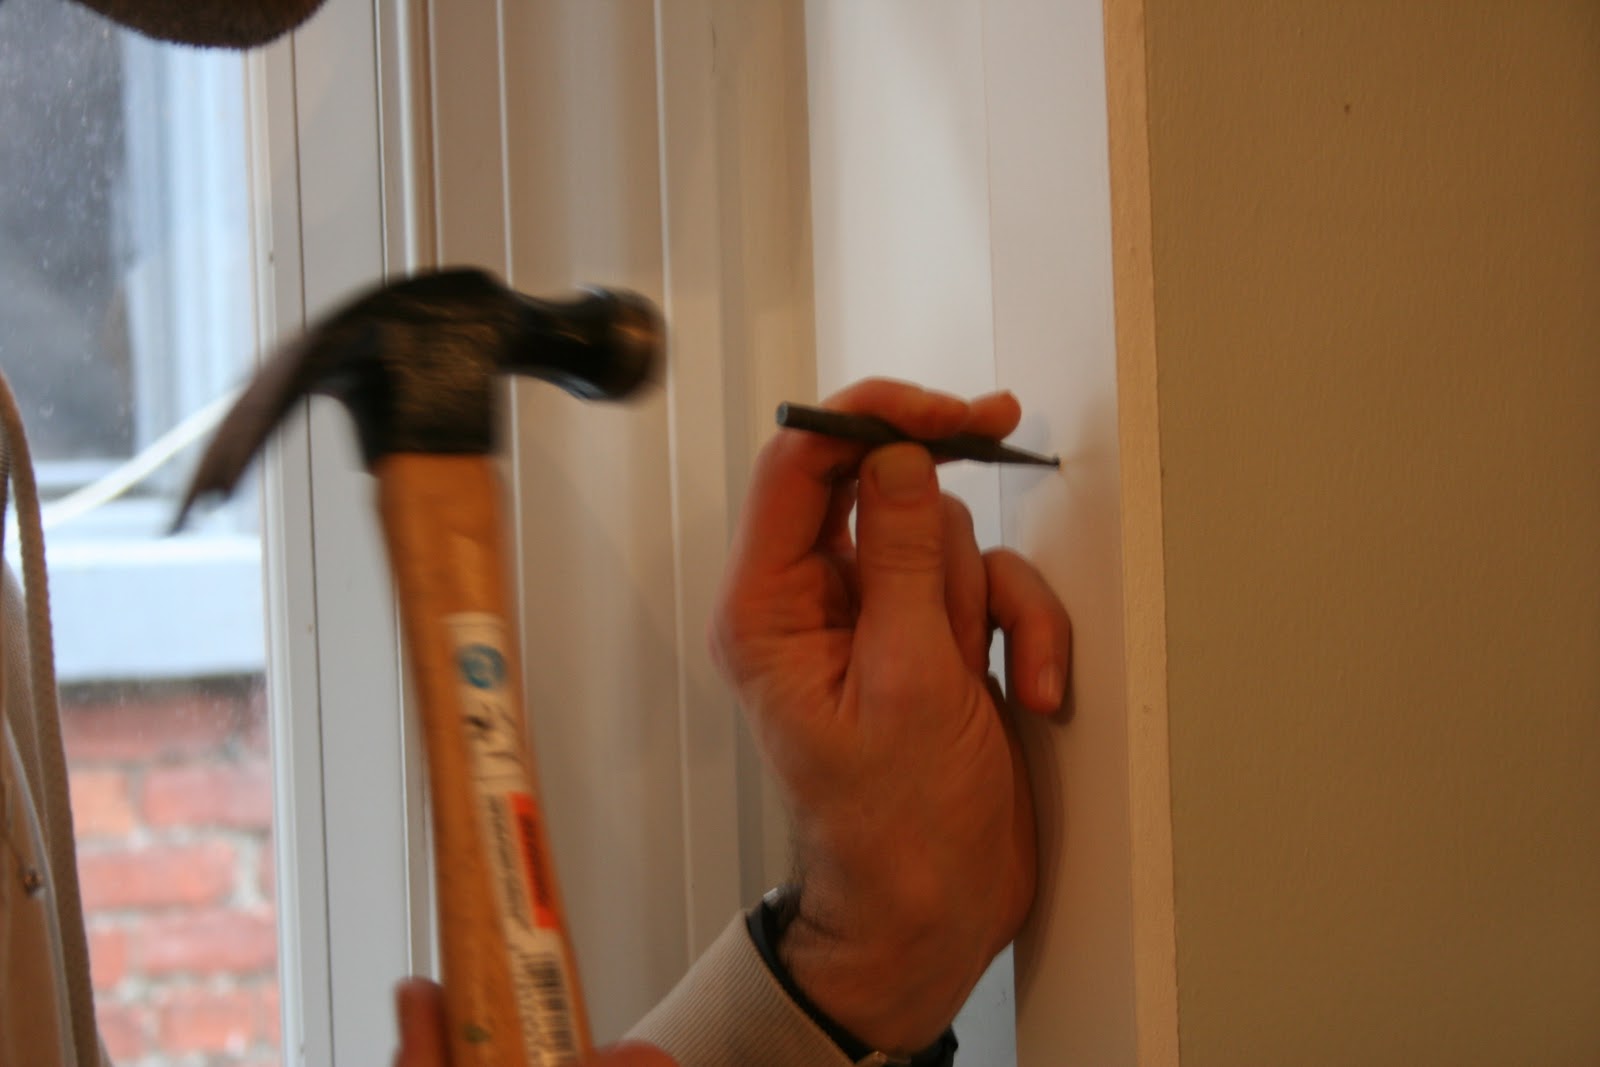
Everyone will tell you to get a nail gun. We didn’t and it took longer, but whatever. We needed to keep the cost way down on this project and no one in our area rents nail guns. We did buy a circular saw and did all the cutting and mitering of the boards in our basement. Mitering corners is a whole tutorial in itself, and I’ll do one for you soon.
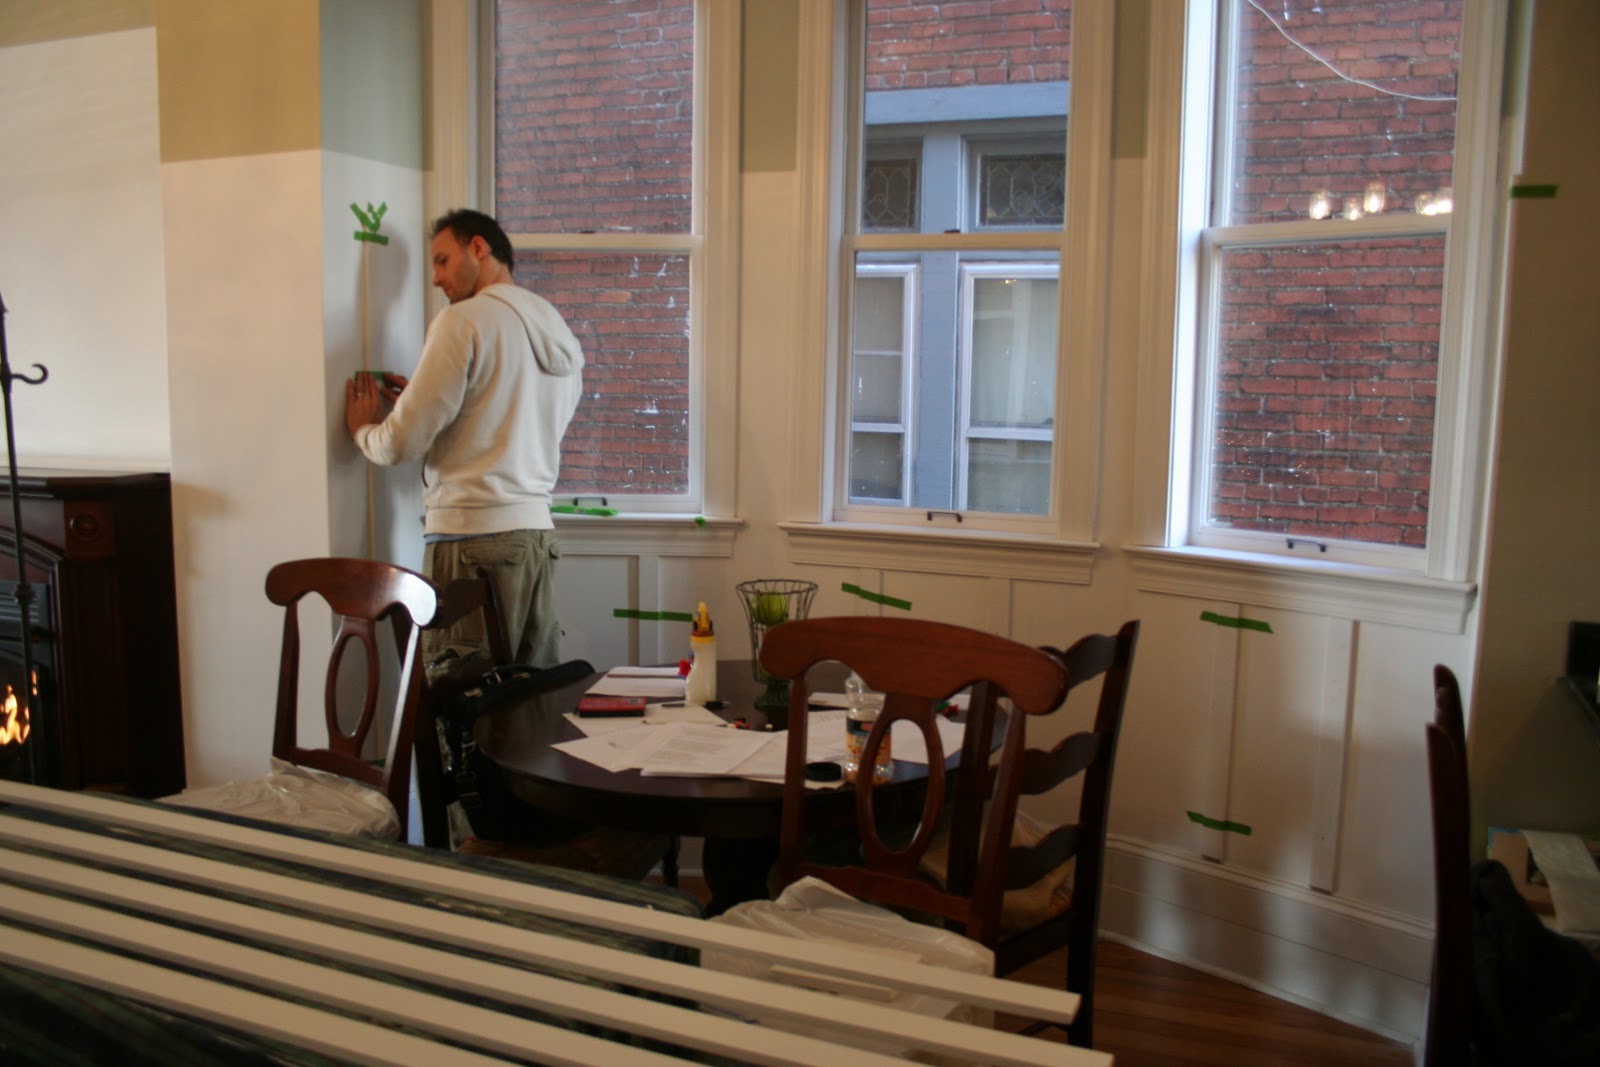
The big reveal will have to wait until I complete the other 27 or so projects on this level, but for now enjoy our progress!

Isn’t it starting to look lovely?
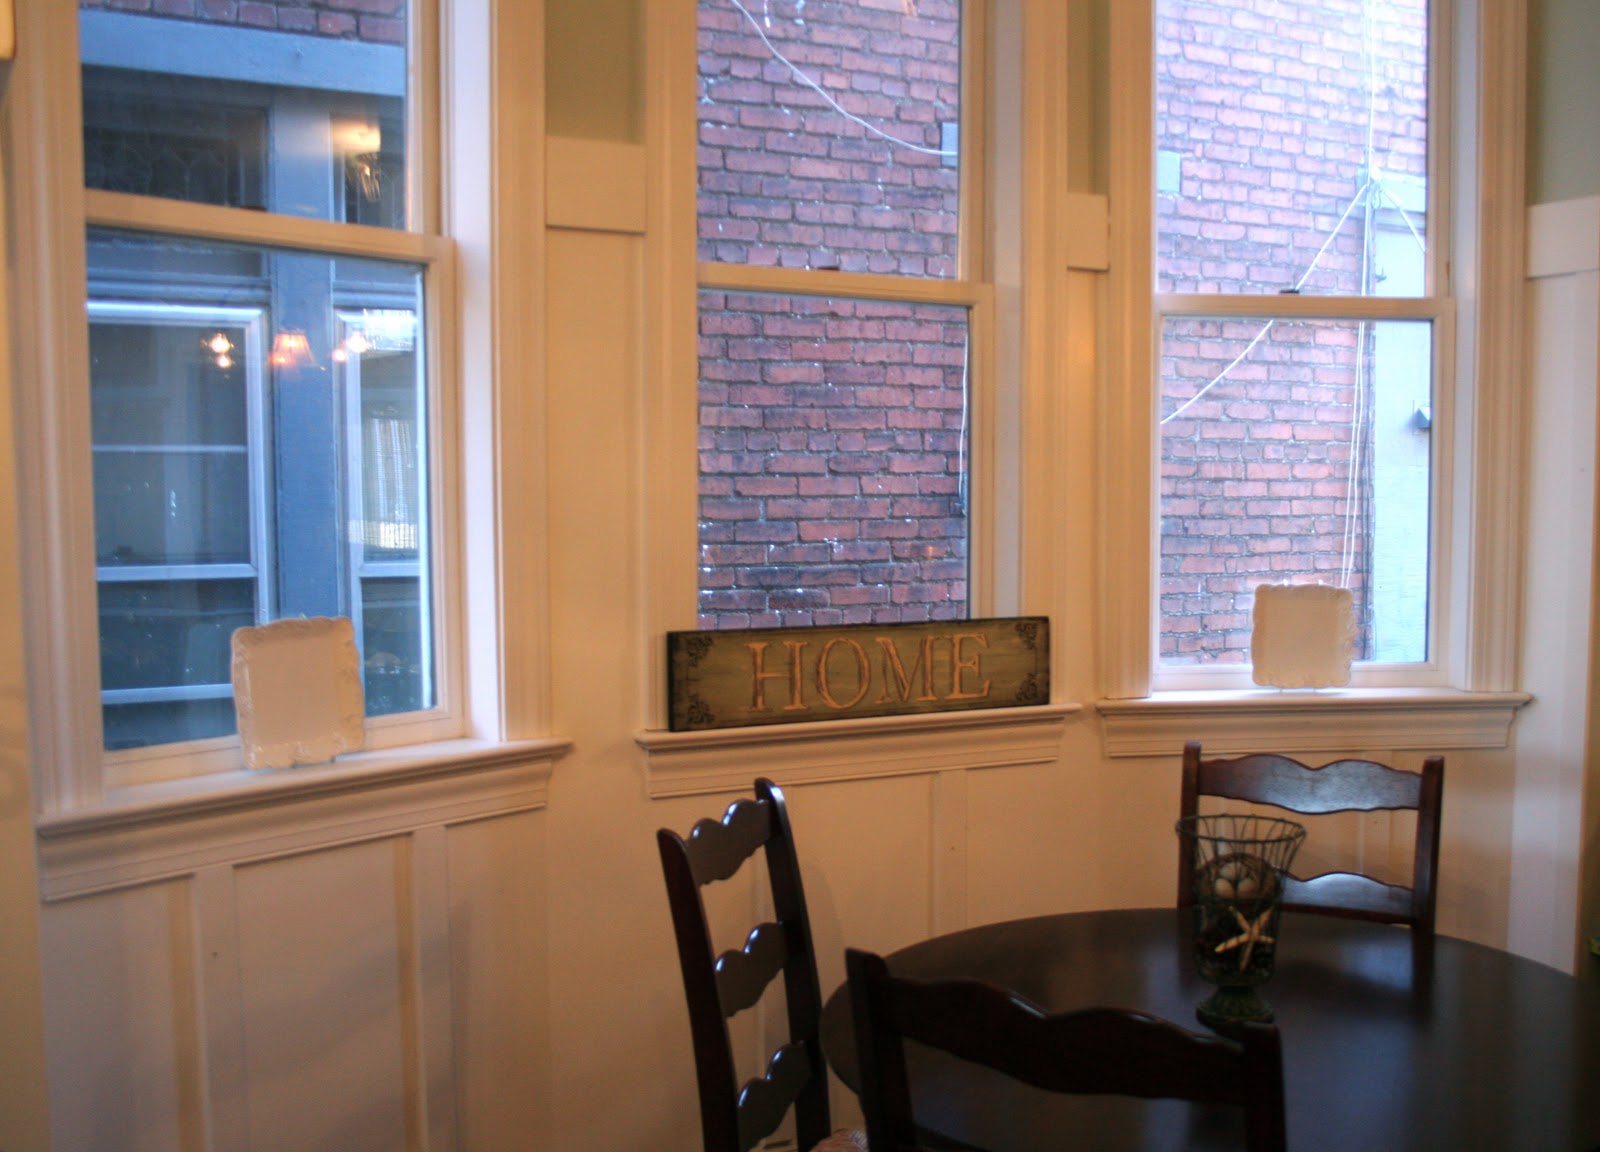
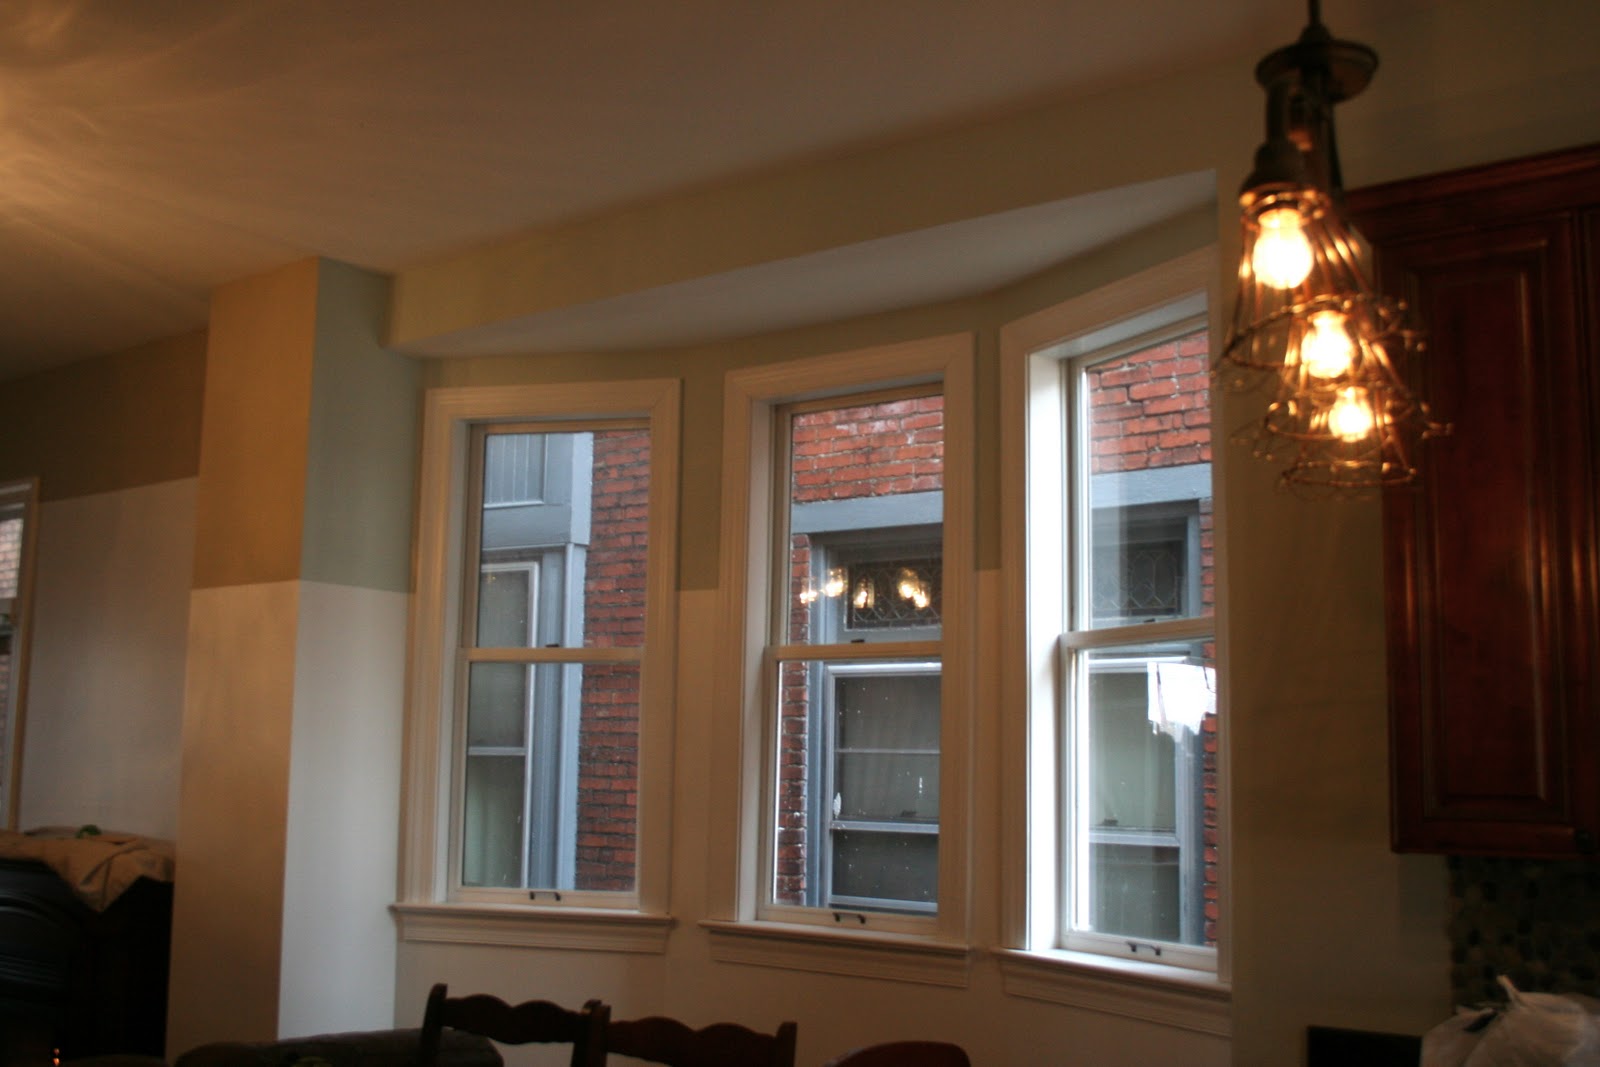
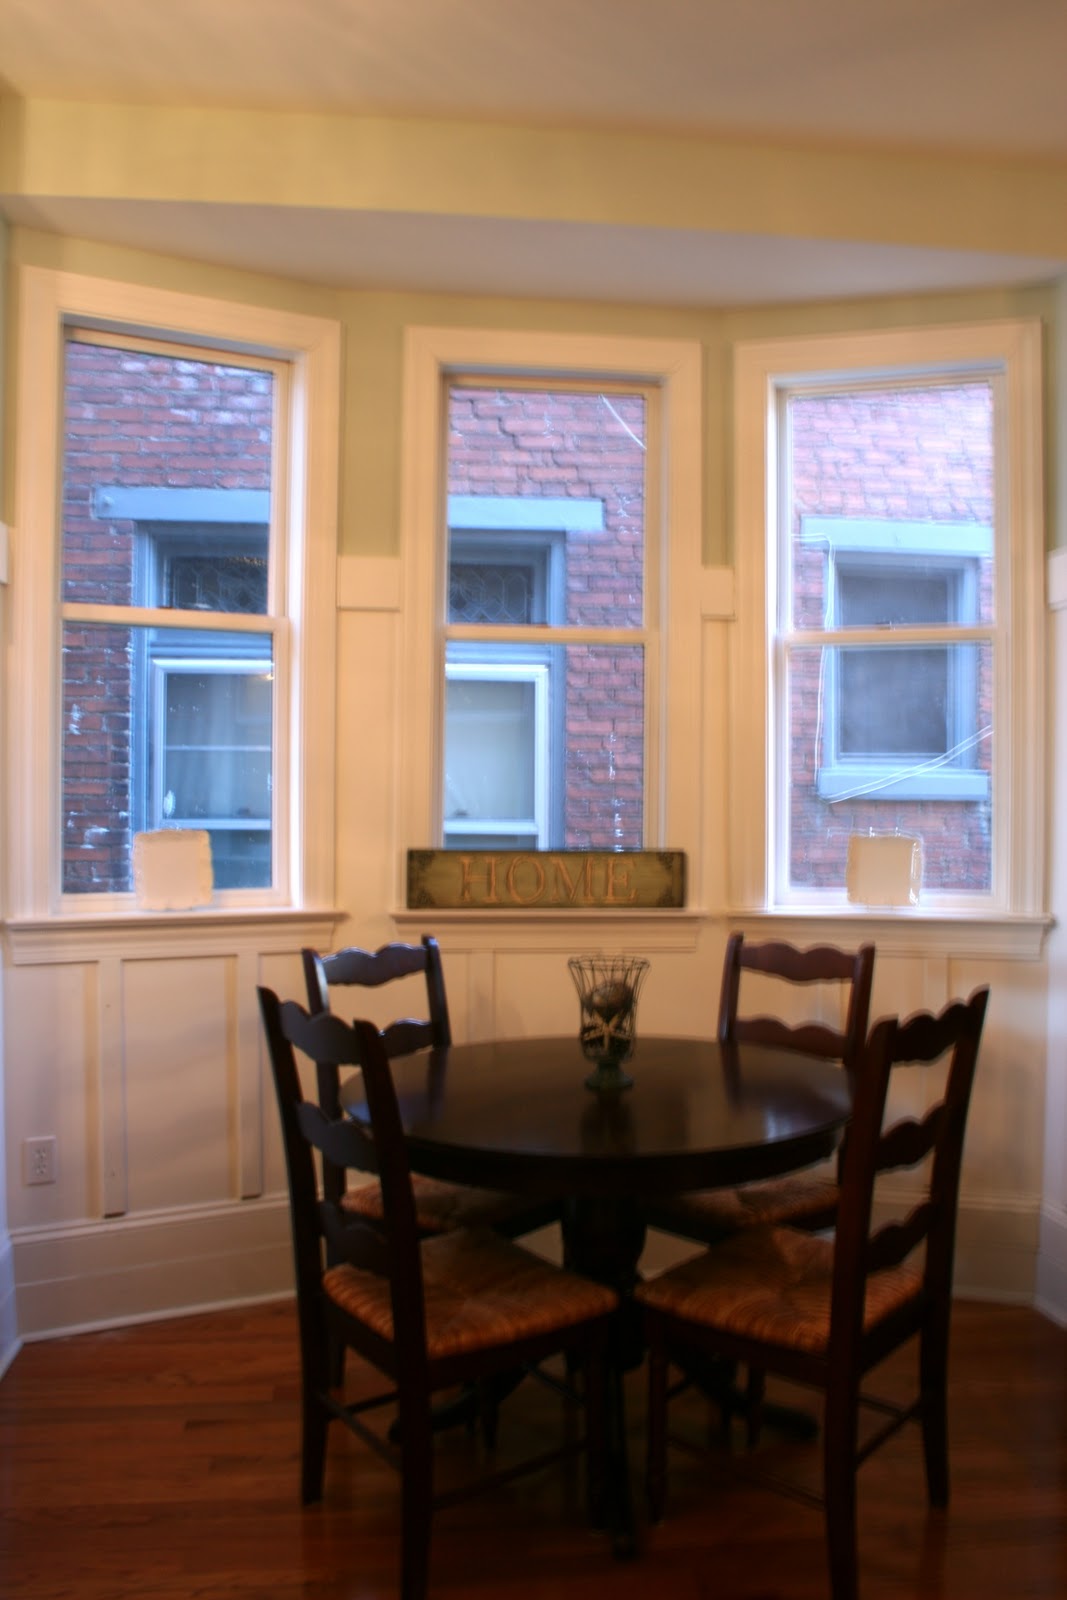
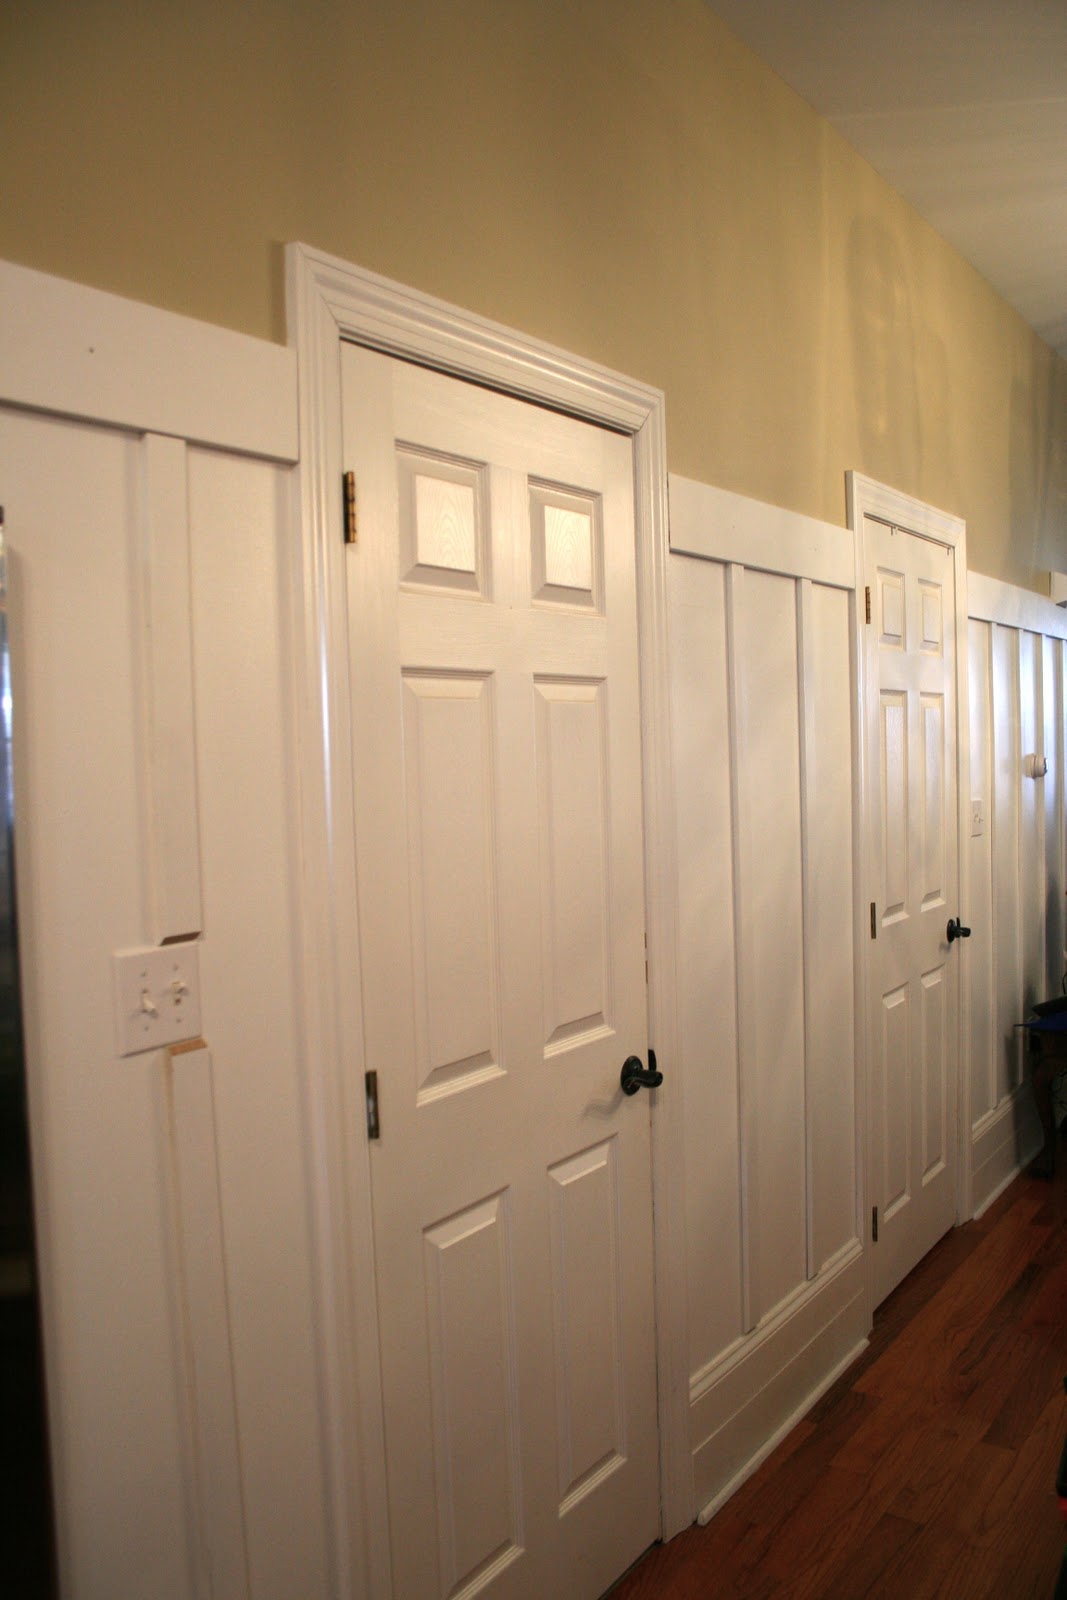
Below is a pic taken from the kitchen looking at the 1/2 bath and basement doors. This just gives you a feel for what it’s looking like. The paint on top is Ramie by Sherwin Williams and it looks fantabulous with Sea Salt.
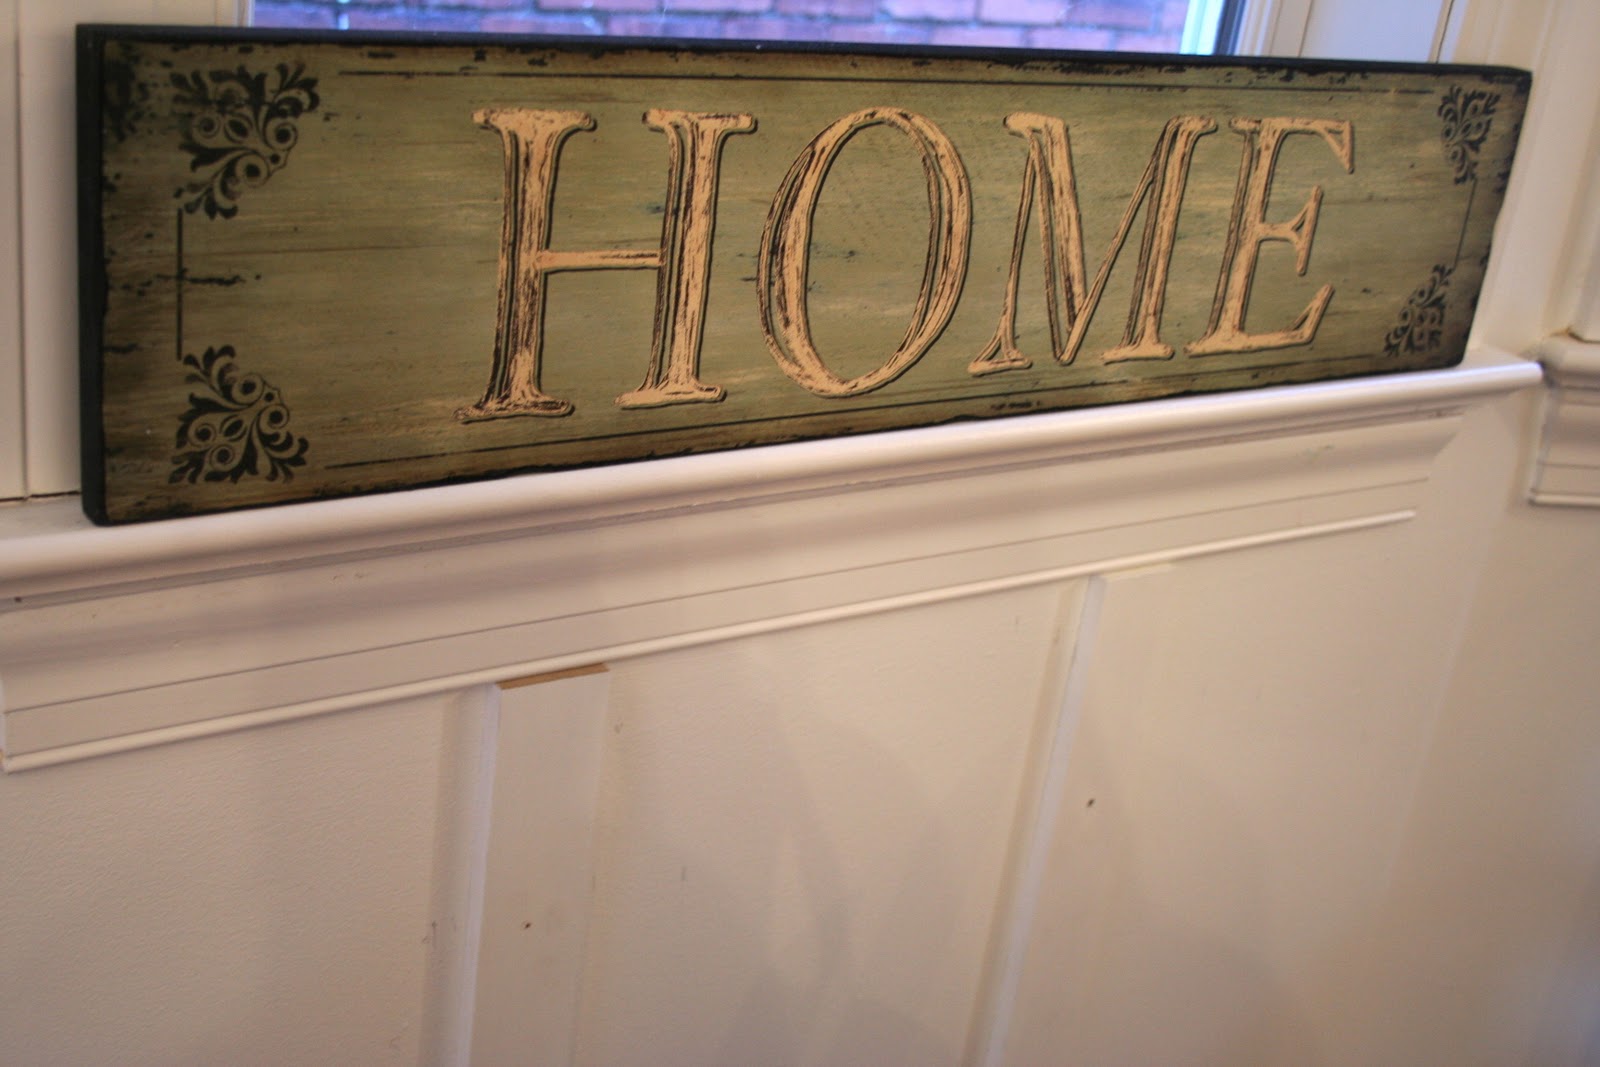
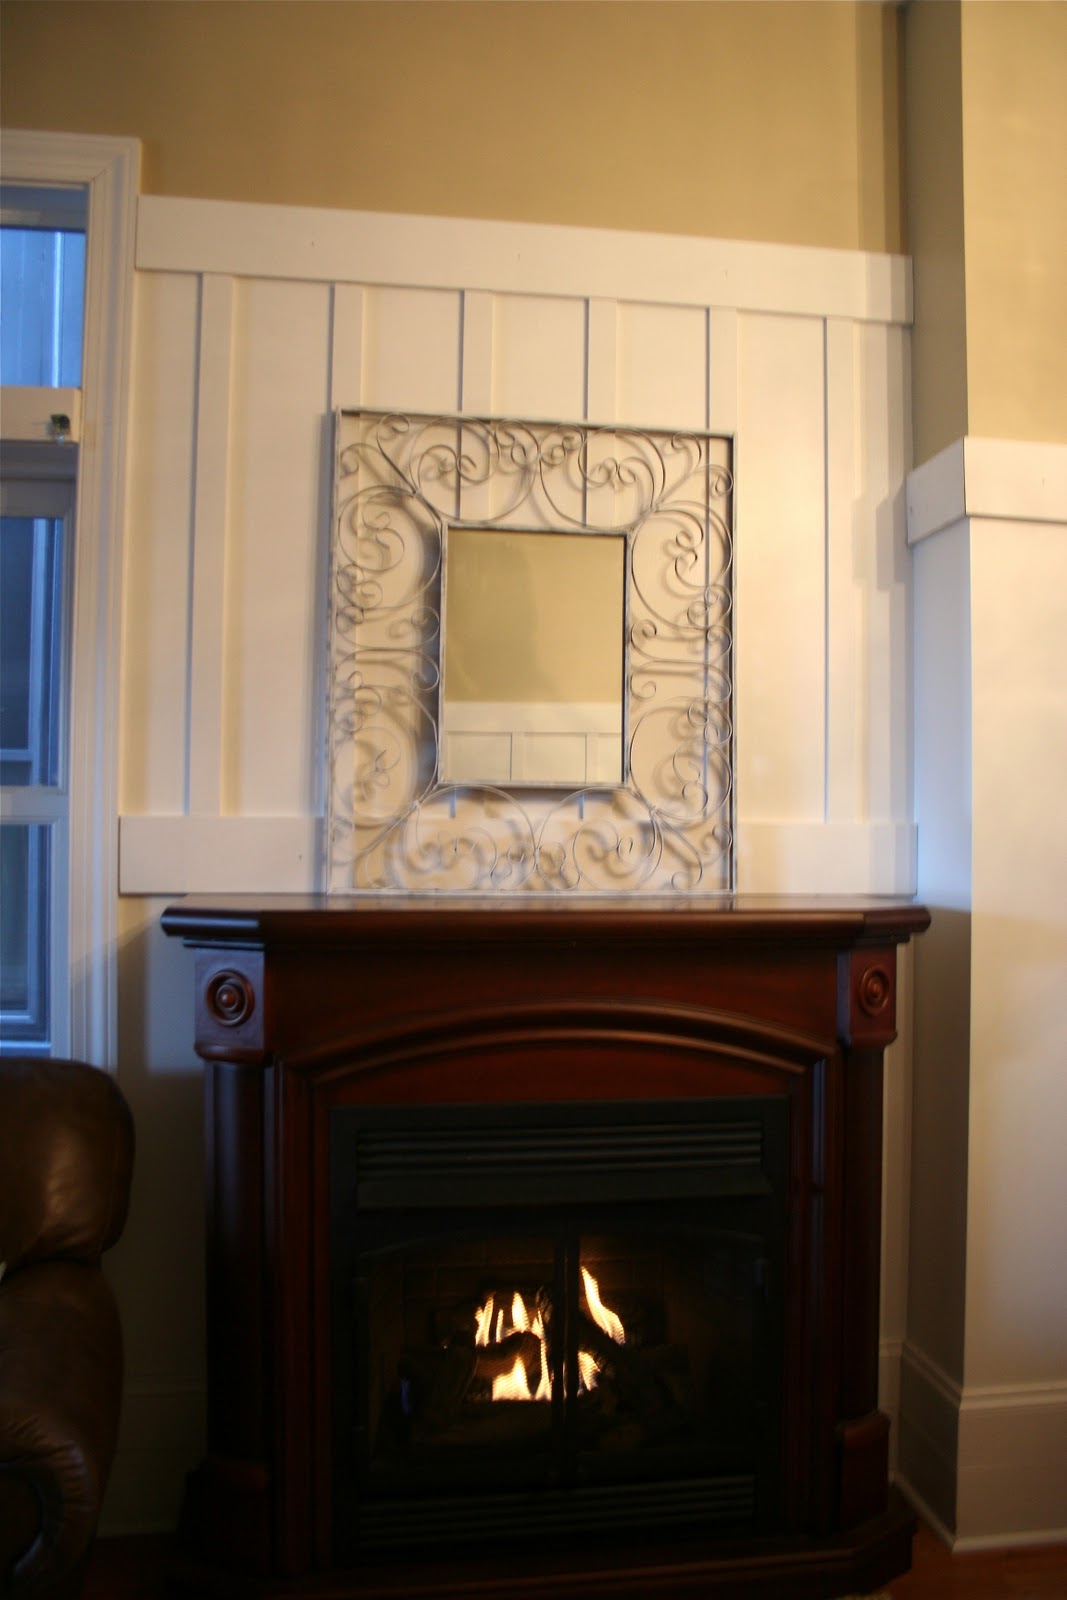
And here is a horrible pic of my new mantel area! Please ignore the lack of decorations and bad lighting. I pulled my mirror from my bedroom to see if I liked it down here or not. Jury is still out. But what I am liking is the board and batten above! The fireplace might get painted white in the spring time. We’ll see.
Related Posts


Wow…that looks fantastic and it does look like a lot of work but it seems like you have it going just fine. Can't wait to see the finished product….
Beth, I love this look.
It's perfect for your home architecturally!
I follow you on twitter and have been smiling in sympathy as you have talked about the project in progress. We have installed bead board wainscoting in many rooms of our home, which was a pain, but at least it comes in sheets!
Can't wait to see what you have to show us in 2011!
Cheers,
Laura
http://www.paringdown.com
Hi Kelli,
We didn't remove our baseboards but we did cut each vertical board at a 45* angle on the bottoms so they didn't look quite so dumb sticking so far out from the baseboard. The look doesn't bother me but some might not like it.
Stacey, I don't remember the fabric name but I purchased it recently from fabric.com. I bought a bunch of coordinating blue and tan fabrics that I am in LOVE with! Decent prices too.
Your board and batten looks FABULOUS!!! I have learned through the years if people say "Oh it should only take two hours to do it", then I times it by three and I am much closer to the real time it should take. You guys did an amazing job of it, though.
Hugs, Cindy
Beth this looks fantastic! I love your measuring techniques! That's the way I roll too..
Marie
http://www.sisterpickers.blogspot.com
Beth this looks fantastic! I love your measuring techniques! That's the way I roll too..
Marie
http://www.sisterpickers.blogspot.com
I think it is beautiful! It will be so wonderful and worth it when done! Can't wait to see the end results! I was wondering about the fabric for your mistreatments – where is this from? This would be great for one of my upcoming projects! Thanks and have a wonderful new year!
Stacey at http://staceyembracingchange.
blogspot.com/
Thanks Marianne! We only nailed where there were studs and glued the rest. The heavy horizontal boards are all nailed but not all of the vertical battens. Didn't seem sensible to nail if there wasn't a stud to nail it into. I am so ready for the projects on my main floor to be done but that won't happen for another month at least. I'm working hard at it though!
looking really good! curious, did you remove the baseboards and then put them back on top of the boards? I am thinking about doing something similar in my mom cave but I am unsure if my baseboards are thick enough.
Beth this is EH….MAZE….ING!!!! Looks like the houses from Homearama! Totally worth the wait. You'll actually have to have me over sometime to see it:)
beth!!!
omg! the color combination reminds me of some of those model homes you showed us a while ago. your black hardware door knobs against that white looks YUMMY! it looks like a brand new house! you've got to be pleased!!!
honestly, my mouth dropped open with that breakfast area.
go beth GO!!! and your hubs!
It is starting to look fantastic. Oh if only I could my love to get into that look…
You guys did a great job. I have a question though is there anything in between those vertical slabs or did you just nail/glue them to a plaster wall?
Good luck on the other 10001 little things you need to do before you finish this. I know how you feel, this things are always so much more work than you think.
This is going to look so classic…I can't wait to see the finished project. The bat video was great. We had them in our attic. Beware…where there is one, there are lots more.
XO<
Jane
Wow! I thought I was the only one who cleaned and did DIY projects in my ball gown! Gald to see there is another out there who dresses up for chores! LOL It is looking wonderful. I love the two colors you chose and cant wait till you have a complete space reveal.
Blessings!
Tara
I think your hard work is paying off. It looks amazing so far. I can imagine that when you're done, it will look even more amazing.
🙂
Wow, you're doing this without a nail gun-very impressive! (Although I totally understand using what you have). I love the look of this but it would never fit in with the age of this house.Lucky me, I can enjoy your photos:)
It looks amazing…you guys should be proud:)
Oh my goodness girlfriend! It's so so soooo beautiful. I can't wait to see it all finished. All that hard work is definately paying off 🙂
All that hard work is starting to pay off BIG time, it's looking ahh-mazing! :0)
Love it! You're making me want to get started on my foyer, except that you said it's really hard, I think I liked my world of denial better. (the truth is hard to deal with! lol)
Have a great day!
Missy
I love it! I'm totally a molding girl! It think the crisp white makes everything look SO clean and fresh! 🙂
I love your taste. You always have such great projects and step by step photos.
Thanks for all your hard work Beth!
~Shelley Smith
it's looking great, Beth! I love it!
Beth, It's looking fab! 🙂 Ramie is a gorgeous color isn't it?! LURVES!
Wow!! It looks AMAzing!! It is totally worth the effort and looks so chic and high-end. I love it!!!
That is absolutely gorgeous!!! You should be so proud of yourself! Bats and all!!!
Beth- I love this projects! I can't wait to see the full reveal. I just might have to try this idea in my basement.
Hi Beth, I totally agree with you about doing board and batten, it's not hard, but you learn more and more as you go along . . . I did it in my hallway, then a week later id it in my friends dining room and it looks 100 times better than it did in my own hoem, just from the lessons I learned as I went along. . . Yours looks beautiful, I love the chunkiness of it! Also LOVE your fabric choice, where did you get it? Been looking for something similar to that for my kitchen
Beth, Beth, Beth…I LOVE it….
My daughter has a degree in Math…you could have borrowed her 🙂 lol
I am showing this to hubs tonight, I just love the look….I think you guys did a fab job…can't wait to see it with all the doo dahs
I remember awhile back the Nester did her office…another terrific job…
How's the weather in your neck of the woods?….we had a 50 degree week=end, so no complaints here, after 15 inches of snow last week……oh my !!!!! Did I ever tell you I think the stork deposited me in the wrong spot…I am so a warm weather chickie !!!!
All the best Beth and thank you for your sweet email…
xo Kathy 🙂
Looks great! I do love a good board and batten treatment!
How does the sea salt paint read in your space? I have the darker color, comfort gray, in my bedroom and in person it reads icy blue rather than gray or even gray blue. Makes me sad 🙁
I'm planning on doing board and batten in my front room since the previous owners got a wild hare to use 1×6 pine boards everywhere as baseboard… so it's the perfect width (and no taper) to stick 1x boards on for the look. Might as well work with the space, right? 😉
BEAUTIFUL. It looks like it has always been there, and that is the key to a successful trim project in my opinion. You guys have accomplished so much, it must feel really good even if it was a challenge all of the way! Take care, Laura
Beth! It really looks amazing! You're so brave.
Ahhh it's looking lovely Beth!! That hallway is amazing! I did B&B using the lattice strips too and it was really easy. But I only did 1 big wall, so no mitering or anything. Can't wait to see it all done!
Question…does it bother you that the battens stick out further than your window sills in that pic? Only asking because I like the look of the chunkier battens as well, but had to go with the lattice strips because they sit perfectly on top of our baseboards (which are wimpy). I noticed you cut some at an angle too which would help. But I'd like to use the chunkier battens somewhere too! 🙂
It looks beautiful so far! I can't believe you're doing it without the aid of a nail gun. What a trooper! I can't even imagine how much time that would take. You rock!
That's lovely Beth!! Can't wait to see the finished product!