
I am very lazy. I am also a bit of a perfectionist. These two aspects of my personality are in constant battle. Who wins you ask? Lazy….that’s who. Today I’m going to show you how a lazy perfectionist paints her walls.
1. Prep Your Space
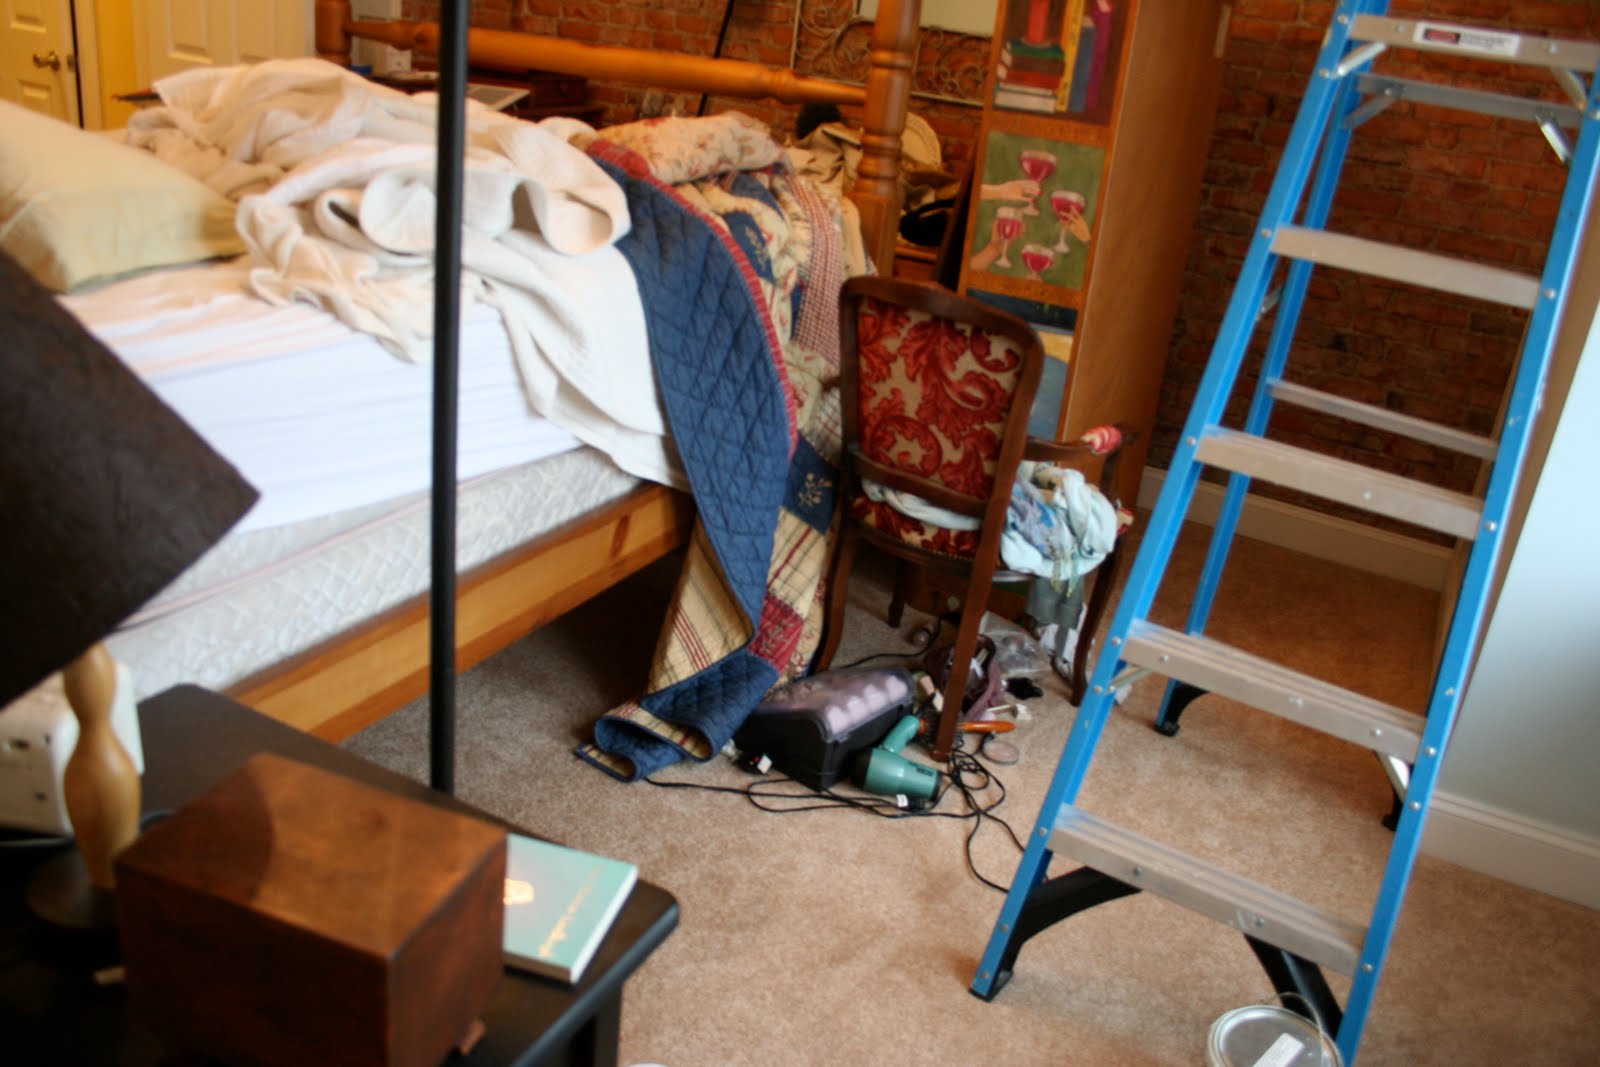
This necessary step is typically what causes me to put off painting. In order to just dive in, I do as little prep as possible. As you can see in the above photo, I didn’t bother cleaning my room before painting. I just moved everything, mess and all, to the middle of the room. If I had to have everything clean and in order, I wouldn’t have gotten my painting done.
- Tools
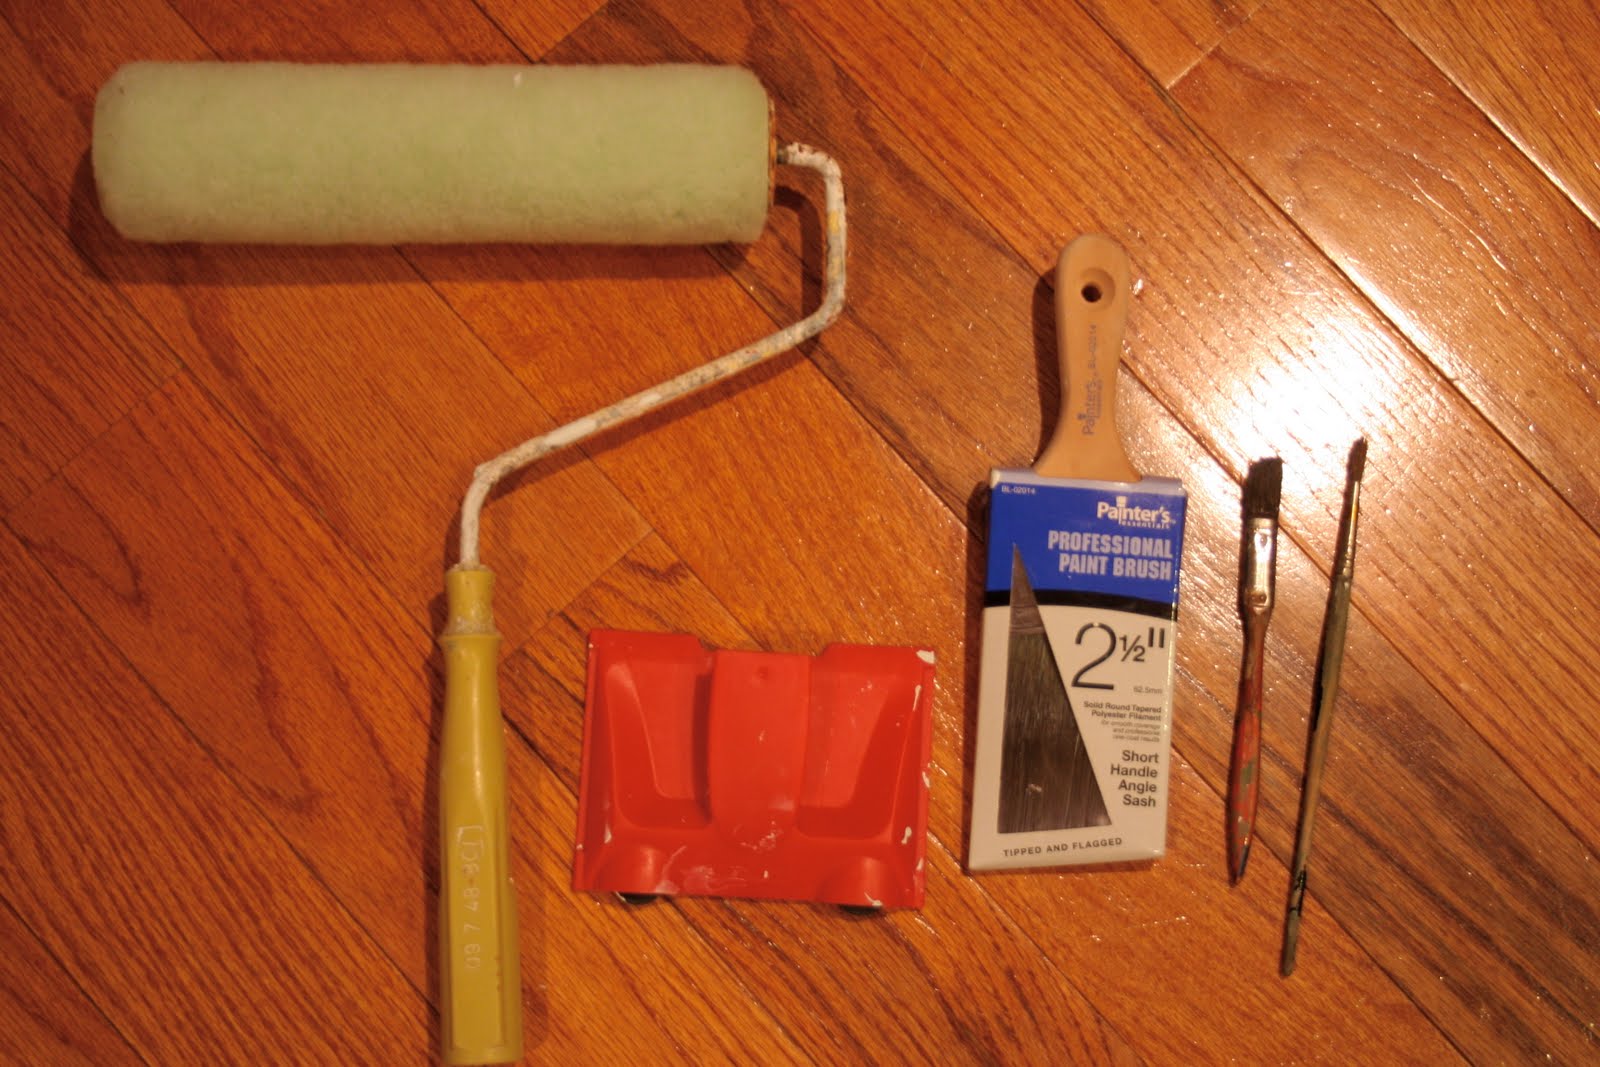
I gather all my tools together before I begin. I use cheap rollers and I spoil myself with them. (The only thing worse than the prep of painting is the clean up!) I use an edger, a professional edging brush, and even paint brushes.
- Spackle all holes.
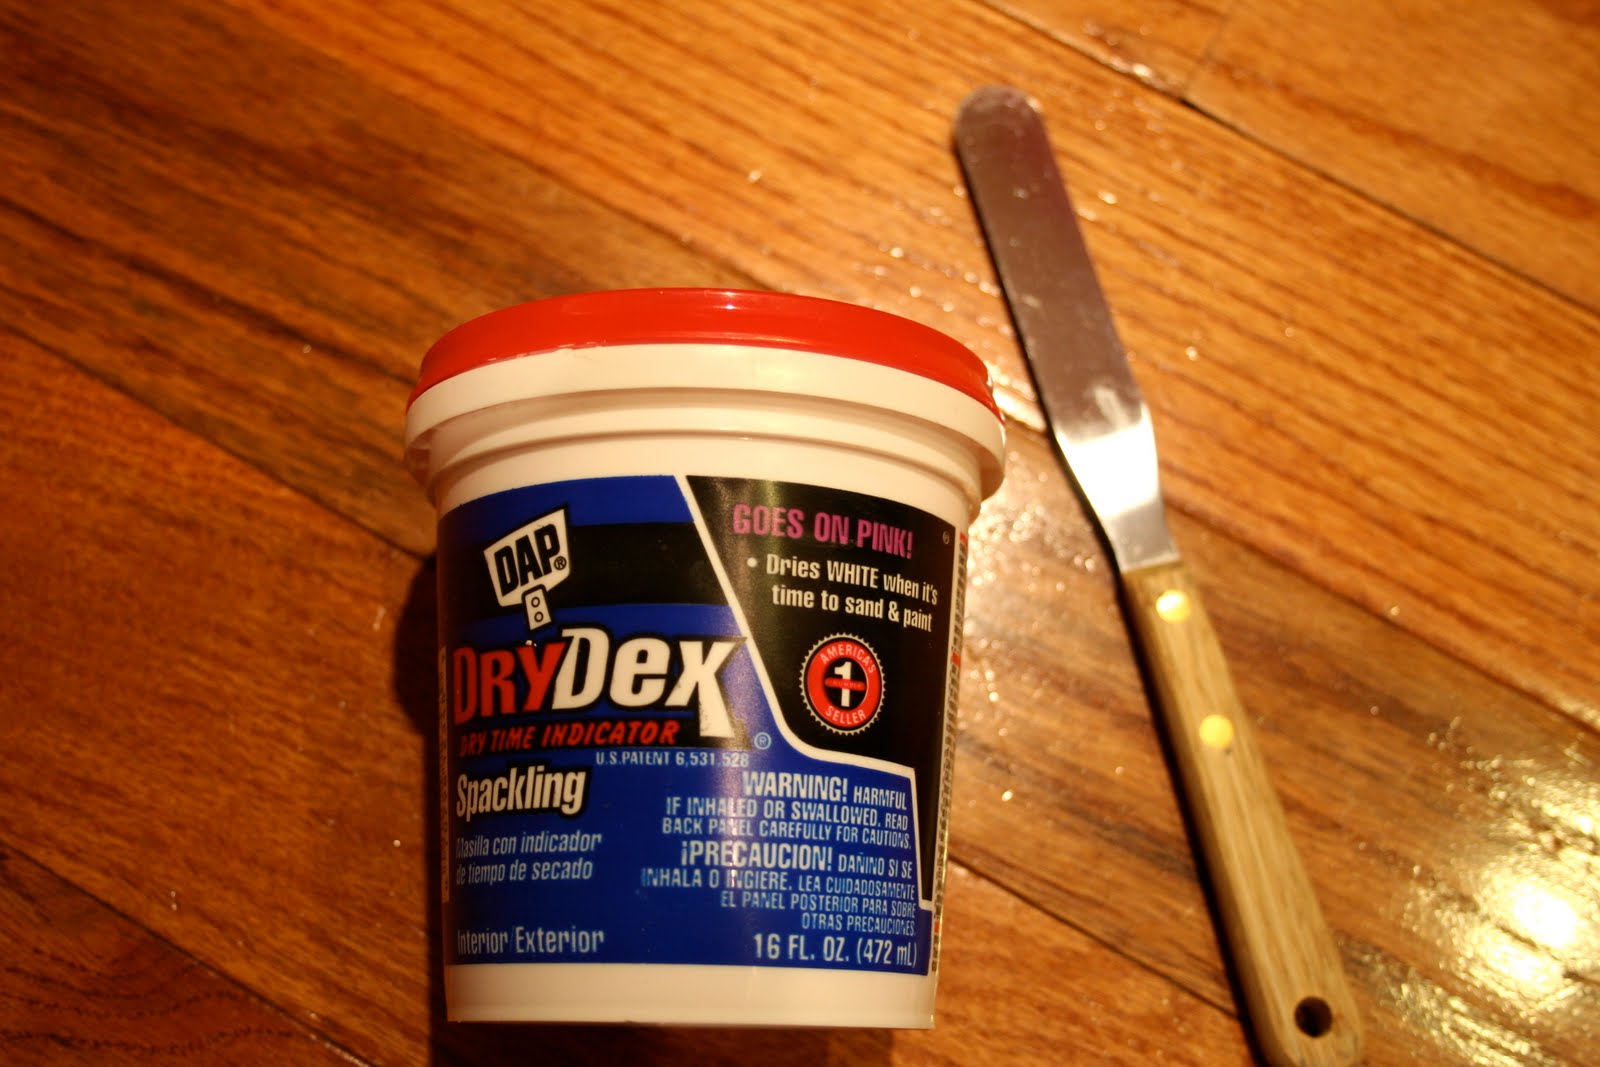
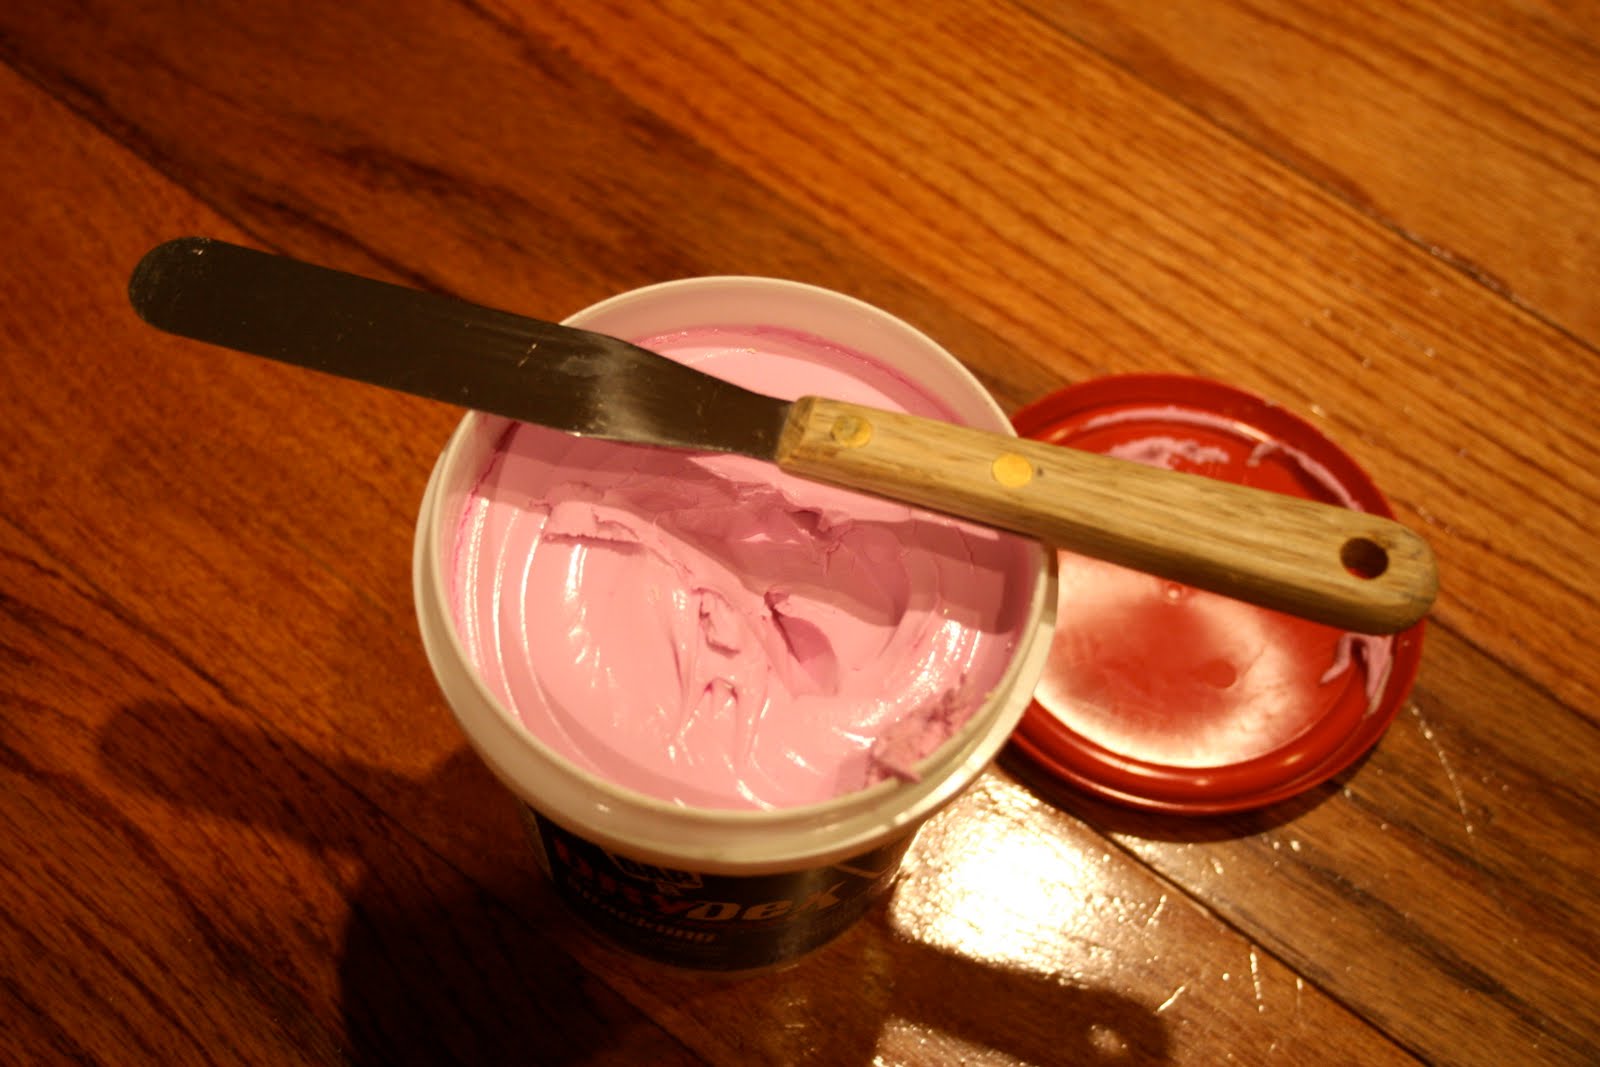
I like to use this pink spackle that dries white because I know when it’s ready to be smoothed. I use a sandwich spreader for small holes and sometimes just my fingers. I find this works better for me than a putty knife. I also don’t sand it when its dry. I hate the mess of sanding and find a damp sponge works great to smooth the spackle.
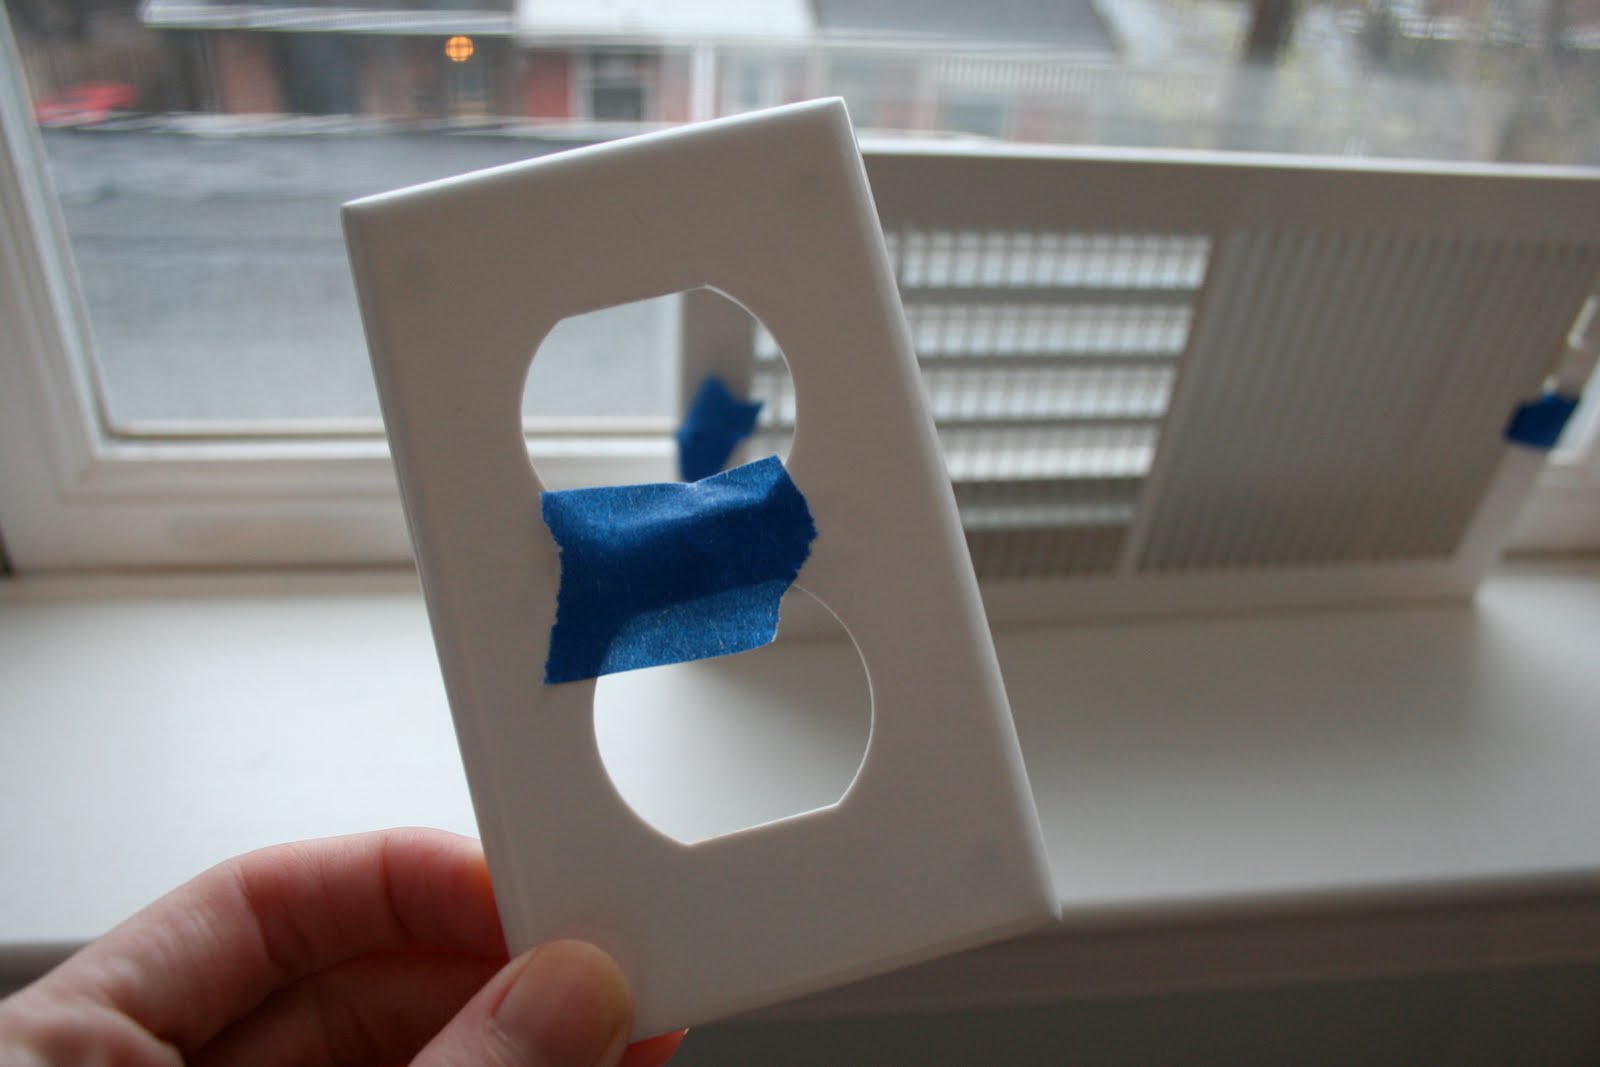
- Tape off your baseboards with painters tape.
I have absolutely NO luck with painters tape, so I hardly bother with it. I use it unconventionally to tape all my outlet switch hardware to the switch. This makes it much easier to put all the covers back on without having to search for all those little screws.
- Lay down your drop cloths.
Again, I use minimal drop cloths when I paint. I find I somehow manage to get paint on my floor whether I use them or not, and without a drop cloth I can actually SEE the paint on the carpet and take care of it before it sets in. If you use plastic drop cloths (the cheapest option), keep in mind that paint on the drop cloth won’t dry quickly and inevitably you will step in it and then track it around. I prefer using an old mattress pad as my cloth. I also set up my paint can, tray, and roller on its own “mobile” drop cloth so I can easily drag it around the room.
- Edge and cut it.
I HATE edging and cutting in. Ugh. Bleck. Blah. Huffy. Puffy. I stink at edging no matter how expensive the brush. Enter my savior, Shur-Line paint edger. I love this little guy. He’s not perfect, and if you get any paint on those little wheels he runs on, it will be all over your woodwork or ceiling. But I have much better success with him than I do with a brush. I highly recommend him, and he only costs around $3.
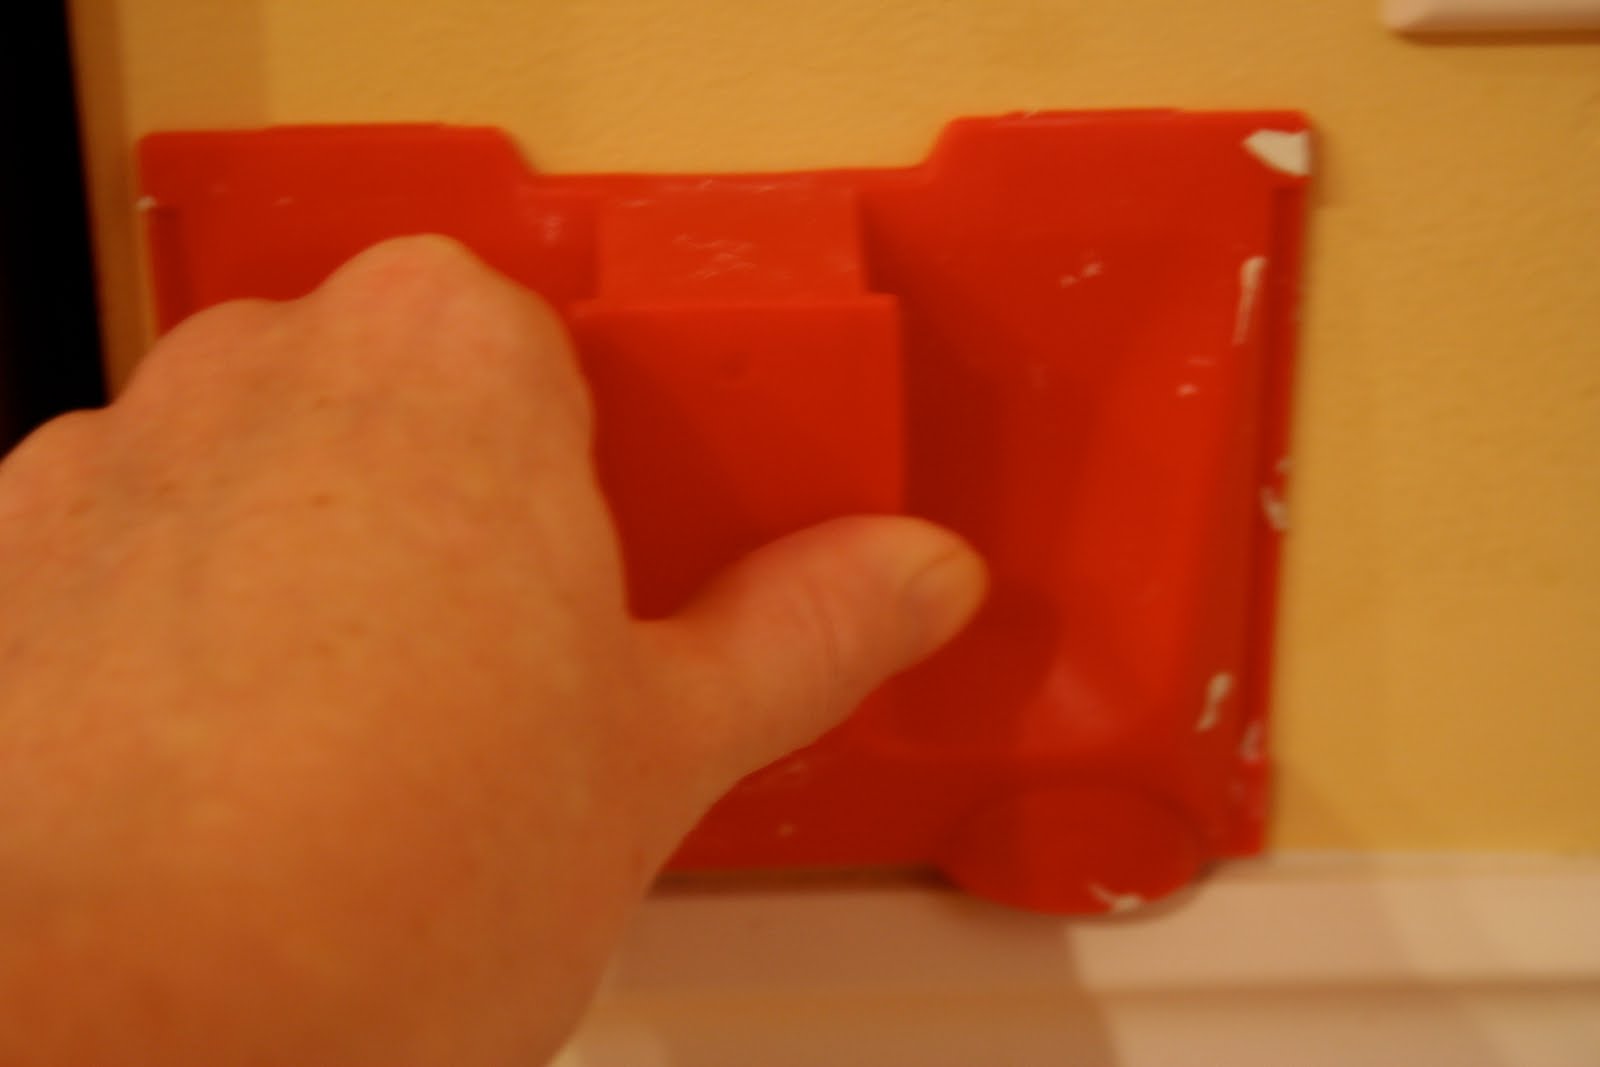
See how smooth that edge is? I seriously can’t do that with a brush. It would be all over the ceiling. I find that if I edge the entire room first, the rest of the painting goes quickly and is much more fulfilling.
- Roll it on
I have used paint that cost $9 a can and paint that cost over $40 a can. The difference? Depends. But typically, better paint is more forgiving and easier to work with. Cheaper paint tends to dry fast, or run, or show roller marks, or start to clump up and smear in little chunks on your wall. You don’t need to spend a fortune on your paint, but going cheap isn’t always the best idea. I’ve had success with both Behr (Home Depot brand) and Valspar (Lowes brand) paints.
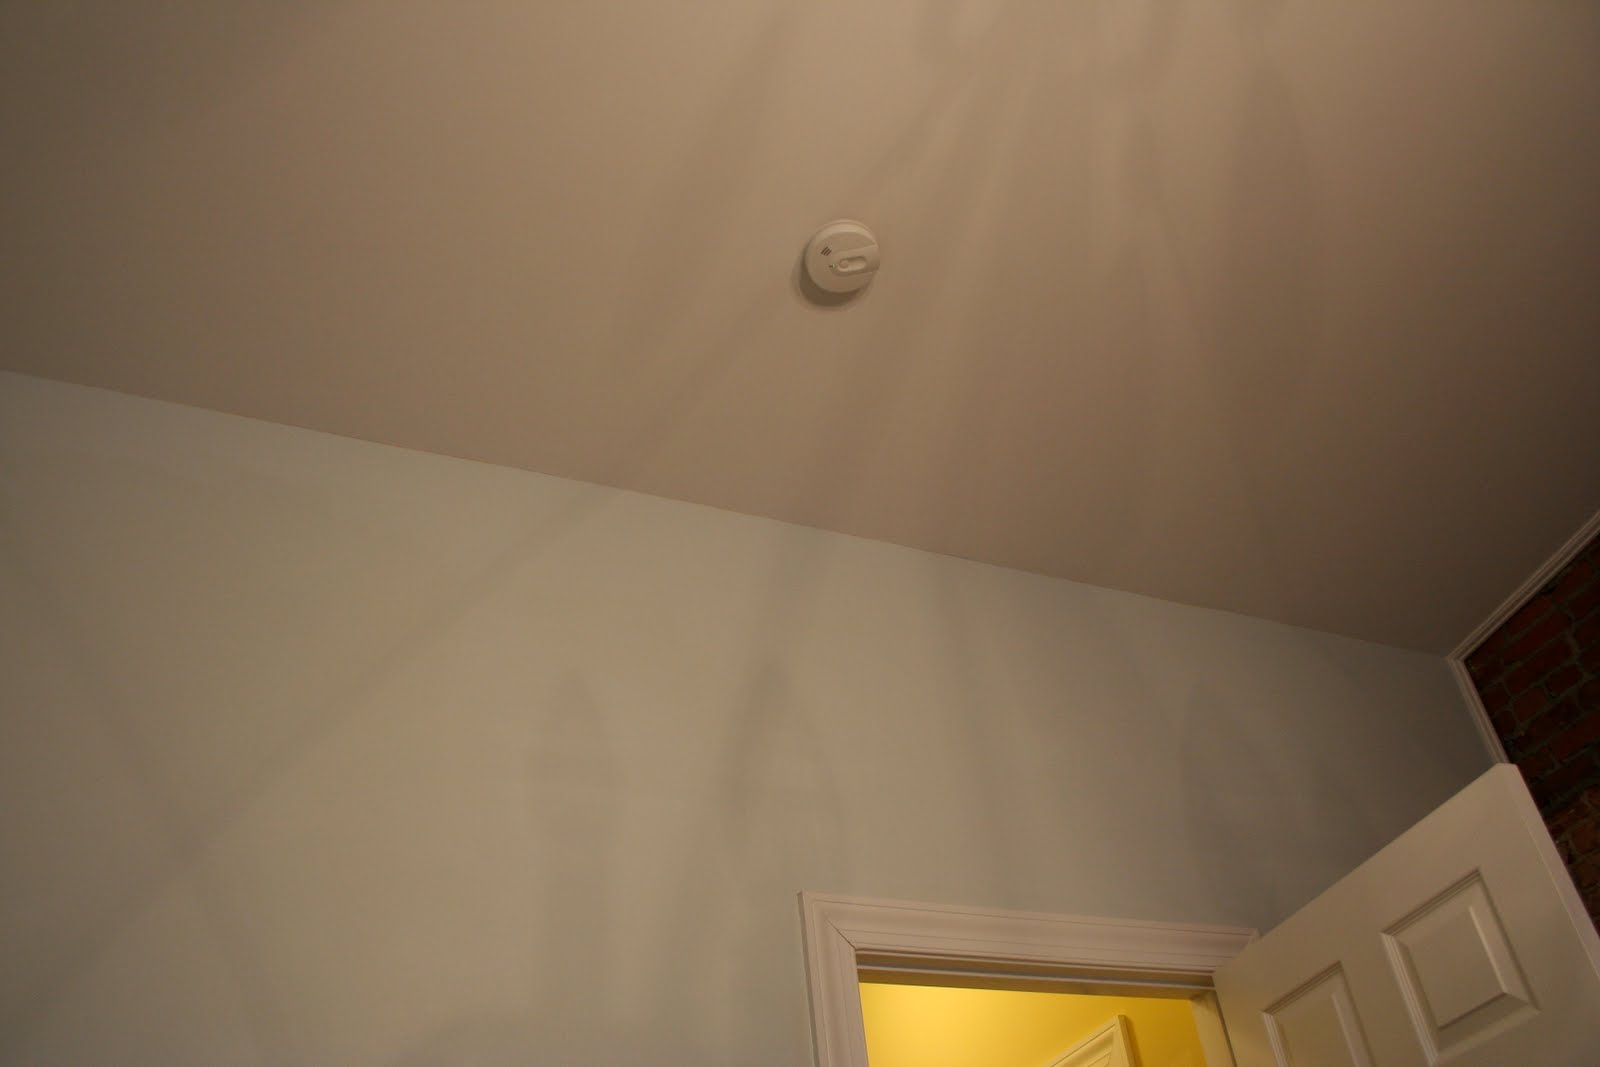
You can see in the above picture the I have lofted ceilings in my bedroom. They are about 13 feet tall at the highest point. I had to enlist my hubby to edge one wall of my ceiling because I couldn’t quite reach it without falling off the ladder. In order to reach everything with a roller, simply unscrew your broomstick and fly around the room. Kidding. Just seeing if you’re still with me! Unscrew your broom from it’s stick and screw the end of your roller onto your broomstick. It works, and you don’t have to purchase another tool!
- How to roll it on
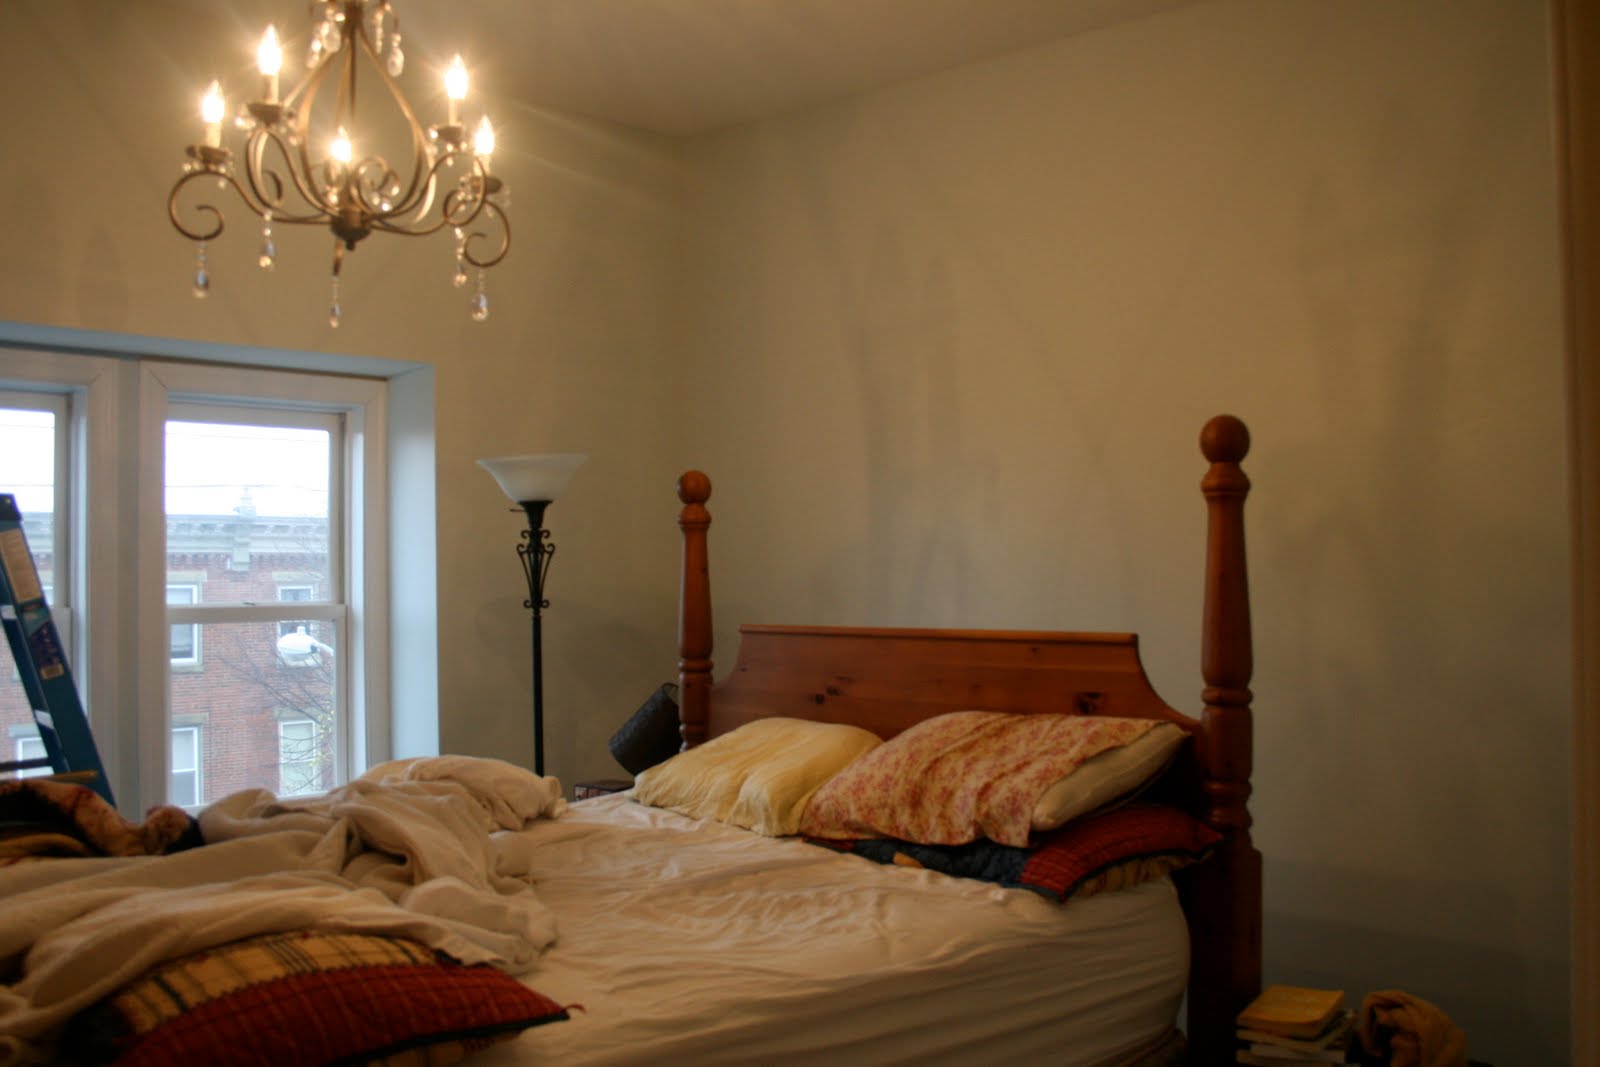
Load up your roller with paint and then without picking up your roller from the wall, paint a big letter W. Still without picking up your roller, fill in the gaps of the letter with even strokes. If you see any blobs of paint or uneven roll marks smooth them out with your roller. If you have cheap paint, you’ll notice that it won’t allow you to keep going over your painted area without a mess. This is where paint “forgiveness” is key. No matter what quality of paint you have, I have yet to find one that allows a great one coat look. The walls above only have one coat and from a distance they look okay, but up close you can still see some of the original yellow shining through. They need at least two coats to look great!
- Breaks
If you need to take a break from painting, take a large plastic bag and fit it around your roller and pan. Take any brushes and place them in plastic bags and seal tightly. Remember that it is air that causes paint to dry. You can even stick your brushes in the fridge for additional non-drying-security.
- Clean up
You’re going to get messy. I make it a habit to wear clothes that will work as drop cloths and rags. I wipe paint all over myself as I go. I also use baby wipes for getting paint off of the carpet, the ceiling, the woodwork, the dog’s fur, etc. These things work GREAT!


Here I have tossed my plastic drop cloth, my stick, my plastic pan liner, and my roller. Not very green of me I know, but I’m not sure anything would ever get painted if I didn’t allow myself this grace.
So how about you? Any great painter’s tips or shortcuts to share with me? Do tell!
And now for the winner of the Puppy Dogs N Polka Dots Wristlet Key Fob:

Random.org has spoken and it has chosen number 52. Congratulations to Erin@Little Texas Love Nest.
Don’t be sad if you didn’t win because Corri of Puppy Dogs N Polka Dots is generously offering each of you a 15% discount on her fobs if you email her directly with your order! Email Corri: cray729 (at) hotmail.com and let her know which fobs you’d like. She’ll set you up with a discounted rate!


Two great minds think alike.. Throw it all out when finished. My hubby the perfectionist that gripes about all my paint drips and tracks on the floor, counter, microwave, etc., cleans his brushes and pans religiously… That is why we do not paint together… I too am a lazy dazy kind of gal…Do it the easiest way there is, that is my motto..
I love the painting edger idea…I will have to try that on my next painting project. On my last painting project I made a discovery and since I get so many great ideas from all you bloggers, I will share. =) I line my painting roller tray with Glad Press 'n Seal. It sticks really well to my plastic tray and when I'm done I just unstick it and toss it…voila!
Here I am again to leave another tip. When I cut in, I usually paint (slightly) onto my baseboard (eeeekkkk!) then I use a baby wipe over my thumbnail, and gently run it along where the baseboard meets the wall to wipe away the excess and create a very straight line. This takes a little practice to perfect (and you use a lot of baby wipes) but it is so much easier than trying to do the steady hand thing. WARNING!!! Do not try this if your baseboards do not have a good solid coat of paint with a decent sheen that doesn't allow the paint to stick. It will stick to flat paint, or something that is not very scrubbable, so proceed with caution!
I love your tutorial! Sounds just like me! One "lazy" perfectionist tip (or maybe just Lazy and Cheap!) is to put a plastic bag over your paint tray and pour the paint directly on top of it. Then when you are done, you simply throw away the bag and your paint tray is clean and ready for the next round of painting! (Just don't wait until all the paint is gone before refilling, because the bag will start to pull up with the roller if it's too empty.)
Congrats, Erin!
Beth, one of my favorite things to do used to be painting a room. It always put me in 'the zone'.
I have a love/hate relationship with painting. I love what a change it can make, but setting everything up to do it is a pain. I do use dropcloths, but the next ones up from the plastic ones. I always hit the ceiling at least once and that is usually because I have my hubby's words in my head "don't hit the ceiling". I also set up a separate little dropcloth for the roller and tray ~ usually some plastic with newspaper on top that I pull around with me.
I use the edger tool as well and I really like it. It's looking good!
~Elisabeth
It's looking great! I agree about painter's tape. I use that little painting tool too and a angled paintbrush to do the details.
I love your header with the beadboard. And I meant to come over earlier and comment on your meringue bunnies — amazing!
XOXO
Jen
I paint JUST like you do. EXACTLY like you do.
I'm slowly finishing up my master bath. I put my brushes in ziploc bags in between using them, and I roll my still-need-it rollers in clear plastic wrap. It keeps it moist.
If I need to break for a few hours, a also wrap the tray in plastic wrap which keeps paint in the tray ready to use.
You already use all my tips. Did you know that you can also put the wet paintbrush in a ziploc bag and store it in your freezer if you want to take a long break (I've left mine in there for over a month and it's fine once it thaws out!)…just make sure nobody mistakes it for a popsicle!
Love your tutorial! I'm like you, a lazy perfectionist. Makes it so difficult to get things done! I'm also a messy painter, so my husband does the cutting. It's just better for everyone that way.
Kacey
Haha these are great tips! I'm sure I'll be glad to have them when we get our house!!
I'm so glad to have won your giveaway! Thank you! Let me know what I need to do!
I just hate painting. And I'm a lazy perfectionist too! 🙂
My computer's not bringing up any of your pictures! GAH! This is torture!
I'm so glad to hear there are lots of us out there that "do our own thing" when it comes to painting. I had painted many rooms before I knew there was a right way and a wrong way. I don't use the edger, but other than that I'm pretty much on your team when it comes to painting. I'm going to try the baby wipes next week when I paint my bedroom.
BTW… I tried the roller thingy to edge. Yeah… paint + wheels = big fat mess. And that is why I sadly stick to tape!
I could have totally written this post!!! I have NO desire to wash out paintbrushes and the one time I did thinking it would be smarter to do, I flicked dad gum paint all over the wall!!! I do tape. I hate it, but I do it. I still hit the ceilings and trim with tape. Tom has always called me the procrastinating perfectionist! I will wait until the last minute to do something, but I will stay up all night long to do it perfectly!
You always crack me up! I love this little painting tutorial. 🙂 AND, your meringue bunny cookies on your previous post are WAY adorable!!
I like the idea of painting but hate doing it. I'm just like you, being a lazy perfectionist! LOL!
You paint very similar to me…except I rarely even attempt cutting in. I make my husband do that! PS…plain old masking tape works better than painters tape. It sticks better AND is cheaper. Double Plus.
Looks like you had a busy weekend painting:)
Great post! I'm laughing though, because I'm talking about paint this week too. Maybe I should just send them over here instead :).
I could have written this post, practically word for word. HA! Except I don't have one of those little edger thingies. I guess I need one.
Sounds like my painting.
I love how you roll…hehe~