
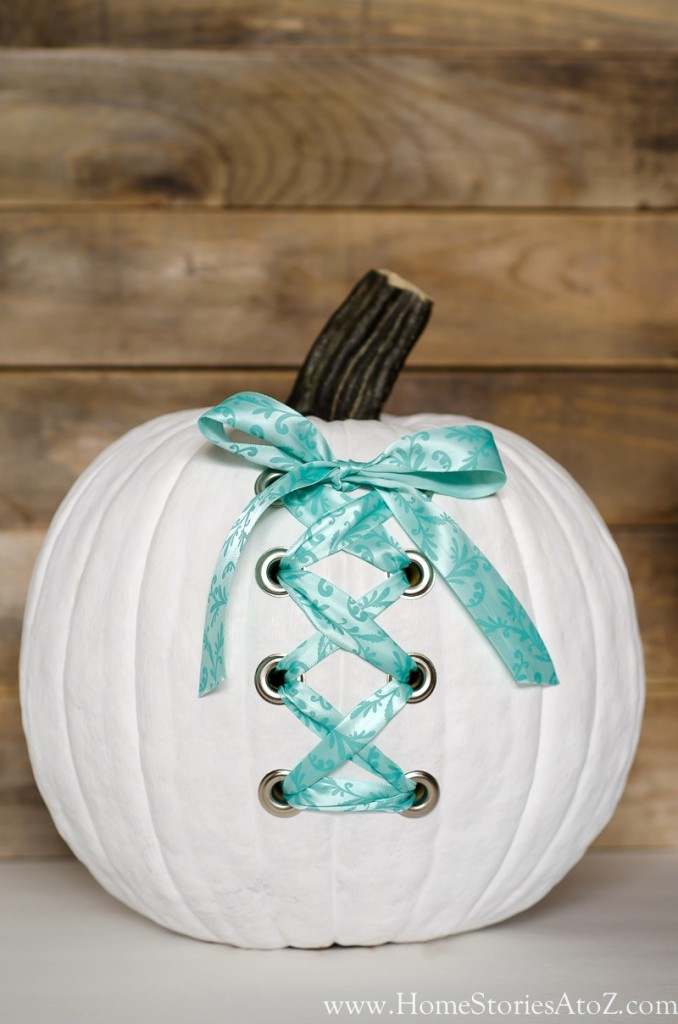
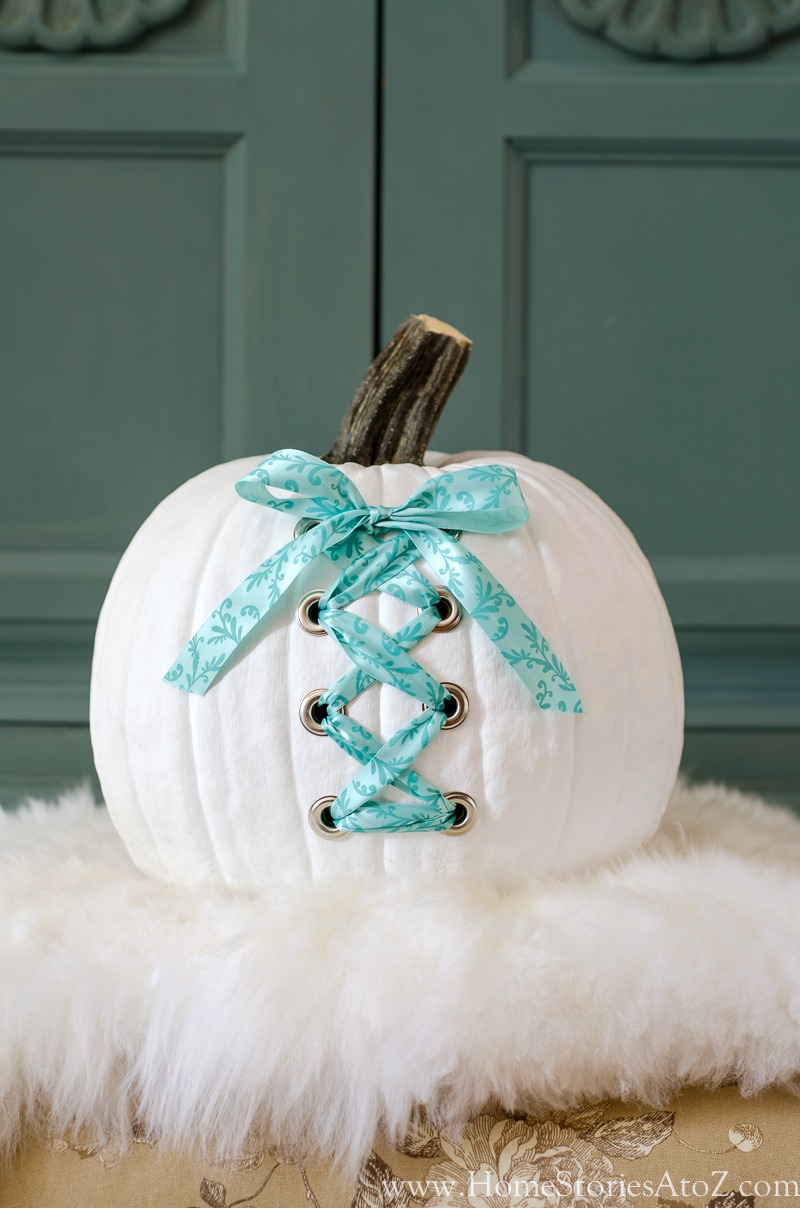
Clinton Kelly issued a “30 minute pumpkin challenge” and I was asked if I’d like to play along. The challenge was a simple one. Create a genius pumpkin in 30 minutes or less using craft supplies or pantry staples you have around the house. The pumpkins can be pretty, scary, or funny, as long as they are original! Clinton Kelly I accept your challenge, and I present to you my DIY White Corset Pumpkin.
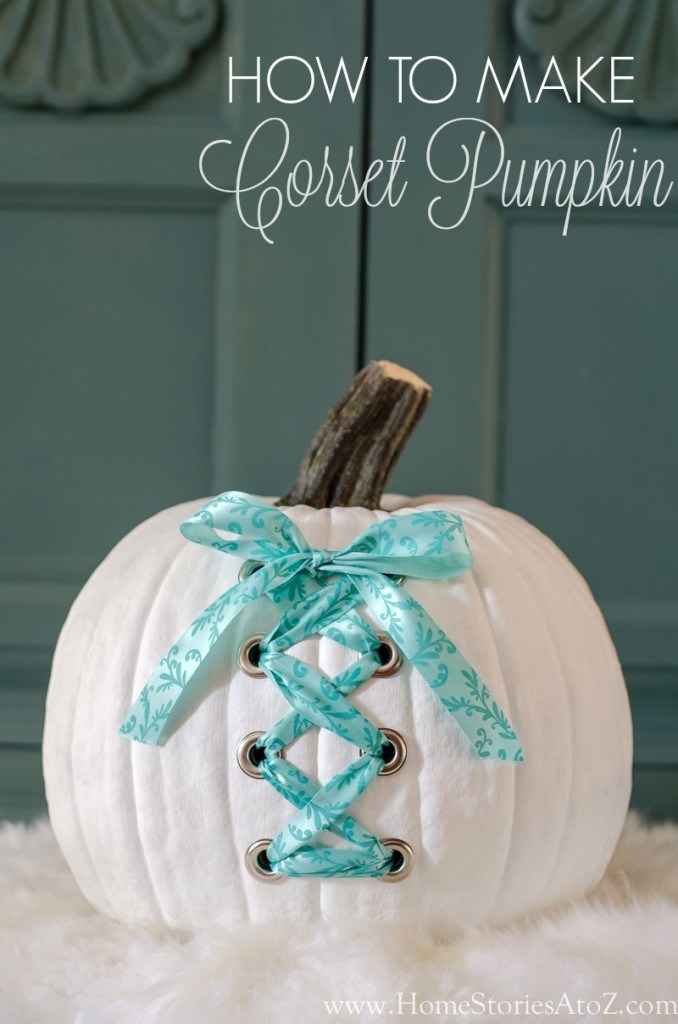
Trying to come up with an original pumpkin idea in our #allpumpkineverything Pinterest-crazed culture is a tall order. No, it’s more like a VENTI order. Mmmmmmm…venti. Like a yummy Venti Pumpkin Spice Latte kind of tall order. 🙂 But since I have never seen a corset pumpkin done before, I think I accomplished the challenge. Woohoo!
My pumpkin design was inspired by all of the sassy lace-up heels I have admired since spring and continue to see this season. I wanted to do something girly and sassy, yet classy and cute. I love the corset lace up concept because you can completely change the look of your pumpkin simply by changing the ribbon or the color of the pumpkin.

Want to create your own sassy lace up pumpkin? Let’s do it! I will show you how.
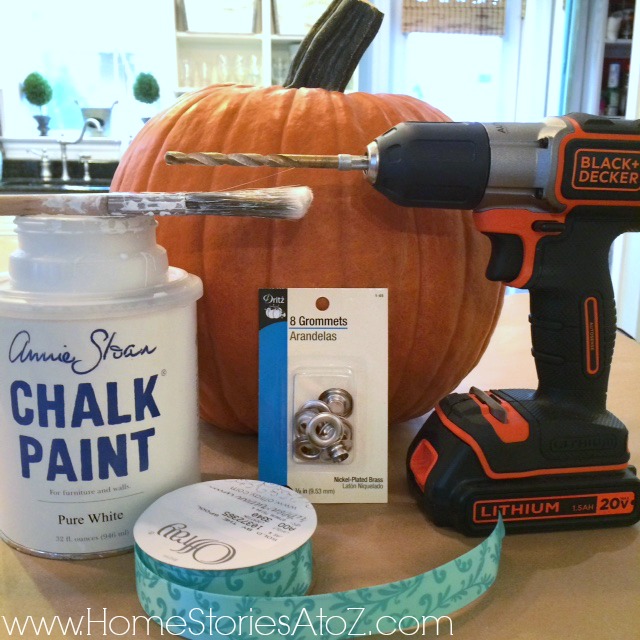
Step 1 for DIY Pumpkin: Gather your supplies.
You will need:
- Pumpkin (I used a real pumpkin for this project but you could use a carvable faux pumpkin.)
- Drywall saw, cutting board, and spoon (to clean out pumpkin)
- Drill with 3/8 drill bit
- 8 3/8 in Grommets
- Paint & brush (optional)
- Ribbon of your choice
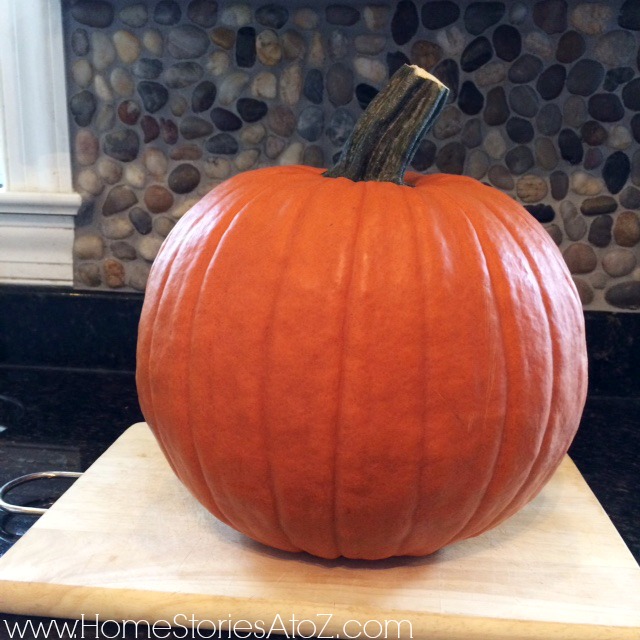
Step 2: Clean your pumpkin with a damp rag and place on cutting board.
Be sure to remove all debris and dirt from the skin and stem of your pumpkin. Dry the pumpkin off thoroughly and place on cutting board.
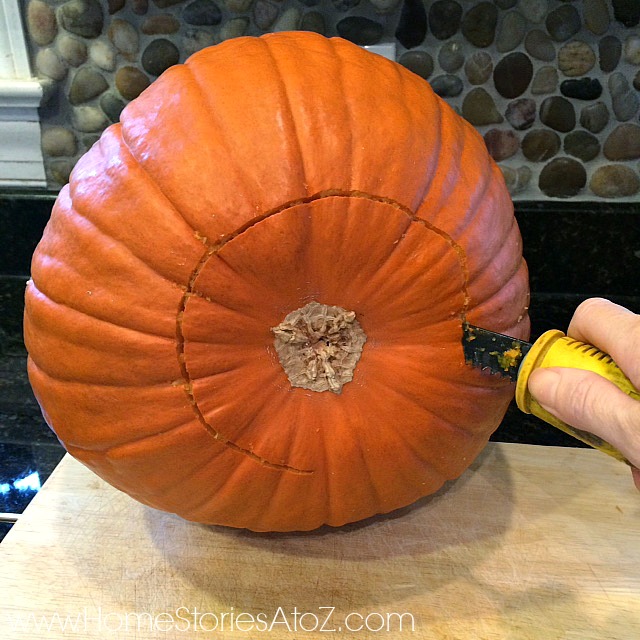
Step 3: Use drywall saw to cut open pumpkin.
A drywall saw works like a charm and cuts through the pumpkin like butter. Cut out a small circle on the bottom of your pumpkin. Use a diagonal grip jabbing the knife in and out to create a clean cut.
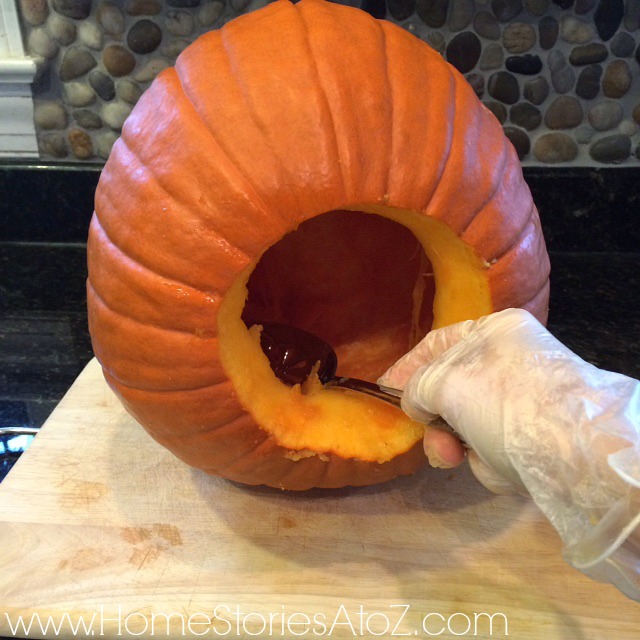
Step 4: Use a large spoon to scrap out the pumpkin guts.
This is by far my least favorite part of pumpkin carving. I have sensory issues and pumpkin innards completely gross me out. Wearing gloves helps a bit, but you can still feel that squishy squashy (hee hee…I said squashy) horribleness even through the gloves. Gross. I used a large serving spoon to scrape all of the pumpkin unmentionables out.
Step 5: Drill holes for Grommets.
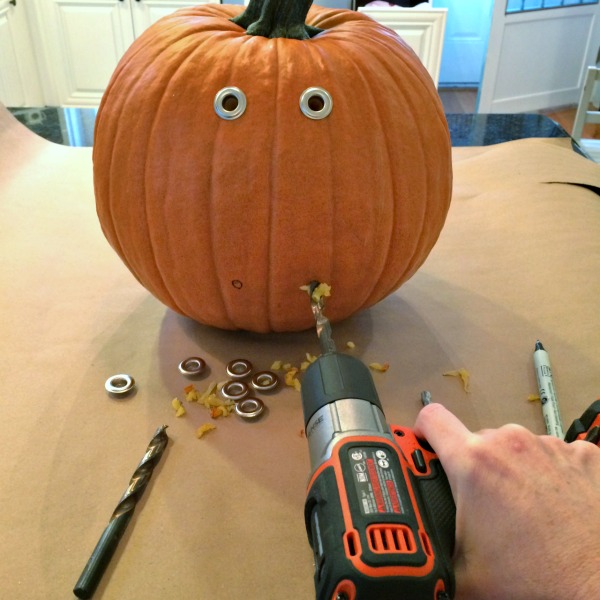
I just eyeballed where the grommets should go and traced the drill holes onto the pumpkin. Drill four grommet holes on each side of the pumpkin using your 3/8 in drill bit. You will only be using the fronts of your grommets. You can save the backs for a different project.
(Optional) Step 6: Paint your pumpkin.
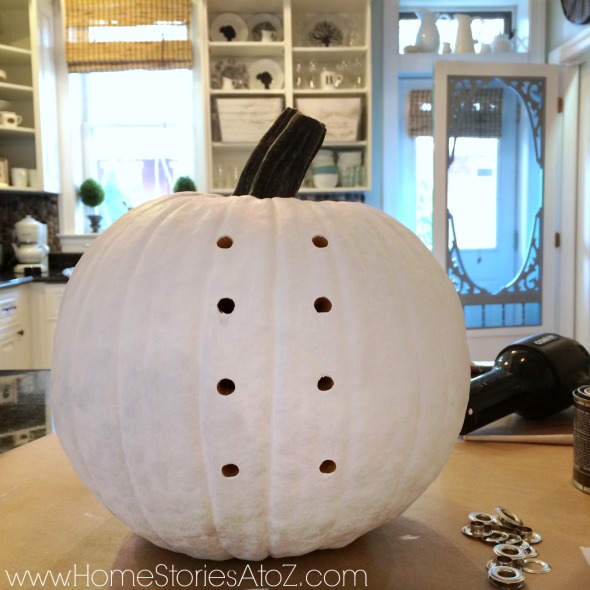
I really wanted my pumpkin to complement my current fall color scheme so chose to paint it white. This is an optional step and will push you over the “30 minutes or less” time requirement unless you use chalk paint and a hair dryer (like I did) to quickly dry your paint. Feel free to paint your pumpkin whatever shade you desire. I used Annie Sloan Chalk Paint in white.
Step 7: Place grommets in holes and weave your ribbon through the grommets.
Scrape the interior of the pumpkin at each grommet hole to cut down on any pumpkin gunk that might cling to your ribbon as you are threading. If you’ve done a decent job of scraping, it won’t be an issue. To get the look that I achieved, start threading your ribbon at the bottom of the pumpkin and work your way to the top. You will have to double back with your ribbon in order to create an “X” through each set of grommets. Just play with it until you achieve your desired look.
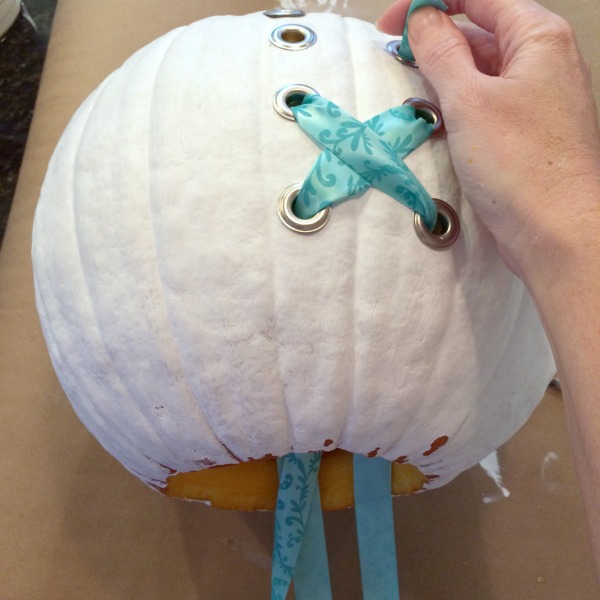
I love how my pumpkin turned out! I think it’s a great design that can easily be replicated and personalized. Please let me know if you try it!
Want more creative pumpkin inspiration? Visit clintonkelly.com to see some other 30 minute pumpkin challenge entries! You can also make your own 30 minute challenge pumpkin and post it on Instagram using the following hashtags: #pumpkinchallenge #pumpkins #30minpumpkin. Tag @clintonkellyofficial with your crafts and he will regram his favorites! Feel free to pin mine if you liked it!


The pumpkins corsets really awesome..so creative.. It bring motivate to people who like waist training.
I’m gathering ideas for a bridal shower I have to plan for a friend. This pumpkin would look so cute next to the cake! Beth, you helped me a lot with this post. Thank you.
You’re so welcome! My regards to the bride!
Beautiful, as well as unique!
Thank you! 🙂
This is amazing! So creative! My brother is getting married soon with a fairy tales theme. I must show these to her fiancée! Thanks for sharing!
Congrats to your brother! This pumpkins would be perfect for a fairy tales theme. 🙂
Haha..I was looking for a website on corsets and came across you pumpkin dressing experiment :)) Delightful and witty
Hi Beth,
I love it, you are so creative. I am gonna try to do it 🙂
Thanks you for sharing,
Julia.
Beth!
I was looking for corset blogs and came across this and it was too brilliant not to comment. I love your creations!
Thank you so much Megan! Waist training for pumpkins. LOL!
Love this!
This is awesome! So gorgeous! My sister-in-law is getting married soon with a fairy princess theme. I’m going to show these to her! Pinning! Thanks for sharing!
-Michelle @ The Gracious Wife
OMG! This is crazy beautiful! So creative 🙂
That is definitely one sassy pumpkin Beth!! Love it so much and it’s just so stinkin’ creative. It’s genius girl!
Wow, what a creative idea! I love it and had to laugh…I hate pumpkin guts too. I hate their guts…must be where that phrase came from.
Ha! Now whenever I see Mandi’s “love your guts” I’m going to think of pumpkins. 😛 Thanks for visiting me Britt!
So clever and loved the googly eyes while drilling ;). hehe Nicely done!
I thought the same thing! Dude, she’s staring at me. 🙂
This is sweet, simple and original! What a great idea and I love that you can change up the look by simply switching out the ribbon. Nice job, take that Clinton Kelly!
What a clever idea! She looks like Cinderella!
such a fun unique idea Beth!!
Sweet and sassy! It turned out great! Love it!
Beth! This is genius. Love, love, love! I also think it’s great you did it with a REAL pumpkin. Perfection!
xo Michael
That is super cute! It reminds me of Cinderella for some reason so perfect for a kids party if you use the faux pumpkin for any time of year.