

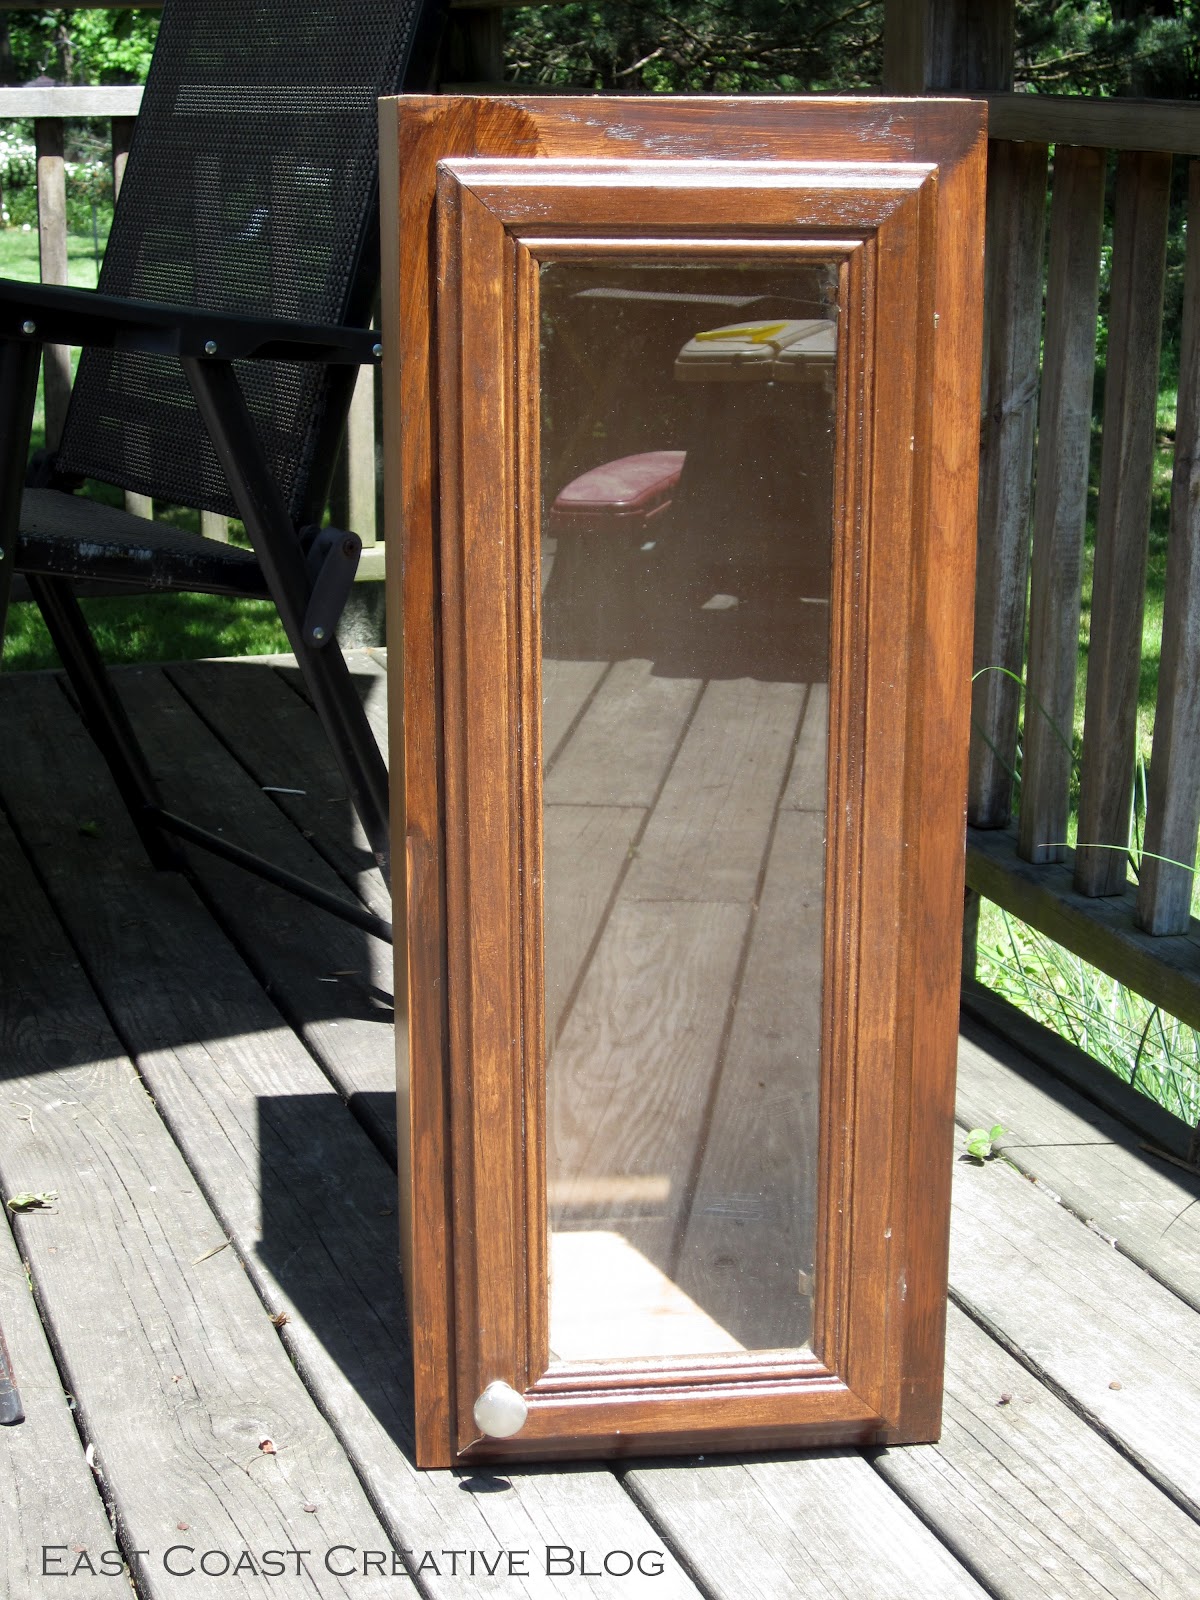
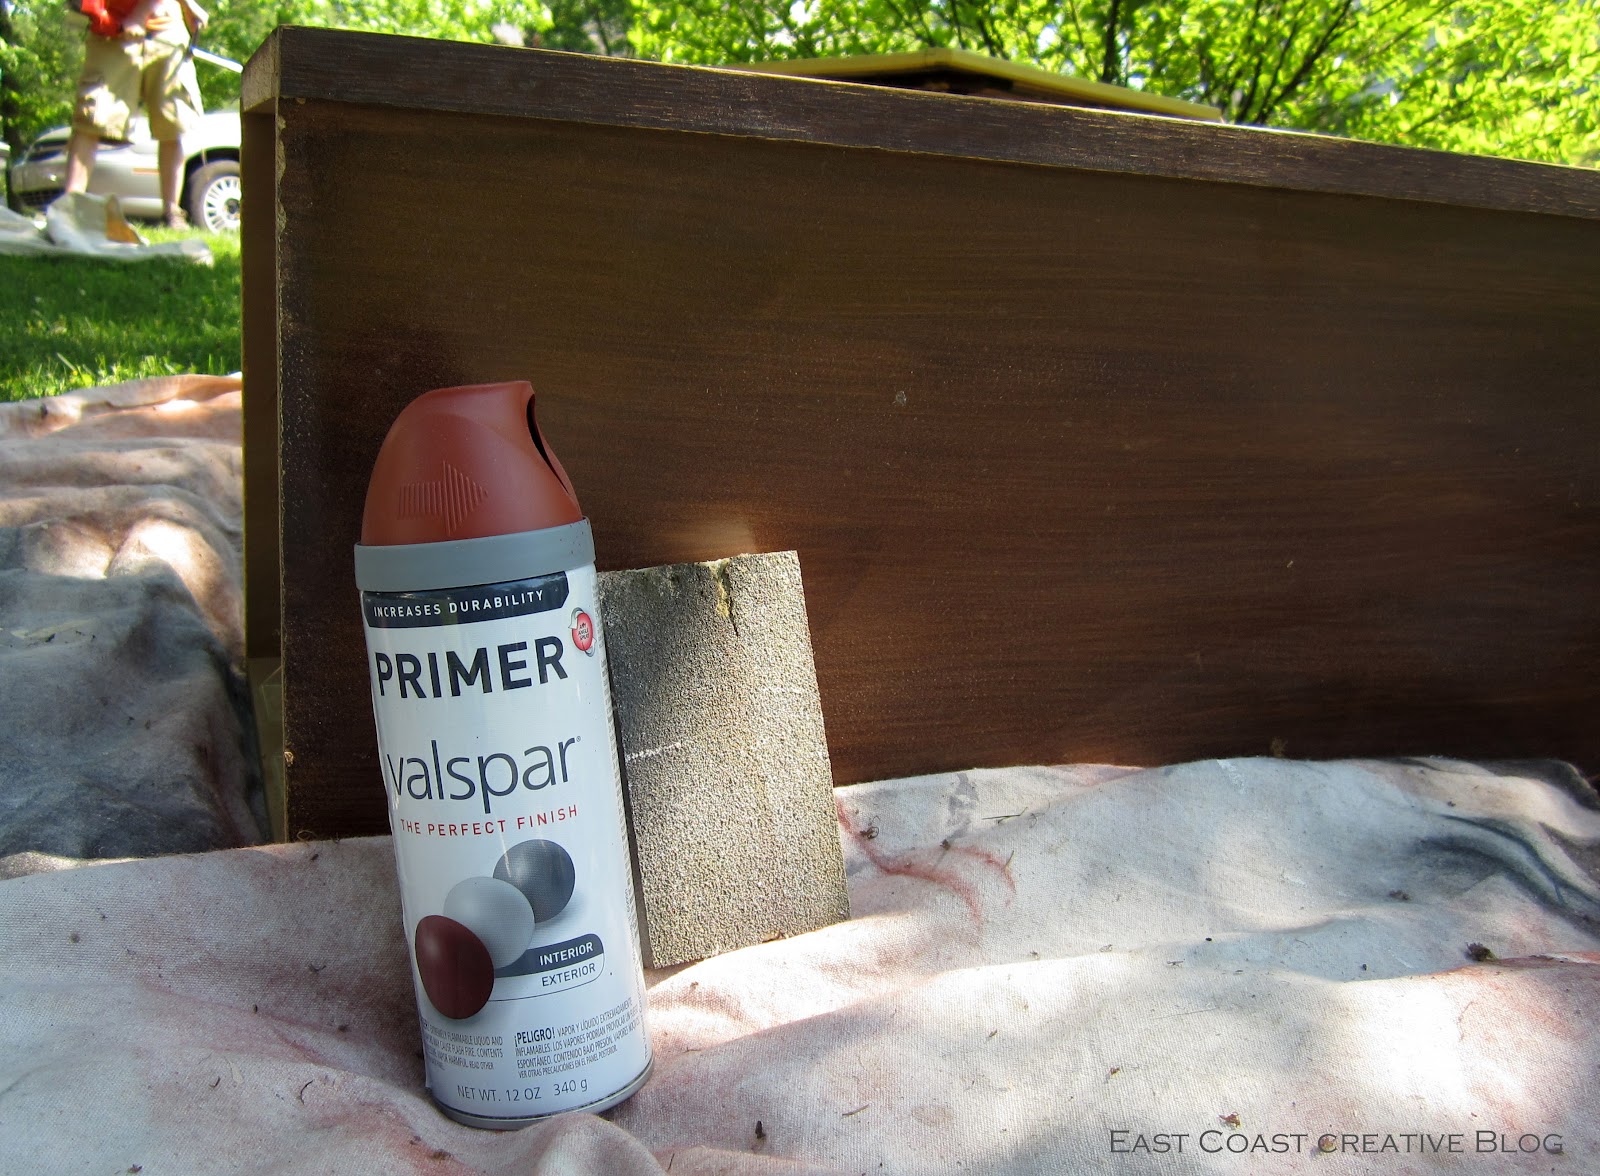
and then lightly sanded down the entire cabinet. I just wanted to rought it up enough so that the spray paint would “stick” to it. If your cabinet is really glossy, make sure you give it a good sanding before painting. Next came the spray primer. I used this red one because it was all I had on hand.
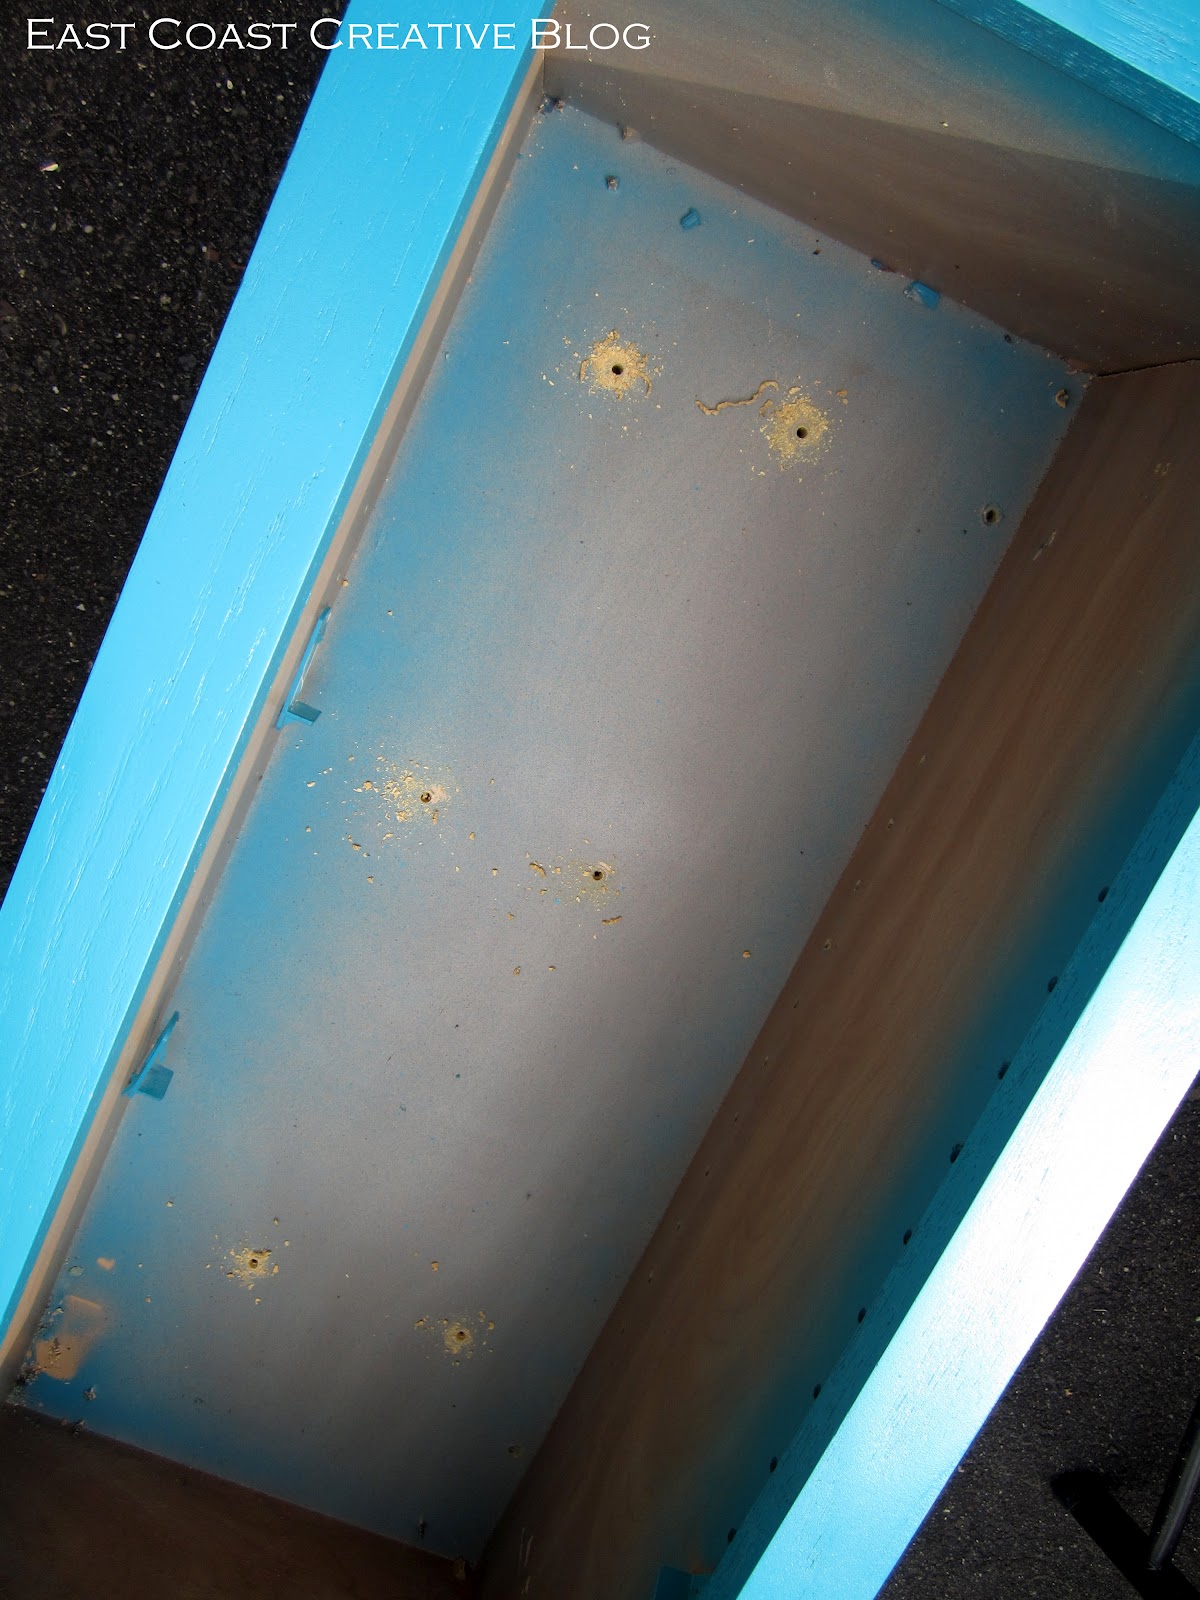
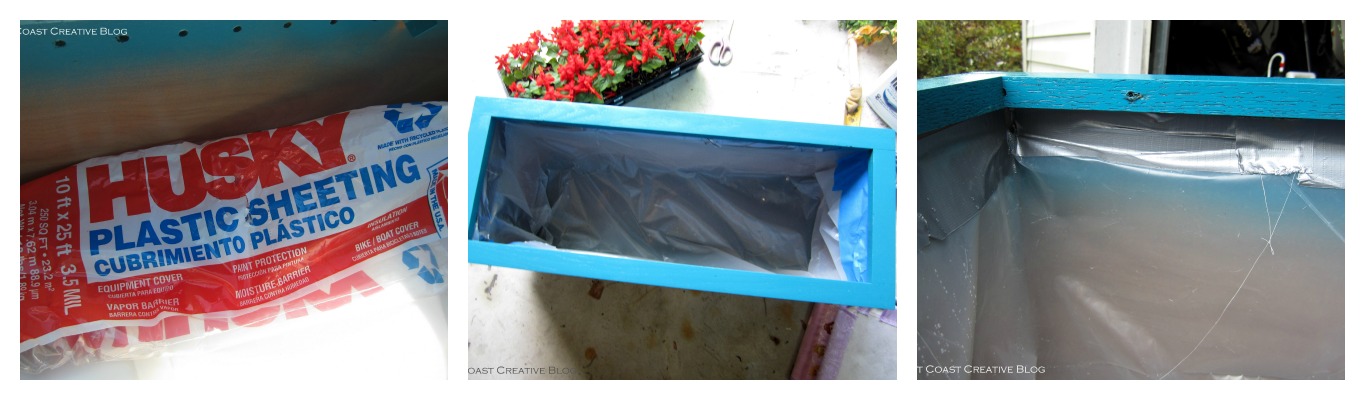
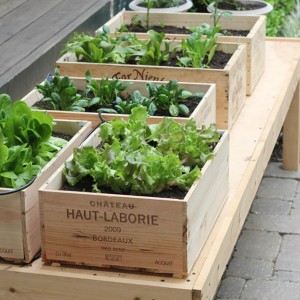
I wanted to make sure it had good drainage, so I drilled several holes along the bottom of the box. The holes are small enough that dirt won’t easily fall through, but large enough for the water to seep out. There is no perfect number of holes, so drill away until your satisfied!
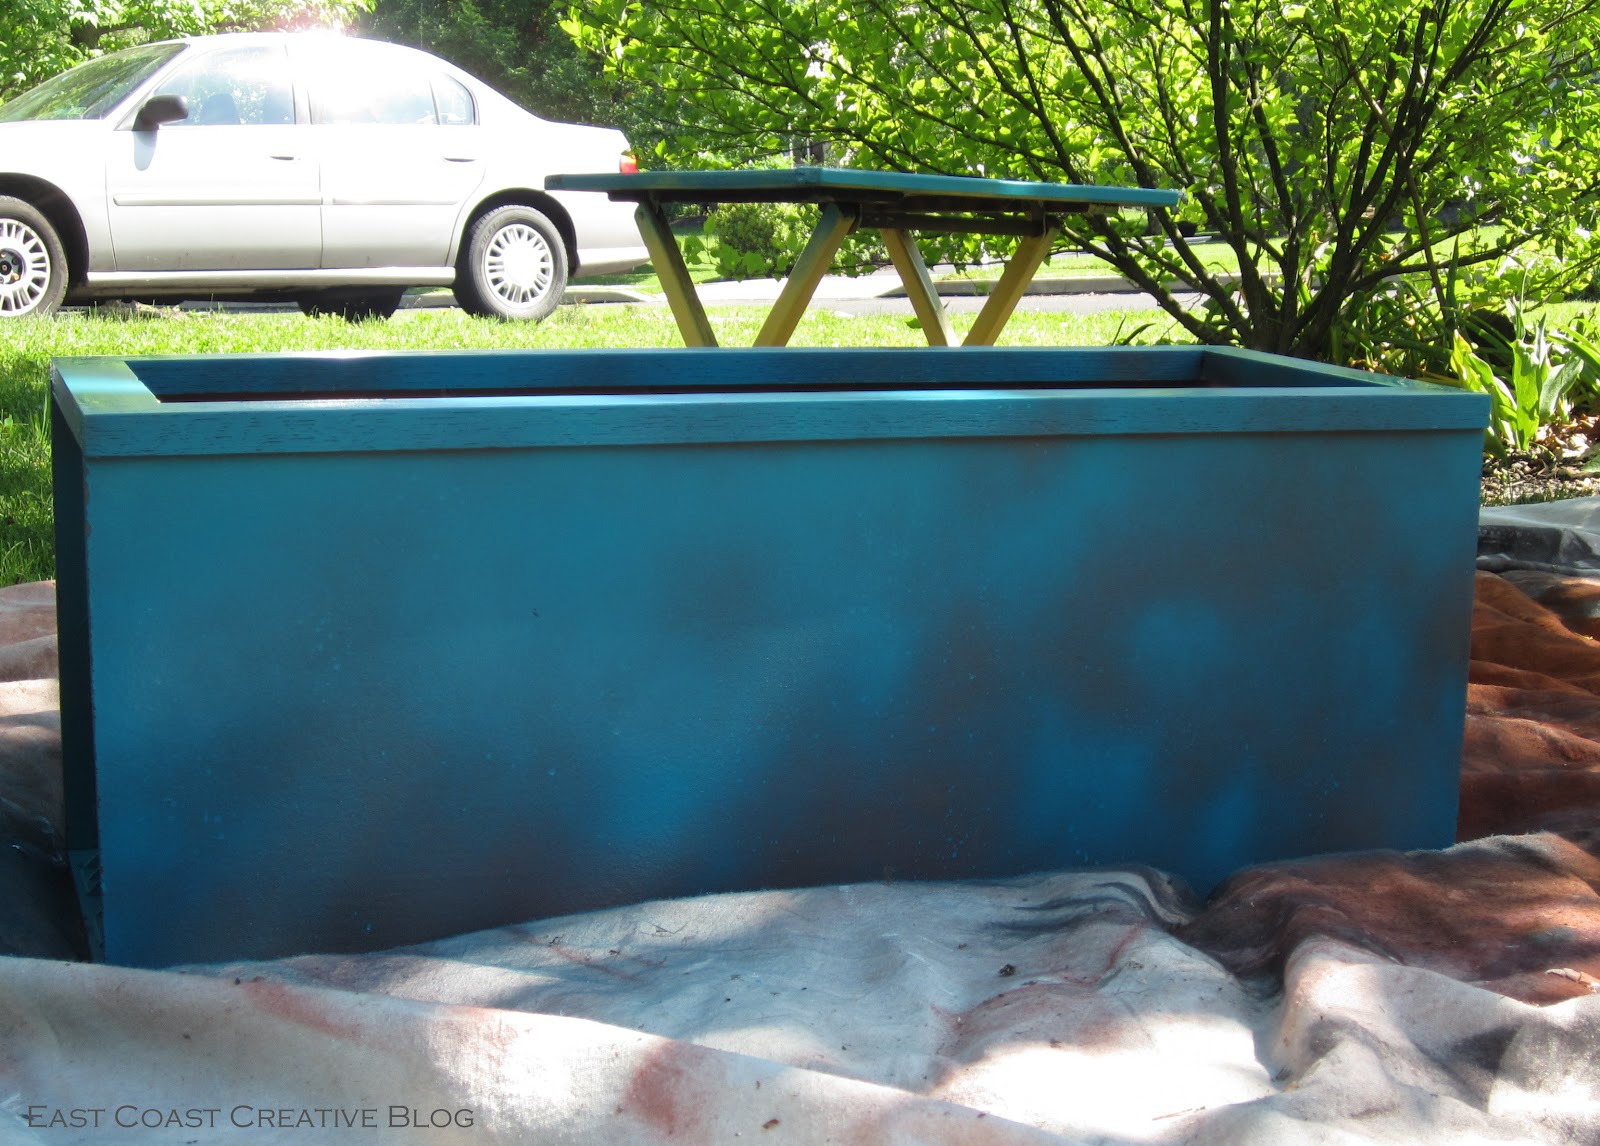
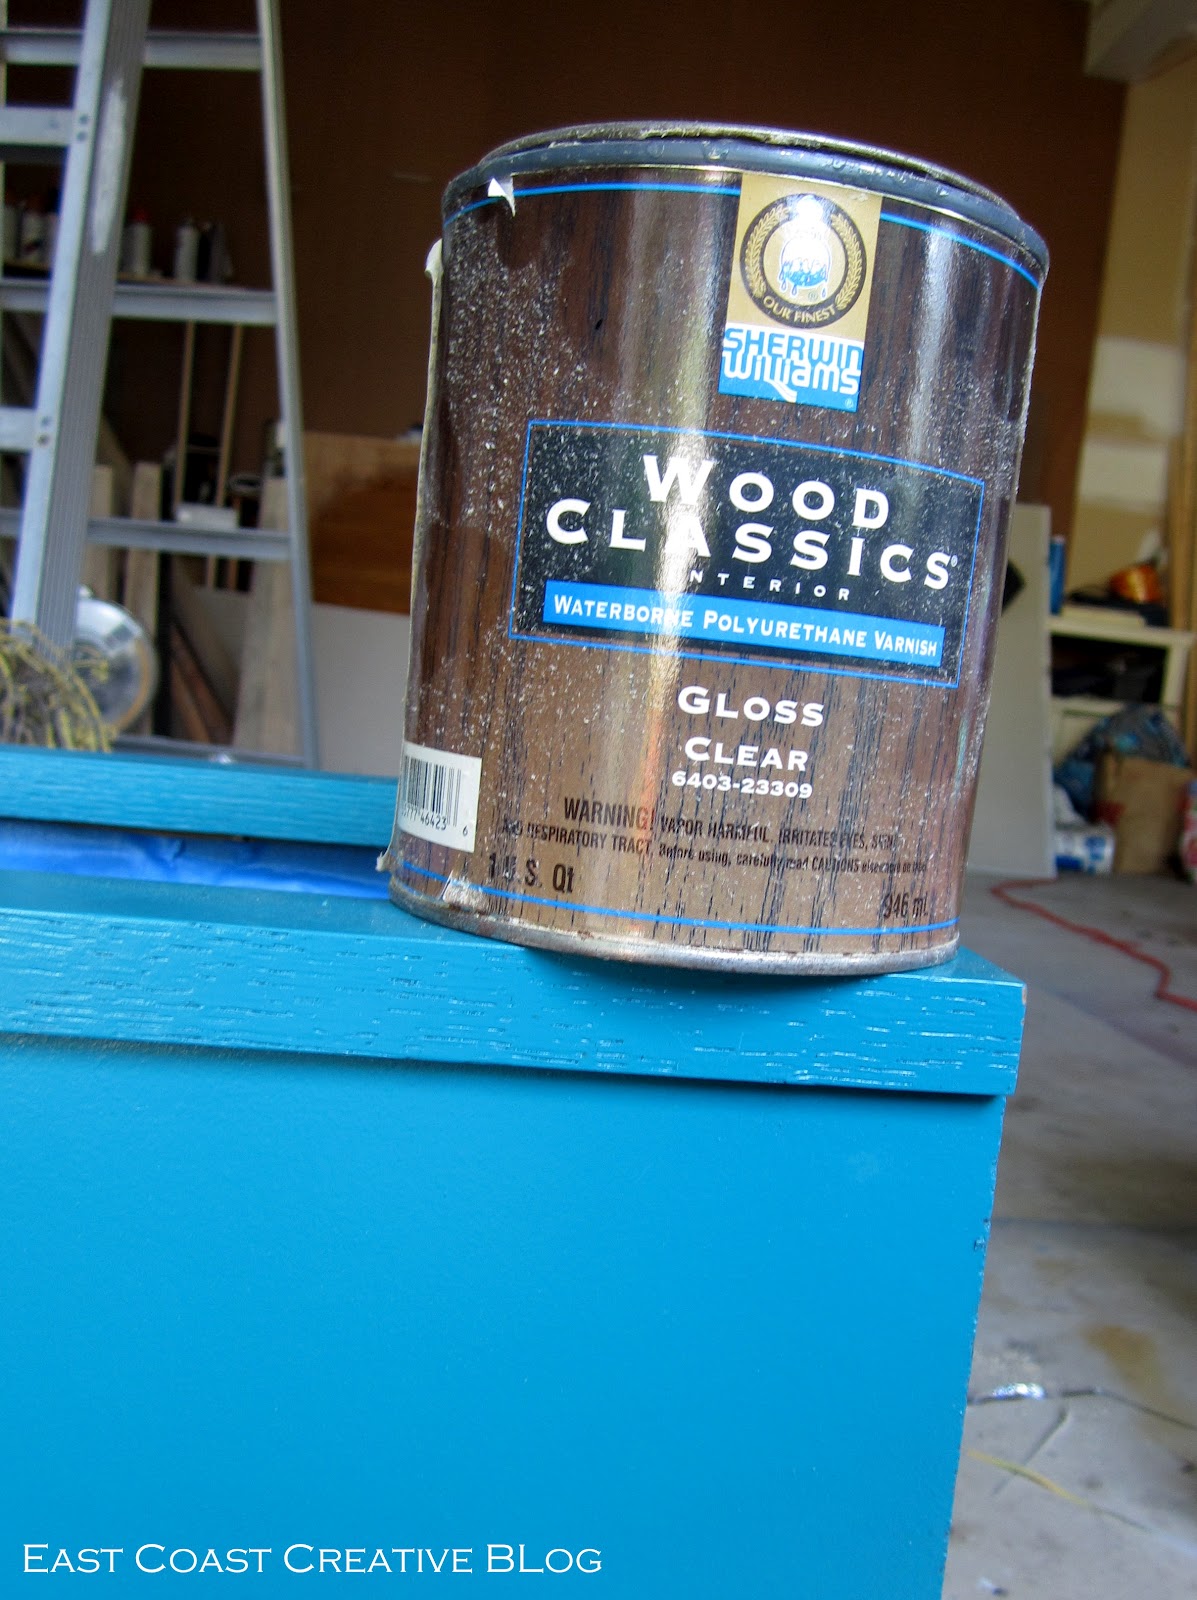
Polyurethane is your best friend when it comes to protecting any surface from water damage. I applied several coats, letting each coat dry in between. My poly is well-loved, can you tell?
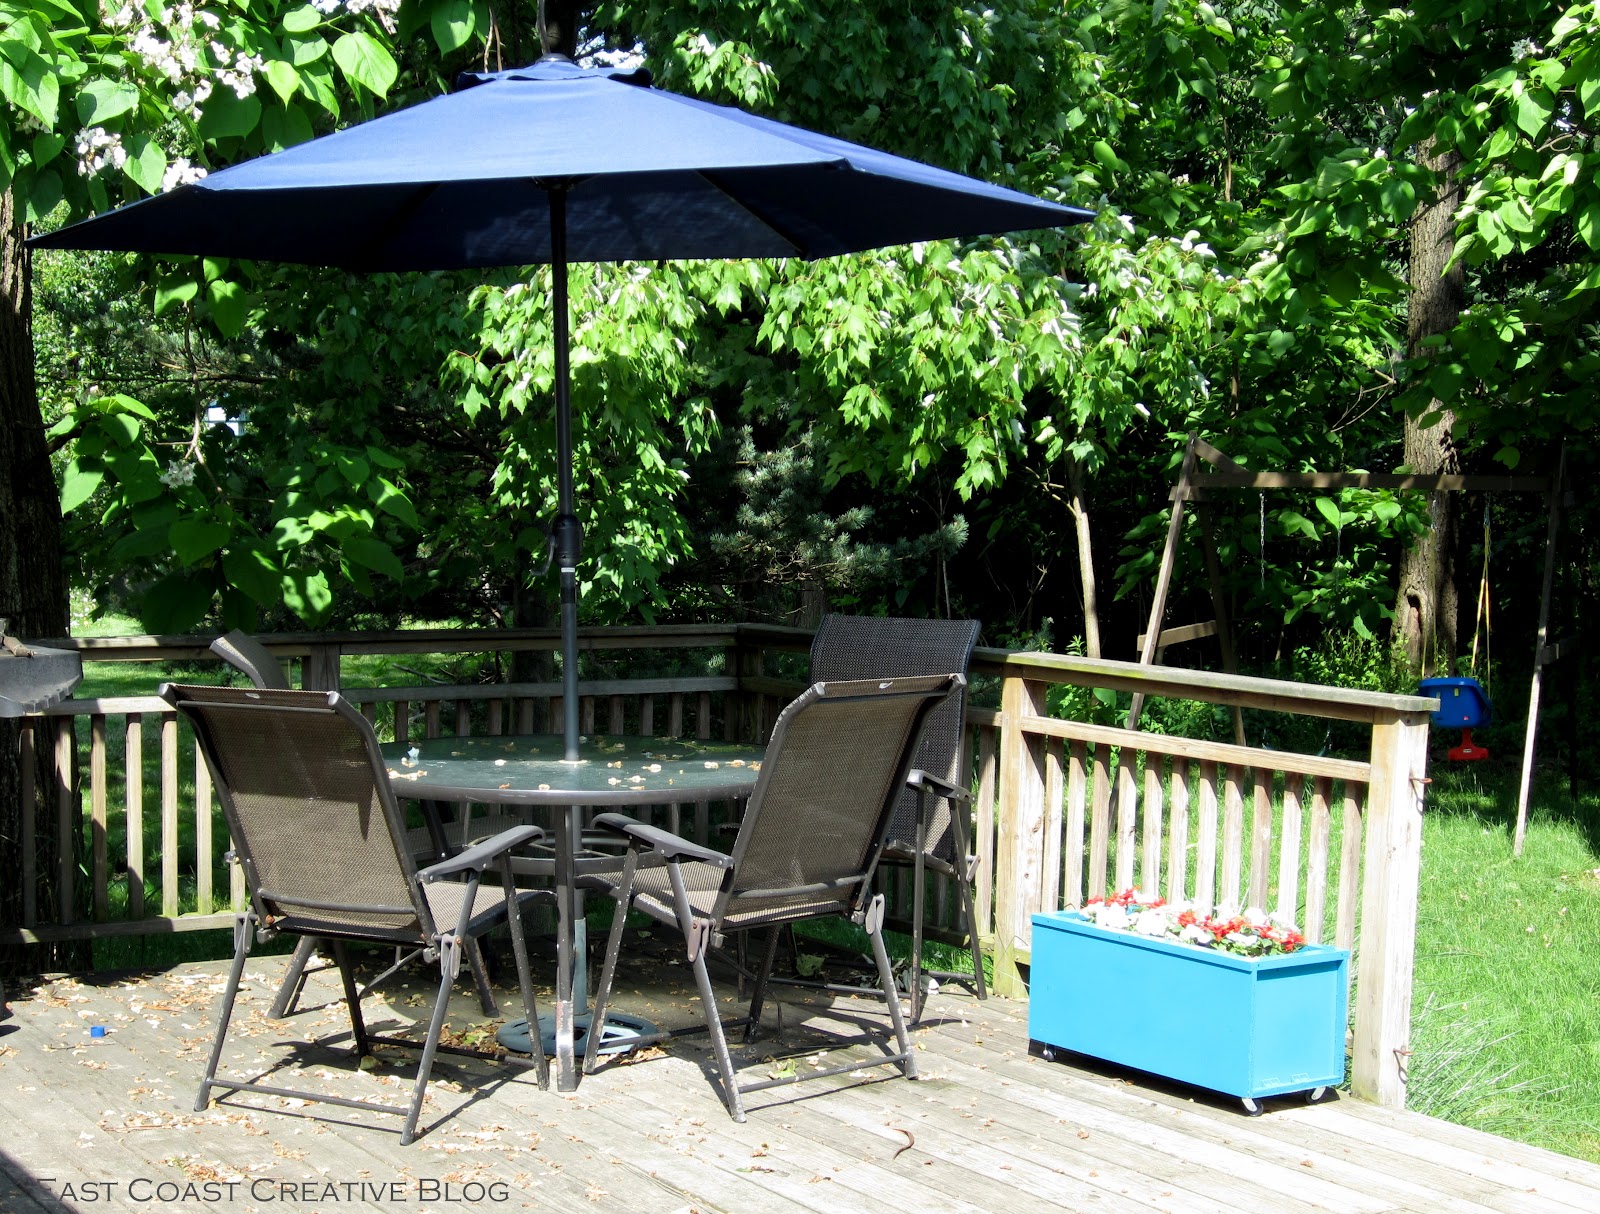
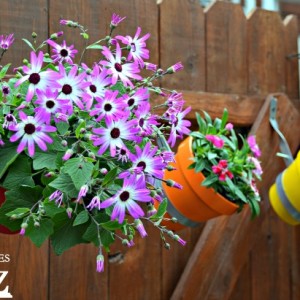
Then came the fun part! Filling it up with potting soil and gorgeous flowers! I love how it came together and the way it adds a pop of fun color to my deck.


For less than $15, I had a brand new planter box! Even better, I repurposed something I already had and gave it new life.


Very cool project Beth.
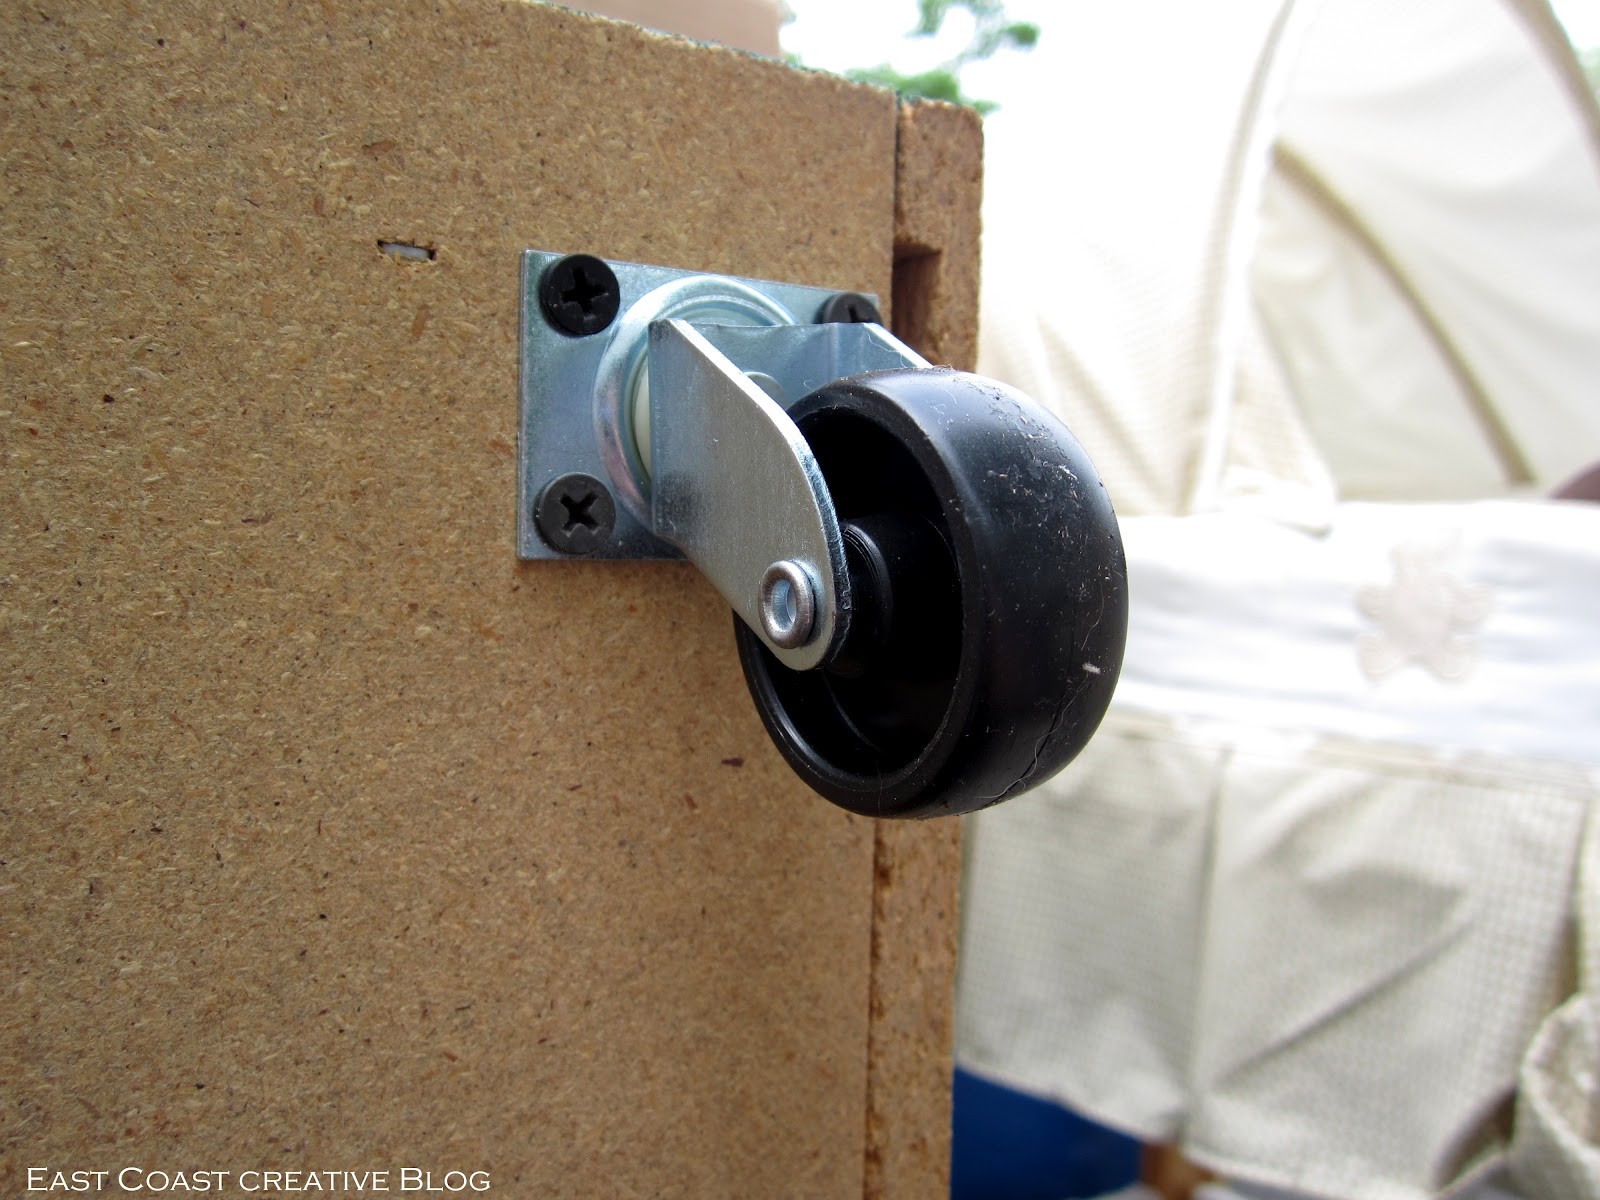
Adding the casters was so smart!! Great upcycle. 🙂